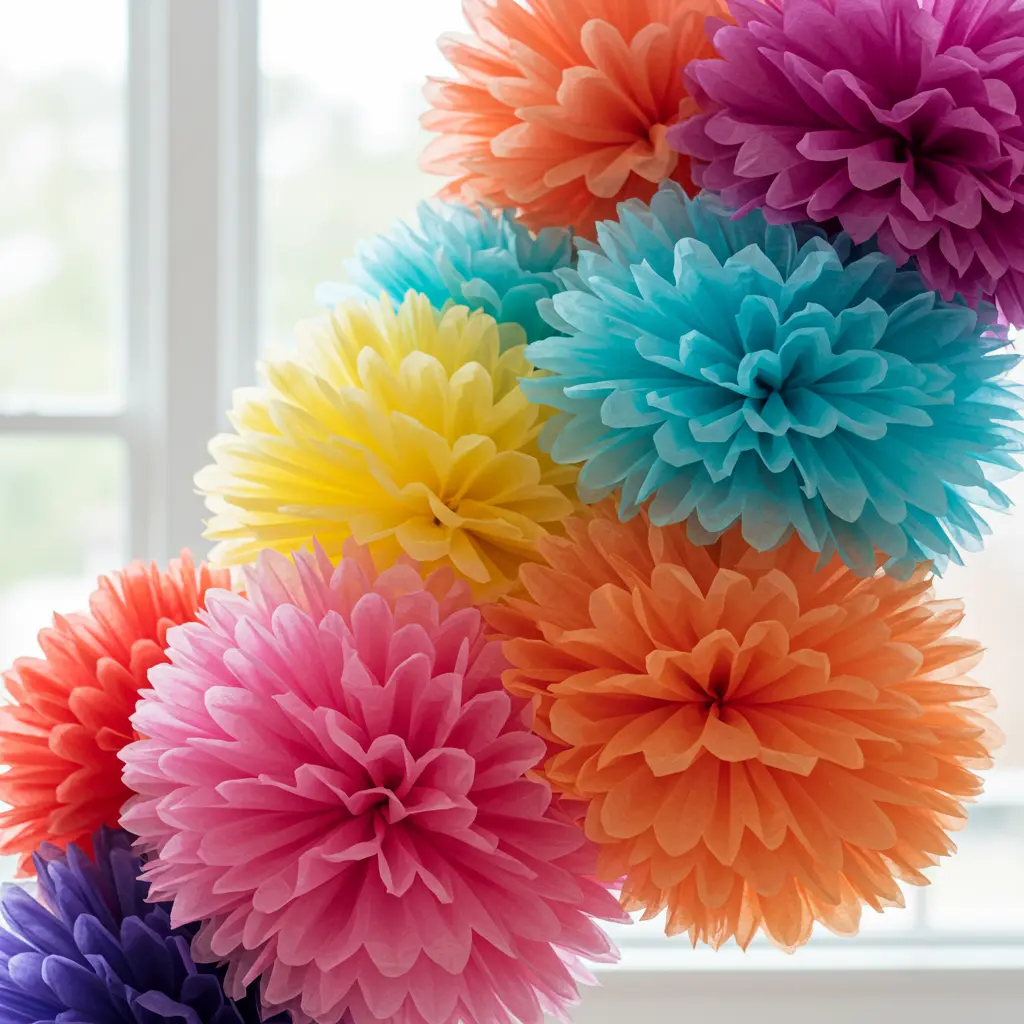
Is your party decor vibe feeling a little… flat? Are you staring at a blank wall, knowing it needs a pop of color, but your wallet is screaming “no”? You’re in the right place to fix that, and the glow-up will be real.
Tissue paper flowers aren’t just a craft; they’re the “ultimate budget-friendly hack” to creating a high-impact, viral-worthy backdrop for any celebration.
This is your creative playbook for transforming a simple pack of tissue paper into a stunning floral masterpiece. Forget expensive real flowers that wilt in a day. We’re about to make you the undisputed DIY master.
We’ll explore 30 breathtaking designs, decode the secrets to a professional, “I-can’t-believe-you-made-that” finish, and walk through the practical steps to bring your vision to life.
By the end, you’ll see a simple sheet of tissue paper not as a flimsy wrapper, but as a “giant, dreamy peony” waiting to bloom.
Before You Begin: The Flower Artist’s Mindset
The most beautiful tissue paper flowers start with crafting an atmosphere, not just folding paper. Before you make a single snip, let’s lay the groundwork for a design that is clever, cohesive, and “shockingly simple” to create. The goal is to set a mood, not just fill a space.
The Secrets of Style: Simple Rules for a Stunning Bloom
“DIY” doesn’t have to mean “looks like a kindergarten project.” These simple secrets are what elevate a simple craft into a professional-looking piece of decor.
Paper Quality is Key
Not all tissue paper is created equal. Look for brands that are less prone to tearing and have rich, saturated colors. For watercolor effects, you’ll need “bleeding” tissue paper; for crisp, clean flowers, you’ll want the non-bleeding kind.
Fluffing is an Art Form
This is the step that separates the sad, flat flowers from the lush, full ones. Be patient. Gently separate each layer of tissue, pulling it up towards the center one by one. The first two layers are the most delicate. “Don’t just pull, gently coax.” This is where the magic happens.
Embrace Imperfection
Real flowers aren’t perfectly symmetrical, and yours don’t have to be either. A slightly crinkled petal or an uneven edge adds to the “organic, natural look.” Don’t stress about making every flower identical.
Scale Changes Everything
The impact of your flowers is directly related to their size and quantity. A cloud of tiny, delicate blossoms creates a completely different vibe than a single, “dramatic, oversized peony.” Think about the statement you want to make.
What’s the Real Cost? A No-Fuss Budget Breakdown
| The Approach | Estimated Cost | What Your Money Buys | The Little Extras (Don’t Skip These!) |
| The Budget Crafter | $10 – $25 | • Multi-color packs of tissue paper • Pipe cleaners or string for the center • Using scissors you already own | • A good ruler • A cutting mat to protect your table • A basic hot glue gun |
| The Party Stylist | $25 – $60 | • Higher-quality, non-bleeding tissue paper • Green floral wire and floral tape • Specialty scissors (like scalloped edge) | • A low-temp hot glue gun (won’t melt paper) • A bone folder for crisp creases • A pack of glitter or metallic spray paint |
| The Event Designer | $60+ | • Bulk packs of tissue paper in specific colors • Pre-cut tissue paper shapes for specific flowers • Premium materials like gold foil tissue | • A wire cutter for heavy-gauge wire • A set of circle punches for centers • High-end floral stamens for realism |
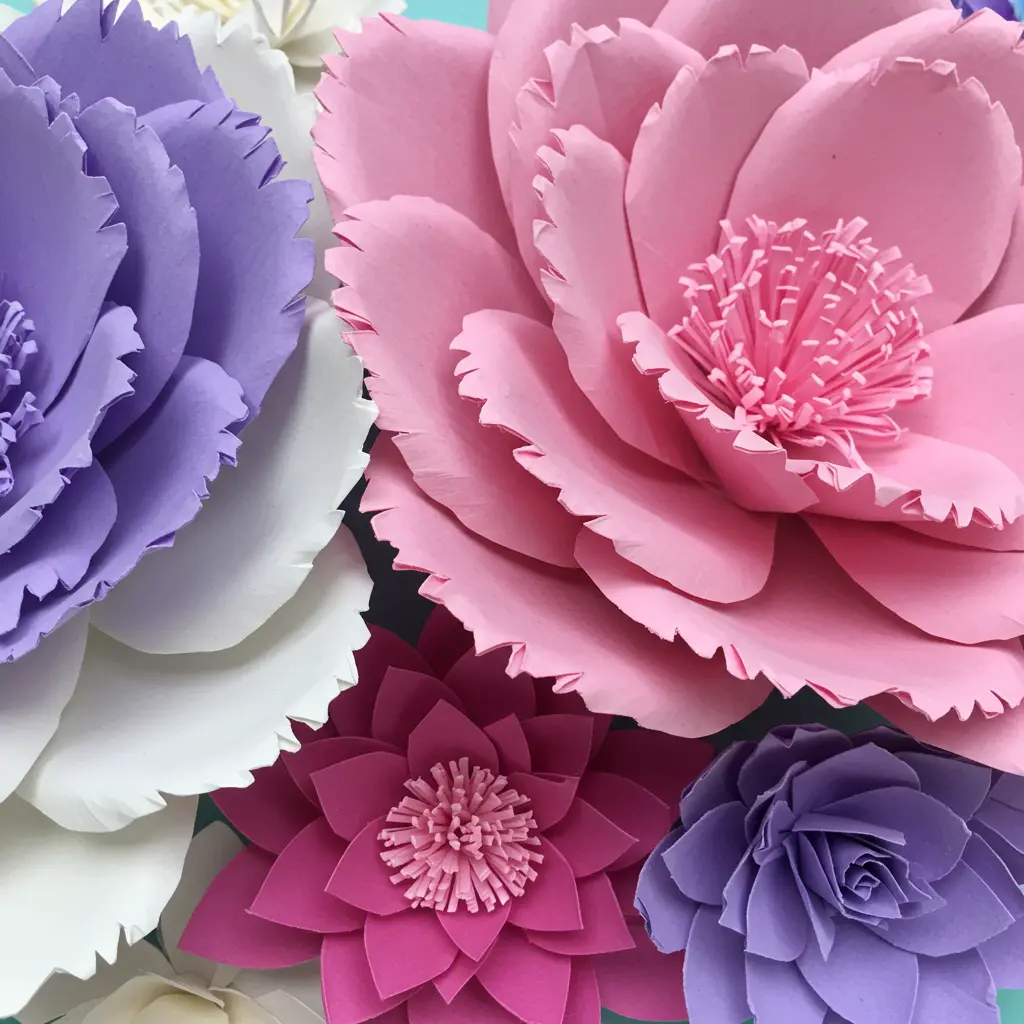
Classic and Chic Tissue Paper Flowers
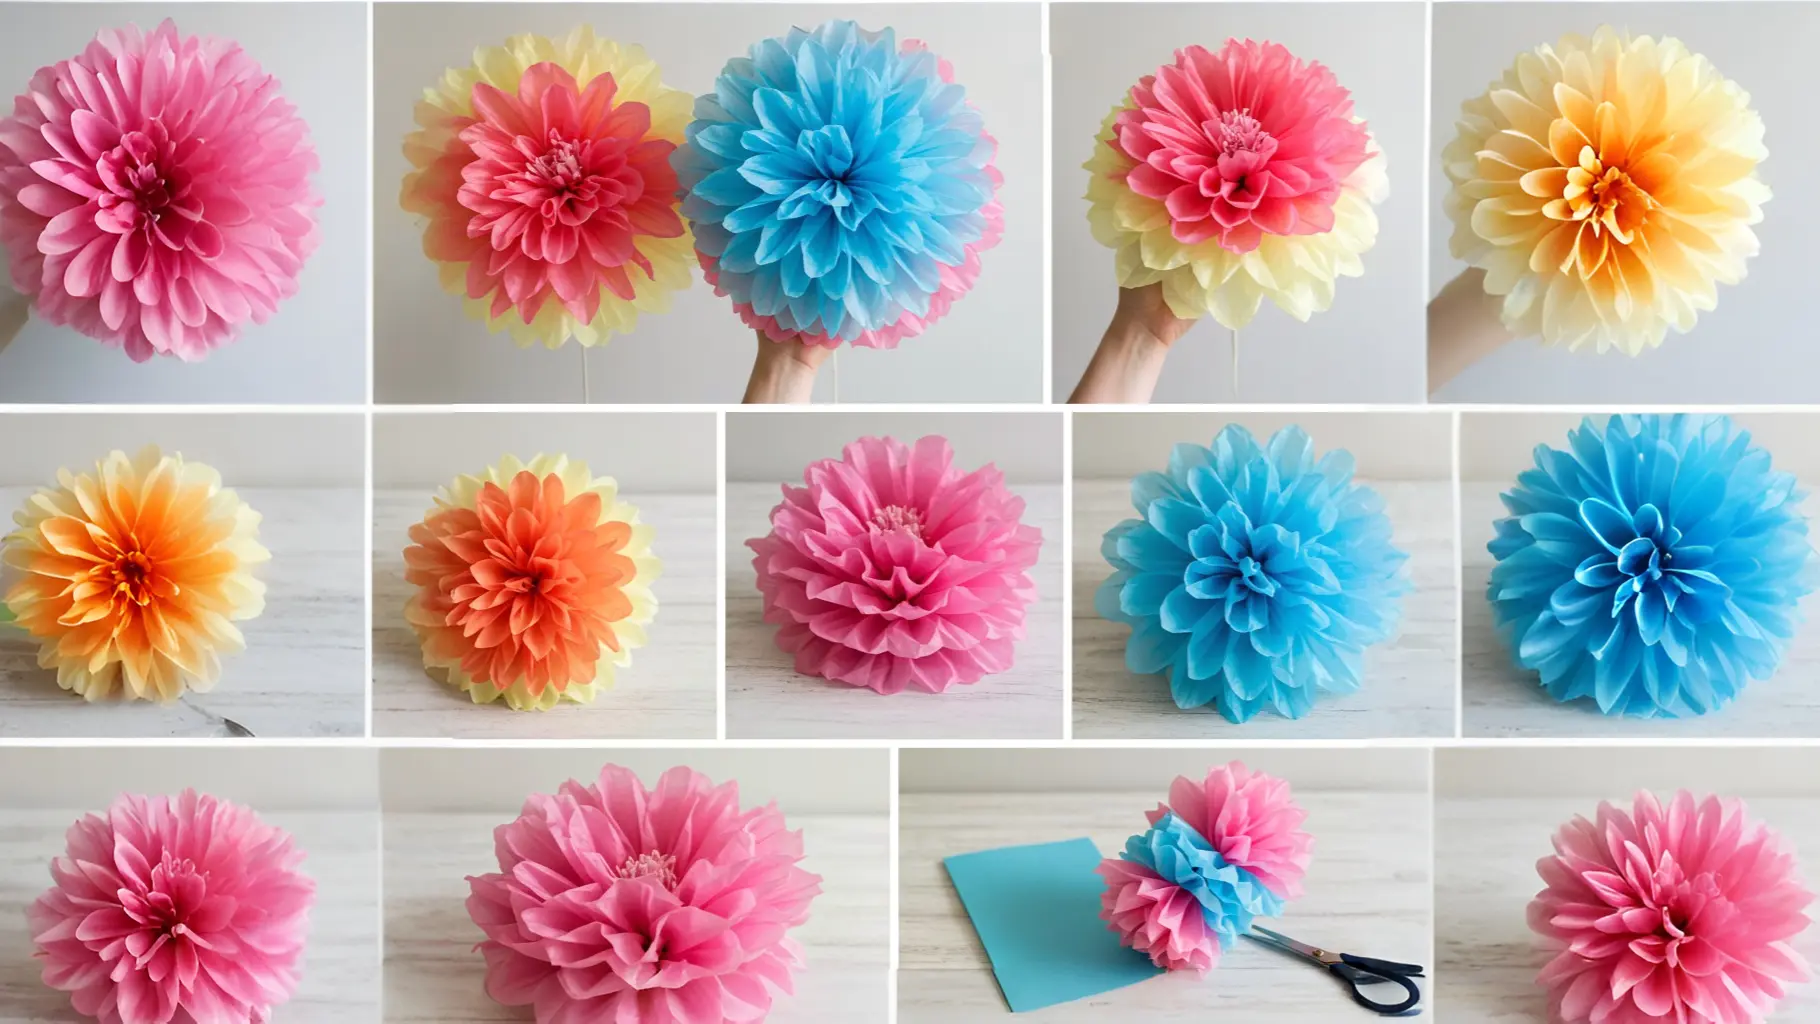
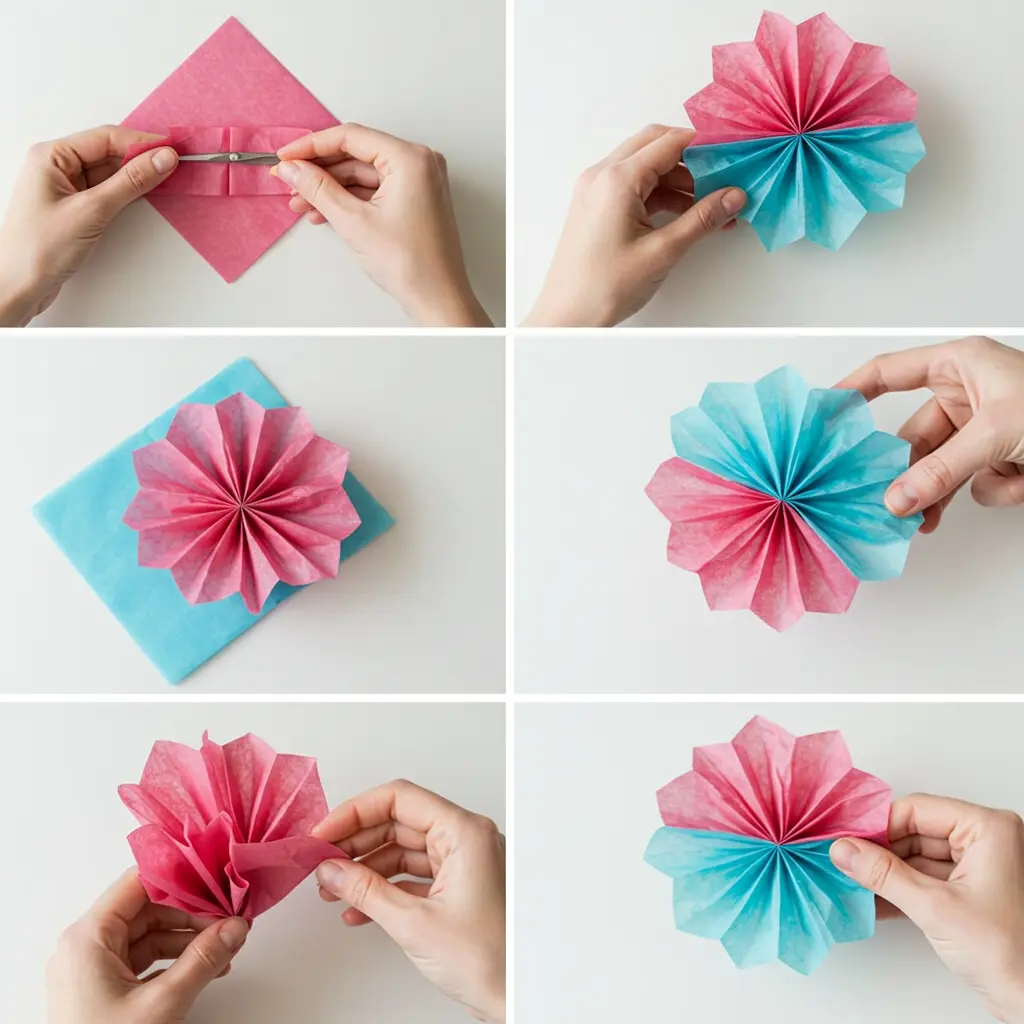
1. The Basic Bloom
Best For: Beginners who want a foolproof, beautiful result and for filling in larger arrangements.
Pro-Tip: The secret is the accordion fold. For a softer, fluffier flower, cut a rounded or scalloped edge on your folded paper. For a spikier, dahlia-like flower, cut a pointed edge.
Styling Cue: Create a “monochromatic flower wall” by making dozens of these in varying sizes of the same color. It’s an incredibly chic and high-impact photo backdrop.
2. Rainbow Rosettes
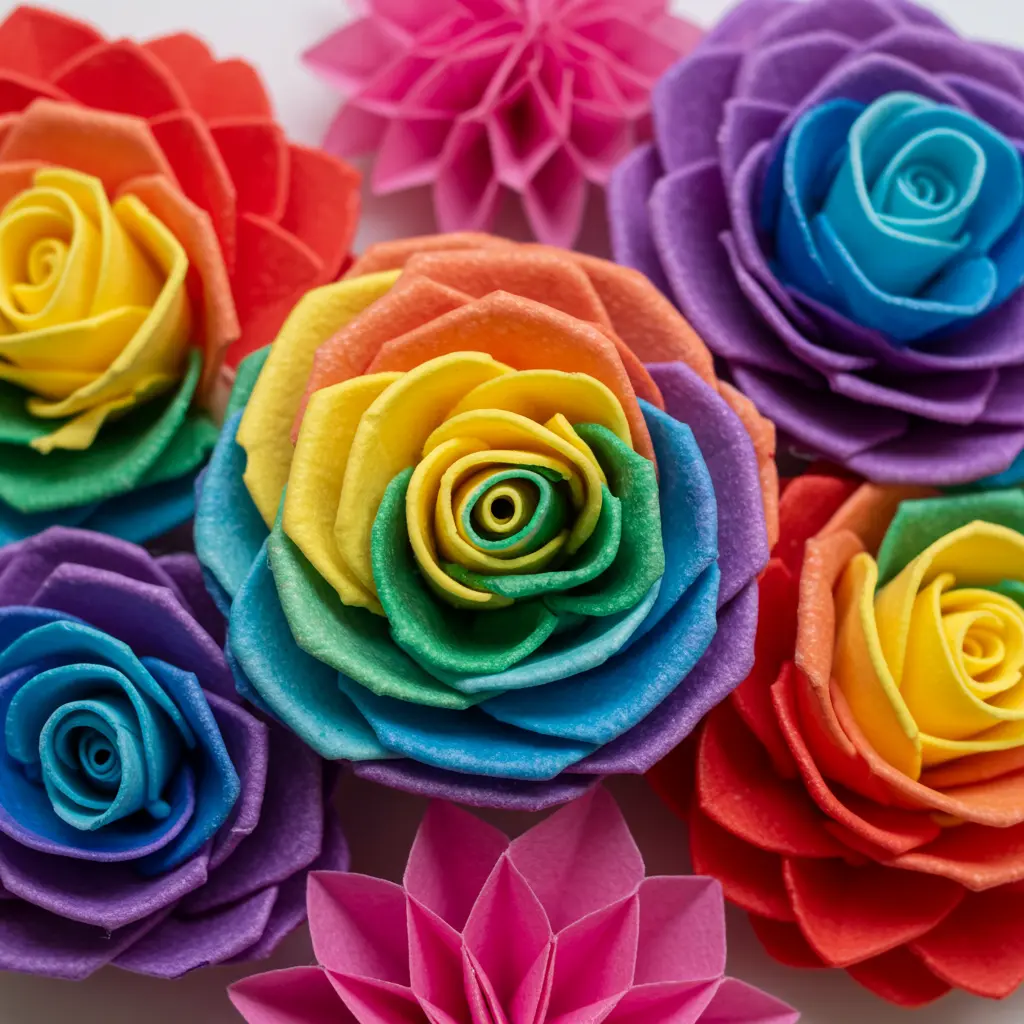
Best For: Kids’ birthday parties, Pride celebrations, or any event that needs a serious burst of color.
Pro-Tip: Stack your tissue paper in ROYGBIV order before you start folding. This ensures the colors blend beautifully from the center out.
Styling Cue: Attach these to a wall in an arch shape to create a “vibrant rainbow” for guests to walk under or pose with.
3. The Giant Paper Peony
Best For: A single, dramatic statement piece for a bridal shower, nursery, or photo shoot.
Pro-Tip: Giant flowers need a strong base. Hot glue your finished flower to a cardboard circle. You’ll also need more layers than you think at least 12-15 sheets of tissue paper for a truly lush look.
Styling Cue: One giant peony hanging over a dessert table or a crib is “all the decor you need.” It’s a total showstopper.
4. Ombre Delight
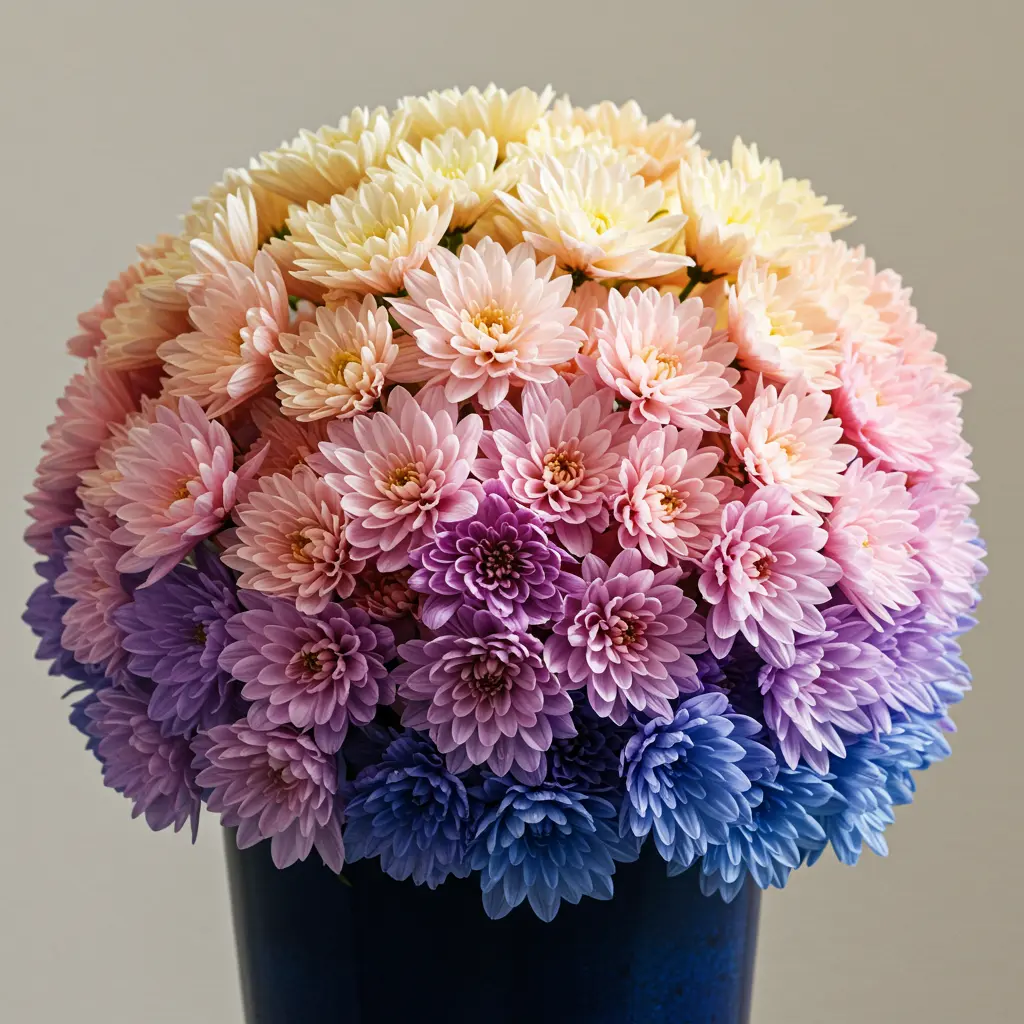
Best For: A trendy, sophisticated look that feels modern and high-end.
Pro-Tip: You’ll need at least 3-4 shades of the same color family. Stack your paper from darkest on the bottom to lightest on the top before you fold.
Styling Cue: Create a set of three ombre flowers in different sizes and hang them in a cluster on a blank wall for an “instant art installation.”
5. Mini Blossom Garlands
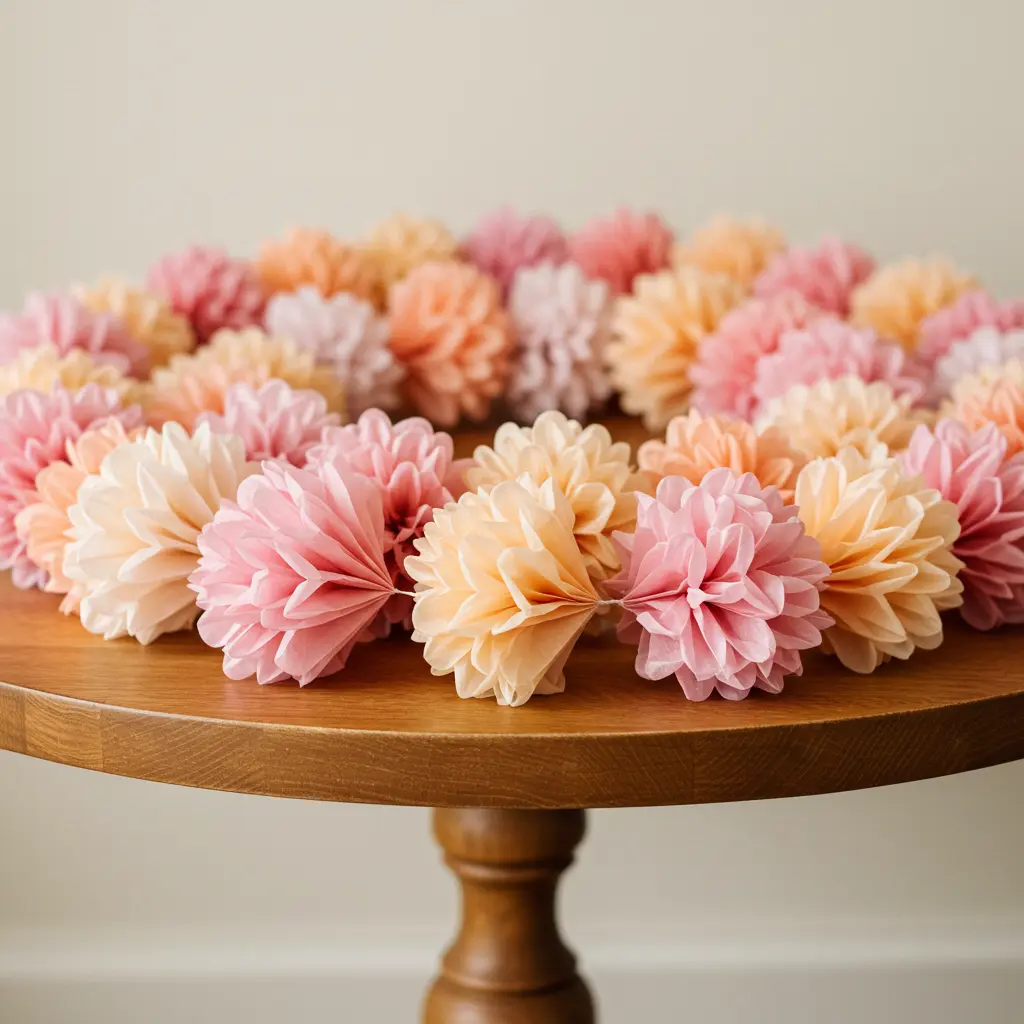
Best For: Adding a delicate, whimsical touch to tablescapes, doorways, or chair backs.
Pro-Tip: Make your mini flowers first, then use a needle and thread to carefully string them together through the center. Leave a few inches between each blossom.
Styling Cue: Drape these garlands around a “naked cake” or along the front of a buffet table for a soft, romantic detail.
6. Pom-Pom Petals
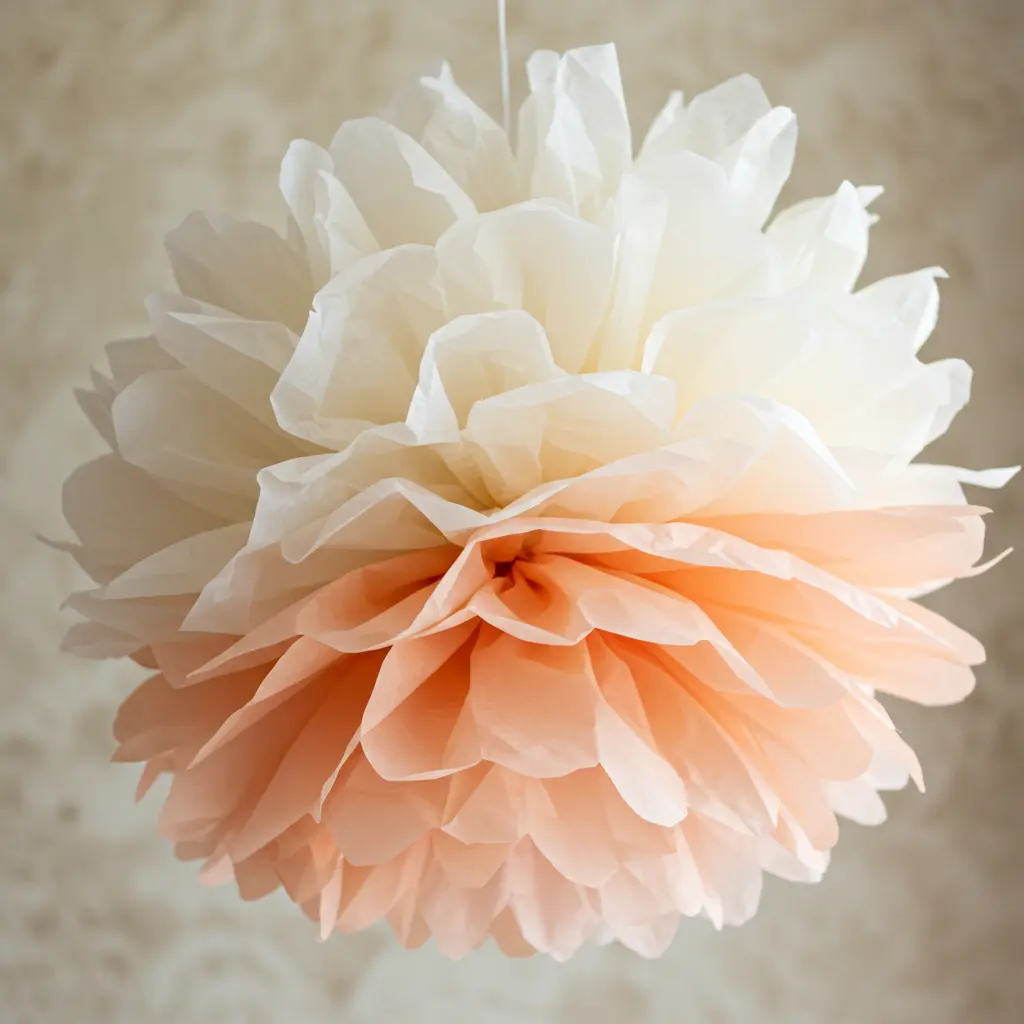
Best For: Creating a full, lush, and perfectly round floral accent.
Pro-Tip: The key to a perfect pom-pom is using lots of layers (10+) and fluffing aggressively. After you separate the layers, gently scrunch and shape the whole thing into a ball.
Styling Cue: Hang these at varying heights from the ceiling over a dining table to create a “magical, floating flower cloud.”
7. Double-Layered Charm
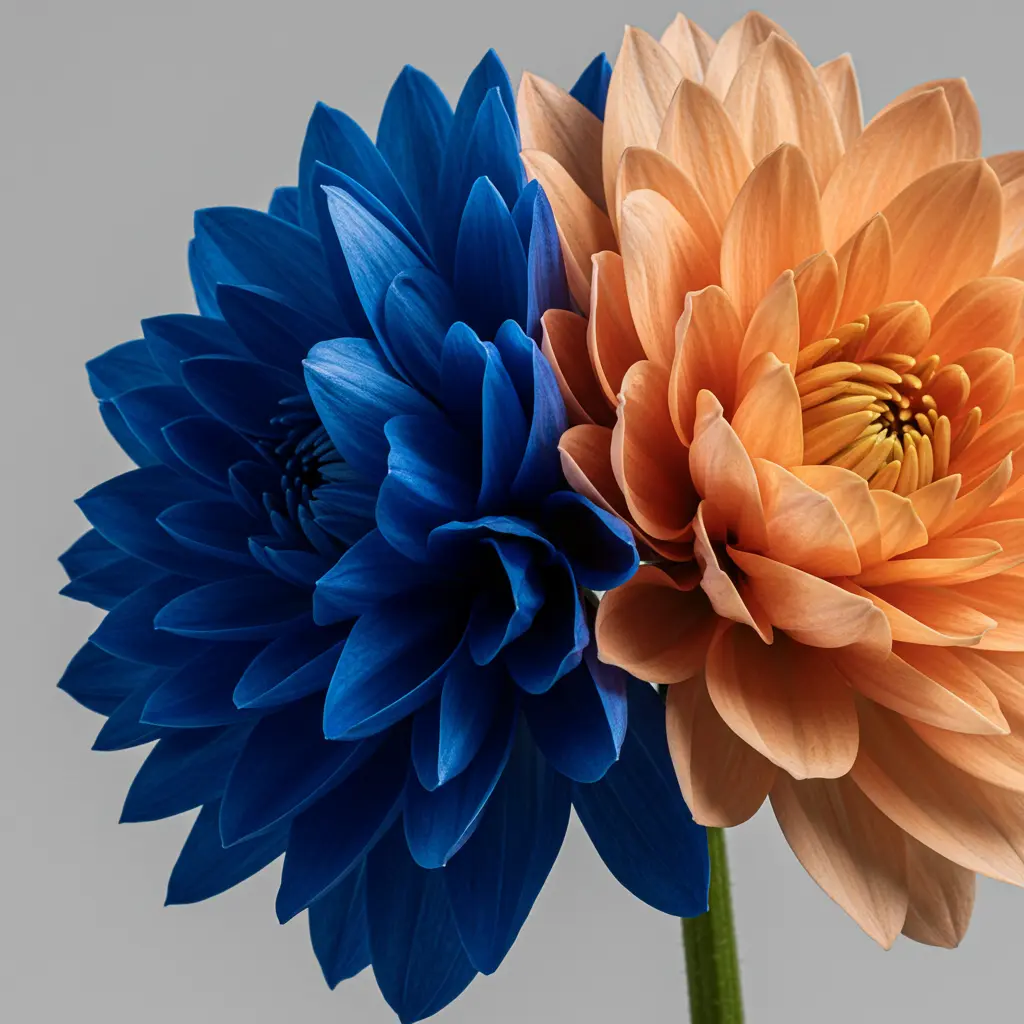
Best For: Adding depth and a pop of unexpected color to a basic bloom.
Pro-Tip: Use a full stack of one color (e.g., pink) and place just one or two sheets of a contrasting color (e.g., yellow) in the middle of the stack before folding.
Styling Cue: This creates a flower with a “surprise center,” which looks incredible in a mixed bouquet.
8. Tissue Paper Roses
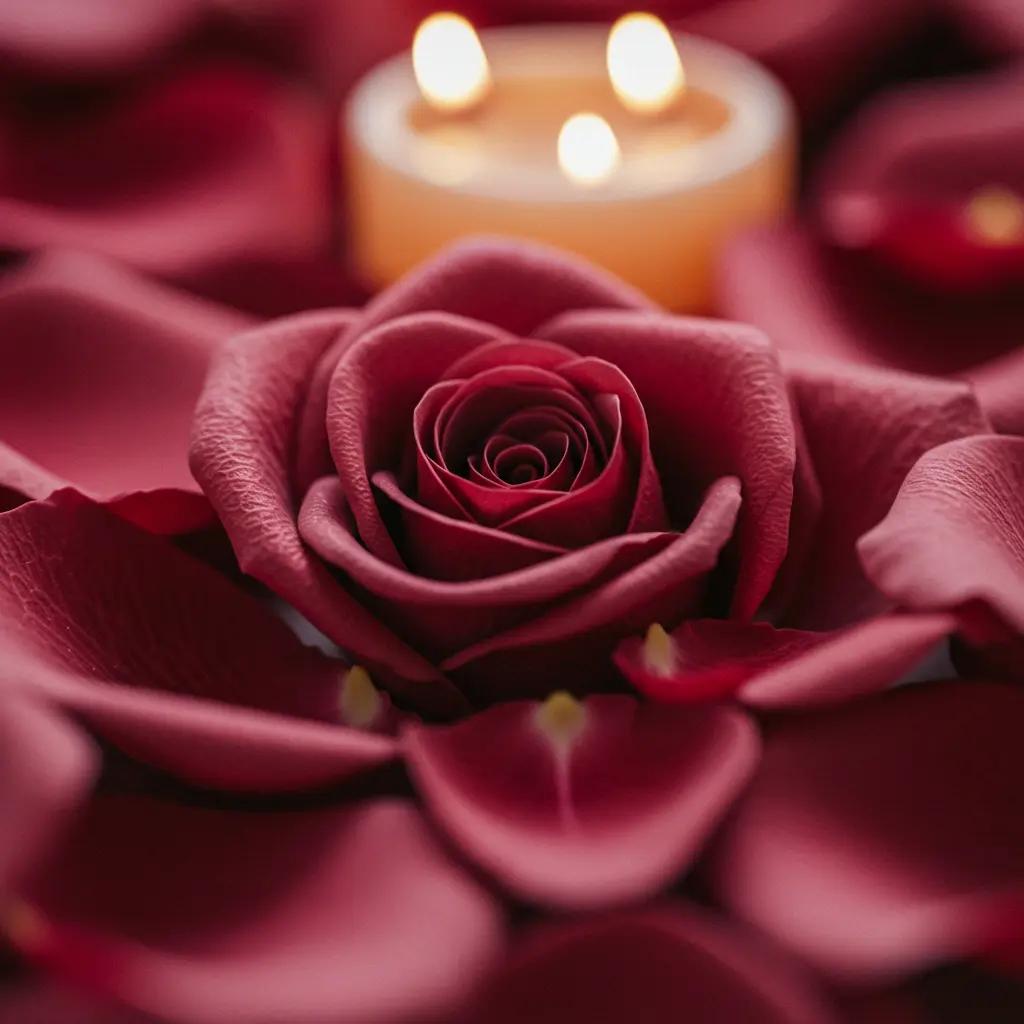
Best For: A more realistic floral look for romantic occasions like Valentine’s Day or anniversaries.
Pro-Tip: This technique is different. You’ll cut individual scalloped petals and wrap them around a floral wire stem, starting with a tight bud in the center and getting looser as you go.
Styling Cue: Place a single tissue paper rose on each place setting at a dinner party for an “elegant and personal” touch.
9. Fringed Petal Flowers
Best For: Creating a unique, textured flower that looks like a mum or a zinnia.
Pro-Tip: After you do the accordion fold but before you fluff, use sharp scissors to make small, uniform snips along both long edges of the folded paper.
Styling Cue: These look amazing in bold, autumnal colors like mustard yellow, rust, and deep red.
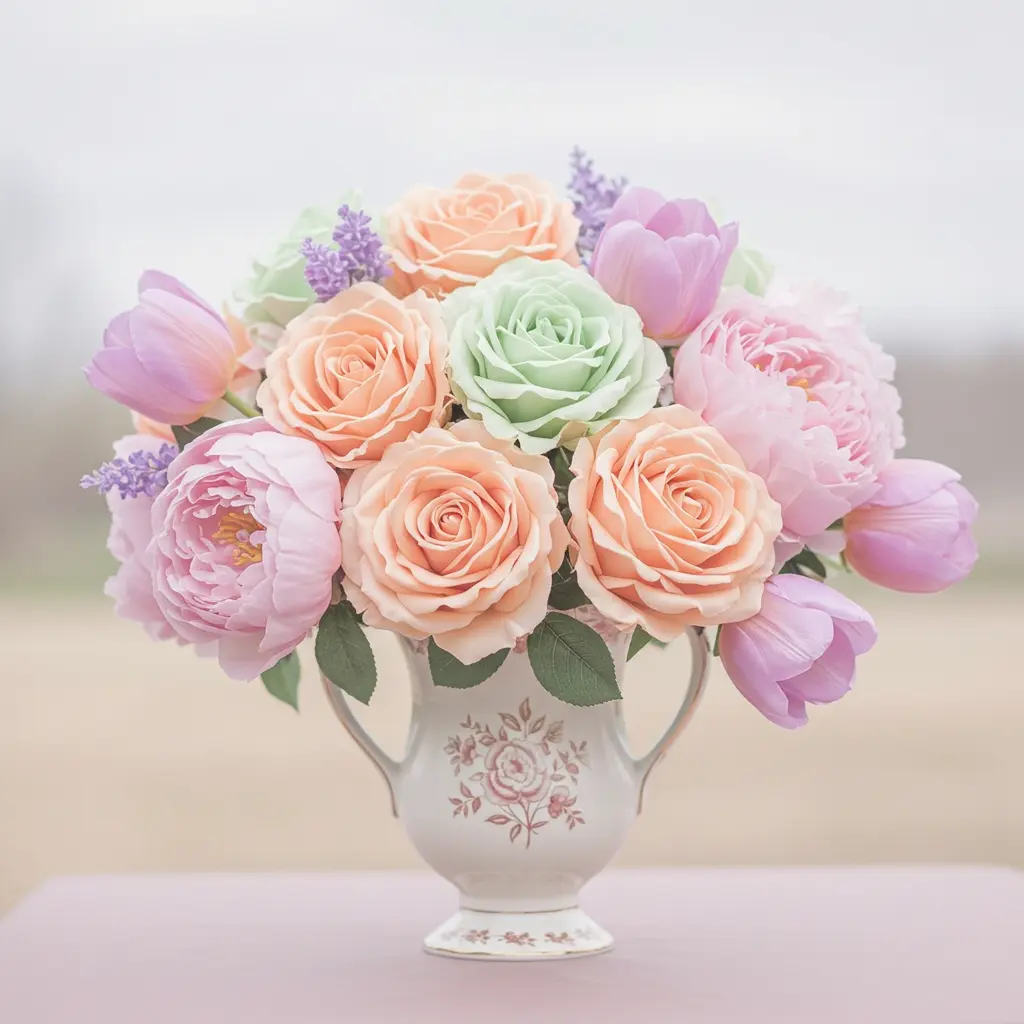
10. Floral Centerpieces
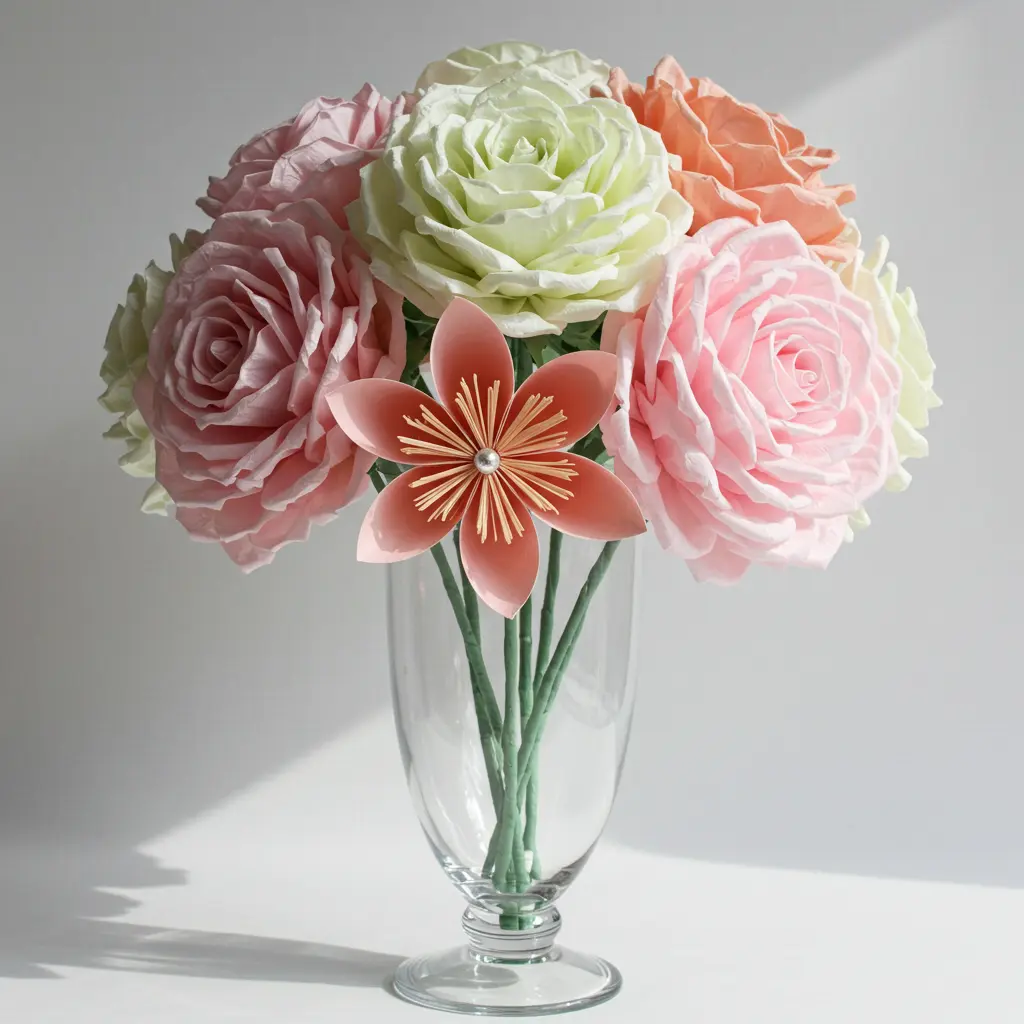
Best For: A long-lasting, allergy-free alternative to a traditional floral arrangement.
Pro-Tip: Attach your finished tissue paper flowers to green floral wire stems. Create a “mixed bouquet” with different flower types and sizes, then arrange them in a vase with some faux greenery.
Styling Cue: Unlike real flowers, these will “never wilt,” making them a perfect, stress-free centerpiece you can make weeks in advance.
Fun and Whimsical Tissue Paper Flowers
11. Candy-Inspired Blooms
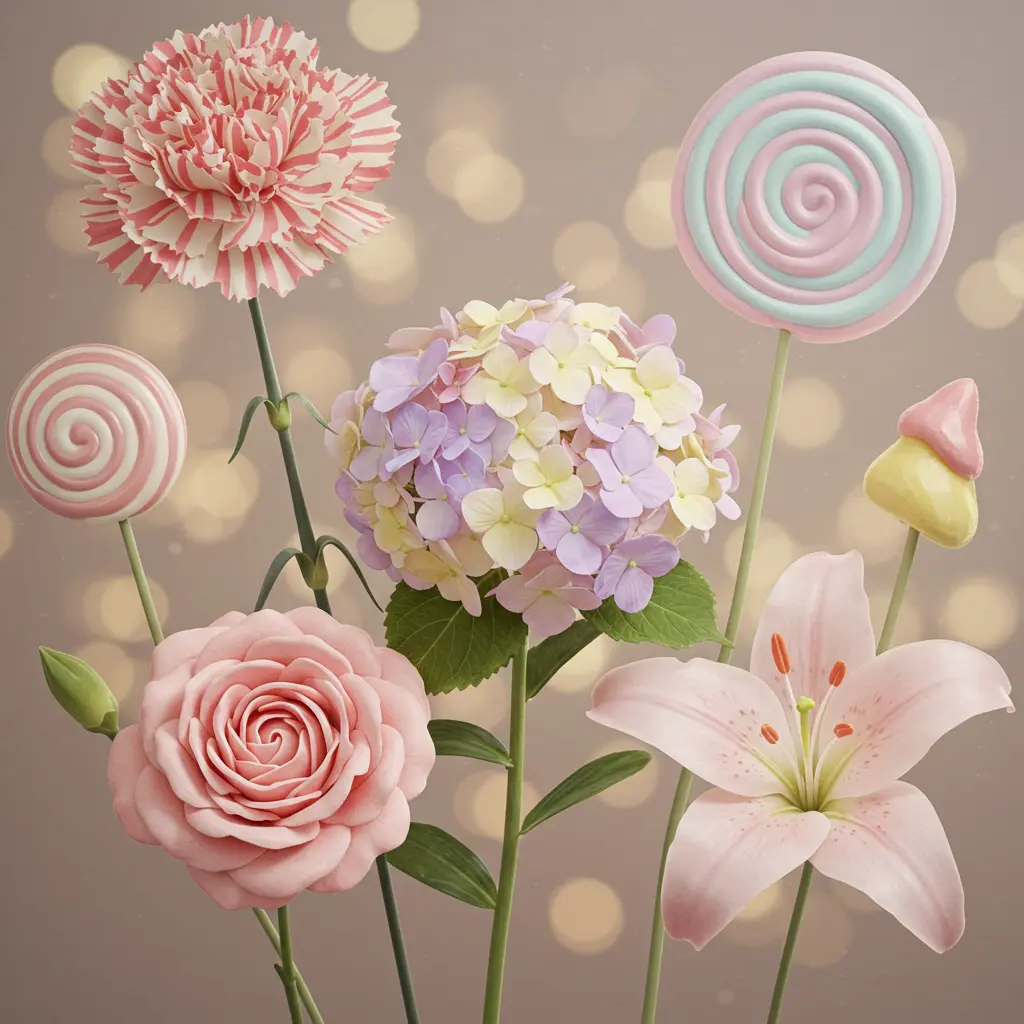
Best For: Sweet-themed parties, candy buffets, or a Candyland birthday.
Pro-Tip: Get creative with the paper. Use striped tissue paper for a peppermint look, or twist two colors together before folding to create a “lollipop swirl” effect.
Styling Cue: Attach these to sticks and “plant” them in a vase filled with gumballs or jelly beans.
12. Neon Glow Party Flowers
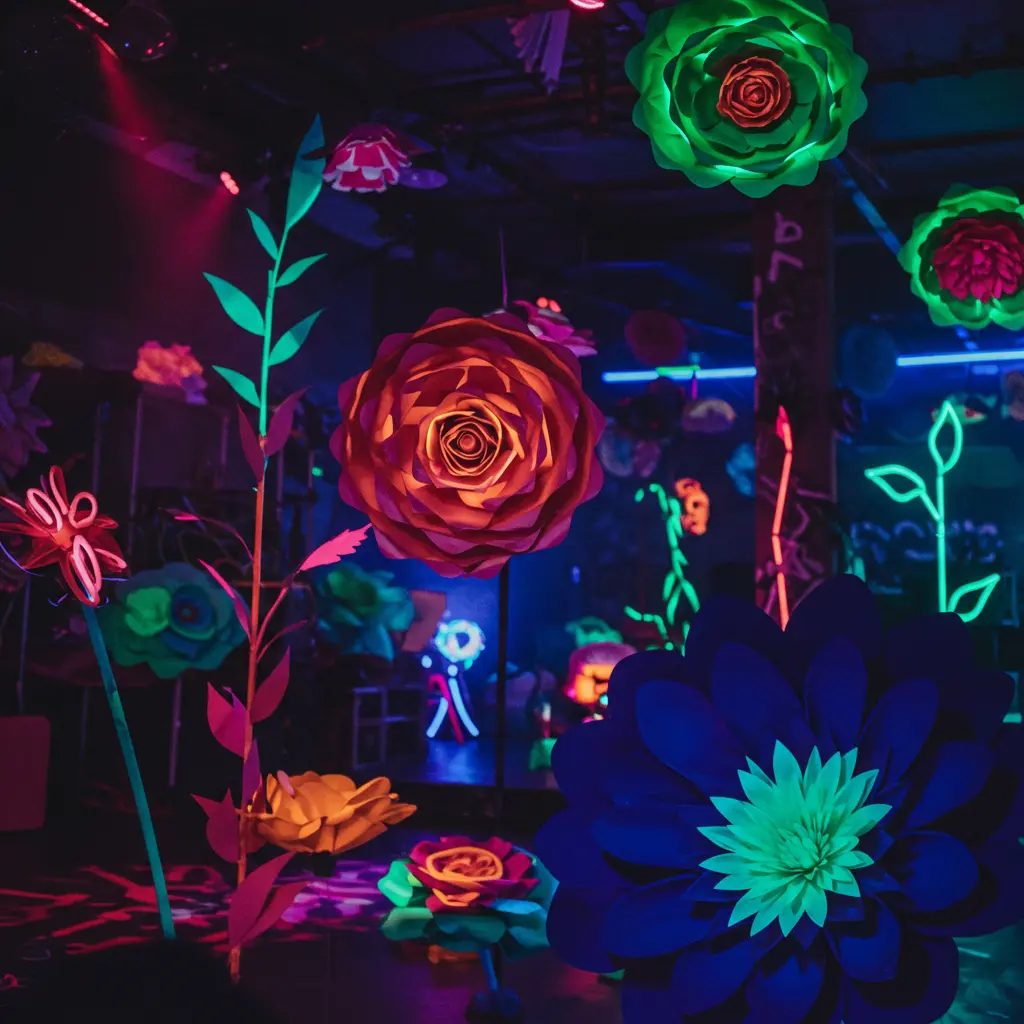
Best For: Blacklight parties, 80s/90s themed events, or a teen’s birthday.
Pro-Tip: Use UV-reactive neon tissue paper. It looks bright in the daylight, but under a blacklight, it will “literally glow in the dark.”
Styling Cue: Splatter the finished flowers with neon paint for an extra layer of glowing texture.
13. Glitter-Tipped Petals
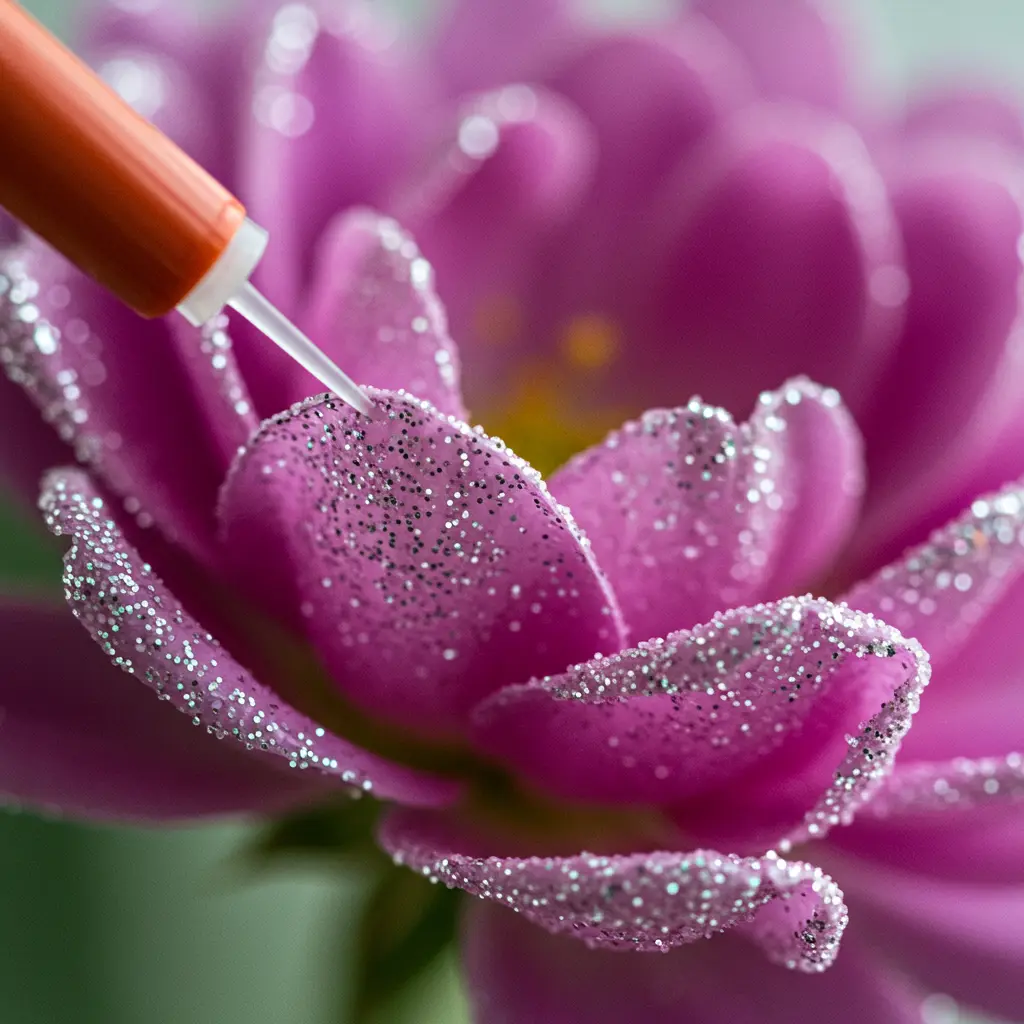
Best For: Adding a touch of glam and sparkle to any celebration.
Pro-Tip: After you’ve fluffed your flower, lightly brush the edges of the petals with craft glue and dip them in fine glitter. Let them dry completely before hanging.
Styling Cue: A “light touch is key.” Just a hint of sparkle on the tips is more chic than a fully glitter-bombed flower.
14. Boho-Chic Paper Flowers

Best For: A rustic wedding, a bohemian baby shower, or for home decor.
Pro-Tip: Stick to a muted, earthy color palette: terracotta, sage green, dusty rose, and cream. After fluffing, gently crinkle the petals for a more “wilted, romantic” look.
Styling Cue: Weave dried elements like pampas grass, bunny tails, or eucalyptus stems into a wall arrangement of these flowers.
15. Fairy Lights Floral Magic

Best For: Creating an enchanting, magical atmosphere for an evening party.
Pro-Tip: Use a delicate, battery-powered string of fairy lights with thin wire. Gently weave the lights in between the layers of the petals as you fluff.
Styling Cue: A garland of these “glowing flowers” strung across a mantelpiece or headboard is pure magic.
16. Watercolor Wash Flowers
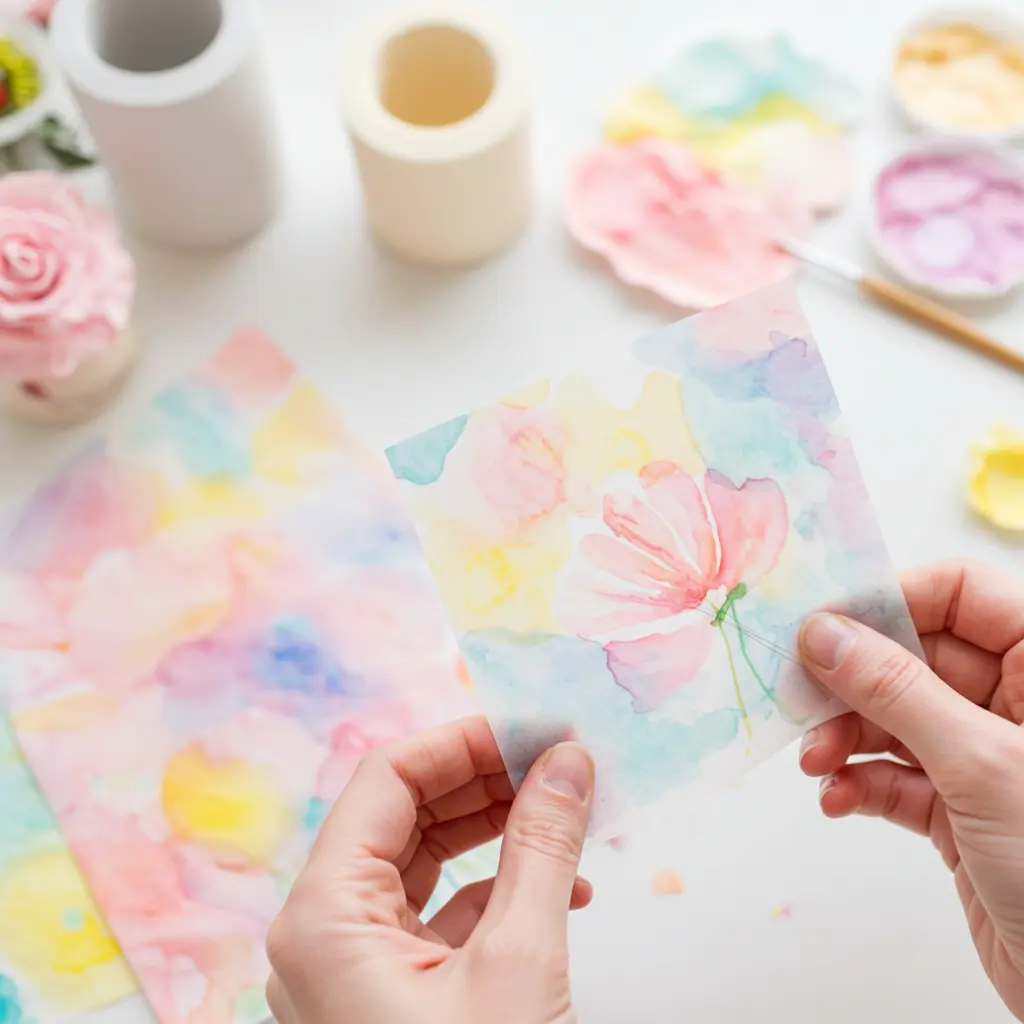
Best For: An artistic, dreamy look that makes each flower a unique piece of art.
Pro-Tip: You must use “bleeding” tissue paper for this. Lay a sheet of paper on a protected surface, brush it lightly with water, and drop on different colors of watercolor paint. Let it dry completely before folding.
Styling Cue: The soft, blended colors are perfect for a “springtime or garden party” theme.
17. Gold Foil Accents

Best For: A glamorous, Art Deco, or New Year’s Eve party.
Pro-Tip: Gold foil tissue is delicate and expensive. Use it as an accent. Alternate layers of a solid color with a single layer of gold foil for a “luxe, high-end” effect.
Styling Cue: A black and gold color scheme is timeless and incredibly chic.
18. Tropical Hibiscus Tissue Blooms
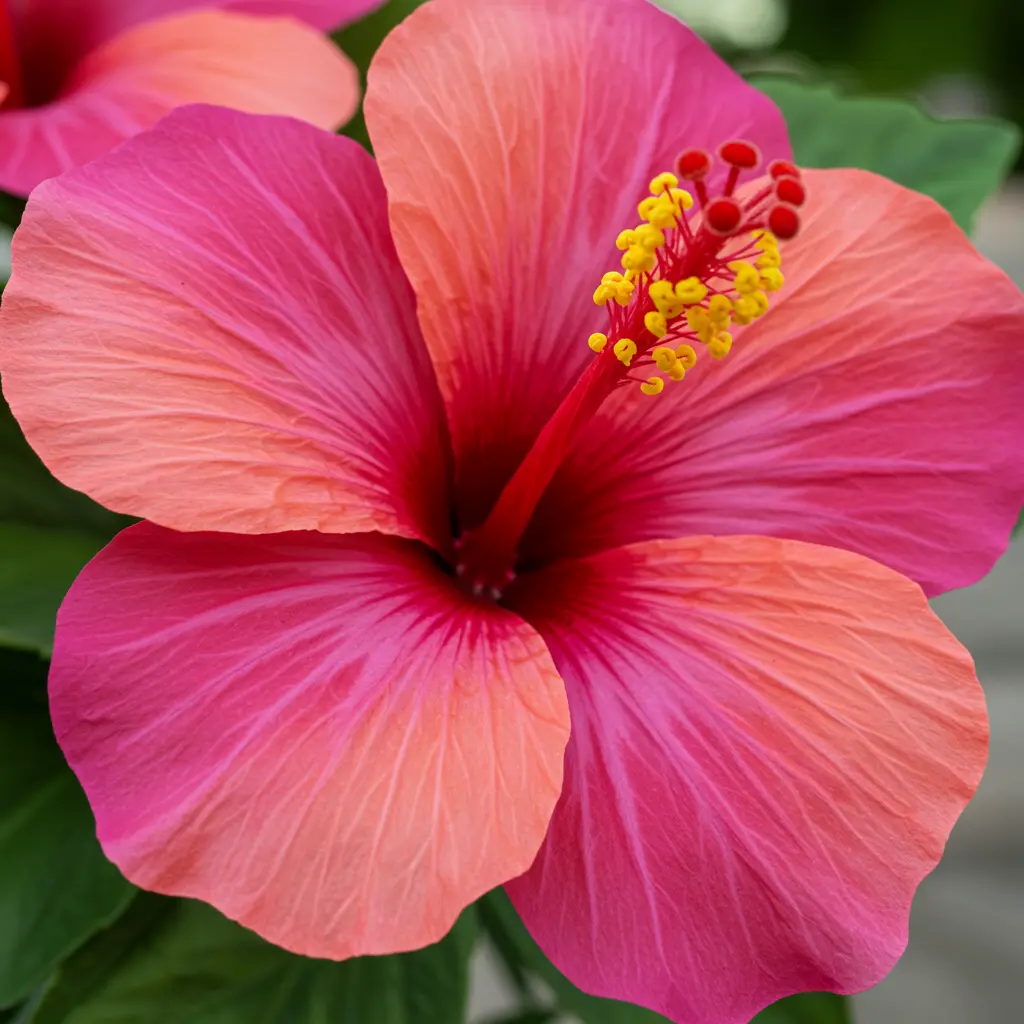
Best For: A summer luau, a Moana-themed party, or a poolside bash.
Pro-Tip: To get the hibiscus look, use bold, tropical colors (like hot pink or orange). After folding, cut a deep, wavy, scalloped edge. Create a “stamen” by fringing a small piece of yellow paper and gluing it in the center.
Styling Cue: Scatter these across a table or attach them to a backdrop of large palm leaves.
19. Tissue Paper Cactus Flowers
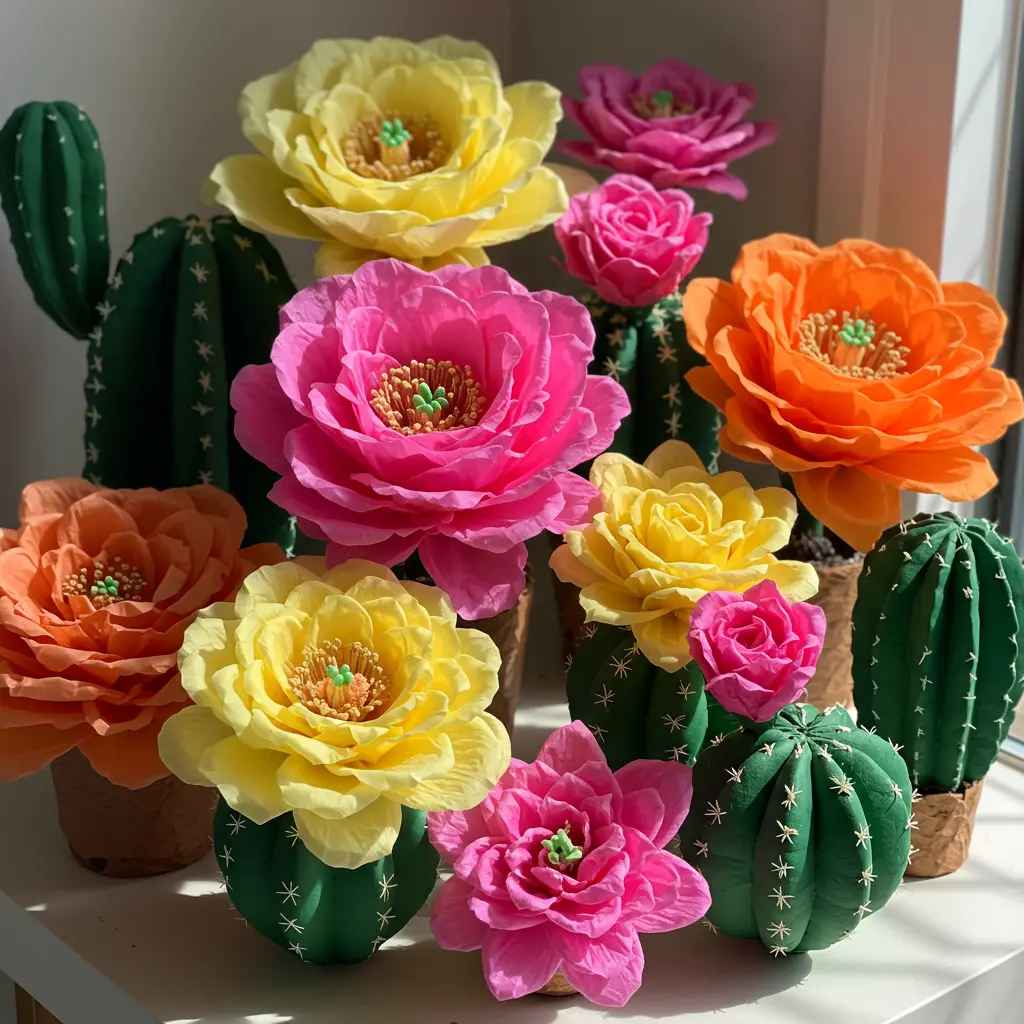
Best For: A Southwestern or fiesta-themed party.
Pro-Tip: These are typically smaller, brightly colored blooms. Make mini, spiky-petaled flowers in hot pink, yellow, or red.
Styling Cue: Hot glue them to the tops of real or faux cacti for a “charming and thematic” pop of color.
20. Unicorn-Inspired Petals
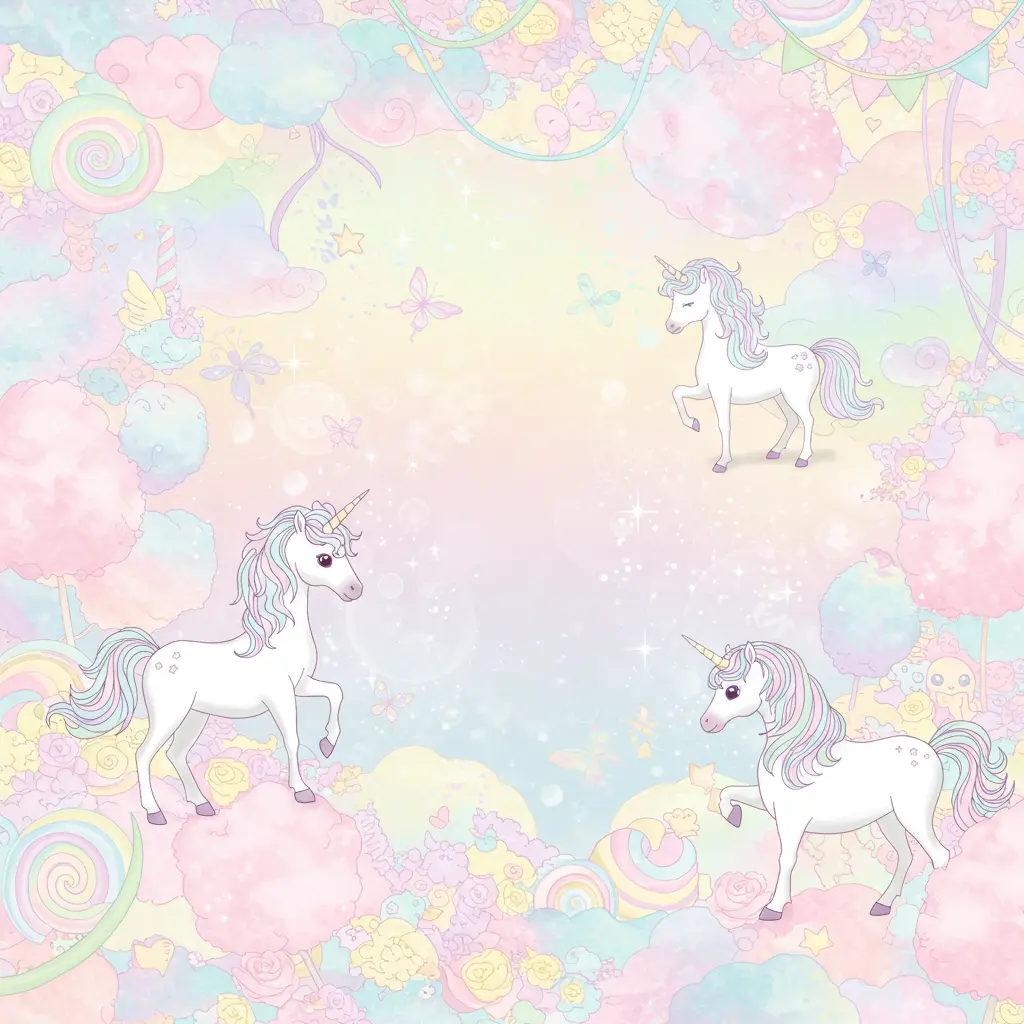
Best For: A magical, whimsical party for the unicorn believers.
Pro-Tip: The unicorn palette is key: pastel pink, lavender, mint green, and baby blue. Combine these colors with glitter-tipped petals and iridescent or holographic tissue paper.
Styling Cue: Create a “unicorn mane” effect by making a cascade of these flowers down a wall.
Themed and Holiday-Specific Tissue Paper Flowers
21. Spooky Halloween Blooms

Best For: A chic and spooky Halloween party.
Pro-Tip: Stick to a classic Halloween palette: black, orange, purple, and maybe a pop of lime green. Cut the petal edges into jagged, spiky points to make them look more “menacing.”
Styling Cue: Hot glue a small plastic spider or skull into the center of a few flowers for a creepy surprise.
22. Winter Wonderland Florals
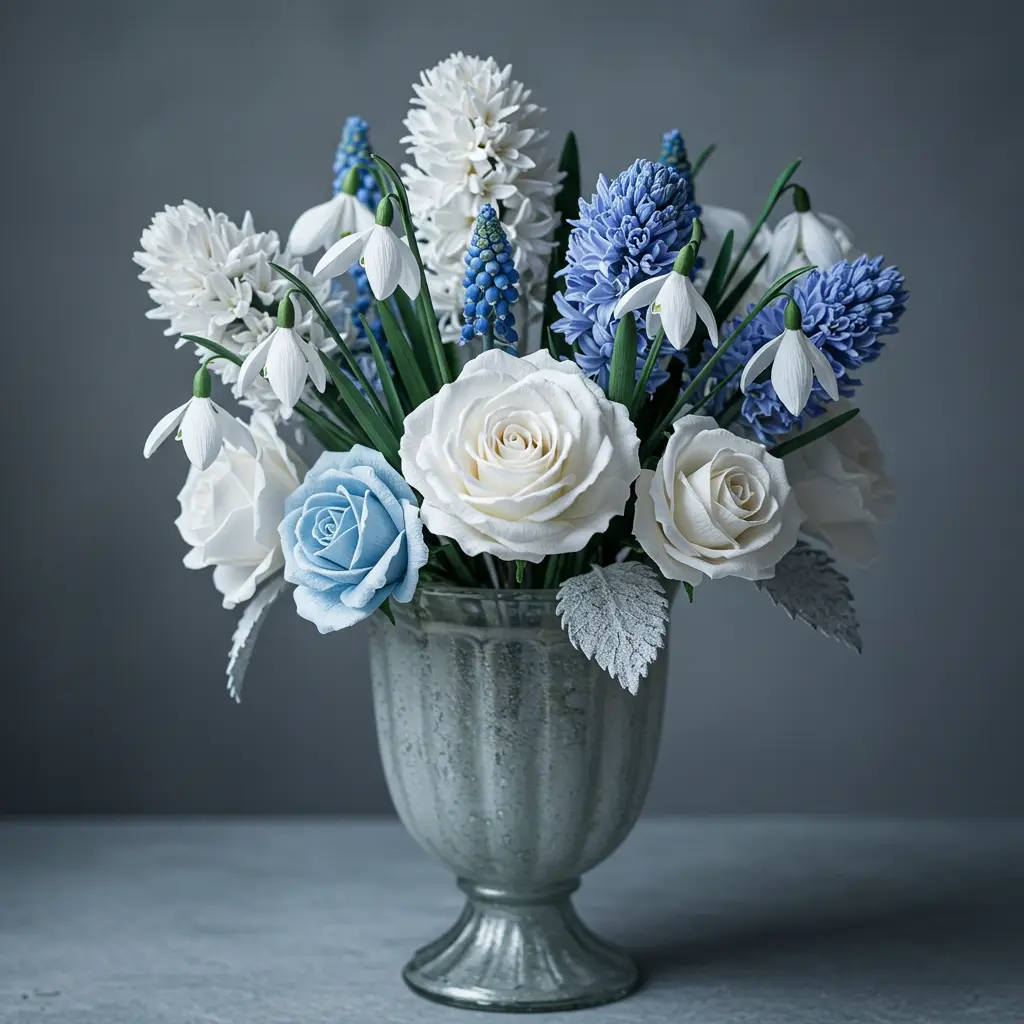
Best For: A winter wedding, a “Frozen” party, or elegant holiday decor.
Pro-Tip: Use an icy color scheme of white, silver, and shades of light blue. A touch of silver glitter on the petal tips will mimic the look of “frost-kissed” flowers.
Styling Cue: Mix these in with faux snow and silver ornaments for a beautiful, wintry tablescape.
23. Poinsettia Paper Flowers

Best For: Classic Christmas and holiday decorating.
Pro-Tip: The key to a realistic poinsettia is the layered leaves. Make a larger, spiky-petaled flower from green tissue, and then layer a slightly smaller, bright red flower on top.
Styling Cue: Create a bunch of these and use them to decorate a Christmas tree, a wreath, or a garland.
24. Springtime Cherry Blossoms
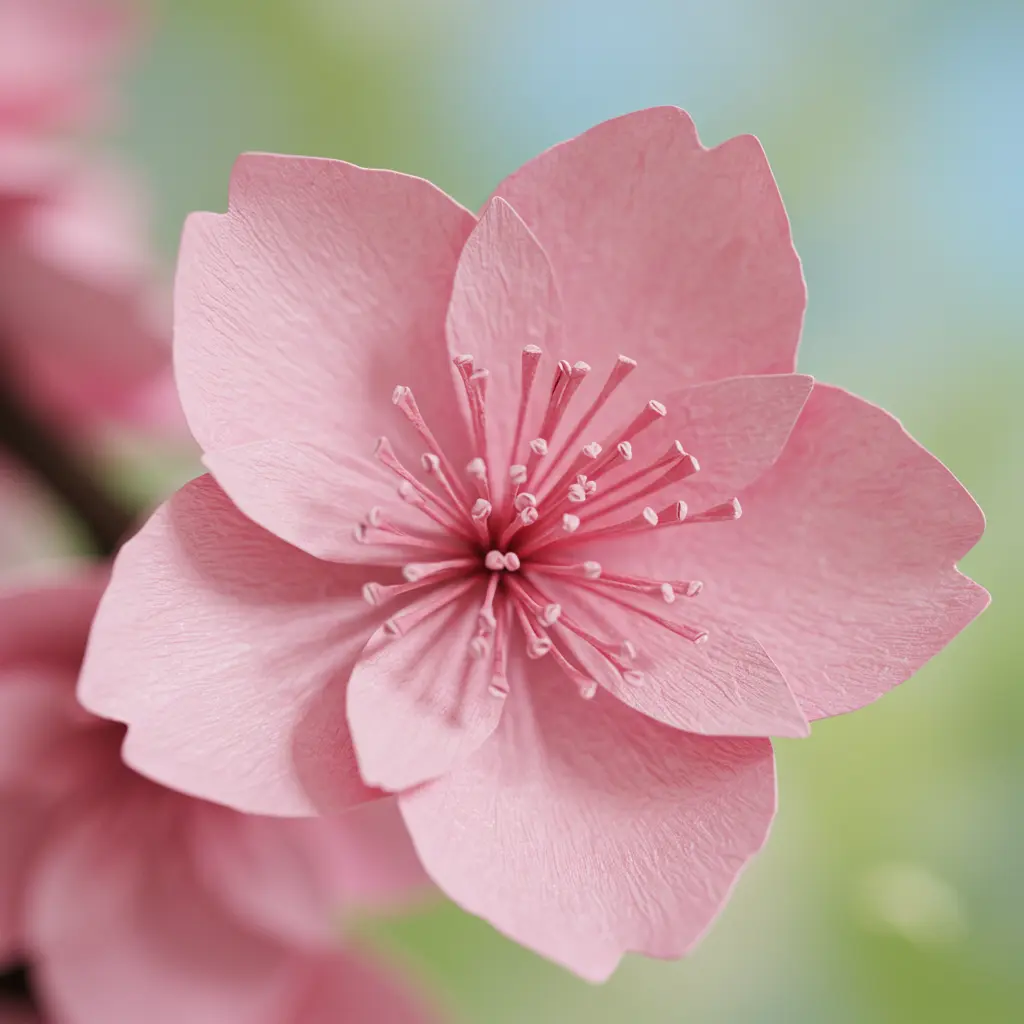
Best For: A spring bridal shower, an Easter celebration, or a Japanese-themed party.
Pro-Tip: Cherry blossoms are small and delicate. Cut tiny, 5-petaled flower shapes from light pink tissue paper, gently cup them, and glue them onto real tree branches.
Styling Cue: Place the branches in a large vase for a “stunning and realistic” centerpiece that brings spring indoors.
25. Fourth of July Firework Flowers
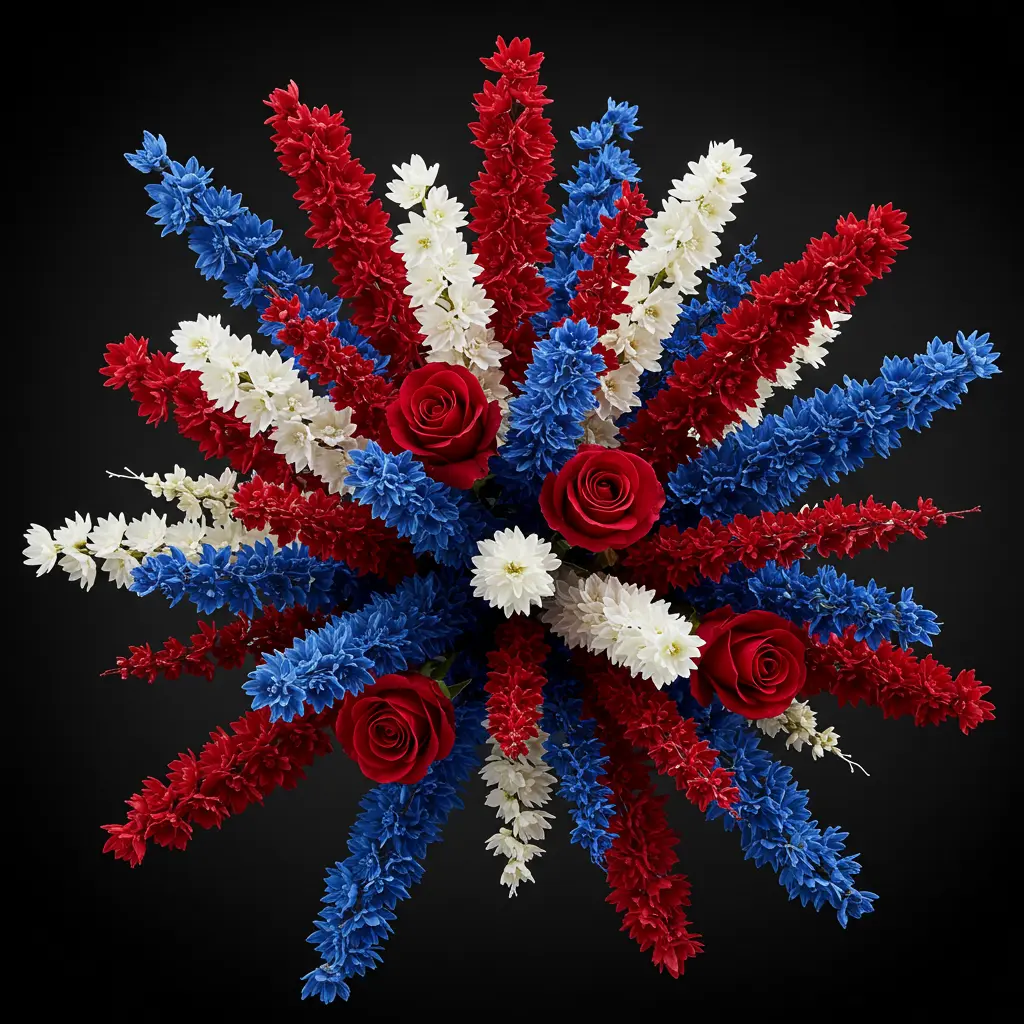
Best For: A patriotic and festive summer BBQ.
Pro-Tip: Use a mix of red, white, and blue tissue paper. Cut the edges into long, thin fringe to mimic the look of an “exploding firework.”
Styling Cue: Add a touch of silver glitter or foil for extra sparkle. Hang them from the ceiling or attach them to skewers and stick them in the lawn.
26. Love Blooms
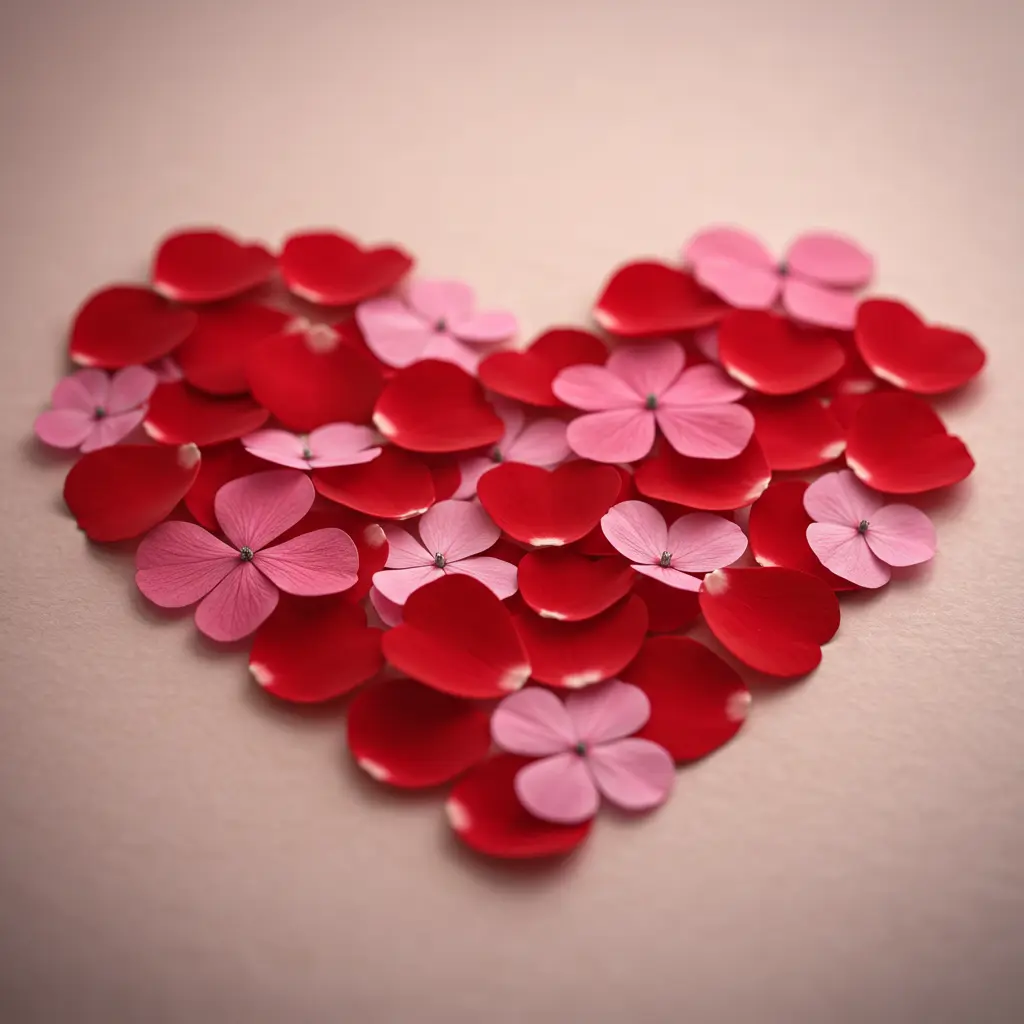
Best For: Valentine’s Day, an engagement party, or a romantic anniversary dinner.
Pro-Tip: Instead of a rounded petal shape, cut the edge of your folded paper into the top of a heart shape. When you fluff it, the petals will have a “subtle heart silhouette.”
Styling Cue: A simple bouquet of these in shades of red and pink is a “beautiful and handmade” romantic gesture.
27. Easter Pastel Petal Arrangements

Best For: A bright and cheerful Easter brunch or spring celebration.
Pro-Tip: Stick to a soft pastel palette: baby blue, mint green, lavender, and pale yellow. Make medium-sized, fluffy blooms.
Styling Cue: Fill a basket with these “pastel blooms” and some decorative eggs for the perfect Easter centerpiece.
28. Dia de los Muertos Marigold Blooms
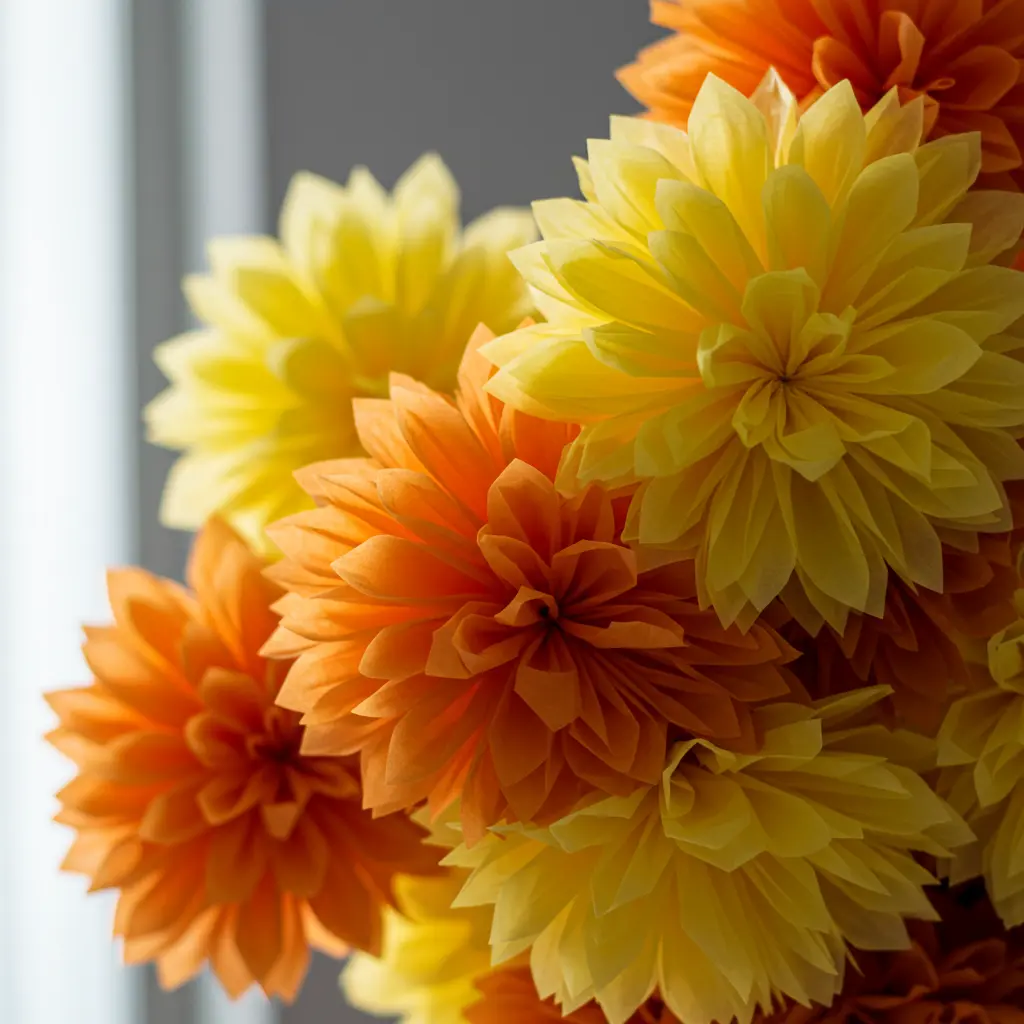
Best For: Creating a beautiful and traditional ofrenda or for a “Coco” themed party.
Pro-Tip: Marigolds are all about dense, ruffled petals. Use many layers of bright orange or yellow tissue paper and cut a short, frilly fringe along the edges.
Styling Cue: String them into a thick, lush garland to drape over doorways and altars, just like in traditional celebrations.
29. Graduation Party Floral Decor
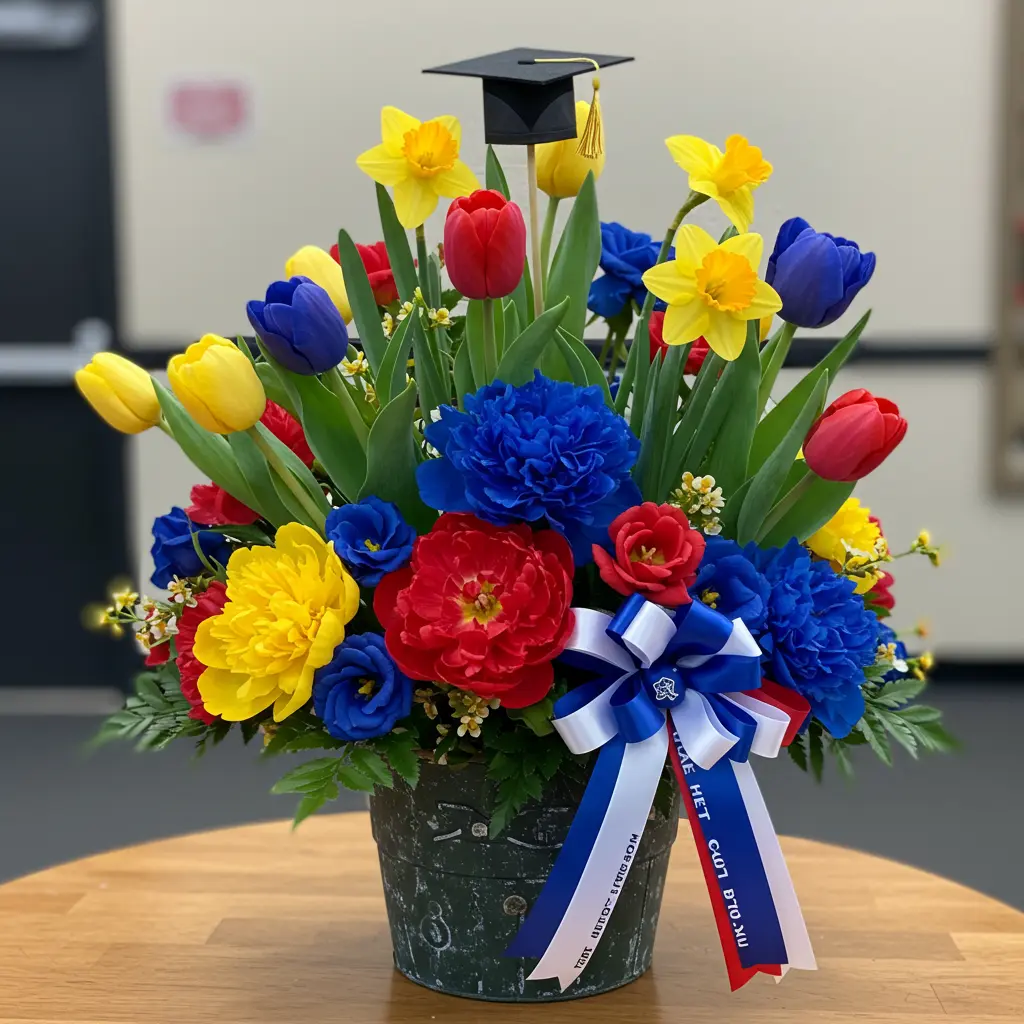
Best For: A personalized and celebratory touch for a grad party.
Pro-Tip: The easiest way to make your decor feel custom is to use the “graduate’s school colors.” Make flowers in alternating colors to show off their school spirit.
Styling Cue: Create a photo wall with a backdrop of these flowers for the perfect graduation photo op.
30. Wedding-Worthy Tissue Paper Flowers
Best For: A budget-savvy bride who wants a stunning floral look without the stunning price tag.
Pro-Tip: For an elegant, realistic look, stick to a sophisticated palette of white, cream, and blush. Study the shapes of real flowers like roses and peonies and try to mimic them.
Styling Cue: A full wall covered in these “soft, romantic blooms” creates an unforgettable backdrop for the ceremony or reception.
Conclusion: Make Your Event Unforgettable!
And just like that, you’re no longer just looking at a pack of tissue paper; you’re looking at a world of creative, colorful possibilities. You have the ideas, the insider tips, and the know-how to create stunning DIY flowers that look expensive but are shockingly affordable. This isn’t just about decorating; it’s about infusing your celebration with a personal, handmade touch that guests will adore.
It all starts with a single fold. Pick the idea that sparked your creativity, grab your scissors, and take the first step.
You’ve got this.
