Is your go-to gift starting to feel a little… uninspired? A generic box of chocolates or a gift card that lacks a personal touch? You’re in the right place to change that.
A candy bouquet shouldn’t just be a gift; it should be a show-stopping experience, a backdrop for a celebration, and a delicious memory in the making. It’s a gift that says, “I didn’t just buy this; I created this for you.”
This is your creative playbook for transforming simple sweets into a feature that’s not only impressive and mouthwatering but feels deeply, personally you.
We’ll explore delicious designs, decode the secrets of a professional finish, and walk through the practical steps to bring it all to life.
By the end, you’ll see a bag of candy not as a simple snack, but as a canvas for your affection.
Before You Begin: The Sweet Science of Bouquet Building
The most beautiful candy bouquets start with a solid foundation, not just a handful of sweets. Before you unwrap a single candy, let’s lay the groundwork for a design that looks amazing and won’t fall apart.
The Secrets of Style: Simple Rules for a Stunning Look
Candy arranging sounds simple, but these little secrets are what separate a bunch of candy on sticks from a true masterpiece.
- The Foundation is Everything: Your bouquet needs a sturdy, weighted base. A ceramic mug, a flower pot, a small decorative box, or a glass vase works perfectly. A flimsy base will tip over once the weight of the candy is added.
- The Pro’s Secret Weapon: Floral Foam: Don’t skip this! A block of dry floral foam placed snugly inside your base is the key to arranging your candy “stems.” It holds the skewers firmly in place exactly where you want them.
- Secure the Sweets: The best way to attach candy to wooden skewers or dowels is with a hot glue gun. Apply a dab of hot glue to the back of the candy wrapper (never the candy itself!) and press the skewer firmly into place.
- Fill the Gaps: A bouquet with visible foam and sticks looks unfinished. Use filler! Shredded paper, colorful tissue paper, or cellophane tucked in between the candy skewers makes the bouquet look full, lush, and professional.
What’s the Real Cost? A No-Fuss Budget Breakdown
| The Approach | Estimated Cost | What Your Money Buys | The Little Extras (Don’t Skip These!) |
| The Dollar Store Delight | $10 – $25 | • A variety of dollar-store candies • A simple mug or small pot • A pack of wooden skewers | • A block of floral foam • Colorful tissue paper • A hot glue gun |
| The Sweet Celebration | $30 – $60 | • Brand-name candy bars & premium chocolates • A nice ceramic vase or decorative box • A variety of fun-sized candies | • A roll of decorative cellophane • High-quality ribbon for a bow • A coordinating greeting card |
| The Gourmet Gift | $75 – $200+ | • Artisanal chocolates & gourmet truffles • A high-end keepsake container • Non-candy additions (gift cards, mini liquor bottles) | • Themed embellishments • Premium filler like excelsior or metallic shred • Professional-looking shrink wrap |
The Design Menu: Finding Your Signature Sweet Style
Here are the ingredients for your perfect candy bouquet. Each one comes with a breakdown to help you create with confidence.
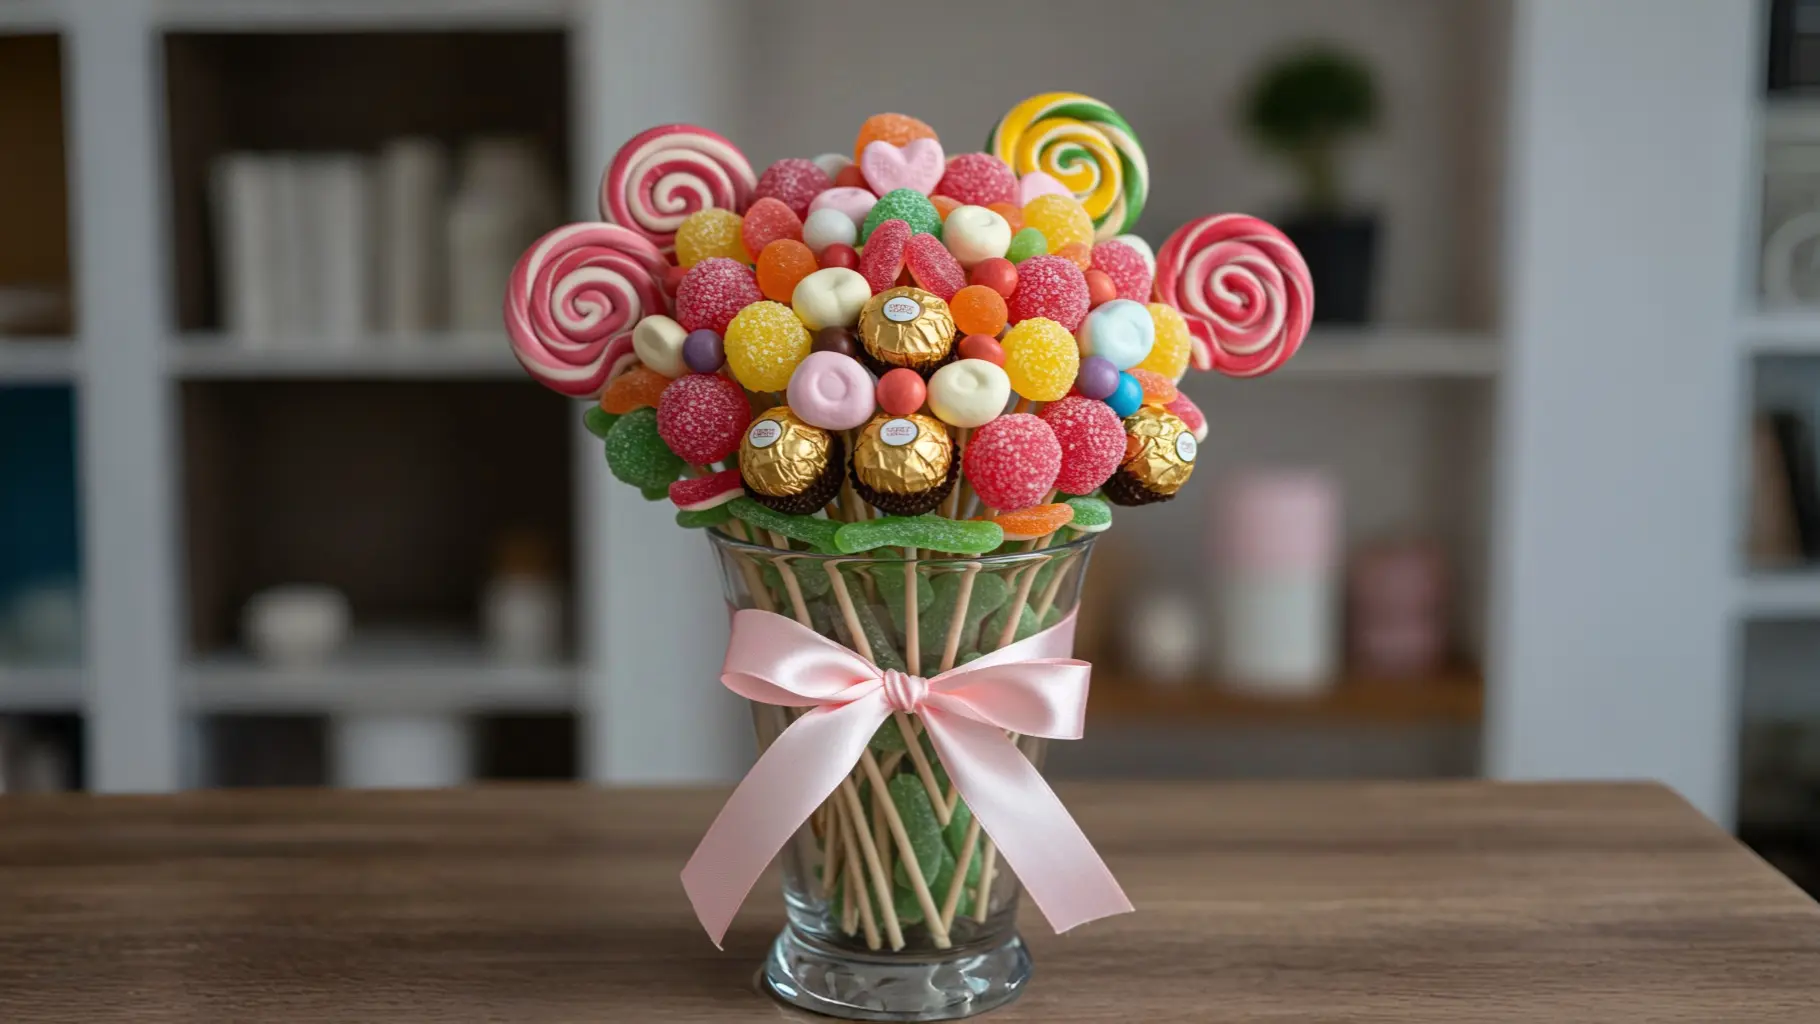
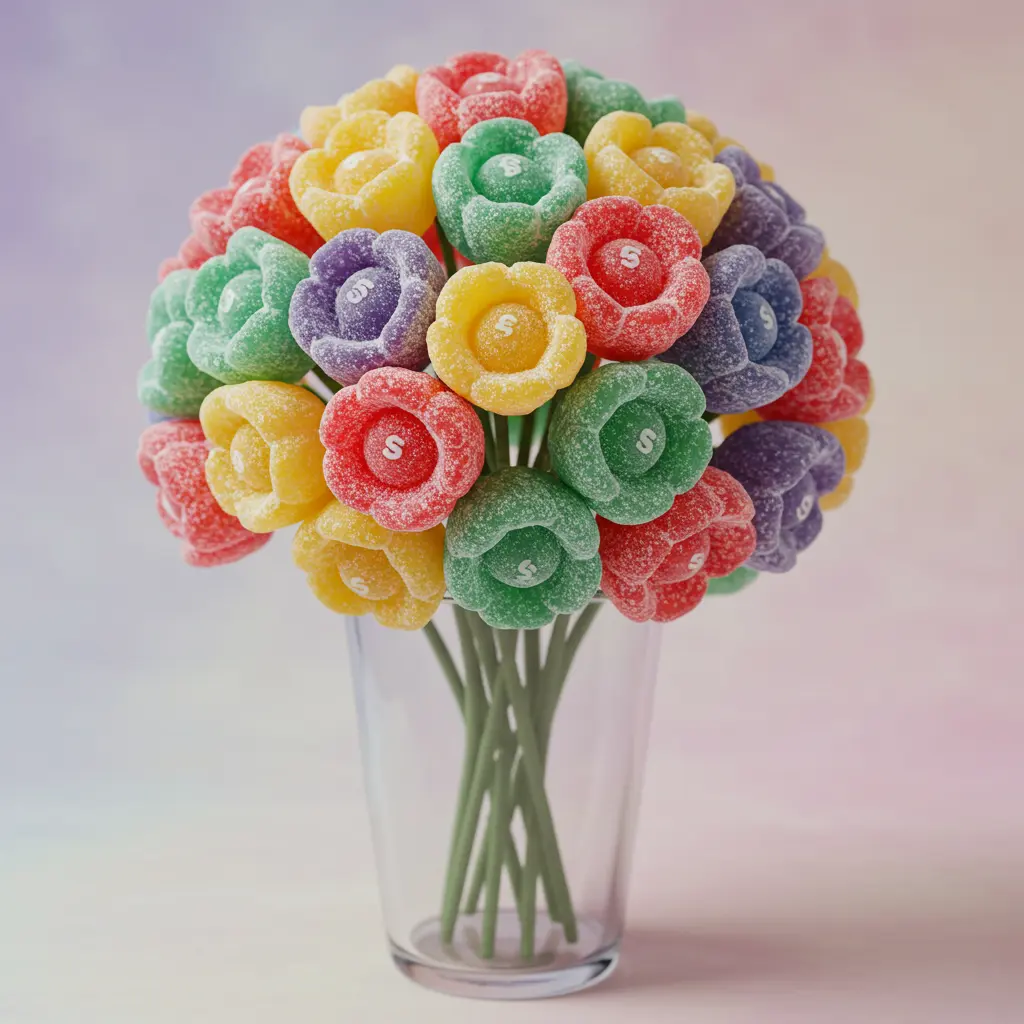
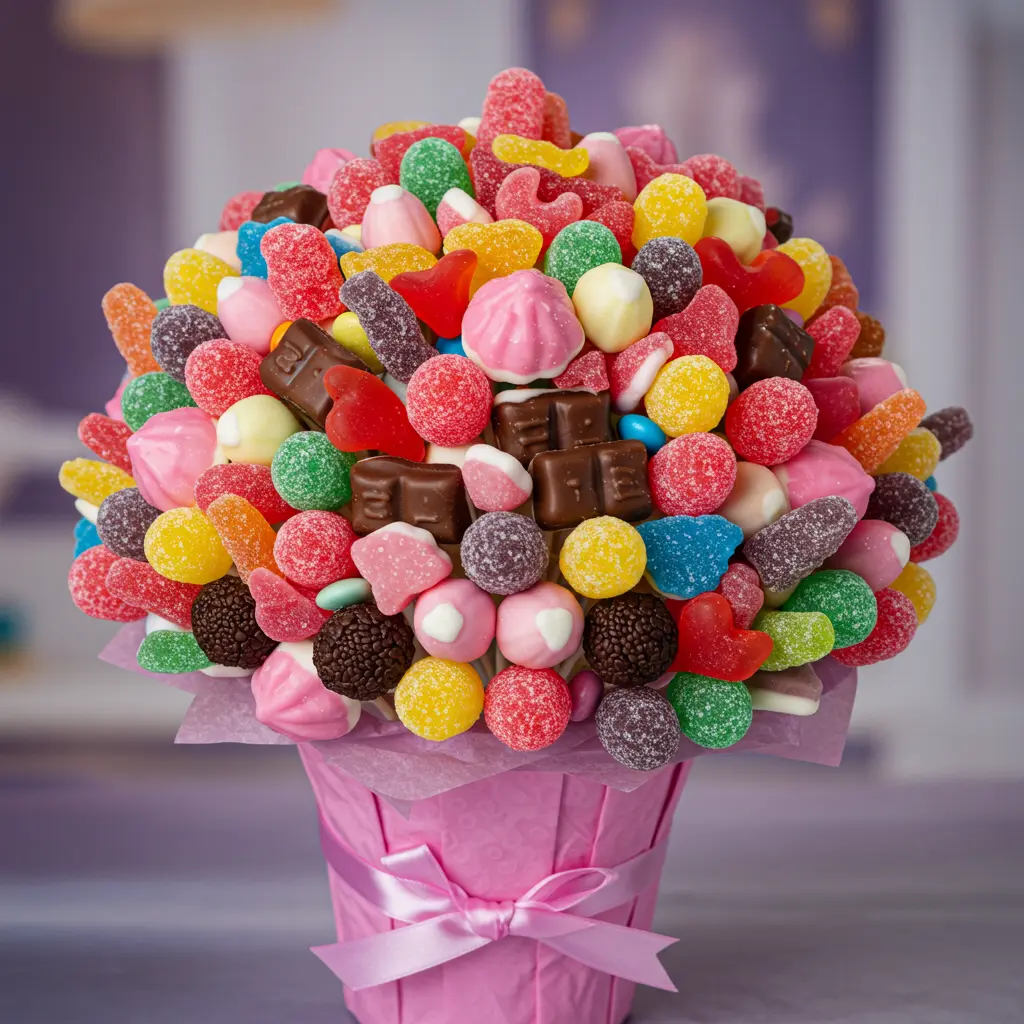
1. Classic Wrapped Candy Bouquet
Best For: Any occasion, from birthdays to get-well-soon. The perfect all-purpose design for beginners.
- Key Materials: Assorted individually wrapped candies (like fun-sized chocolates, hard candies, caramels), wooden skewers, floral foam, and a colorful container.
- Pro-Tip: Use a mix of skewer lengths. Place taller candies in the back and shorter ones in the front to create depth and a pleasing, rounded shape, just like a real floral arrangement.
- Styling Cue: Once assembled, wrap the entire bouquet in a large sheet of clear or colored cellophane and tie it at the base with a big, beautiful bow.
2. Chocolate Lover’s Dream Bouquet

Best For: Valentine’s Day, anniversaries, or for the person who believes chocolate is its food group.
- Key Consideration: Choose chocolates with elegant wrappers. The packaging is part of the presentation. Think Ferrero Rocher, Ghirardelli squares, or Dove hearts.
- Pro-Tip: Create a color scheme with the wrappers. A bouquet made entirely of gold, red, or silver-wrapped chocolates looks incredibly chic and sophisticated.
- Styling Cue: Use a simple, elegant vase (like a clear glass cube or a sleek black ceramic pot) to let the luxurious chocolates be the star.
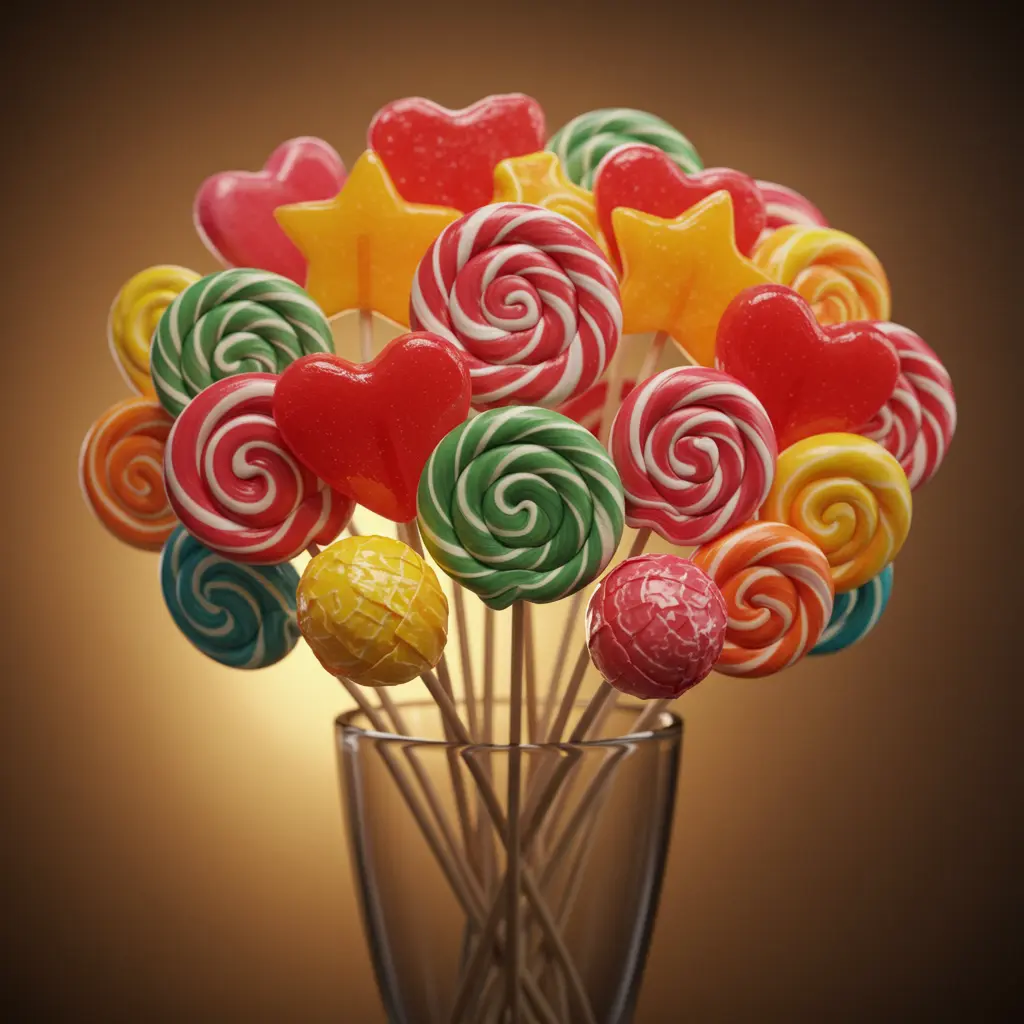
3. Lollipop Wonderland Bouquet
Best For: Kids’ birthdays, congratulating a student, or anyone with a whimsical, playful spirit.
- Key Materials: A wide variety of lollipops (Dum Dums, Tootsie Pops, swirly lollipops, rock candy).
- Pro-Tip: Arrange the lollipops in a tight, dense dome shape. Start from the center with the tallest pop and work your way out, trimming the sticks so they create a perfect, rounded top.
- Styling Cue: Use a brightly colored, fun container like a sand pail or a painted terracotta pot. Use colorful shredded paper as filler to complete the playful look.
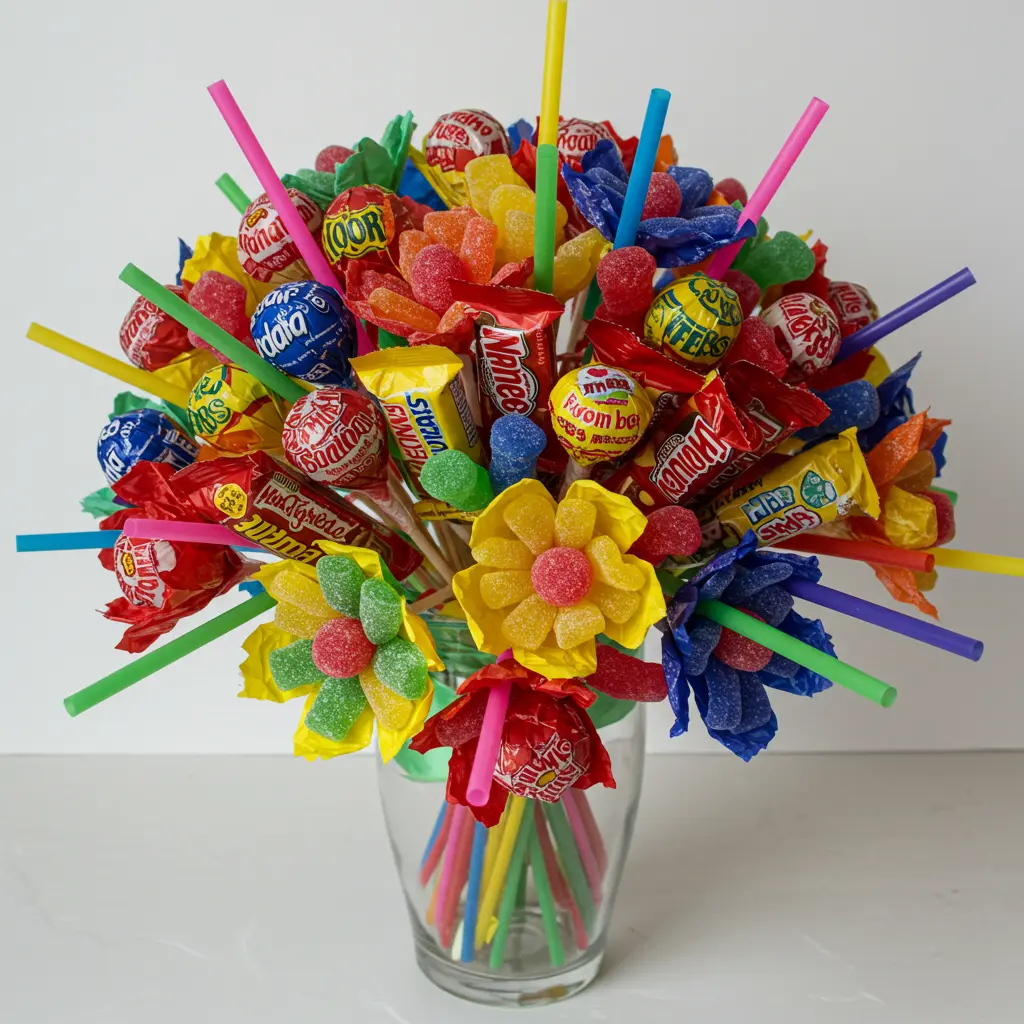
4. Candy Bar Explosion Bouquet
Best For: Graduations, Father’s Day, or making a huge statement for a true candy fanatic.
- Key Consideration: Full-sized candy bars are heavy. You need a sturdy, wide base (a box or basket is often better than a vase) to prevent tipping.
- Pro-Tip: For heavy candy bars, use two skewers glued to the back instead of one. This creates a much more stable “stem” and prevents the candy bar from flopping over or spinning.
- Styling Cue: Arrange the candy bars in a fan shape, with the tallest in the back, creating a massive and impressive wall of candy.
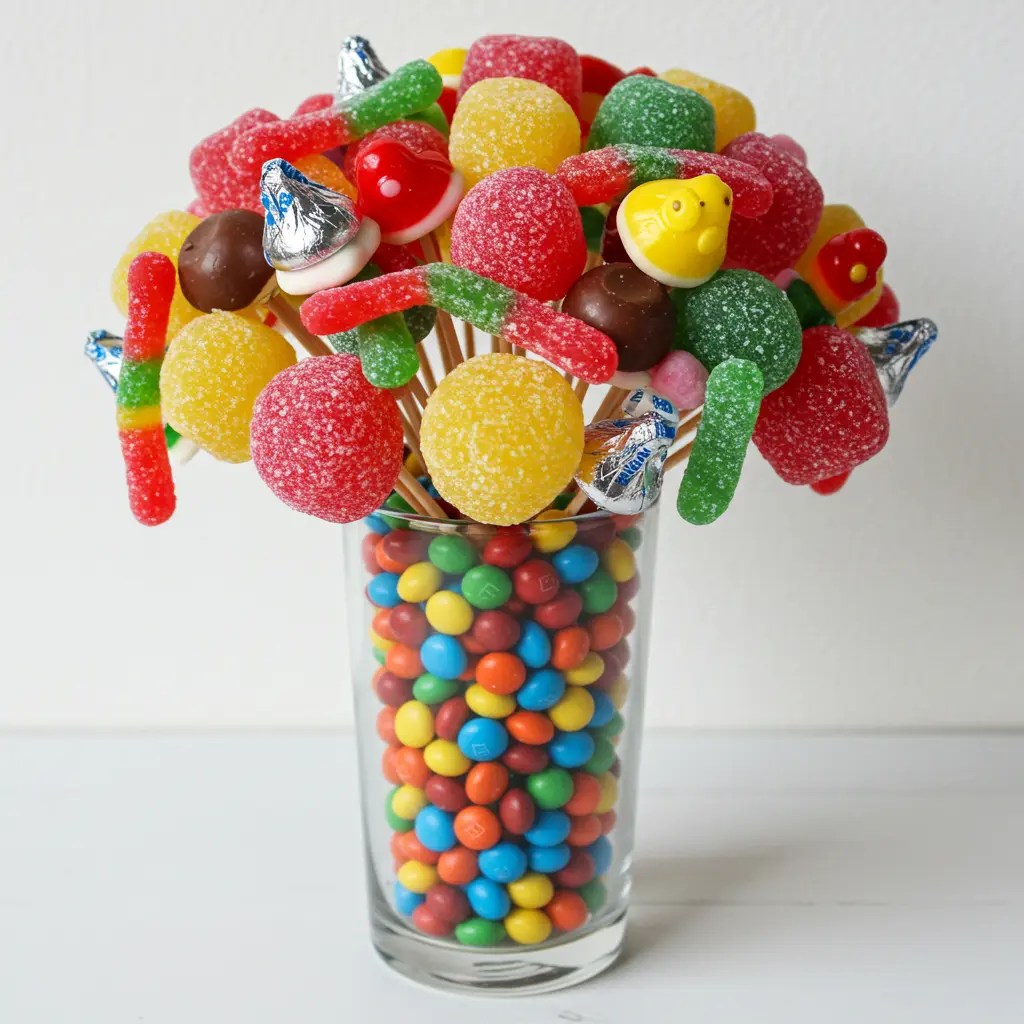
5. Rainbow Skittle Delight Bouquet
Best For: A vibrant, cheerful gift that’s perfect for Pride celebrations, kids’ parties, or brightening someone’s day.
- Key Materials: Fun-sized packs of Skittles, M&Ms, or other colorful small candies.
- Pro-Tip: The key is the gradient. Arrange the candy packs carefully in the order of the rainbow (Red, Orange, Yellow, Green, Blue, Purple) for the most stunning visual impact.
- Styling Cue: Use bright white tissue paper as a filler. The white will make the rainbow colors pop even more.
6. DIY Personalized Candy Bouquet

Best For: Making a gift that is truly one-of-a-kind for milestone birthdays, anniversaries, or bridal showers.
- Key Consideration: This requires some light graphic design work. You can use a simple program like Canva to create custom wrappers.
- Pro-Tip: Design and print custom wrappers to go over existing candy bars (like a Hershey’s bar). Include photos, inside jokes, or a special date for a deeply personal touch.
- Styling Cue: Keep the rest of the bouquet simple to let the personalized elements shine.
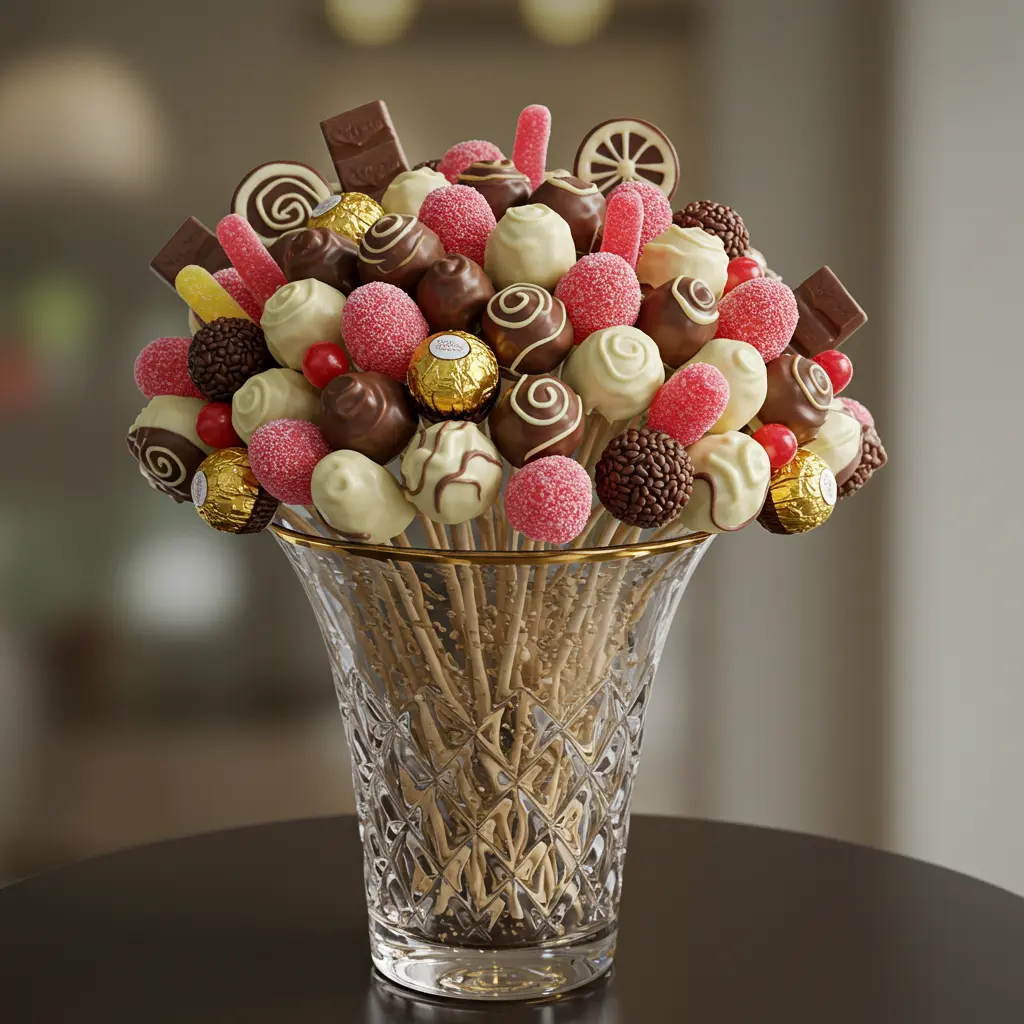
7. Gourmet Truffle Elegance Bouquet
Best For: A sophisticated gift for a boss, a thank you for a host, or a refined alternative to a standard chocolate box.
- Key Materials: High-quality, individually wrapped truffles (like Lindor).
- Pro-Tip: Instead of skewers, consider using floral wire. Gently wrap the wire around the twisted end of the truffle wrapper to create a delicate, almost invisible stem.
- Styling Cue: Arrange them in a beautiful teacup or a small, elegant silver julep cup for a look of pure luxury.
8. Candy and Flower Fusion Bouquet

Best For: When you can’t decide between two classic gifts. Perfect for Mother’s Day or Valentine’s Day.
- Key Consideration: You need to keep the real flowers hydrated.
- Pro-Tip: Use floral water picks (small plastic vials with a rubber cap) for the real flower stems. You can hide these picks amongst the candy, and your flowers will stay fresh for days.
- Styling Cue: Choose a color theme and match your flowers to your candy wrappers (e.g., red roses with red-wrapped chocolates) for a cohesive, designer look.
9. Themed Candy Bouquet
Best For: The super-fan. Tailor it to their favorite sports team, movie, or hobby.
- Key Consideration: The theme is everything. Research candy that fits the theme (e.g., PayDay and Baby Ruth for a baseball theme, or galaxy-themed chocolates for a Star Wars fan).
- Pro-Tip: Use the container to reinforce the theme. A popcorn bucket for a movie lover, a team-logo mug for a sports fan, or a helmet-shaped bowl.
- Styling Cue: Add non-candy elements that fit the theme, like small flags, character figurines, or themed ribbons.
10. Cupcake Candy Bouquet

Best For: A show-stopping birthday centerpiece that doubles as the dessert.
- Key Consideration: This bouquet has a very short shelf life and needs to be assembled the day of the event.
- Pro-Tip: Secure each cupcake in its small plastic cup (a clean condiment cup works well), then hot glue the cup to a sturdy dowel. This keeps the cupcake stable and prevents frosting from getting everywhere.
- Styling Cue: Arrange the cupcakes first, then use smaller candies on skewers to fill in all the gaps around them.
11. Healthy Candy Alternative Bouquet
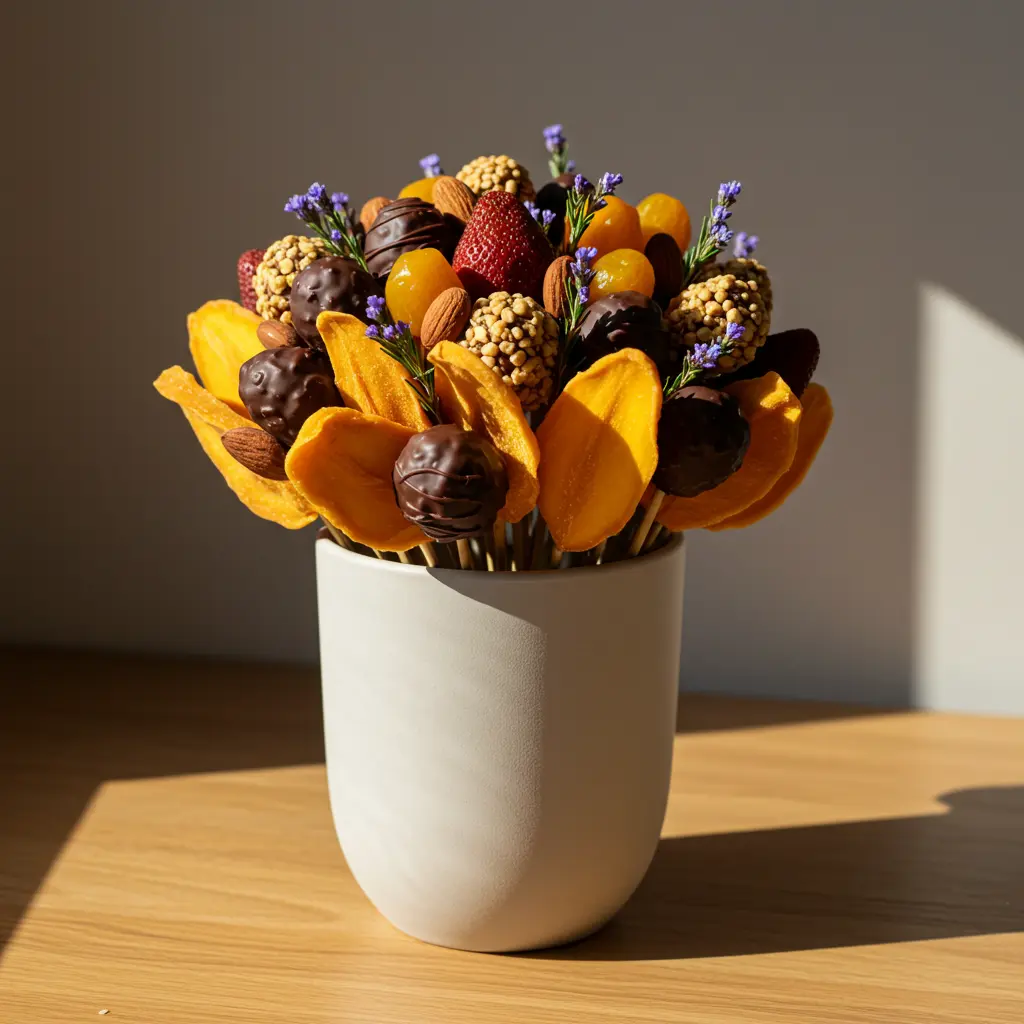
Best For: The health-conscious friend, a fitness enthusiast, or someone with dietary restrictions.
- Key Materials: Packaged protein bars, bags of nuts or trail mix, fruit leather, and dark chocolate squares.
- Pro-Tip: The packaging on these items can be busy. Consider wrapping some of them in simple brown kraft paper and tying them with twine for a more unified, rustic, and organic look.
- Styling Cue: Use a functional container they can keep, like a reusable water bottle or a small gym towel-lined basket.
12. Romantic Red & Gold Candy Bouquet
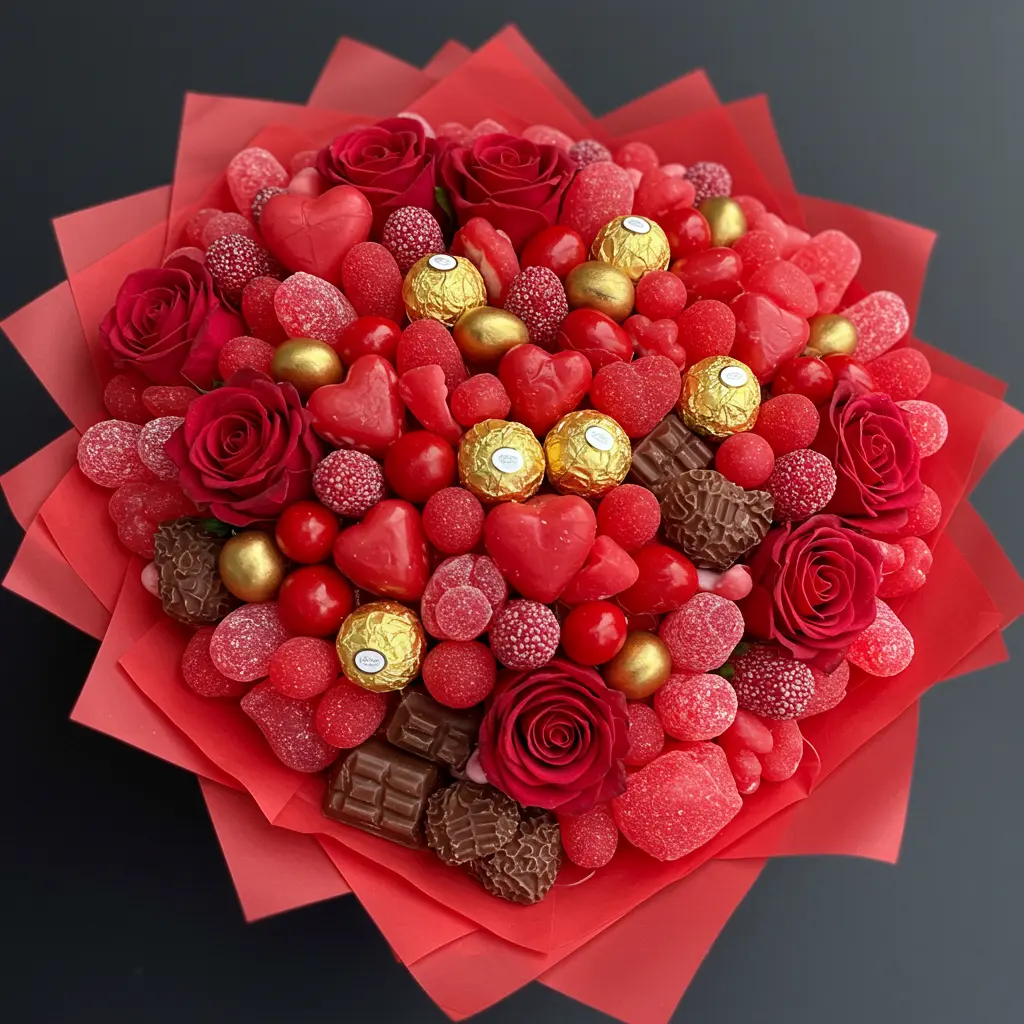
Best For: Anniversaries, Valentine’s Day, or any grand romantic gesture.
- Key Consideration: The color palette is the star. Stick strictly to red and gold for the most dramatic and passionate statement.
- Pro-Tip: Intermix red candies with gold-foil-wrapped chocolates (like Ferrero Rocher). The combination of matte red and shiny gold is timelessly romantic.
- Styling Cue: Add a few high-quality faux red roses or a luxurious red satin ribbon to elevate the romantic feel.
13. Festive Holiday Candy Bouquet

Best For: A cheerful Christmas, Easter, or Halloween gift that’s more fun than a standard selection box.
- Key Consideration: Let the season guide your candy choices (candy canes and chocolate Santas for Christmas; Peeps and pastel eggs for Easter; mini pumpkin chocolates for Halloween).
- Pro-Tip: Use holiday-specific embellishments as filler. Tuck small ornaments, plastic spiders, or tiny decorative eggs in between the candy stems.
- Styling Cue: Choose a festive container, like a stocking, an Easter basket, or a plastic cauldron, to complete the theme.
14. DIY Budget-Friendly Candy Bouquet
Best For: Making a big impression on a small budget. Perfect for teacher appreciation or a “just because” gift.
- Key Consideration: The dollar store is your best friend. You can find candy, skewers, a container, foam, and filler all in one place.
- Pro-Tip: The secret to making budget candy look expensive is presentation. Use a lot of colorful tissue paper as filler to create a large, full-looking bouquet from a smaller amount of candy.
- Styling Cue: Choose a simple color scheme (e.g., only blue and yellow) to make the whole arrangement look more cohesive and thoughtfully designed.
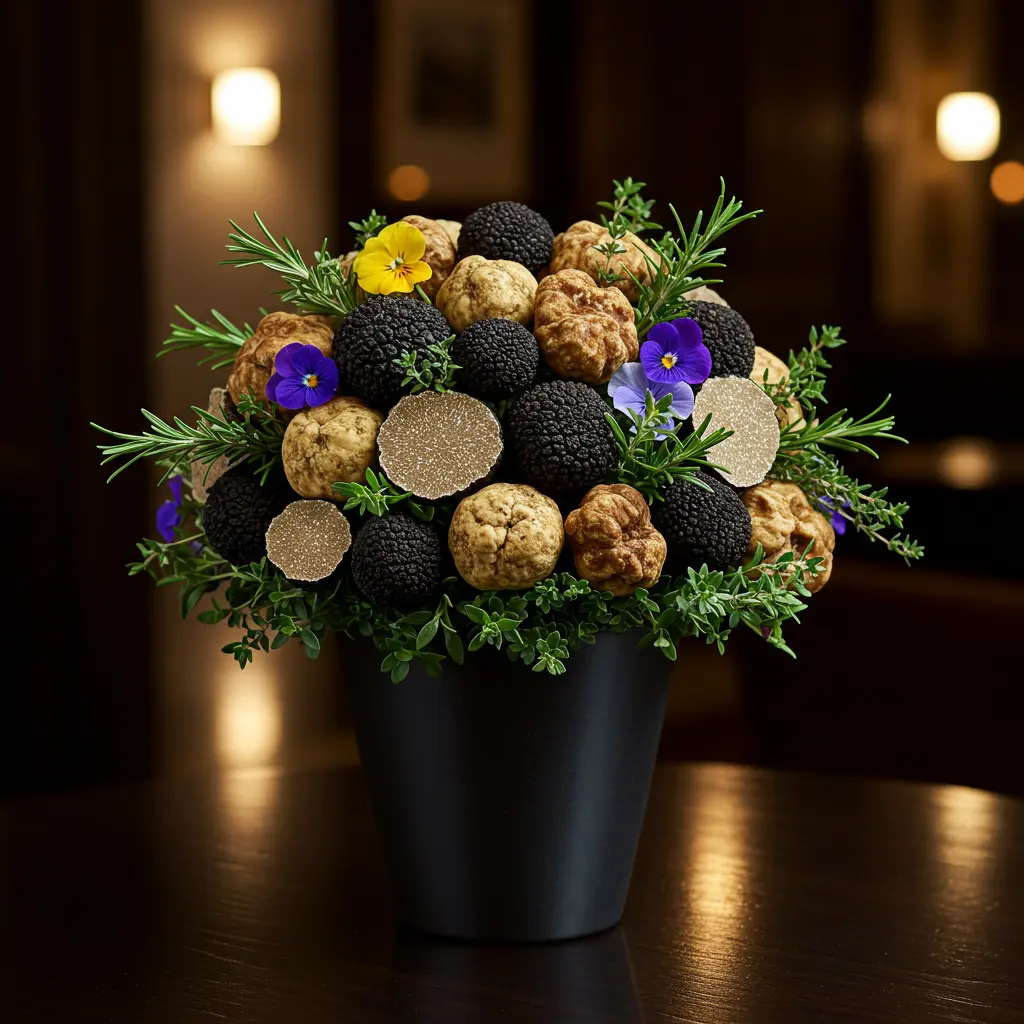
15. Luxury Designer Candy Bouquet
Best For: An extravagant, over-the-top gift for a major milestone, a corporate client, or when you want to spoil someone.
- Key Consideration: This is about quality, not quantity. Choose artisanal, hand-crafted chocolates and gourmet imported candies.
- Pro-Tip: Elevate the bouquet by adding non-candy luxury items on skewers, such as mini bottles of champagne, a high-end gift card, or even a small piece of jewelry in a box.
- Styling Cue: Use a high-end keepsake container like a crystal vase or a designer box, and tie it with a real silk ribbon.
Conclusion: Elevate Your Gifting Game!
And just like that, you’re no longer just looking at a bag of candy; you’re looking at a world of creative, heartfelt possibilities. You have the ideas, the inspiration, and the know-how to create a gift that is a true showstopper. This isn’t just about giving sweets; it’s about giving a smile, a surprise, and an unforgettable experience.
It all starts with a single choice. Pick an idea that made your heart skip a beat, grab your hot glue gun, and take the first small step.
You’ve got this.
