Is your small bathroom feeling more like a cramped closet than a calming retreat? A purely functional space with dated fixtures and zero personality, not quite the spa-like escape you dream of? You’re in the right place to change that.
A small bathroom shouldn’t just be a footnote in your home’s design; it should be a jewel box. A testament to the fact that great style isn’t about size, but about smart, beautiful choices.
This is your creative playbook for transforming that tiny space into a feature that not only looks and feels expensive and thoughtfully designed but does so on a refreshingly realistic budget.
We’ll explore high-impact upgrades, decode the secrets of luxe-for-less style, and walk through the practical steps to bring it all to life.
By the end, you’ll see your small bathroom not as a limitation, but as a canvas for a stunning design statement.
Before You Begin: Dreaming Up Your Jewel Box
The most successful small-space renovations start with a clear vision, not just a shopping cart full of trendy items. Before you pick up a paintbrush, let’s lay the groundwork for a design that is cohesive, clever, and chic.
The Secrets of Luxe-for-Less Style: Simple Rules for a Stunning Look
Making a small space feel expensive is an art of illusion and smart editing. Here are a few simple secrets:
- Go Monochromatic: A cohesive, low-contrast color palette is the secret to making a small space feel larger and more serene. Wrapping the room walls, vanity, and even the ceiling in a single, beautiful color (like a soft sage green or a moody charcoal) creates a seamless, high-end look.
- The Power of Reflection: Mirrors are your best friend. A large, well-placed mirror not only serves its function but also bounces light around the room and creates the illusion of depth, effectively doubling your visual square footage.
- Edit Mercilessly: In a small space, clutter is the enemy of luxury. Every single item on display should be either beautiful or necessary (and preferably both). Your goal is to achieve a curated, hotel-like simplicity.
- Mix Your Metals (Thoughtfully): Nothing elevates a space faster than beautiful hardware. Don’t be afraid to mix metals, but do it with intention. A good rule of thumb is to stick to two: for example, matte black for your faucet and shower frame, and a soft brass for your light fixture, mirror, and hardware.
What’s the Real Cost? A No-Fuss Budget Breakdown
| The Approach | Estimated Cost | What Your Money Buys | The Little Extras (Don’t Skip These!) |
| The Weekend Refresh | $200 – $500 | • A gallon of high-quality paint • New cabinet hardware & faucet • A stylish mirror and textiles | • A beautiful soap dispenser • High-quality caulk for clean lines • A new, quiet fan vent cover |
| The Savvy Makeover | $600 – $1,500 | • A new vanity or console sink • A modern light fixture • A budget-friendly tile floor | • A good quality tile saw (rent or buy) • A new, elongated toilet seat • A curved shower rod |
| The High-Impact Reno | $2,000 – $5,000+ | • Tiling the shower surround • A glass shower panel • A new toilet and flooring | • A consultation with a designer • A licensed plumber for fixture moves • Waterproofing materials |
The Design Menu: Finding Your Signature Style
Here are 15 simple ideas to make your small bathroom look and feel luxurious, without breaking the bank.
1. The Power of a Moody Paint Color
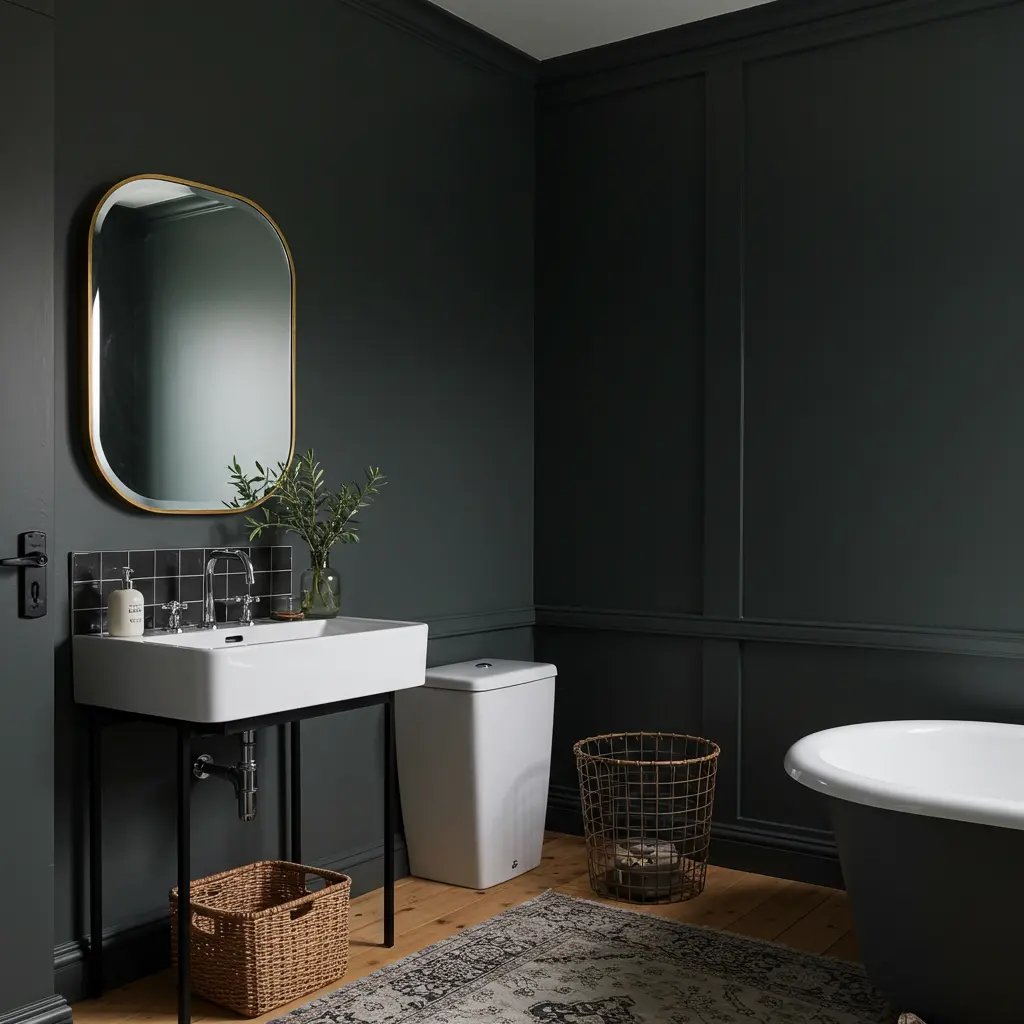
- Best For: Creating instant drama, depth, and a cozy, jewel-box feeling.
- Key Consideration: Don’t be afraid of dark colors in a small space! A deep charcoal, navy, or forest green can blur the room’s corners, making it feel more expansive and sophisticated.
- Pro-Tip: Use a satin or eggshell finish. It’s more durable than matte in a humid environment and has a slight sheen that will gently reflect light, preventing the color from feeling too flat.
- Styling Cue: Paint the ceiling the same color as the walls. This creates a seamless, enveloping effect that feels incredibly high-end.
2. Frame the Mirror
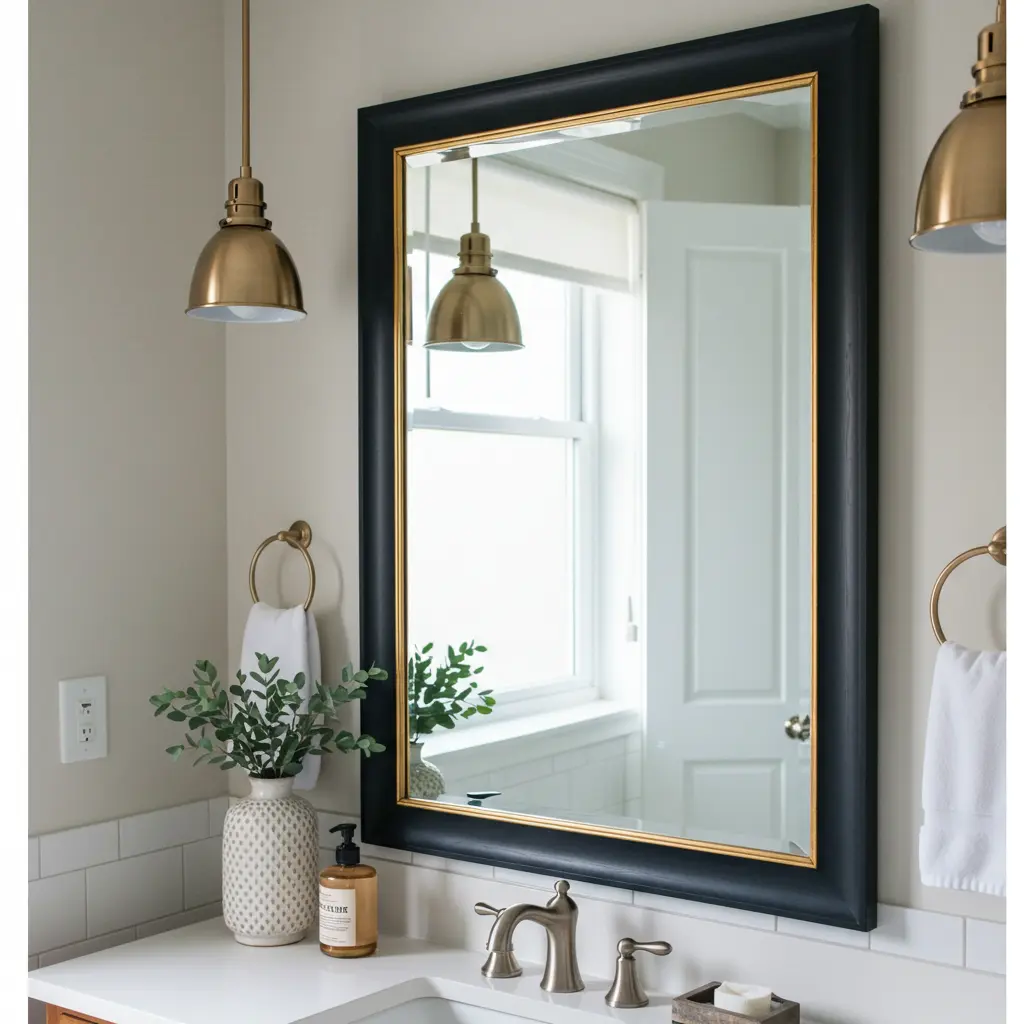
- Best For: Making a cheap, standard builder-grade plate mirror look like a custom, intentional piece of decor.
- Key Consideration: This is an easy DIY project. You can buy pre-made kits online or simply use decorative trim from a hardware store, cut to size with mitered corners.
- Pro-Tip: Paint the frame a contrasting color, like matte black or a soft metallic gold, to make it a true focal point.
- Styling Cue: Hang a stylish vanity light directly above the newly framed mirror to complete the vignette.
3. Upgrade Your Hardware
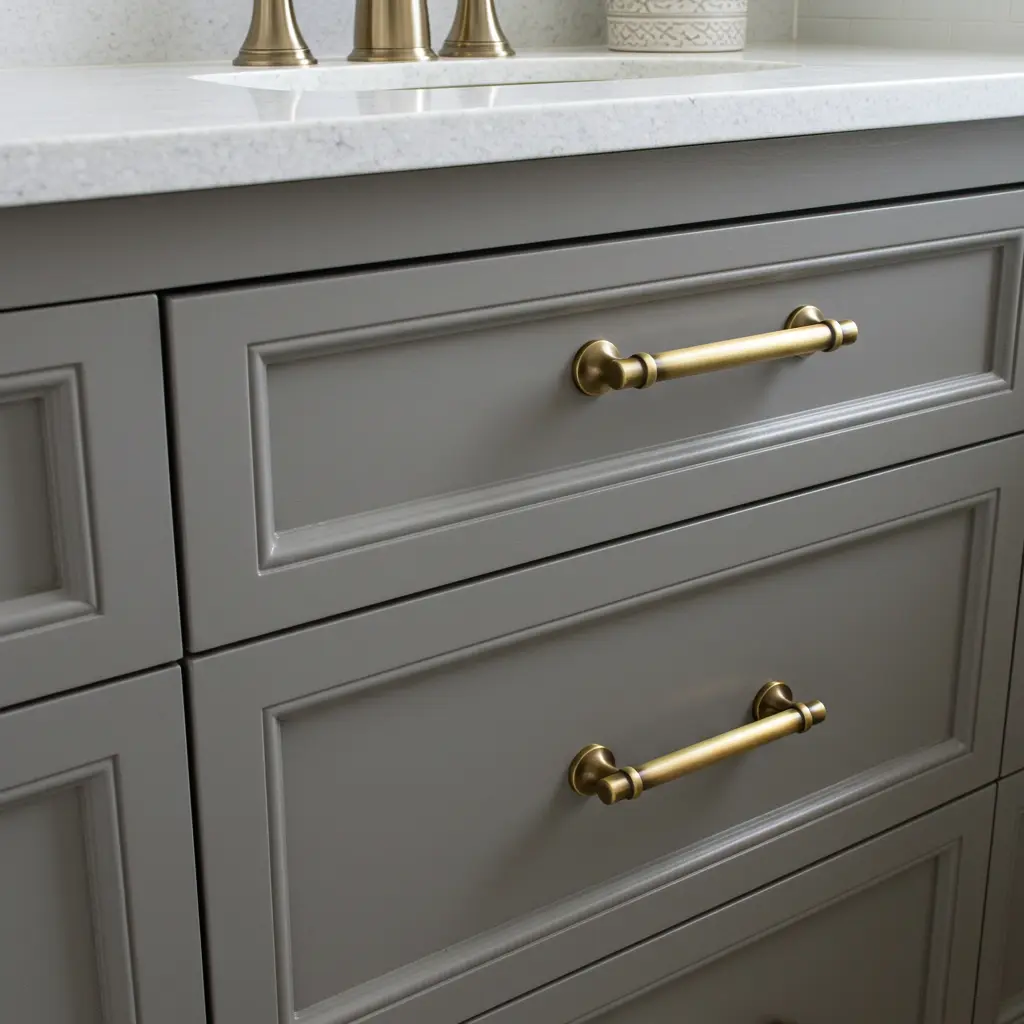
- Best For: The fastest, easiest way to make a generic vanity look like a chic piece of furniture.
- Key Consideration: Make sure the new knobs or pulls have the same center-to-center measurement as the old ones to avoid having to drill new holes.
- Pro-Tip: Look for hardware with a “heavy hand feel.” Solid, weighty brass or steel hardware feels much more expensive than its lightweight aluminum or zinc counterparts.
- Styling Cue: Coordinate your new cabinet hardware with a matching faucet and towel hook for a cohesive, designer-approved look.
4. Install a “Floating” Vanity
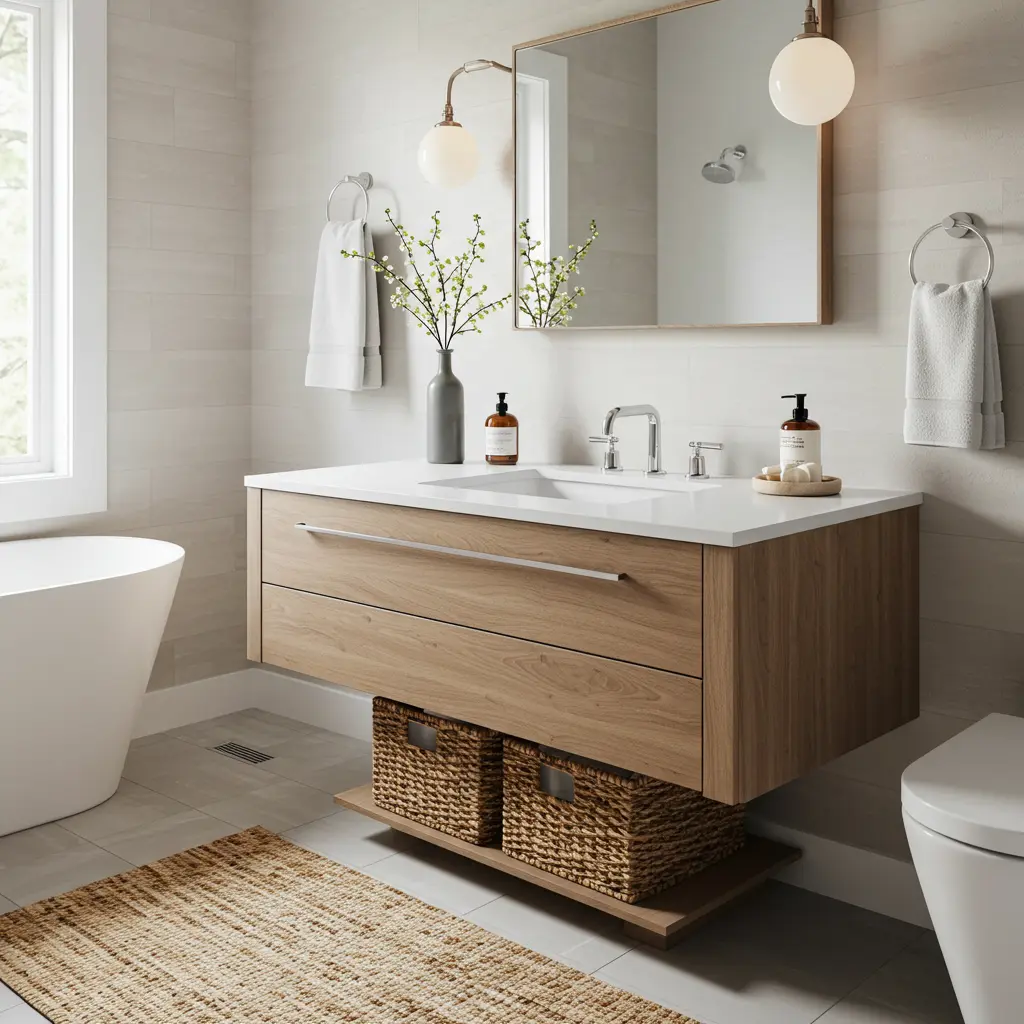
- Best For: Creating the illusion of more floor space, making the room feel larger and airier.
- Key Consideration: These need to be securely mounted to the wall’s studs. They offer less storage than a traditional vanity, so they’re best for powder rooms or bathrooms with a separate linen closet.
- Pro-Tip: Place a beautiful, textured basket underneath the vanity. It provides stylish, open storage for towels or toilet paper and adds a soft, organic element.
- Styling Cue: Add battery-powered, motion-activated LED strip lighting to the underside of the vanity for a soft, hotel-like glow during nighttime visits.
5. Ditch the Shower Curtain
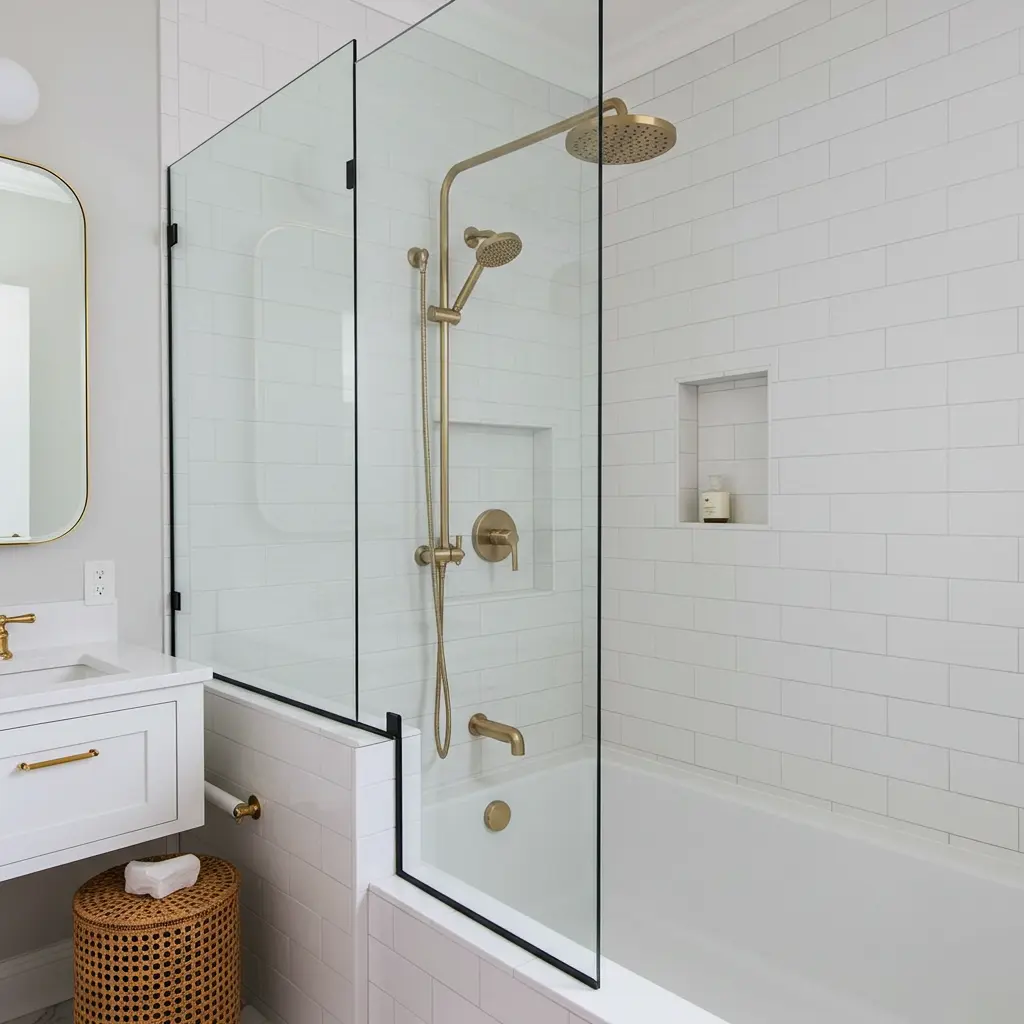
- Best For: Visually opening up the room and showcasing your shower tile.
- Key Consideration: A single, fixed glass panel is a much cheaper and easier-to-install alternative to a full glass door. It provides enough splash protection for most standard-sized tubs.
- Pro-Tip: Treat the glass with a water-repellent spray (like Rain-X) every few months. It will make water bead up and roll off, dramatically reducing soap scum and water spots.
- Styling Cue: Choose a panel with a simple matte black or brass frame to define the space and add a touch of industrial or glamorous style.
6. The Large-Format Tile Trick
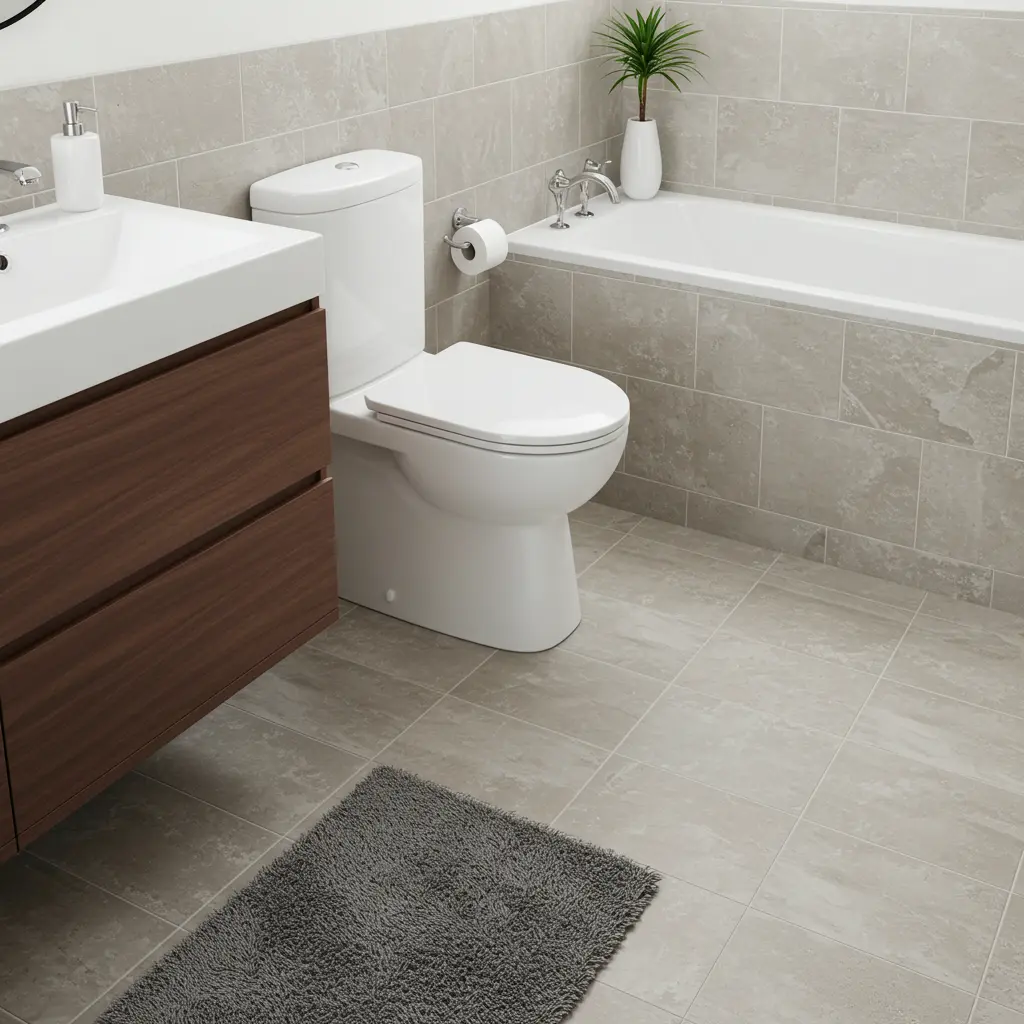
- Best For: Making a floor feel less busy and more expansive.
- Key Consideration: It seems counterintuitive, but large tiles (like 12×24 or even 24×24 inches) work wonders in a small space. Fewer grout lines make the floor feel like a continuous, clean slab.
- Pro-Tip: For an even more seamless look, choose a grout color that closely matches the tile. The grout lines will visually disappear, enhancing the effect.
- Styling Cue: Run the same large-format tile from the floor part-way up the wall behind the toilet or vanity for a chic, “tile wainscoting” effect.
7. Decant Everything
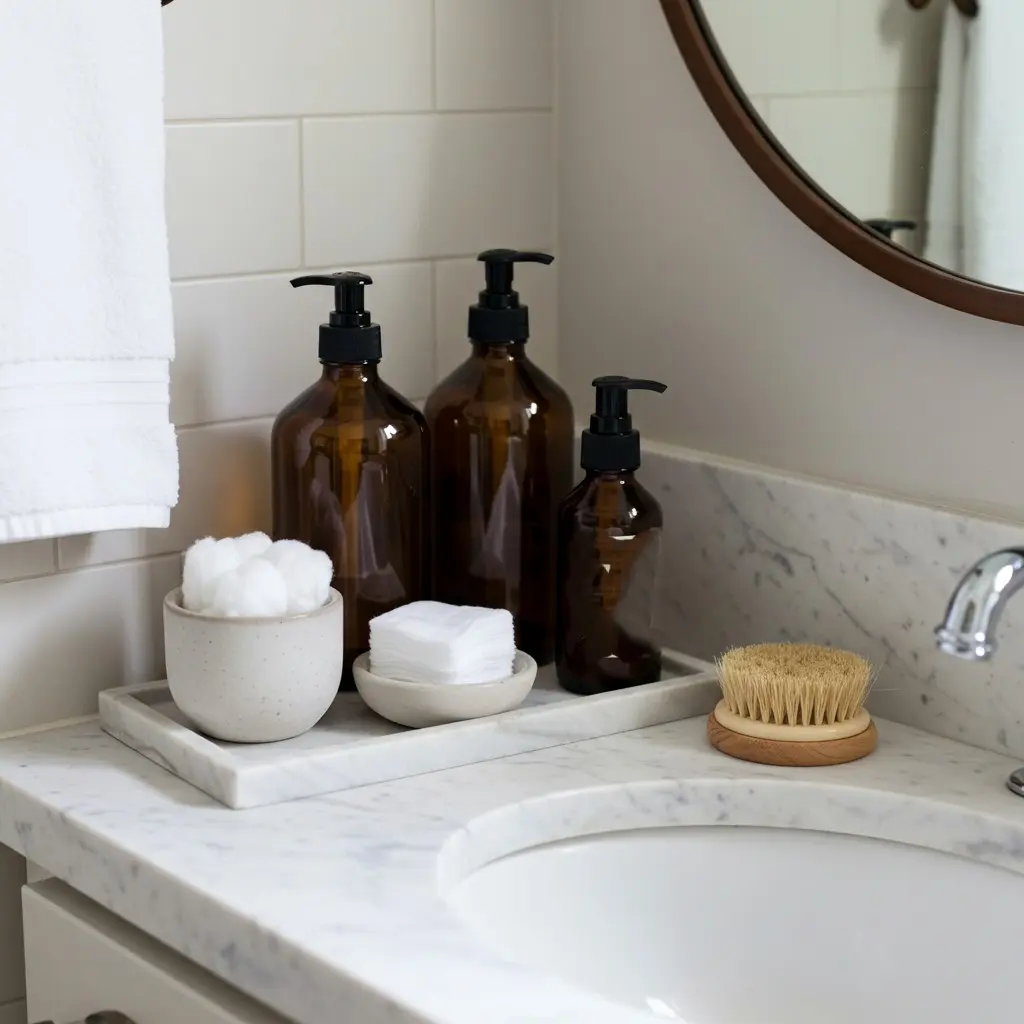
- Best For: Eliminating visual clutter and turning everyday toiletries into a curated, spa-like display.
- Key Consideration: This costs next to nothing but has a huge impact. You can use glass bottles, ceramic dishes, and small trays you already own or find at a thrift store.
- Pro-Tip: Transfer hand soap, lotion, and cotton balls into uniform, attractive containers. A beautiful amber glass bottle with a black pump looks infinitely more stylish than a plastic bottle from the drugstore.
- Styling Cue: Group your decanted items on a small marble or wood tray next to the sink to contain them and create a polished, intentional vignette.
8. Use a Real Rug
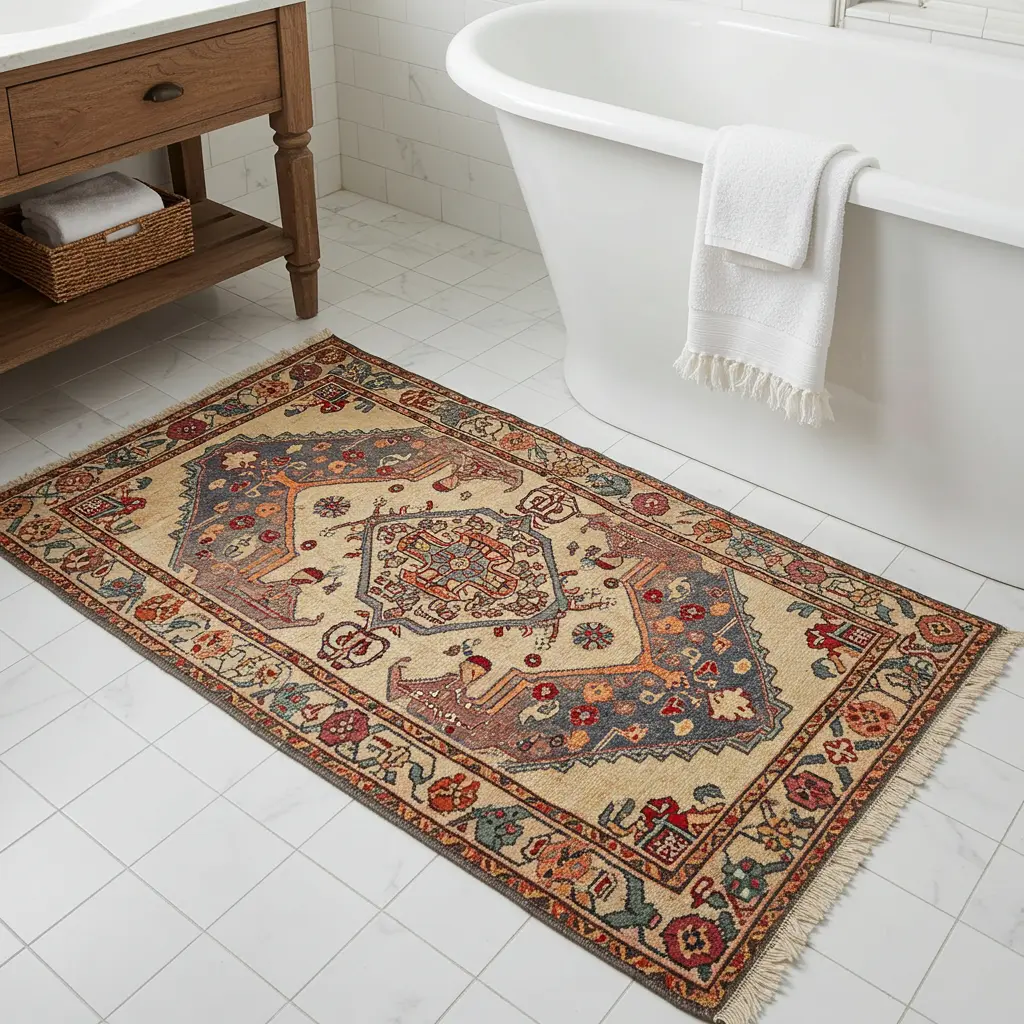
- Best For: Adding warmth, personality, and a sophisticated, unexpected touch.
- Key Consideration: Ditch the fluffy bathmat. A small, vintage-style runner or a durable flatweave rug is far more chic.
- Pro-Tip: Look for washable runners or outdoor rugs that are designed to handle moisture and foot traffic.
- Styling Cue: A colorful Turkish-style runner adds a beautiful, eclectic layer of pattern and texture to an otherwise neutral bathroom.
9. The Statement Light Fixture
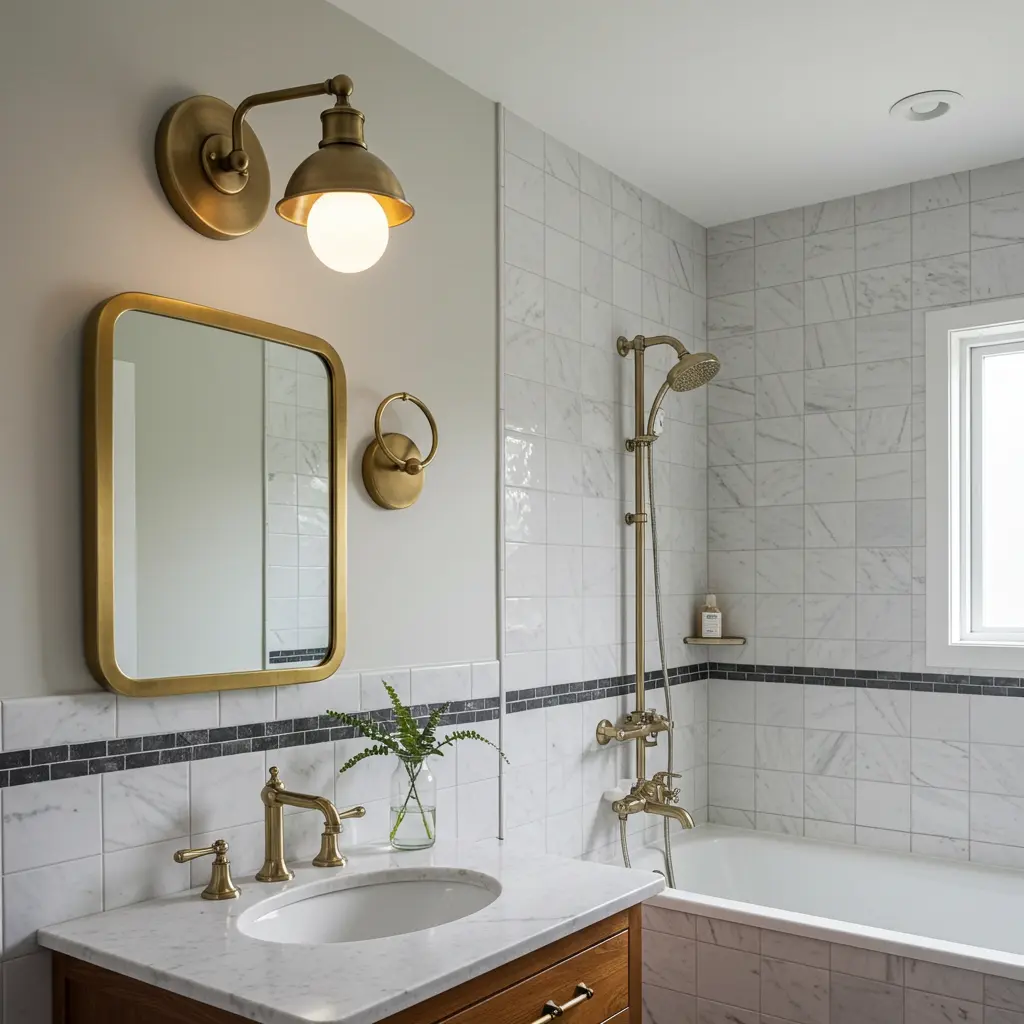
- Best For: Drawing the eye upward and serving as the “jewelry” of the room.
- Key Consideration: A generic “boob light” or a builder-grade vanity strip screams cheap. A stylish sconce or a small, semi-flush mount fixture is a worthy investment.
- Pro-Tip: Ensure any light fixture is “damp-rated” or “wet-rated” for safe use in a bathroom.
- Styling Cue: Choose a fixture with a warm metal finish, like brass or bronze, to add a touch of warmth and contrast to the cool tones of tile and porcelain.
10. Hide the Toiletries
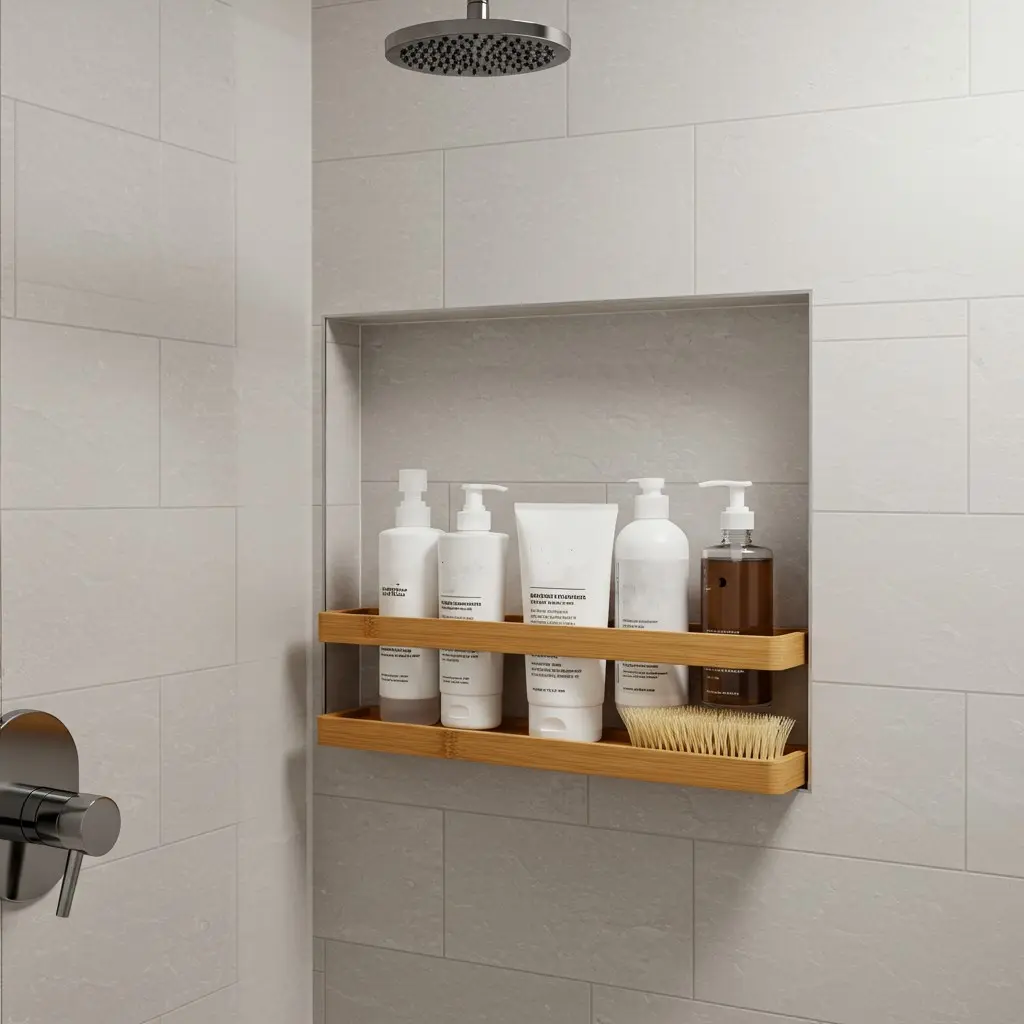
- Best For: Creating a clean, uncluttered shower experience that feels like a high-end hotel.
- Key Consideration: If you’re re-tiling, a recessed shower niche is the gold standard. If not, there are other clever options.
- Pro-Tip: For a budget-friendly, no-reno solution, use a sleek, high-quality shower caddy that hangs from the showerhead or, even better, a tension rod shower organizer that fits discreetly in a corner.
- Styling Cue: Buy the best-looking caddy you can afford one made of bamboo or matte black metal will look far more expensive than a cheap plastic one.
11. Add a Small Stool or Bench
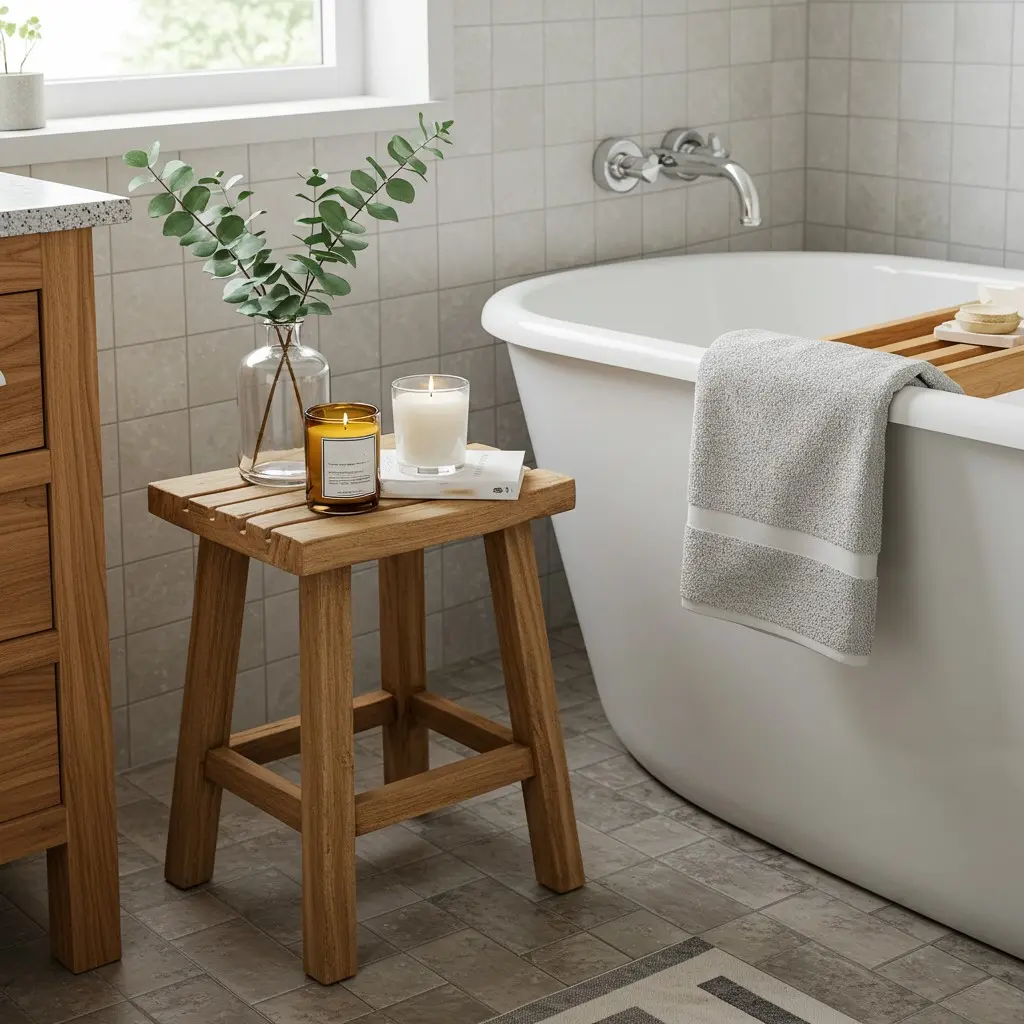
- Best For: Providing a stylish, practical perch for a towel, a book, or a plant.
- Key Consideration: Choose a stool made from a water-resistant material like teak, bamboo, or even a single piece of molded acrylic.
- Pro-Tip: A small, rustic wooden stool adds an invaluable touch of warmth and organic texture to a cold, tiled space.
- Styling Cue: Place the stool next to the tub and style it with a neatly folded towel, a single candle, and a small vase with a sprig of eucalyptus.
12. Go Big with Art
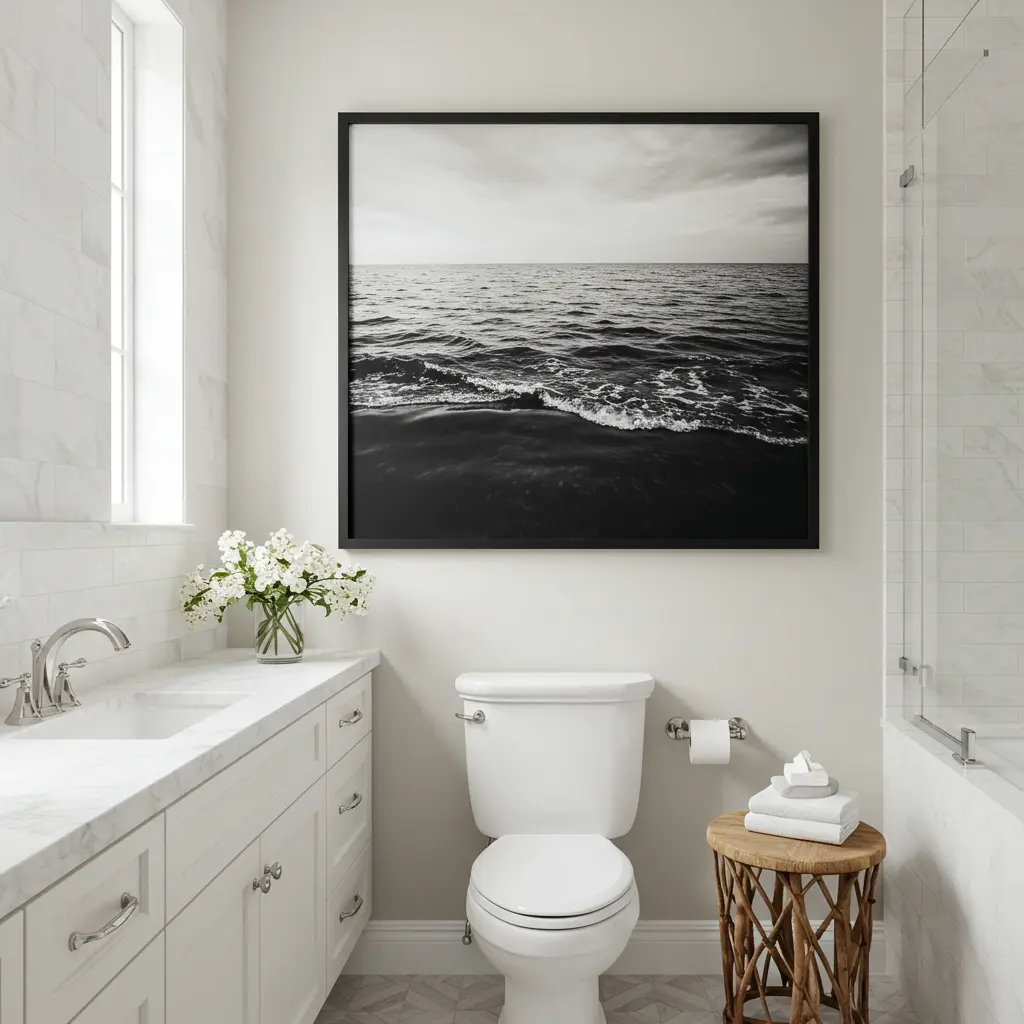
- Best For: Creating a powerful focal point and injecting a dose of personality.
- Key Consideration: One large piece of art looks far more intentional and expensive than several small, dinky frames.
- Pro-Tip: Don’t be afraid to hang real art in a bathroom. As long as the room has proper ventilation and the art is framed under glass, it will be fine.
- Styling Cue: An oversized, abstract print or a dramatic black-and-white photograph hung above the toilet makes a huge statement.
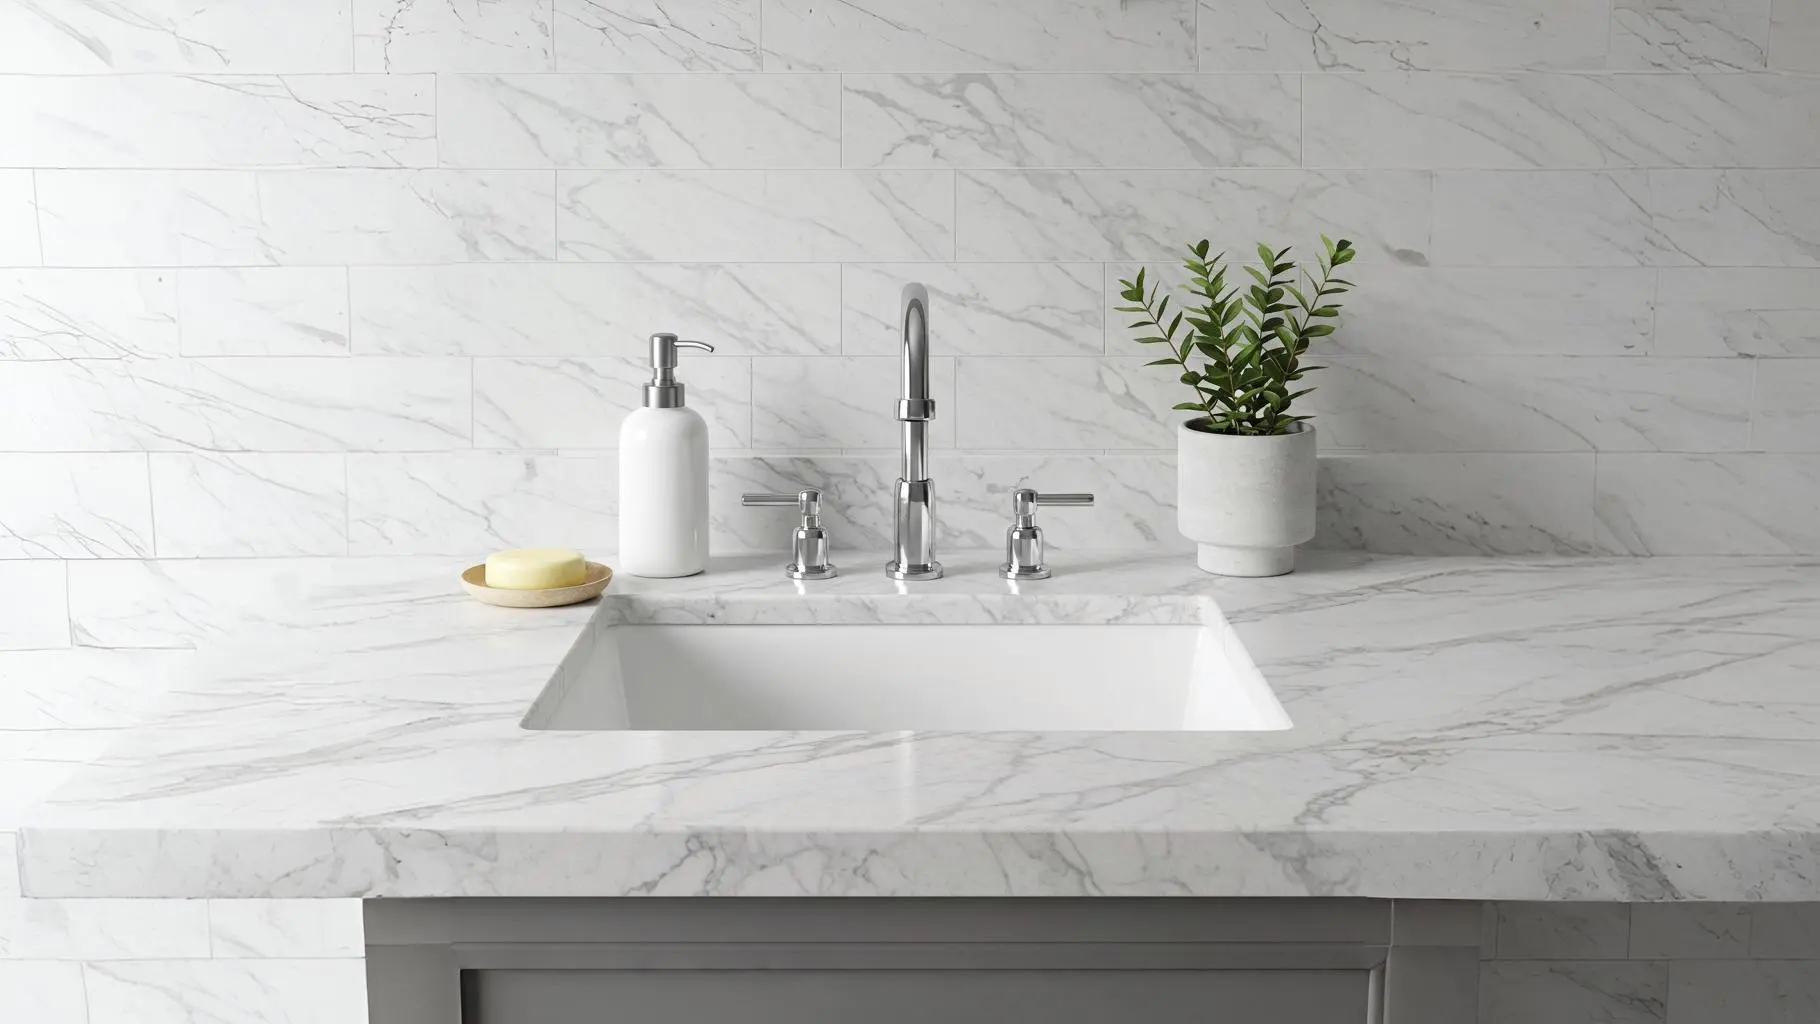
13. Install a Faux Marble Countertop
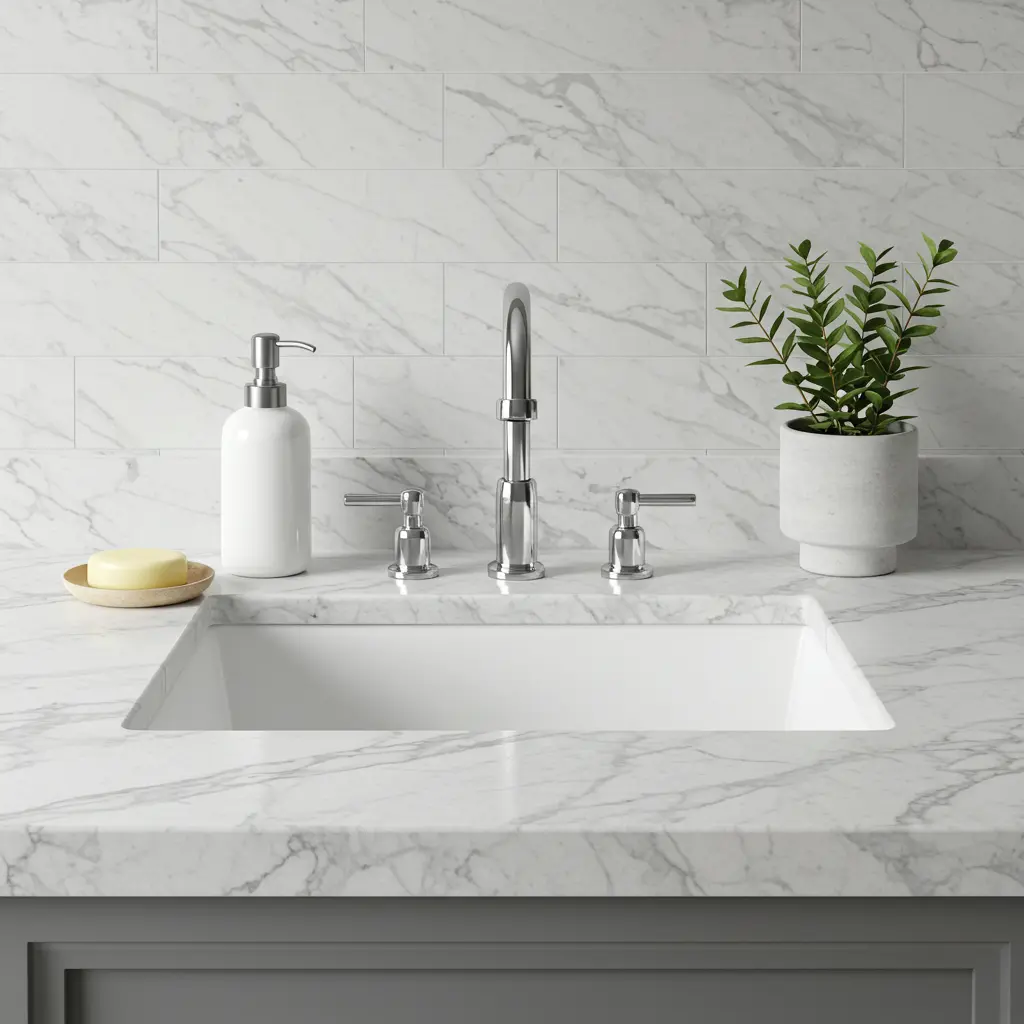
- Best For: Getting the luxurious look of marble without the cost or the high maintenance.
- Key Consideration: You can achieve this with high-quality, peel-and-stick contact paper or a small remnant of quartz or cultured marble from a stone yard, which is often deeply discounted.
- Pro-Tip: If using contact paper, a hairdryer is your secret weapon. Gently heating the paper as you apply it makes it more pliable and helps you get a smooth, bubble-free finish around edges and corners.
- Styling Cue: Keep the newly upgraded countertop as clear as possible to show it off. A soap dispenser, a small plant, and nothing else.
14. The Towel Upgrade
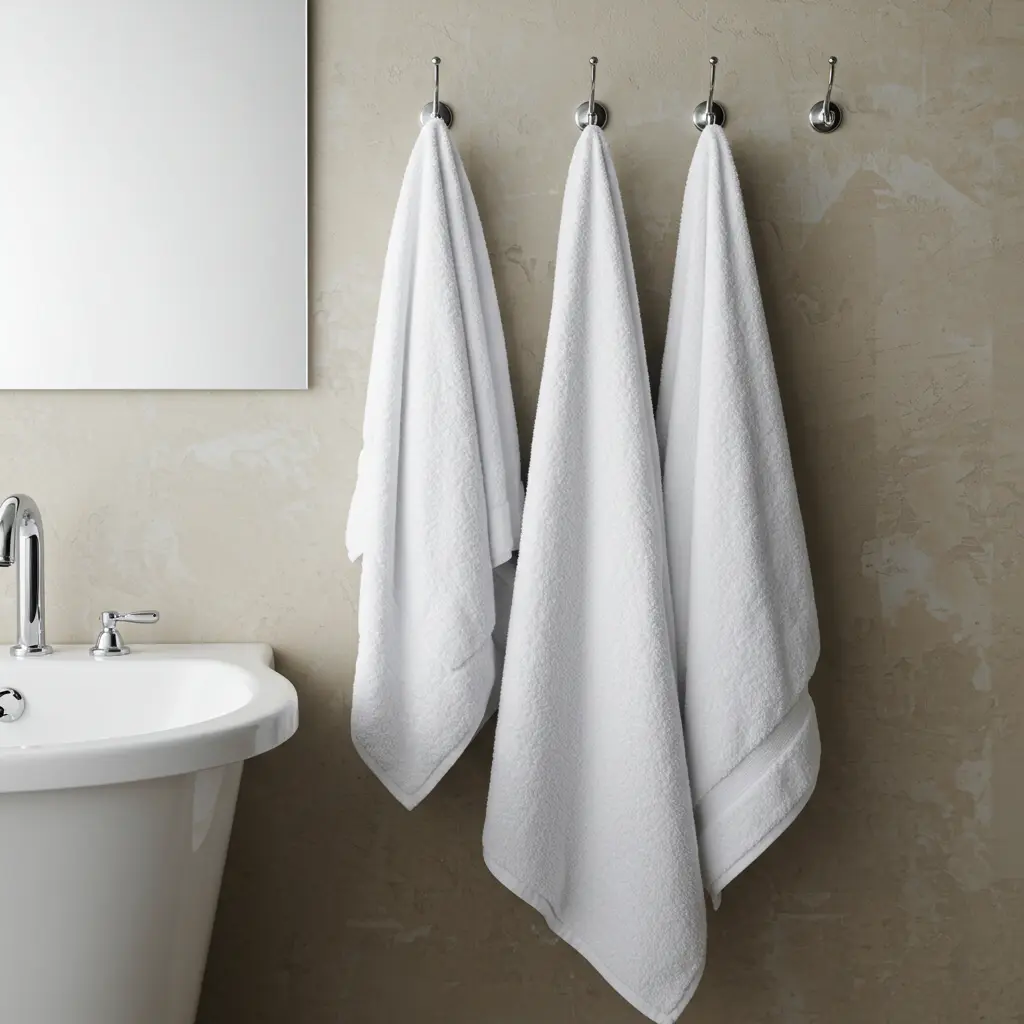
- Best For: An instant infusion of spa-like luxury that you can feel every day.
- Key Consideration: Get rid of your mismatched, threadbare towels. A new, matching set of plush, fluffy towels is a small investment with a huge payoff.
- Pro-Tip: White towels are the classic choice for a reason. They feel clean, fresh, and luxurious, can be bleached if needed, and never go out of style.
- Styling Cue: Instead of a traditional towel bar, install a series of sleek, modern hooks. They take up less space and allow towels to dry more easily.
15. The Touch of Green
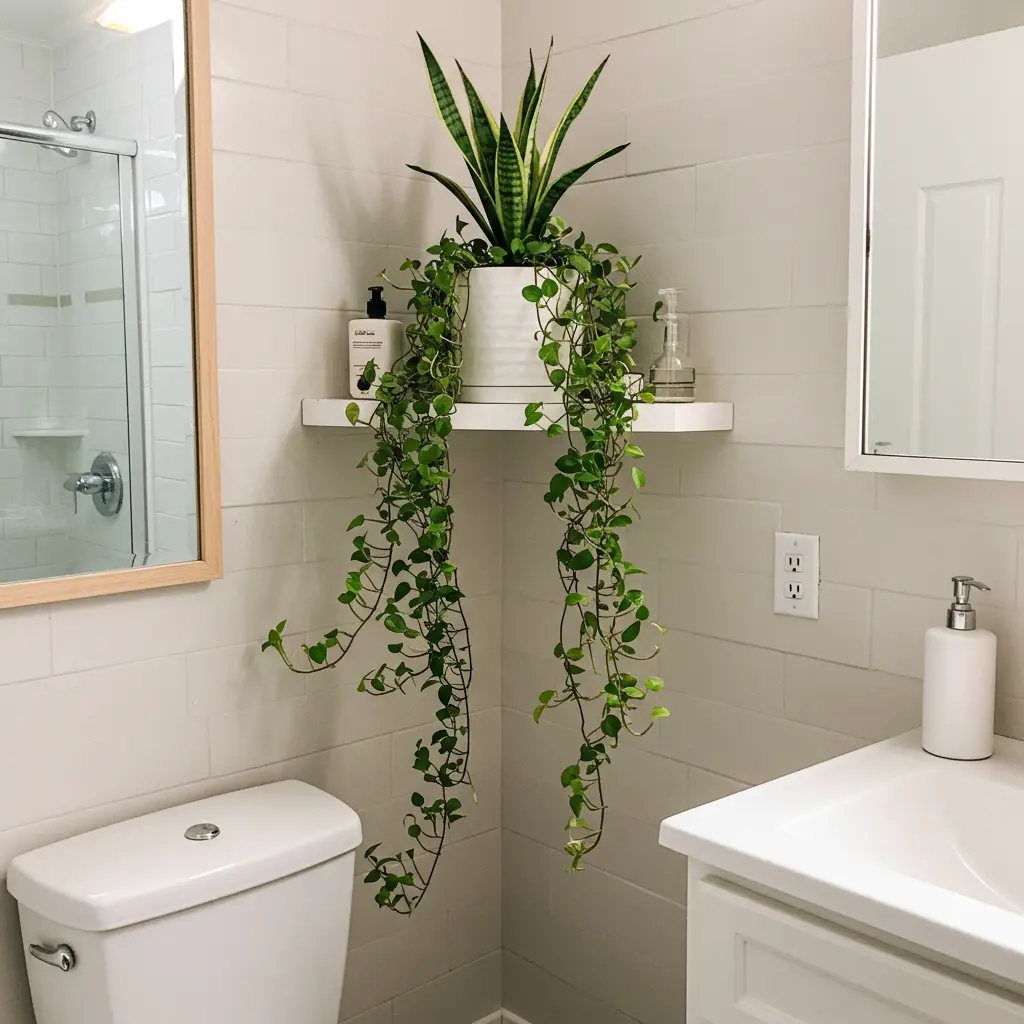
- Best For: Bringing life, a pop of natural color, and a sense of calm to the space.
- Key Consideration: Choose a plant that thrives in high humidity and low light, like a snake plant, pothos, or fern.
- Pro-Tip: No natural light? No problem. A high-quality faux plant or even a simple vase with a few fresh or preserved eucalyptus stems provides the same visual benefit.
- Styling Cue: Place a small trailing plant on a high shelf or the corner of the vanity and let its vines cascade down for a beautiful, organic touch.
Conclusion: Your Jewel Box Awaits
And just like that, you’re no longer looking at a cramped, boring bathroom; you’re looking at a world of high-style potential.
You have the ideas, the inspiration, and the budget-savvy secrets to create a small bathroom that is beautiful, functional, and feels incredibly luxurious.
This isn’t just about making a space look better; it’s about creating a personal retreat that elevates your daily routine.
It all starts with a single choice. Pick one idea that made you feel inspired, and take the first small step.
You’ve got this.
