Is your holiday decor box filled with the same old ornaments, year after year? Do you scroll through beautiful, handmade decorations on Pinterest and wish you could create that magic yourself, without a complicated pattern or years of experience? You’re in the right place to change that.
A crochet snowflake shouldn’t just be a craft project; it should be a little piece of winter magic you made with your own hands. A delicate ornament for your tree, a charming gift tag, or a beautiful garland to drape over your mantel.
This is your creative playbook for transforming a simple ball of yarn into a flurry of unique, beautiful snowflakes. We’ll explore delightfully simple patterns, decode the secrets of a crisp, professional finish, and walk through the practical steps to bring it all to life.
By the end, you’ll see your crochet hook not as an intimidating tool, but as a magic wand waiting to create a winter wonderland.
Before You Begin: Dreaming Up Your Winter Wonderland
The most beautiful creations start with a little bit of preparation, not just a tangled mess of yarn. Before you make your first slip knot, let’s lay the groundwork for a project you’ll be proud of.
The Secrets of a Perfect Snowflake: Simple Rules for a Stunning Look
Crocheting a delicate snowflake seems complex, but it’s built on a few simple secrets. Here’s what you need to know:
- Yarn Choice is Key: The magic of a snowflake is in its delicate structure. For the best results, use a thin, smooth yarn. Crochet thread (size 10 is a great start) or a fingering-weight cotton yarn will give you the best stitch definition. Worsted weight yarn can work for larger, chunkier flakes, but you’ll lose the lacy detail.
- Go Down a Hook Size: To keep your stitches tight and your snowflake from looking floppy, consider using a crochet hook that is slightly smaller than what the yarn label recommends. This creates a stiffer, more defined fabric.
- The Magic of Blocking: This is the non-negotiable secret to professional-looking snowflakes. Blocking is the process of wetting your finished snowflake, pinning it into a perfect shape on a foam board, and letting it dry. This opens up the lace, defines the points, and transforms a crumpled curl into a flat, crisp masterpiece.
- Count, Count, Count: Snowflake patterns are repetitive and rely on symmetry. Pay close attention to your stitch counts in each round. One missed stitch can throw off the entire shape of an arm.
What’s the Real Effort? A No-Fuss Project Breakdown
| The Approach | Estimated Time Per Flake | What You’ll Need | The Little Extras (Don’t Skip These!) |
| The 10-Minute Wonder | 5 – 15 Minutes | • A small amount of yarn or thread • A crochet hook • Scissors | • A yarn needle for weaving in ends • A simple printed pattern • Good lighting |
| The Afternoon Ornament Sesh | 15 – 30 Minutes | • Multiple colors of crochet thread • A set of small hooks • Basic knowledge of SC, DC | • Foam board and rust-proof pins • Starch or fabric stiffener • A comfortable chair |
| The Garland Project | Several Hours (for multiple flakes) | • A full ball of white cotton yarn • Your favorite snowflake pattern • Patience and a good playlist | • A decorative ribbon or twine • A hot glue gun or craft glue • A measuring tape for even spacing |
The Design Menu: Finding Your Signature Flake
Here are 17 free and easy pattern concepts for beginners. Each one comes with a breakdown to help you create with confidence. (You can find free patterns for these concepts with a simple search online!)
The Absolute Beginner Flakes
1. The Simple Chain Loop Star

- Best For: Your very first project. If you can make a chain and a slip stitch, you can make this.
- Key Consideration: The entire snowflake is made of chain stitch loops connected to a central ring.
- Pro-Tip: Make a “magic ring” to start. It creates a tight, seamless center with no hole, which looks much cleaner than chaining and joining.
- Finishing Touch: String a piece of metallic thread through one of the loops to create a simple, sparkling ornament hanger.
2. The Single Crochet Six-Pointer

- Best For: Practicing working in the round and creating a solid, sturdy shape.
- Key Consideration: This is a simple, two-round pattern focusing on the single crochet (sc) stitch.
- Pro-Tip: Use stitch markers! Place a marker in the first stitch of each round so you don’t lose your place.
- Finishing Touch: This sturdy flake is perfect for coasters. Make a set of four in a festive cotton yarn.
3. The Basic Double Crochet Hexagon

- Best For: Learning the double crochet (dc) stitch and understanding how to create corners.
- Key Consideration: The “points” are formed by working multiple stitches into a single space (e.g., [2 dc, ch 2, 2 dc]).
- Pro-Tip: Focus on keeping your tension even. Consistent tension is what makes the hexagon lay flat even before blocking.
- Finishing Touch: Join several of these hexagons together to create a festive table runner or a simple scarf.
Adding a Little Lace
4. The Classic Picot Point Snowflake

- Best For: Adding a delicate, pointy edge to your flake. It looks intricate but is incredibly easy.
- Key Consideration: A picot stitch is simply a small loop of chains (usually ch 3) that is anchored back into the same stitch with a slip stitch.
- Pro-Tip: Make your picot stitches tight. A tight, small picot creates a much sharper and more defined point than a loose one.
- Finishing Touch: Glue a small rhinestone or flat-backed pearl to the center of the snowflake for a touch of glamour.
5. The Open Spoke Snowflake

- Best For: Creating a lacy, airy design that looks like a classic paper snowflake.
- Key Consideration: This pattern uses long chain stitches to create the “spokes” or “arms” of the snowflake.
- Pro-Tip: Count your chains carefully for each spoke. Consistency is what makes the snowflake symmetrical and beautiful.
- Finishing Touch: These are perfect for making a garland. Thread a long piece of twine or ribbon through the center of a dozen flakes.
6. The Granny Square Style Flake

- Best For: Anyone who has ever made a granny square. The concept is the same.
- Key Consideration: You’ll be working in “clusters” of stitches (usually 3 double crochets) into the spaces from the round below.
- Pro-Tip: Start with a magic ring to keep the center tight and neat, just like a classic granny square.
- Finishing Touch: Use this pattern with worsted weight yarn to create a large-scale, chunky snowflake to use as a trivet for hot dishes.
7. The V-Stitch Snowflake

- Best For: An incredibly fast pattern that creates a beautiful, lacy texture.
- Key Consideration: A V-stitch is simply one double crochet, one chain, and another double crochet, all worked into the same stitch ([dc, ch 1, dc]).
- Pro-Tip: For the next round, work your new V-stitches into the chain-1 space of the V-stitch below. It makes finding where to place your hook super easy.
- Finishing Touch: Attach a metal earring hook to a tiny version made with crochet thread for a pair of beautiful, lightweight holiday earrings.
Getting a Little Fancier
8. The Puff Stitch Centerpiece

- Best For: Adding a pop of plush texture to the heart of your snowflake.
- Key Consideration: A puff stitch is made by partially working several stitches together in the same space to create a puffy “bobble.”
- Pro-Tip: Pull up on your loops to make them all the same height before finishing the puff stitch. This creates a fuller, more uniform puff.
- Finishing Touch: Use a contrasting color for just the puff stitch round to make the textured center the star of the show.
9. The Two-Tone Snowflake

- Best For: A simple way to make any pattern look more complex and custom.
- Key Consideration: This is more of a technique than a pattern. Simply change colors on the final round.
- Pro-Tip: To change colors cleanly, complete the final yarn-over of the last stitch of the round with your new color.
- Finishing Touch: Try a classic white snowflake with a final round of icy blue or sparkling silver for a beautiful effect.
10. The Dainty Mini Flake

- Best For: Creating tiny, delicate flakes for gift tags or scrapbooking.
- Key Consideration: The pattern is simple, but the materials are tiny. You’ll need fine crochet thread (size 20 or 30) and a very small steel crochet hook.
- Pro-Tip: Work in a very well-lit area and take breaks. Working with thread can be more demanding on the eyes.
- Finishing Touch: Glue one of these tiny flakes to the front of a blank card for a beautiful, handmade Christmas card.
11. The Square Snowflake (or “Snow Block”)

- Best For: A quirky, modern take on the traditional flake.
- Key Consideration: This is essentially a small, lacy granny square pattern worked in white.
- Pro-Tip: Block it aggressively into a sharp square shape, pinning the corners out firmly.
- Finishing Touch: Connect several blocks to make a beautiful coaster set or a festive blanket.
12. The Teardrop Loop Snowflake

- Best For: A romantic, elegant snowflake with rounded points.
- Key Consideration: The points are made with a loop of many chains that is then anchored with a single crochet around the chain itself to form the teardrop shape.
- Pro-Tip: Use a stitch marker to hold your main loop while you work the single crochet stitches around the chain, so it doesn’t twist.
- Finishing Touch: Stiffen this snowflake heavily with starch and hang it in a window where it can catch the light.
13. The Treble Crochet Snowflake

- Best For: Creating a larger, more open snowflake without adding more rounds.
- Key Consideration: The treble crochet (tr) stitch is just one step taller than a double crochet, creating more height and space with each stitch.
- Pro-Tip: Focus on controlling the yarn during the extra yarn-over. It’s the key to keeping your treble crochet stitches from getting too loose.
- Finishing Touch: A single, large treble crochet snowflake makes a beautiful tree topper for a small tabletop tree.
14. The Starched 3D Snowflake

- Best For: Creating a stiff, three-dimensional ornament.
- Key Consideration: You’ll need two identical flat snowflakes for this project.
- Pro-Tip: After blocking and stiffening the two flakes, simply sew them together back-to-back at the center and along the core of three of the arms, leaving the other three arms free. Gently bend them into a 3D shape.
- Finishing Touch: Add a small jingle bell to the center before sewing them up for a festive sound.
15. The Beaded Snowflake

- Best For: Adding a touch of sparkle and weight to your snowflake.
- Key Consideration: You must thread the beads onto your yarn before you begin crocheting.
- Pro-Tip: Use small, lightweight seed beads. Slide a bead down your yarn and hold it in place just before you make a stitch (like a picot or the tip of an arm) to lock it in.
- Finishing Touch: Use clear or iridescent beads to mimic the look of glittering ice.
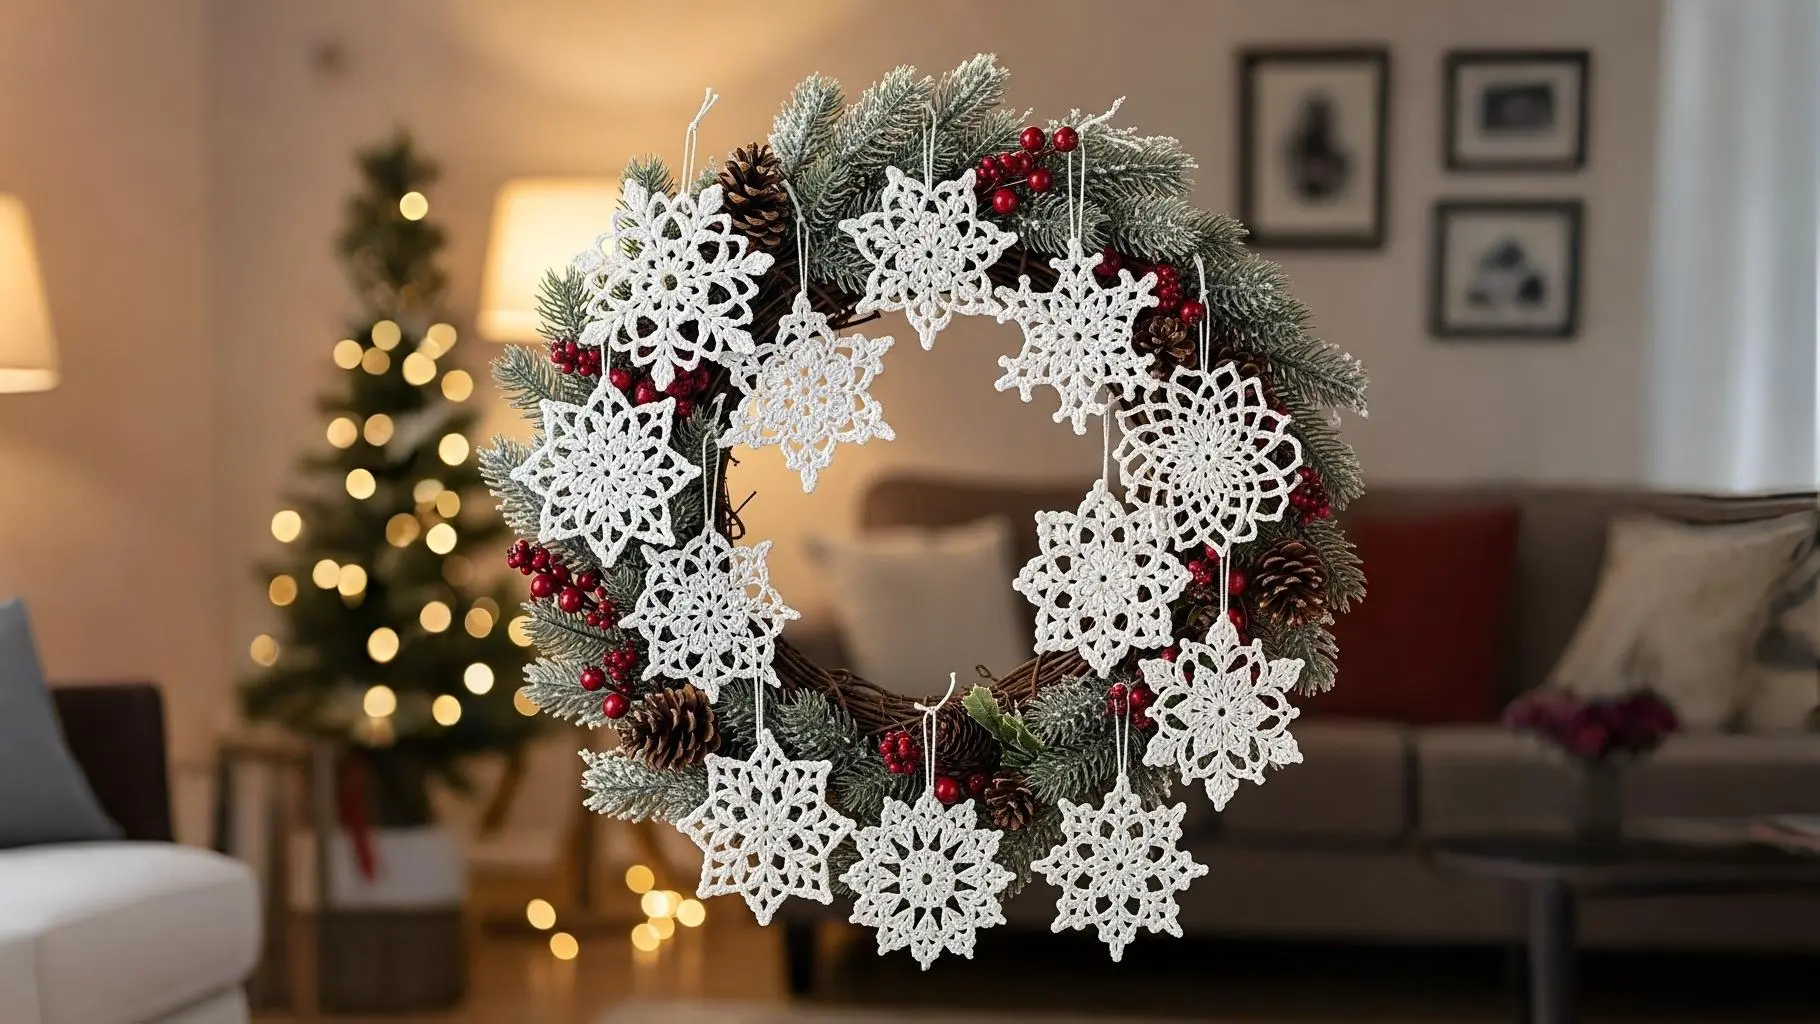
16. The Wreath Ornament

- Best For: A cute, round ornament that uses snowflake motifs.
- Key Consideration: You will be crocheting around a small plastic or metal ring.
- Pro-Tip: Start by covering the ring with single crochet stitches. Then, work a final round of lacy “snowflake points” (like picots or small shells) off of that base.
- Finishing Touch: Tie a small red ribbon into a bow at the top of the wreath for a classic holiday look.
17. The Irish Crochet-Inspired Motif

- Best For: An adventurous beginner who wants to try a more heirloom style.
- Key Consideration: Look for simple Irish lace patterns. They often feature raised or layered stitches, like front-post double crochets.
- Pro-Tip: Start with a very simple pattern, perhaps a flower-like motif with six petals, worked in white to evoke a snowflake feel.
- Finishing Touch: These intricate-looking flakes are beautiful on their own, simply placed on a mantel or used as a special centerpiece on the holiday table.
A Few Common Missteps (And How to Avoid Them)
- The Dreaded Curl: If your snowflake won’t lay flat, don’t panic! This is almost always fixed by blocking. Aggressively pin it into shape, spritz with water or starch, and let it dry completely.
- Losing Your Place: In a symmetrical, in-the-round pattern, losing your first stitch is easy. Always use a stitch marker.
- Skipping the Weave: Don’t just snip your ends. Use a yarn needle to carefully weave the starting and ending tails through the backs of your stitches to secure them.
- Floppy Flakes: If your flakes are too soft even after blocking, you need more stiffener. You can use a 50/50 mix of white school glue and water for an extra-stiff, permanent hold.
Conclusion: Your Handmade Winter Awaits
And just like that, you’re no longer just looking at a hook and yarn; you’re looking at a flurry of possibilities. You have the ideas, the inspiration, and the beginner-friendly secrets to create a whole wonderland of crochet snowflakes that are beautiful, personal, and handmade with love. This isn’t just about learning a new craft; it’s about starting a new holiday tradition.
It all starts with a single choice. Pick a pattern that sparked your curiosity, and make your first loop.
You’ve got this.
