Is your box of holiday decorations missing a personal, handmade touch? Do you see beautiful, lacy snowflakes and dream of creating your own winter wonderland, but feel intimidated by complicated patterns? You’re in the right place to change that.
A crochet snowflake shouldn’t just be a yarn project; it should be a little piece of handmade magic. A delicate ornament to hang on your tree, a charming accent for a wrapped gift, or a beautiful part of a garland to drape over your mantel.
This is your creative playbook for transforming a simple strand of yarn into a flurry of unique, beautiful snowflakes, even if you’re a near-beginner. We’ll explore delightfully simple pattern concepts, decode the secrets of a crisp, professional finish, and walk through the practical steps to bring it all to life.
By the end, you’ll see your crochet hook not as a confusing tool, but as a magic wand waiting to conjure a winter storm.
Before You Begin: Dreaming Up Your Flurry
The most beautiful snowflakes start with a little bit of know-how, not just a tangled ball of yarn. Before you make your first stitch, let’s lay the groundwork for a project that will make you proud.
The Secrets of a Perfect Snowflake: Simple Rules for a Stunning Look
A delicate snowflake looks complex, but it’s built on a foundation of a few simple secrets. Here’s what you need to know:
- The Right Yarn is Crucial: The lacy detail of a snowflake shows up best with thin, smooth yarn. Size 10 crochet cotton thread is the gold standard for a classic, crisp look. For a slightly softer, easier-to-handle option, try a fingering or sport weight cotton yarn.
- A Smaller Hook is Your Friend: To ensure your stitches are tight and your snowflake has good structure, use a crochet hook that is one or two sizes smaller than the yarn label suggests. This prevents a floppy, loose fabric.
- Blocking is Non-Negotiable Magic: This is the single most important step. “Blocking” is the simple process of wetting your finished, crumpled-looking snowflake, carefully pinning it out into a perfect, star-like shape on a foam board, and letting it dry completely. It transforms a lumpy circle into a flat, crisp masterpiece.
- Starch for Structure: For snowflakes that will be used as ornaments, a bit of stiffener is key. After pinning your snowflake out (blocking), you can spray it with laundry starch or paint on a 50/50 mixture of white school glue and water for a firm, lasting shape.
What’s the Real Effort? A No-Fuss Project Breakdown
| The Approach | Estimated Time Per Flake | What You’ll Need | The Little Extras (Don’t Skip These!) |
| The Quick & Easy Flake | 10 – 20 Minutes | • A small amount of cotton yarn or thread • An appropriate crochet hook • Scissors | • A yarn needle for weaving in ends neatly • A printed pattern to follow • A comfortable, well-lit chair |
| The Ornament-Making Session | Several Hours (for multiple flakes) | • A full ball of white crochet cotton • A set of small steel crochet hooks • Basic stitch knowledge (ch, sl st, sc, dc) | • A foam blocking mat and rust-proof pins • A bottle of liquid starch or fabric stiffener • Metallic thread for hanging loops |
| The Garland Project | A Full Afternoon or Evening | • Your favorite easy snowflake pattern • Patience and a good movie on TV • A long ribbon or piece of twine | • A hot glue gun for easy attaching • A measuring tape for even spacing • A collection of finished, blocked snowflakes |
The Design Menu: 15 Easy Pattern Ideas
Here are 15 easy crochet snowflake concepts perfect for beginners. Each one builds on basic skills, and you can find many free patterns for these ideas with a quick online search.
1. The Simple Six-Arm Spoke
- Best For: Your very first snowflake. This teaches the basic structure of working in the round.
- Key Consideration: This pattern is built on a simple formula: a center ring, followed by a round of creating “spokes” with chain stitches.
- Pro-Tip: Start with a “magic ring” (also called a magic circle). It creates a perfectly tight center with no hole, which looks much more polished than the chain-and-join method.
- The Basic Idea: Magic ring, 6 single crochets in the ring. Next round: Chain 5, slip stitch into the next single crochet. Repeat around to create 6 simple arms.
2. The Classic Picot Point
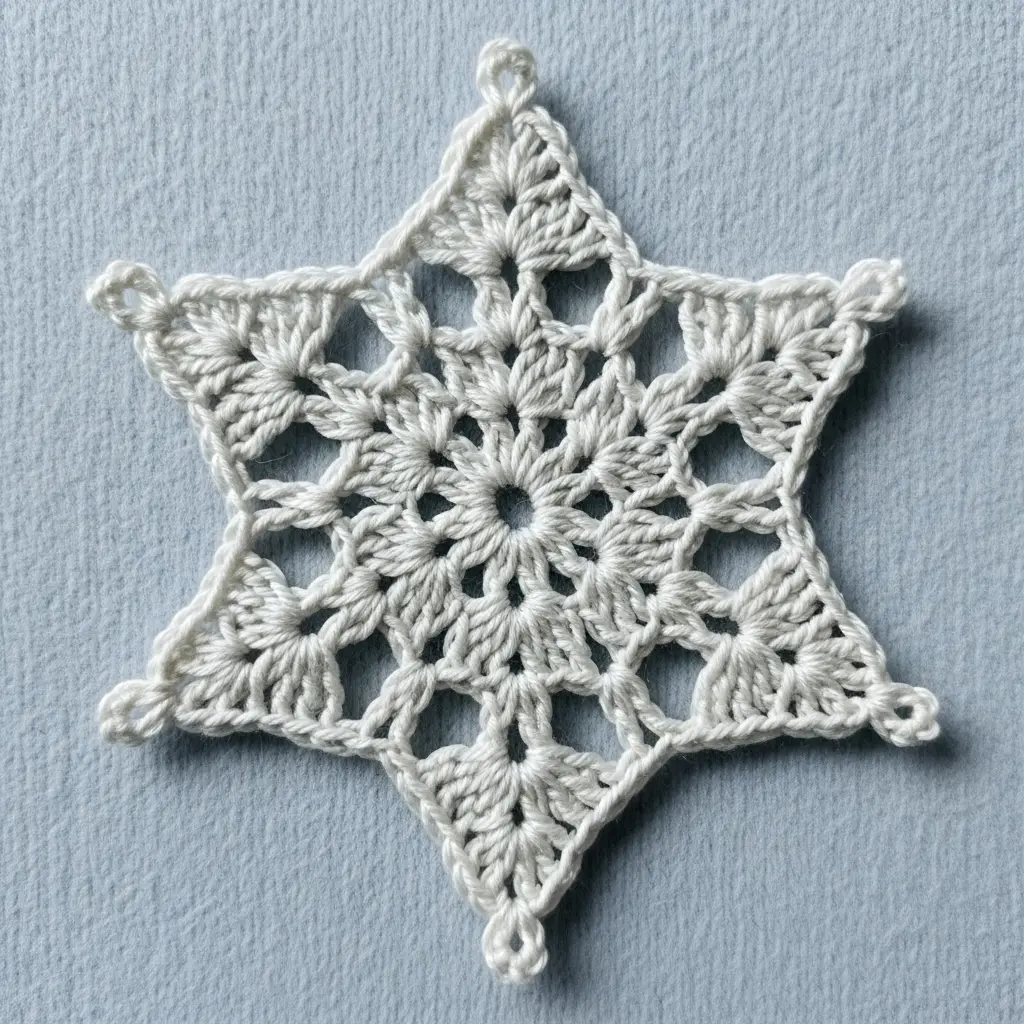
- Best For: Adding those classic, sharp points to your snowflake arms. It’s the easiest way to make a flake look intricate.
- Key Consideration: A “picot” stitch is just a tiny loop of chains (usually 3) that is anchored with a slip stitch.
- Pro-Tip: At the end of a snowflake arm (or “spoke”), simply chain 3, then slip stitch back into the first of those three chains. It creates a perfect little point.
- The Basic Idea: Build on the Six-Arm Spoke. At the tip of each chain-5 arm, add a picot stitch before slip stitching to the next stitch.
3. The Double Crochet Hexagon

- Best For: A more solid, substantial snowflake that still has a clear six-sided shape.
- Key Consideration: This pattern uses groups of double crochet (dc) stitches separated by chain stitches to form the corners.
- Pro-Tip: The “corner” is typically made by working a sequence like (2 dc, ch 2, 2 dc) all into the same space. The chain-2 space creates the sharp point.
- The Basic Idea: Round 1 creates a circle of 12 dc. Round 2 establishes the 6 corners by working corner shells into every other stitch.
4. The Granny Cluster Flake
- Best For: Anyone familiar with the classic granny square. It uses the same principles.
- Key Consideration: This snowflake is built with “granny clusters,” which are groups of 3 double crochets worked together.
- Pro-Tip: Just like a granny square, you’ll work your clusters for the next round into the spaces created by the chain stitches of the round below, which makes it super easy.
- The Basic Idea: A small, two-round hexagonal granny square made with white yarn looks exactly like a charming, rustic snowflake.
5. The V-Stitch Wonder
- Best For: A very fast, lacy, and open snowflake design.
- Key Consideration: A V-stitch is a (double crochet, chain 1, double crochet) all worked into the same stitch.
- Pro-Tip: In the following round, you simply work a new V-stitch into the chain-1 space of the V-stitch below. It’s a quick and satisfying rhythm.
- The Basic Idea: Start with 6 V-stitches in a ring. The next round, work a more elaborate stitch or another V-stitch into the center of each V from the round before.
6. The Puff Stitch Center
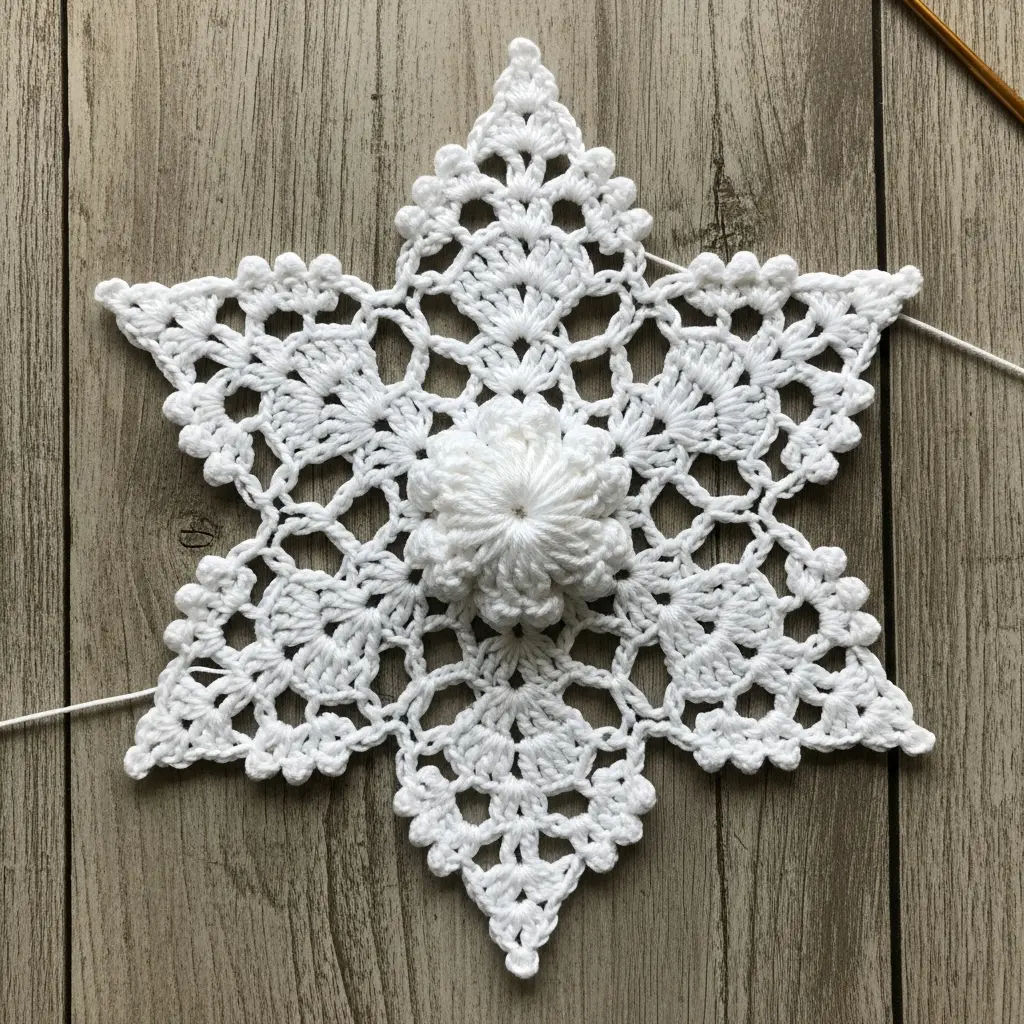
- Best For: Adding a beautiful, puffy, and textural center to your snowflake.
- Key Consideration: A puff stitch involves partially working several stitches and then pulling a final loop through all of them at once.
- Pro-Tip: When making the puff stitch, pull up on your loops so they are all even and about the height of a double crochet. This makes for a fuller, rounder puff.
- The Basic Idea: Start your snowflake with a round of 6 puff stitches in the center ring, then build your simple snowflake arms off of that textural base.
7. The Two-Round Quickie
- Best For: Making a large number of small, cute flakes for gift tags or garlands in a short amount of time.
- Key Consideration: This pattern needs to be efficient. It uses a mix of stitch heights in one round to create the points.
- Pro-Tip: The second and final round will have a rhythm like: (sc, hdc, dc, picot, dc, hdc, sc) all worked into a single chain space from the first round.
- The Basic Idea: Round 1 is a simple ring with 6 chain-loops. Round 2 is where you create the 6 distinct arms using the stitch-height technique.
8. The Treble Crochet Star
- Best For: A larger, more dramatic snowflake with long, elegant arms.
- Key Consideration: The treble crochet (tr) stitch is just one step taller than a double crochet, giving you more height with each stitch.
- Pro-Tip: Control your yarn tension during the two yarn-overs required for a treble crochet. This keeps the tall stitches from becoming too loose or sloppy.
- The Basic Idea: Use treble crochet stitches to form the main “spokes” of the arms, finishing with a picot or a fan of stitches at the end.
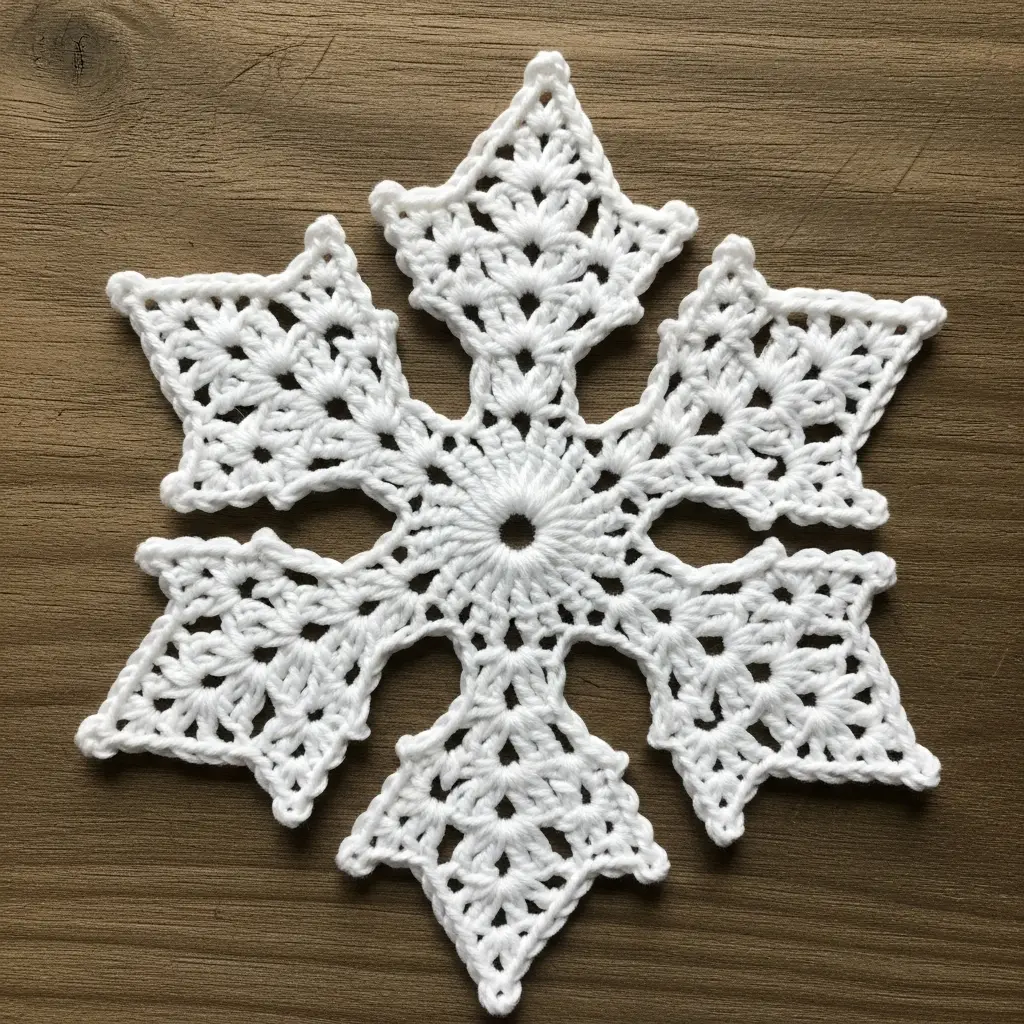
9. The Square Flake (“Snow Block”)
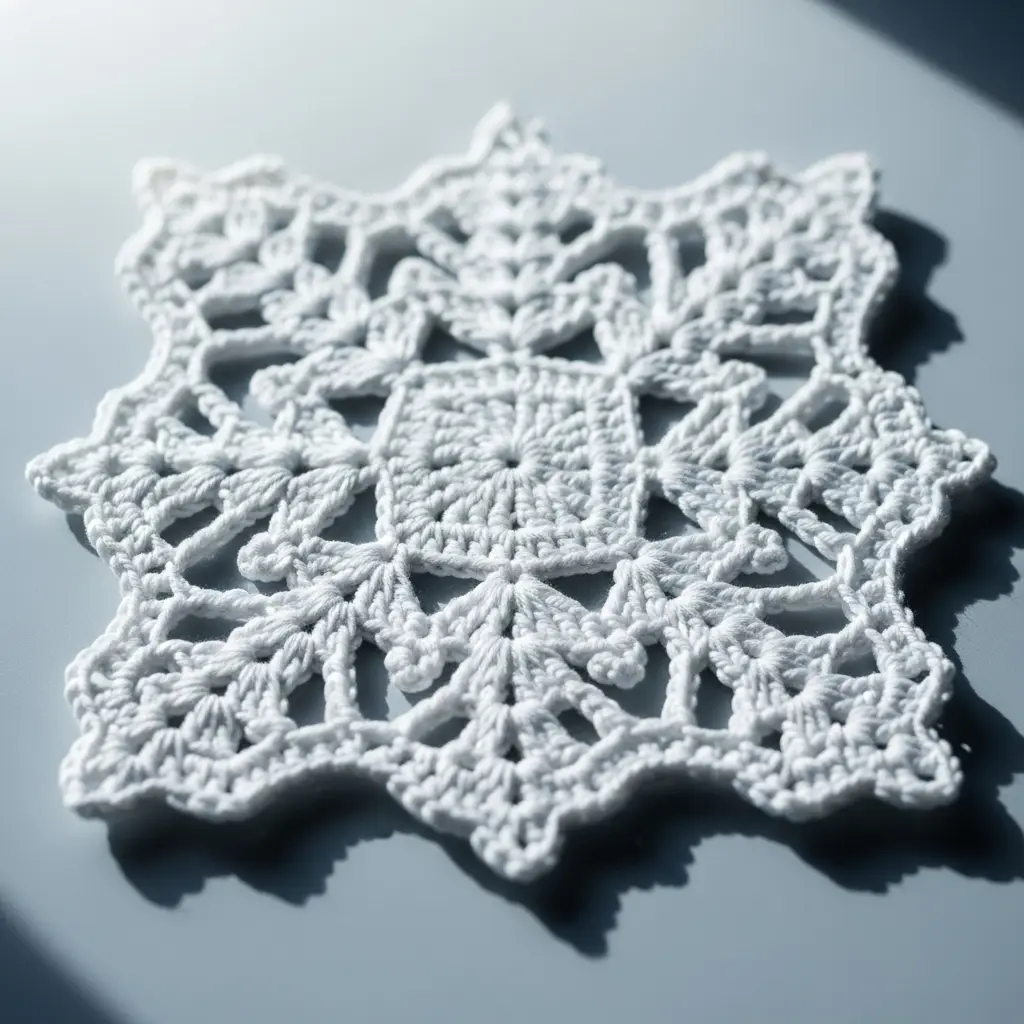
- Best For: A modern, quirky take on a snowflake that’s perfect for making coasters or afghan blocks.
- Key Consideration: This is essentially a tiny, lacy granny square pattern worked in a single color.
- Pro-Tip: When you block this one, use your pins to aggressively pull the four corners out to emphasize the square shape.
- The Basic Idea: Any small, 2 or 3-round granny square pattern, when made in white or icy blue yarn, instantly evokes a frosty, windowpane feeling.
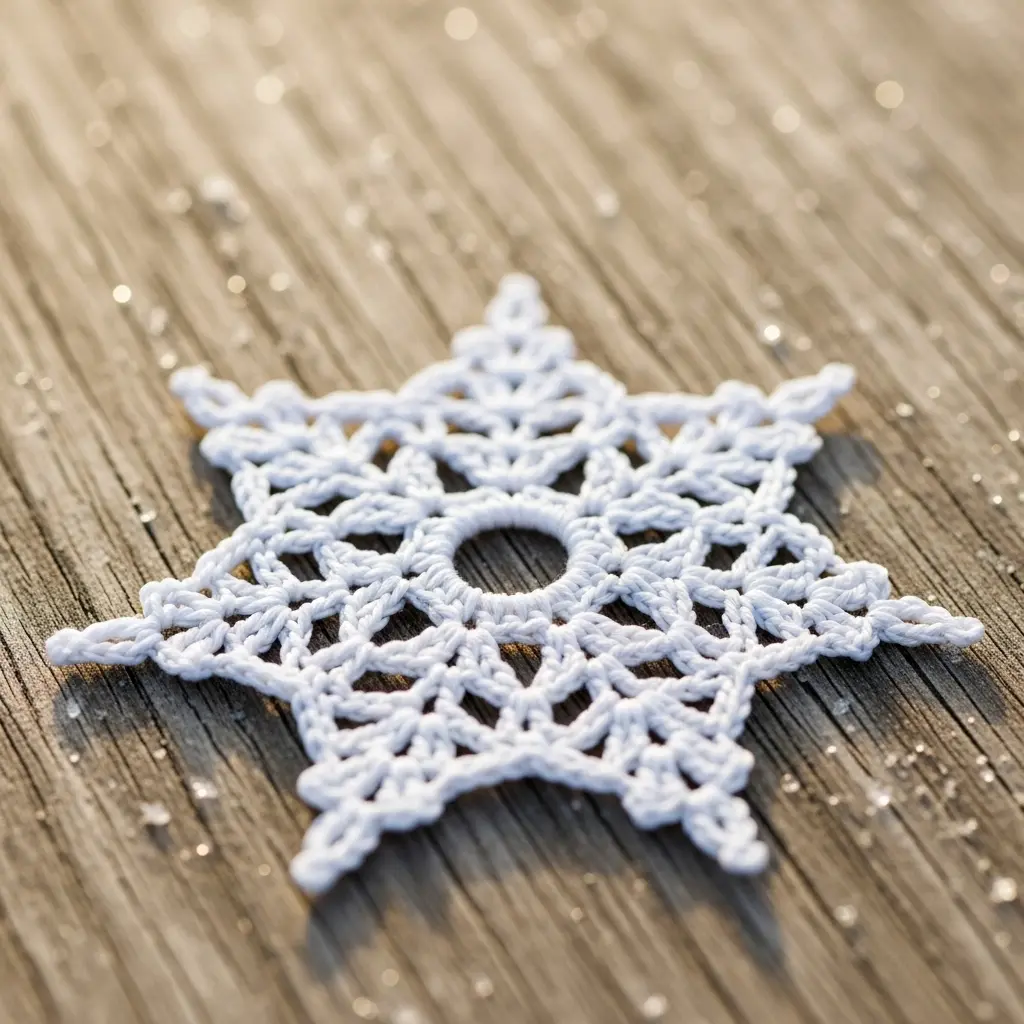
10. The Simple Star Appliqué
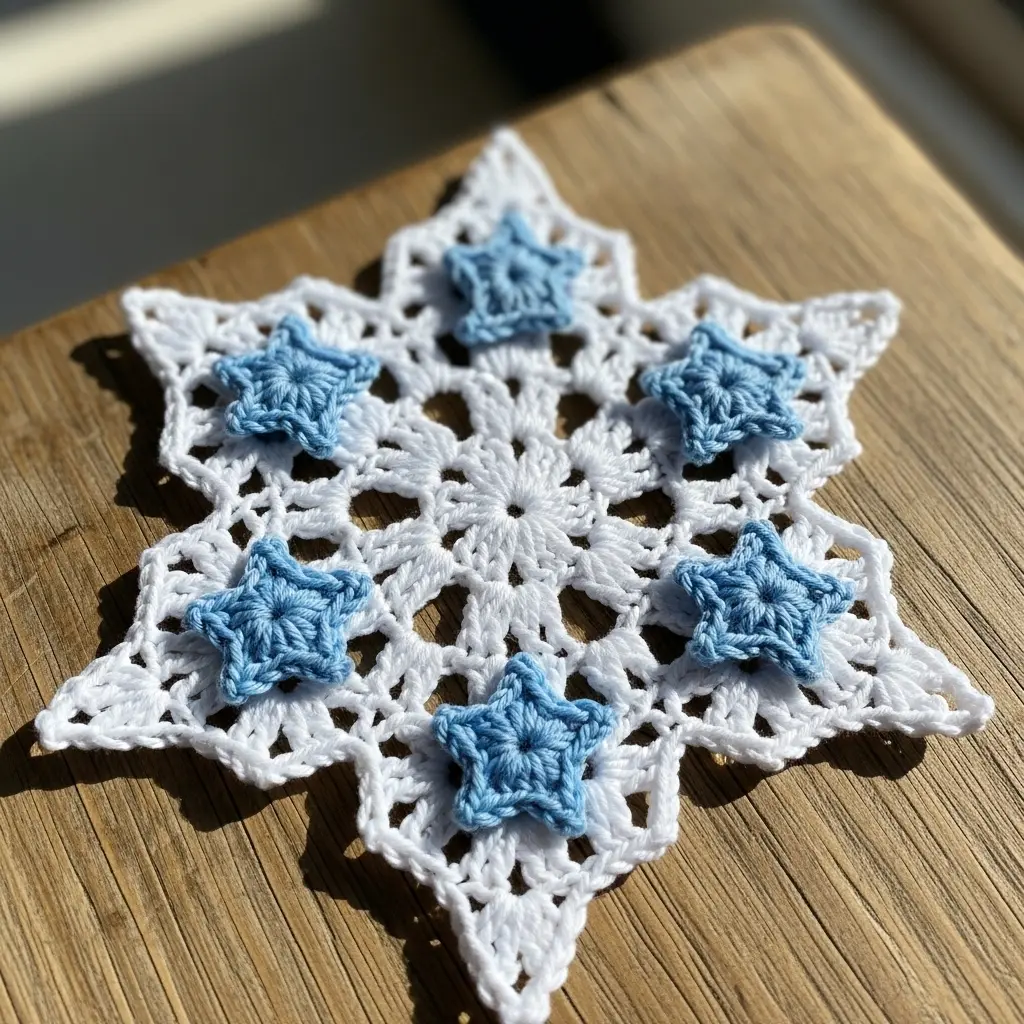
- Best For: A five-pointed star that looks wonderfully snowflake-like when made in white.
- Key Consideration: Most star patterns are worked in 5 points instead of 6, but they still give a perfect celestial winter vibe.
- Pro-Tip: Look for a simple, flat appliqué star pattern. These are usually worked in only 2 or 3 rounds and are very quick to make.
- The Basic Idea: A center ring, followed by a round where you create 5 chain-loops. The final round involves working a fan of stitches of varying heights into each loop to form the points.
11. The Teardrop Loop Arms
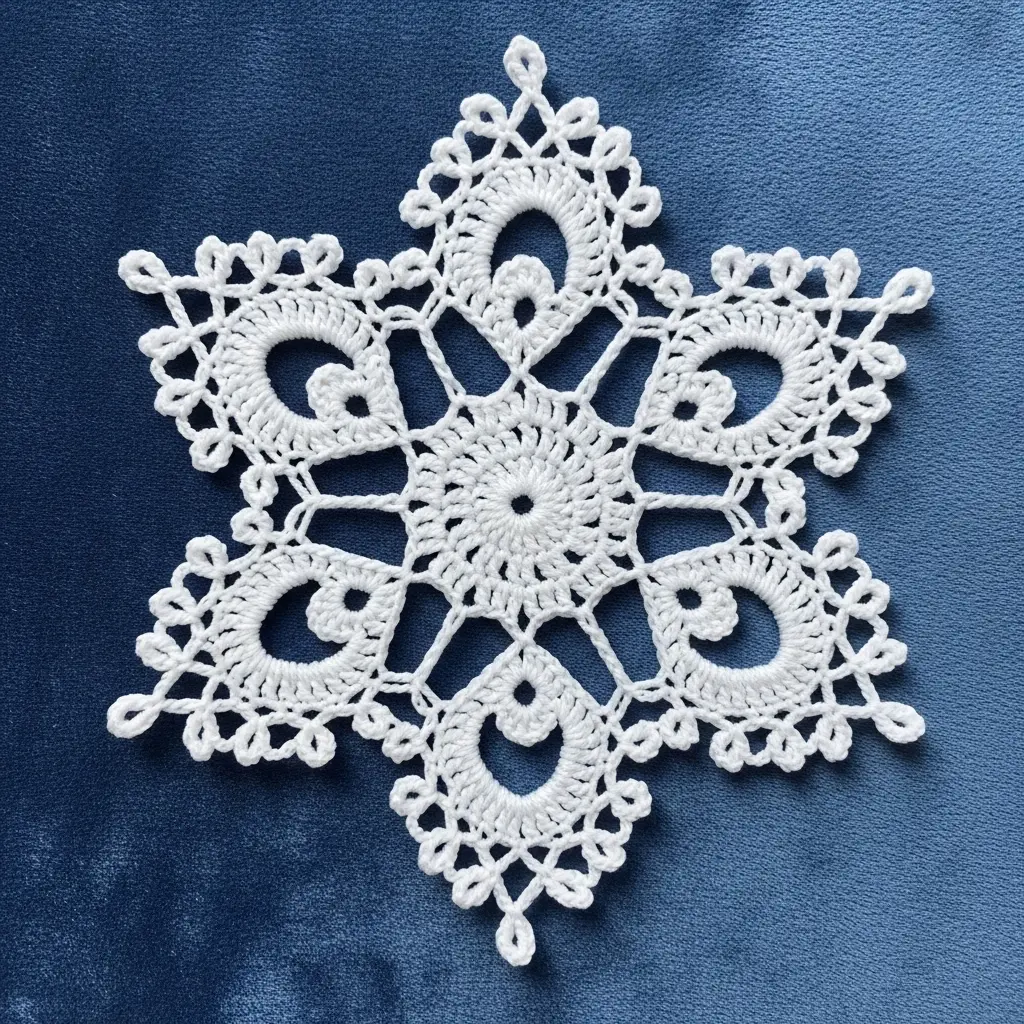
- Best For: A more elegant, romantic snowflake with rounded, looped arms.
- Key Consideration: The arms are made with a long chain that is then anchored back on itself.
- Pro-Tip: To form the arm, you might chain 10, then work a series of single crochets back around the chain itself to create a firm, smooth, teardrop-shaped loop.
- The Basic Idea: A simple center, with a second round focused on creating these 6 beautiful, sturdy, looped arms.
12. The Two-Tone Flake
- Best For: Making any simple pattern look instantly more custom and visually interesting.
- Key Consideration: This is a technique, not a pattern. You simply switch colors for the final round.
- Pro-Tip: To change colors seamlessly, complete the final yarn-over of the last stitch of your first color with the new color.
- The Basic Idea: Work a simple, two-round snowflake in white, then add a final, third round of slip stitches or single crochets in a sparkling silver or icy blue yarn.
13. The Mini Wreath Flake
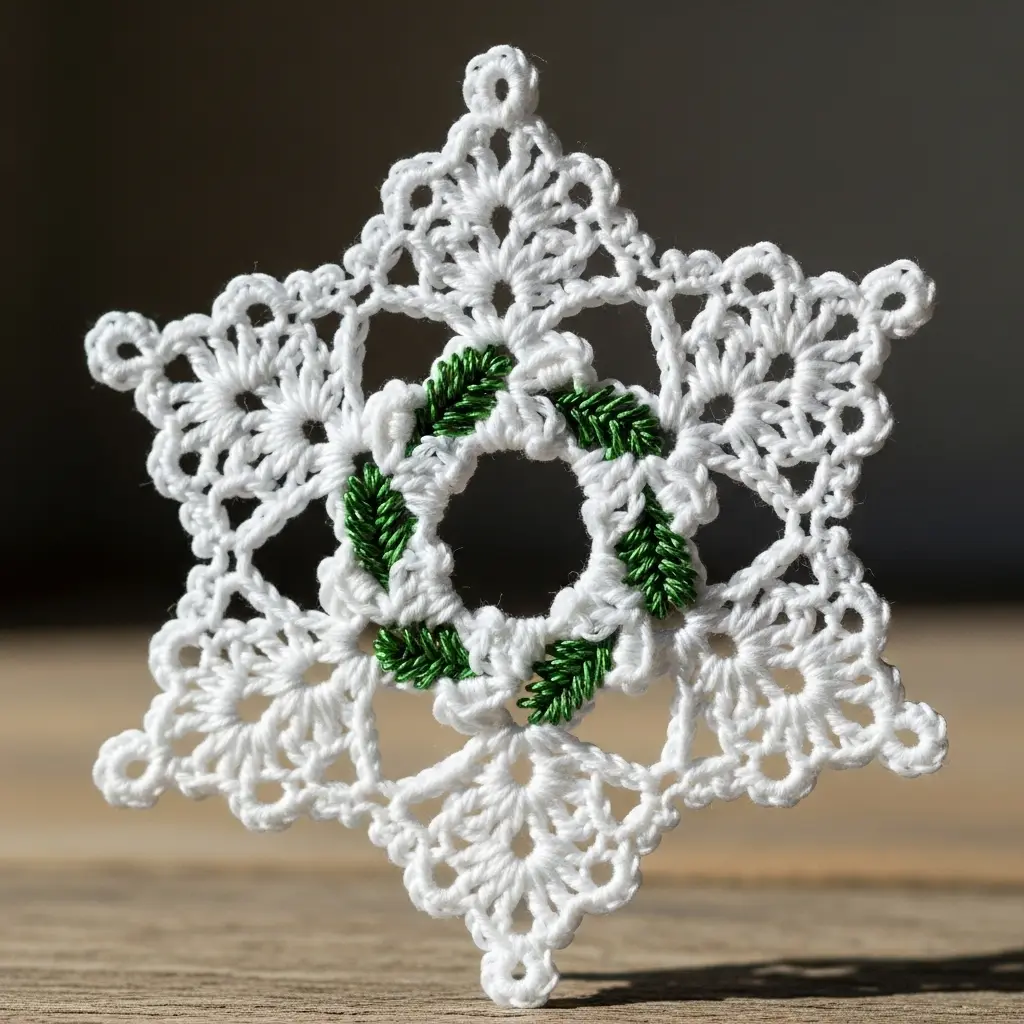
- Best For: A cute, round ornament that feels like a tiny winter wreath.
- Key Consideration: This project involves crocheting around a small plastic or metal ring.
- Pro-Tip: First, completely cover a 1-inch ring with single crochet stitches. Then, work a final round off of that base, adding picots or shell stitches to create the snowflake points.
- The Basic Idea: The ring provides a sturdy, perfectly round base for your lacy additions.
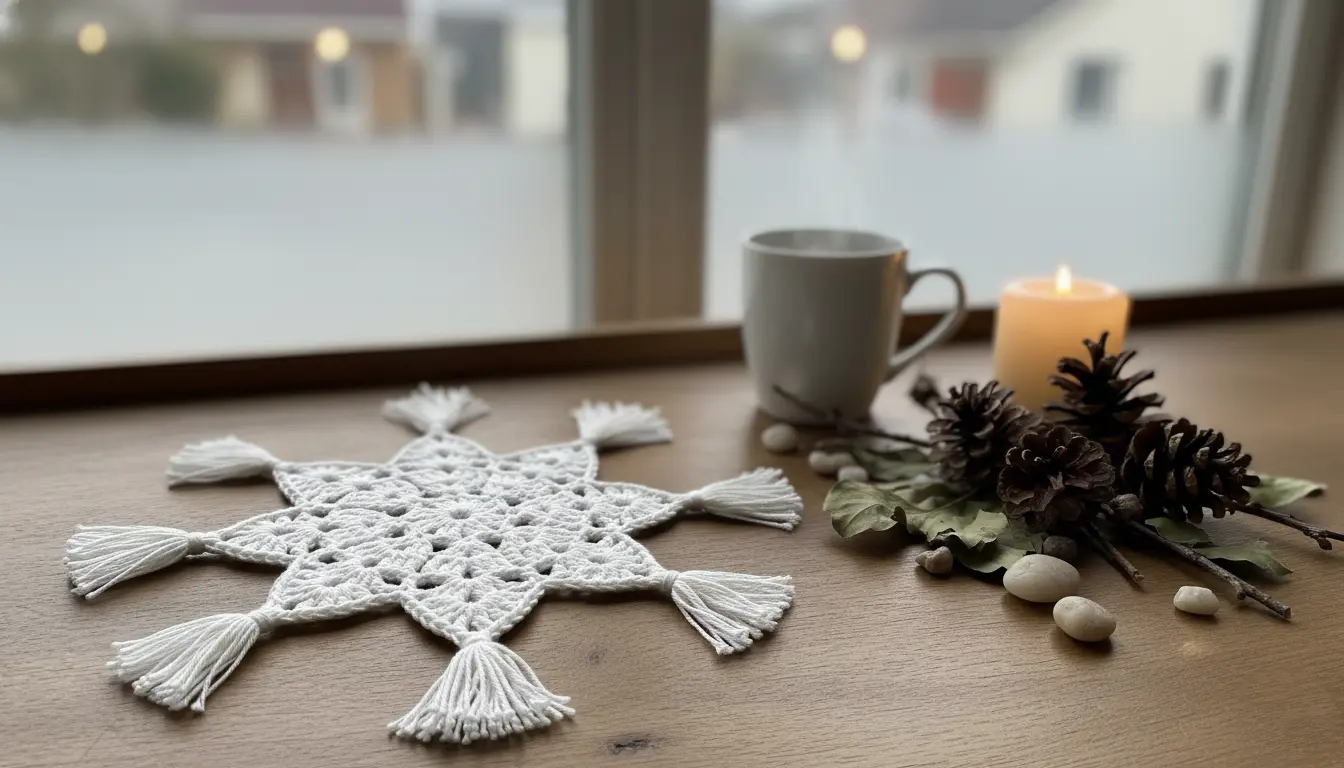
14. The Simple Tassel Flake

- Best For: A fun, boho-chic take on a winter snowflake.
- Key Consideration: This adds a fun, textural element to a simple snowflake base.
- Pro-Tip: Make a very simple, six-sided hexagon flake. Then, create three tiny, delicate tassels and attach one to every other point of the hexagon.
- The Basic Idea: The combination of the lacy crochet and the soft, fluffy tassels is a beautiful textural contrast.
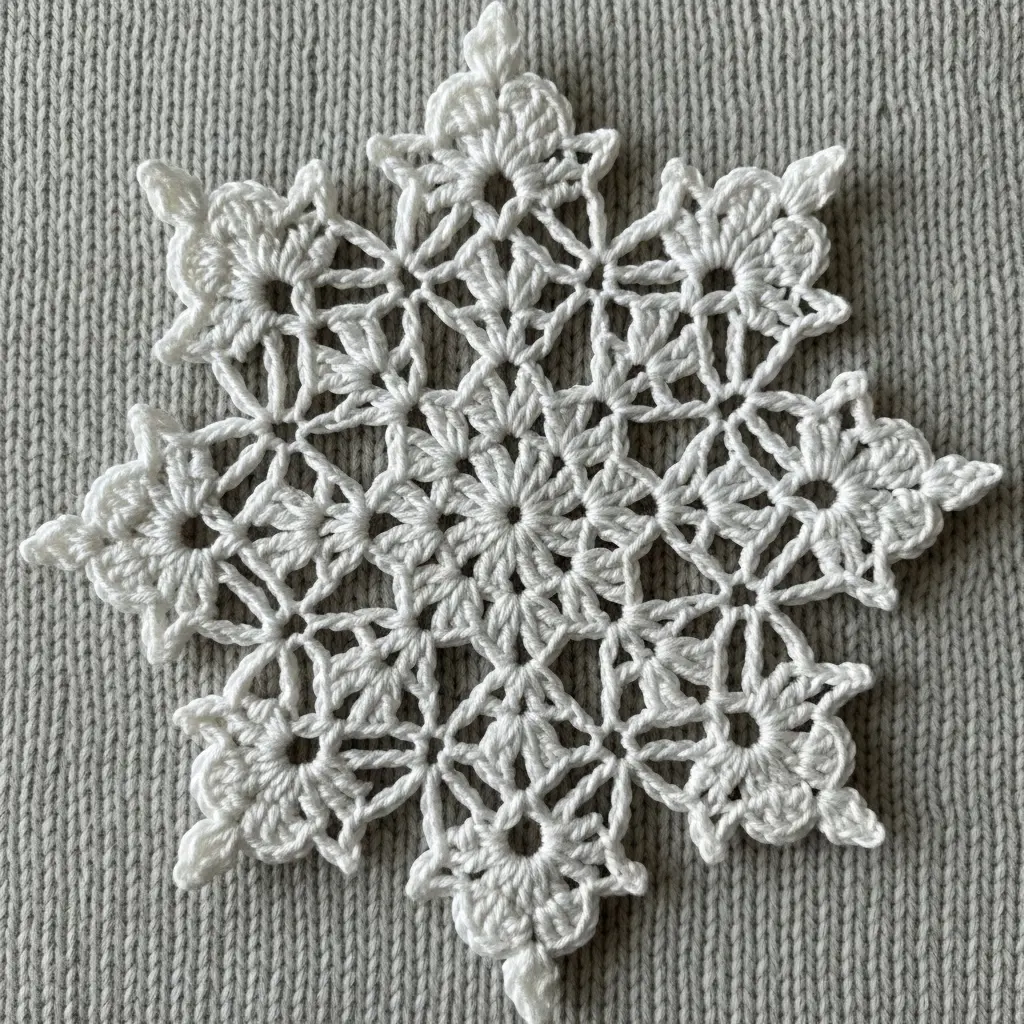
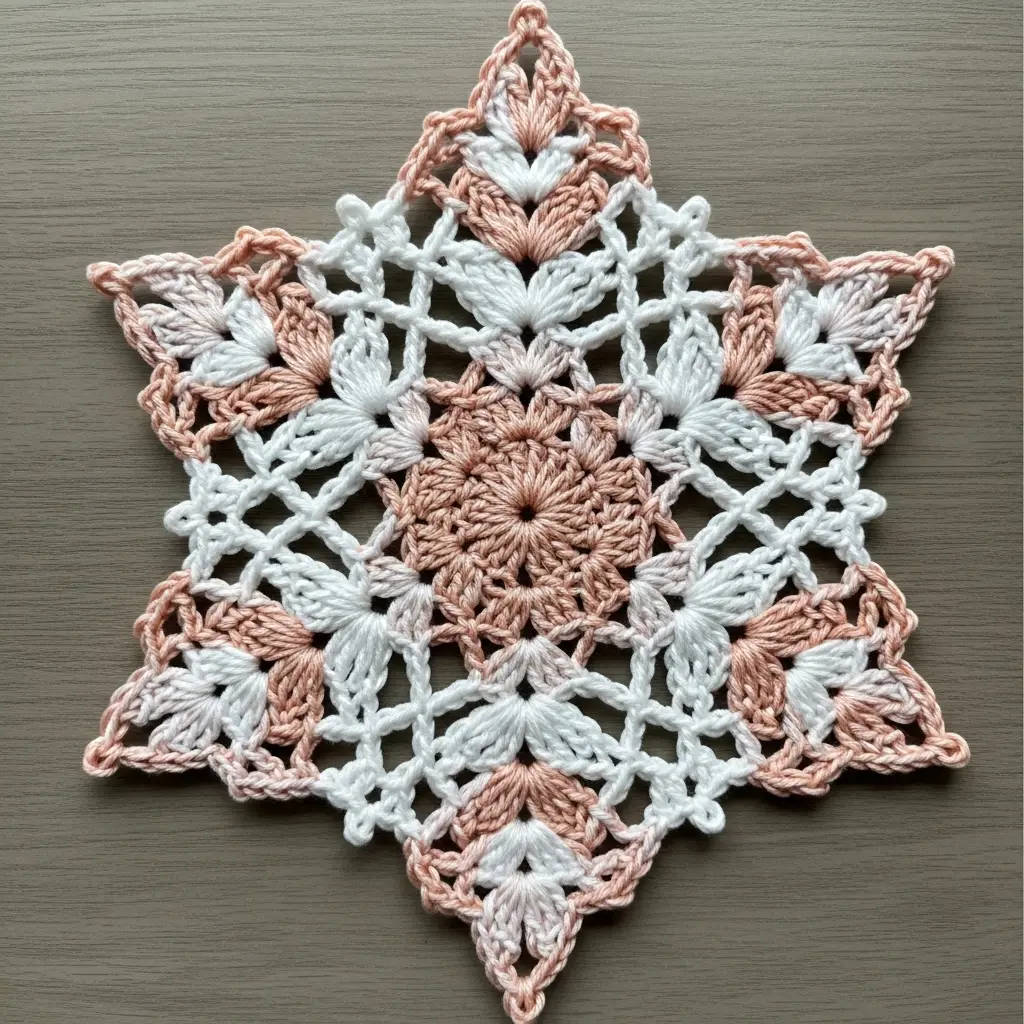
15. The “Beginner’s Luck” Irish Lace Motif
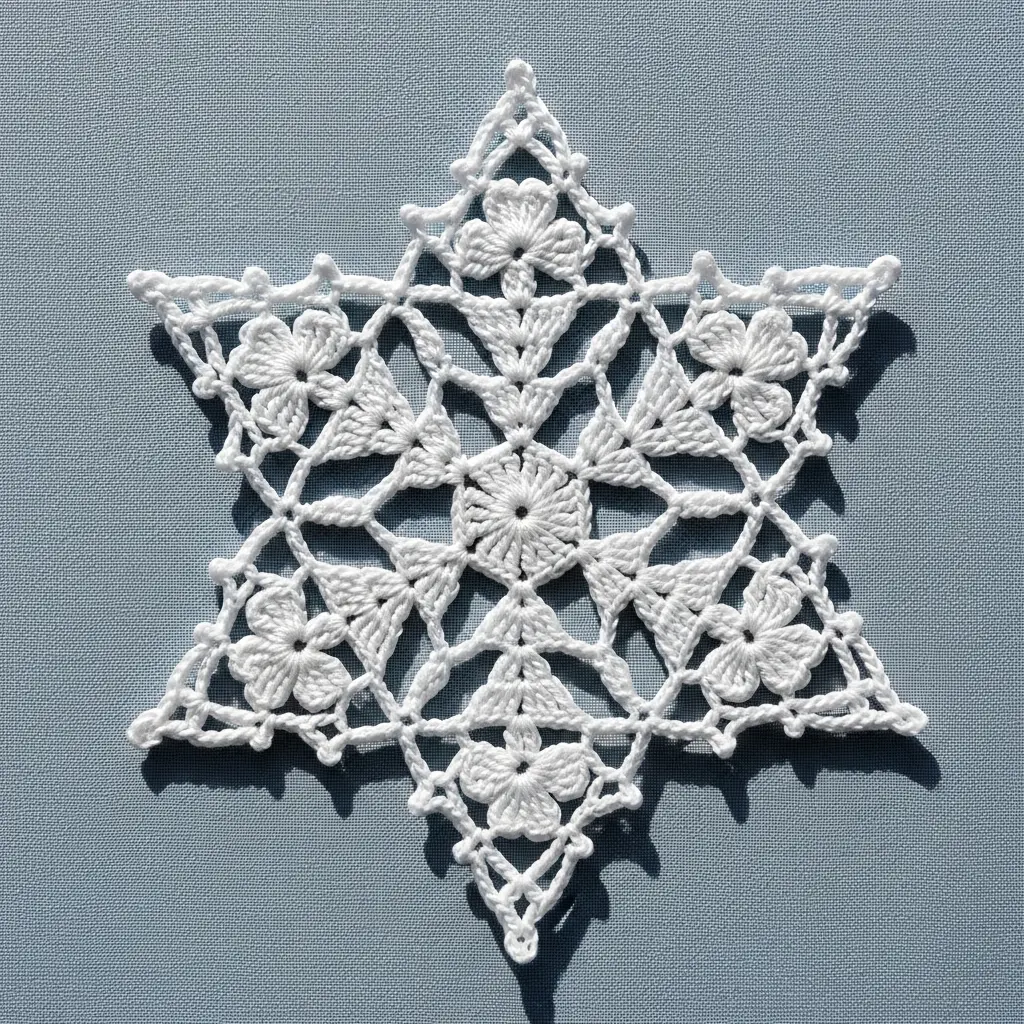
- Best For: The adventurous beginner who wants to try something that looks incredibly intricate.
- Key Consideration: Look for a pattern for a very simple, six-petaled “Irish Rose” or a similar Irish crochet motif.
- Pro-Tip: Irish crochet often features post stitches, which are worked around the “post” of the stitch below. This creates a beautiful, raised, 3D texture. A simple front-post double crochet can elevate a flake from flat to fabulous.
- The Basic Idea: A small, six-sided floral motif made in white yarn creates a stunning, heirloom-quality snowflake.
Conclusion: Your Handmade Winter Wonderland Awaits
And just like that, you’re no longer just looking at a hook and some thread; you’re looking at a whole flurry of creative possibilities.
You have the ideas, the inspiration, and the beginner-friendly secrets to create a beautiful collection of crochet snowflakes.
This isn’t just about making ornaments; it’s about the quiet joy of creating something beautiful with your own two hands and starting a new holiday tradition.
It all starts with a single choice. Pick a simple pattern that sparked your curiosity, make your first slip knot, and let the magic begin.
You’ve got this.
