Is your backyard just a stretch of grass? A patio that feels exposed and underused, baking in the sun? You’re in the right place to change that.
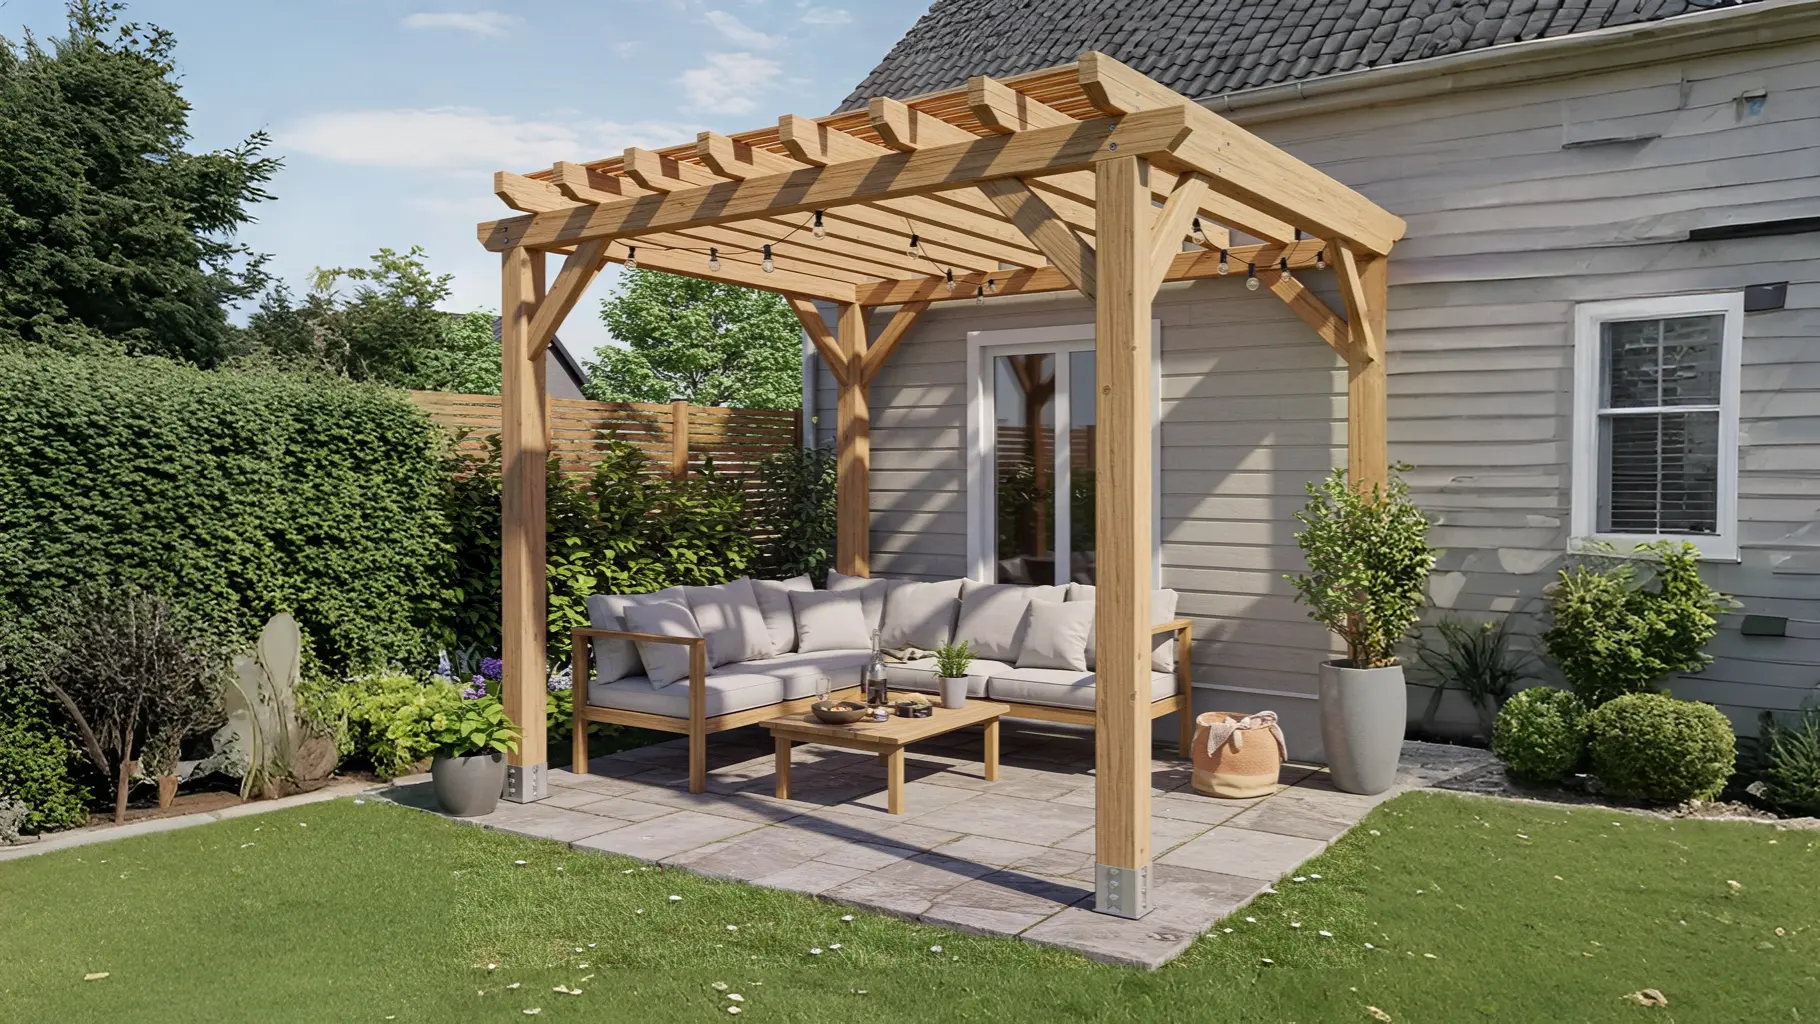
A pergola shouldn’t just be a wooden structure; it should be the heart of your outdoor life, a backdrop for summer barbecues and quiet mornings, an architectural feature that defines a space and creates a sanctuary.
This is your creative playbook for transforming that empty space into a feature that’s not only beautiful and functional but feels deeply, personally you.
We’ll explore smart designs, decode the secrets of a sturdy build, and walk through the practical steps to bring your vision to life.
By the end, you’ll see your backyard not as a simple lawn, but as a canvas for your dream outdoor room.
Before You Begin: Dreaming Up Your Outdoor Oasis
The most impressive outdoor structures start with a clear vision, not just a pile of lumber. Before you dig a single hole, let’s lay the groundwork for a design that complements your home, suits your lifestyle, and will be a source of joy for years to come. Ask yourself: what is the primary purpose of this space? Dining? Lounging? A garden feature?
The Secrets of Style: Simple Rules for a Stunning Structure
Pergola design seems straightforward, but these simple rules are what separate a basic box from a stunning architectural feature.
- Proportion is Everything: The scale of your pergola must feel right for your house and yard. A massive, towering structure next to a small, single-story home can look out of place. Similarly, a tiny pergola can get lost in a large yard. Aim for a size that feels like a natural extension of your home.
- Material Matters: The wood you choose defines the look, longevity, and cost. Pressure-treated pine is the most budget-friendly and durable against rot. Cedar is more expensive but is naturally rot-resistant and has a beautiful, rich color that ages to a silvery gray.
- Location is Key (Follow the Sun): A pergola’s main job is to provide shade. Pay attention to where the sun is at the times you’ll use the space most. For afternoon shade from the hot western sun, you’ll want to orient your rafters accordingly.
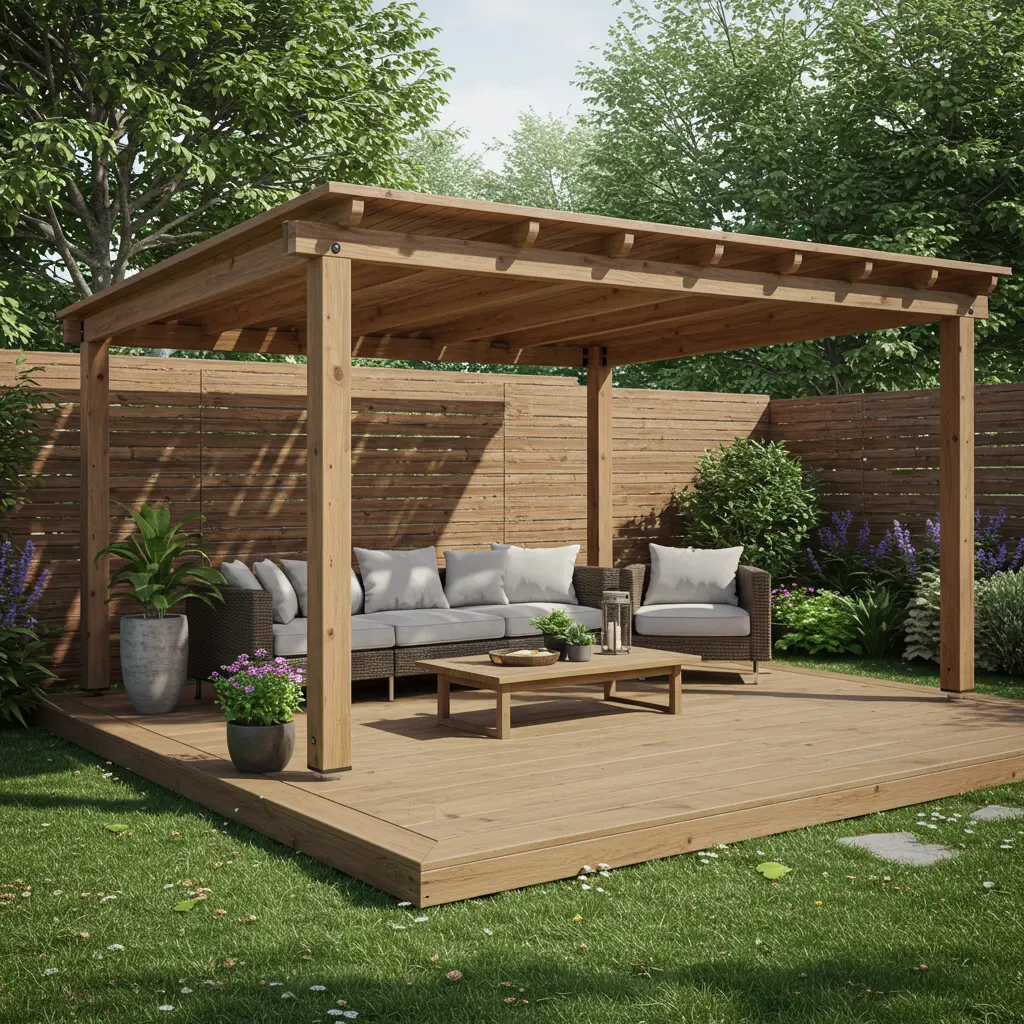
- Integrate, Don’t Isolate: The best pergolas feel connected to the home. Building one directly off the back door over a patio creates a seamless indoor-outdoor transition. A freestanding pergola should be connected to other landscape elements via a clear pathway.
What’s the Real Cost? A No-Fuss Budget Breakdown
| The Approach | Estimated Cost | What Your Money Buys | The Little Extras (Don’t Skip These!) |
| The Simple Shade Structure | $500 – $1,500 | • A basic 8’x8′ or 10’x10′ design • Pressure-treated lumber & concrete | • Post-hole digger rental • A good level & speed square • Exterior-grade wood screws |
| The Polished Pergola | $1,500 – $4,000 | • A larger, more complex design (12’x16′) • Premium lumber like cedar • Decorative hardware & post bases | • A miter saw for clean, angled cuts • A high-quality exterior stain & sealer • Lag bolts & a socket wrench set |
| The Custom Outdoor Room | $4,000 – $10,000+ | • A very large, custom-designed structure • Potential for a contractor’s help • Features like built-in lighting or a privacy wall | • Permit fees (check local codes!) • Cost of running electrical • Professional-grade tools |
The Design Menu: Your Step-by-Step Building Guide
Here are the essential steps to building your perfect backyard retreat. Each one comes with a breakdown to help you build with confidence.
1: Plan with Precision – Size, Style, and Location Matter!
- Why It’s Crucial: This is the most important step. A well-thought-out plan saves you time, money, and headaches. Rushing this step is the fastest way to a crooked, undersized, or poorly placed pergola.
- Key Consideration: Check your local building codes! Many areas require a permit for structures of a certain size or height. You also need to call 811 to have underground utilities marked before you dig.
- Pro-Tip: Don’t just sketch. Use stakes and string to lay out the actual footprint of the pergola in your yard. Live with it for a few days to get a real sense of the size and how it impacts your space.
2: Gather Your Materials and Tools
- Why It’s Crucial: Having every single piece of lumber, piece of hardware, and tool on-site before you start prevents frustrating mid-project trips to the hardware store.
- Key Consideration: Create a detailed “cut list” from your plan. This is a list of every board you need and its exact length. This ensures you buy the right amount of lumber and can make your cuts efficiently.
- Pro-Tip: When buying lumber, purchase about 10-15% extra to account for mistakes, warped boards, or knots in the wood that you need to cut around.
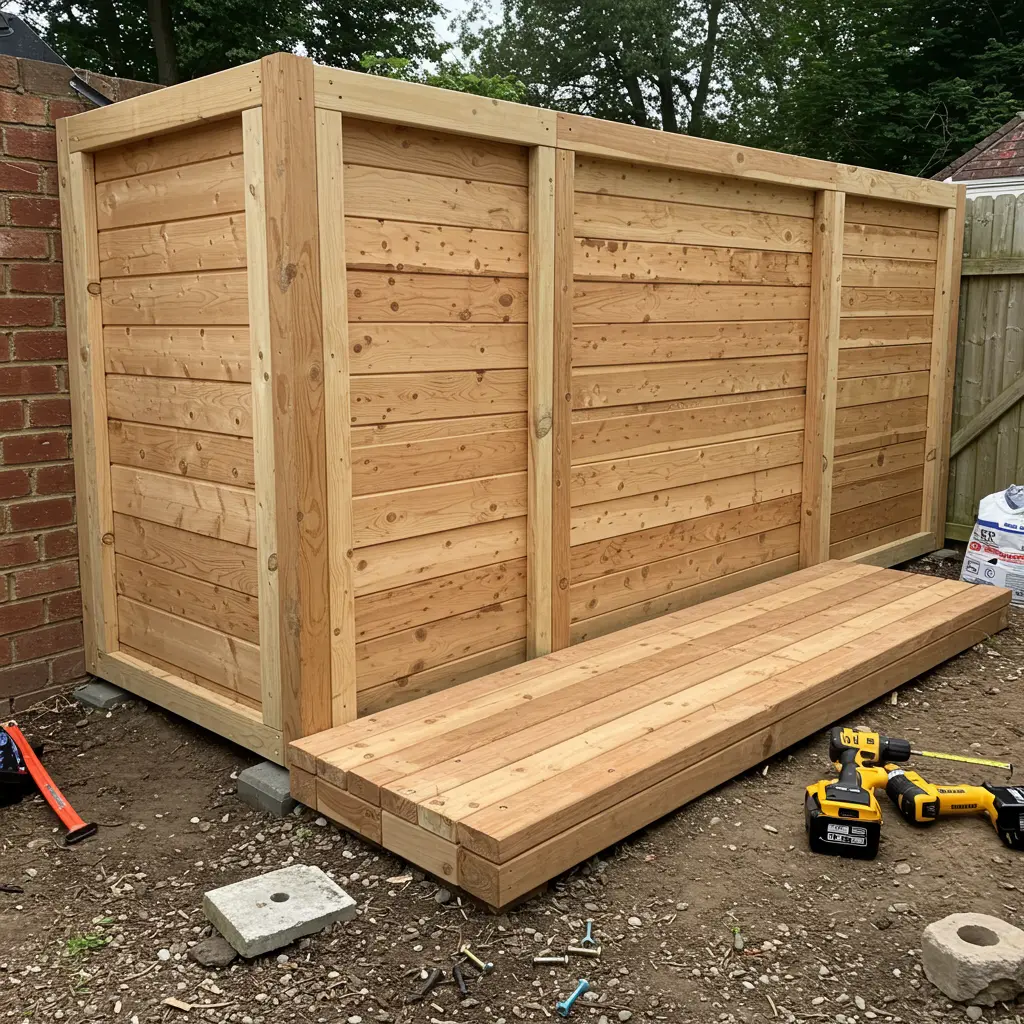
3: Mark and Prepare Your Pergola Site
- Why It’s Crucial: A square and level foundation is the key to a professional-looking structure. If your posts are out of square, every subsequent beam and rafter will be crooked.
- Key Consideration: The ground must be cleared and as level as possible. This ensures your measurements for post height are accurate.
- Pro-Tip: To ensure your layout is perfectly square, use the 3-4-5 triangle method. Measure 3 feet down one string line and 4 feet down the connecting line. The diagonal distance between those two points should be exactly 5 feet.
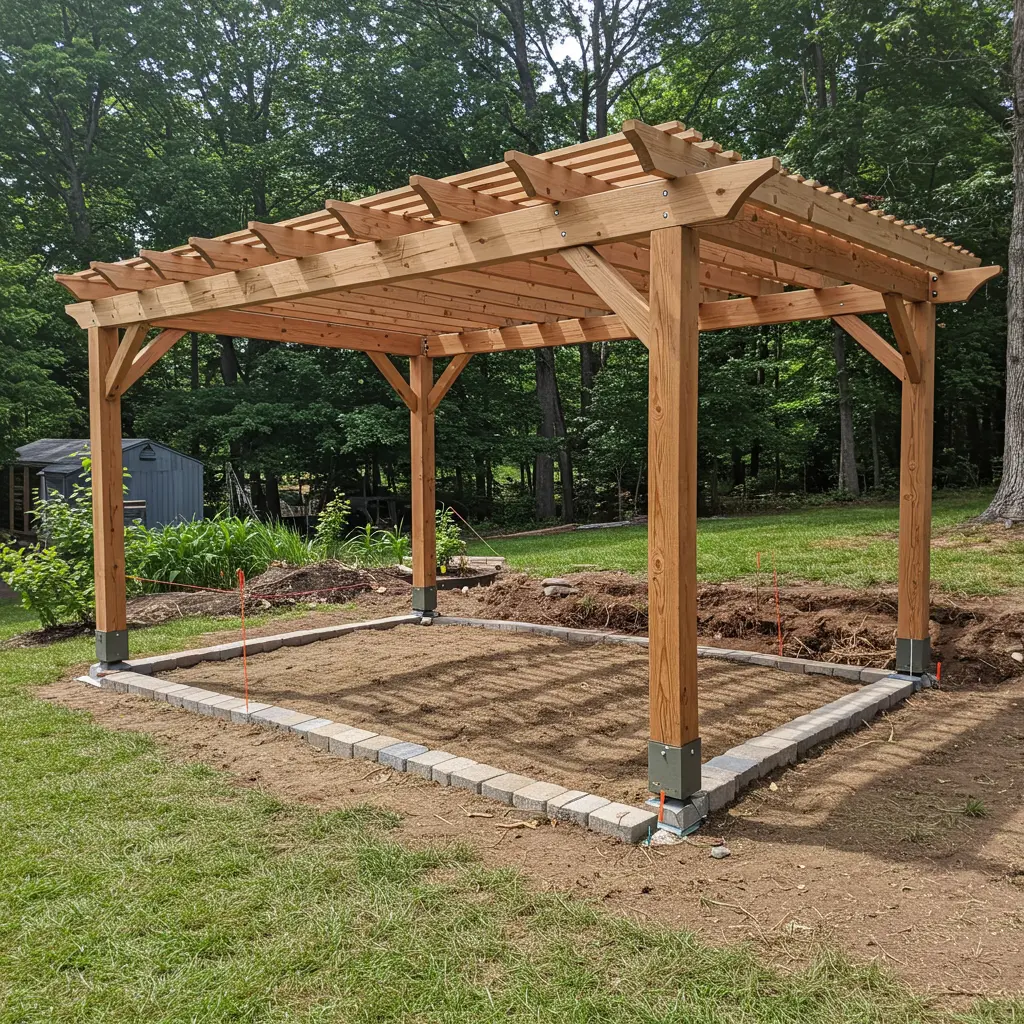
4: Secure the Support Posts – The Backbone of Your Pergola
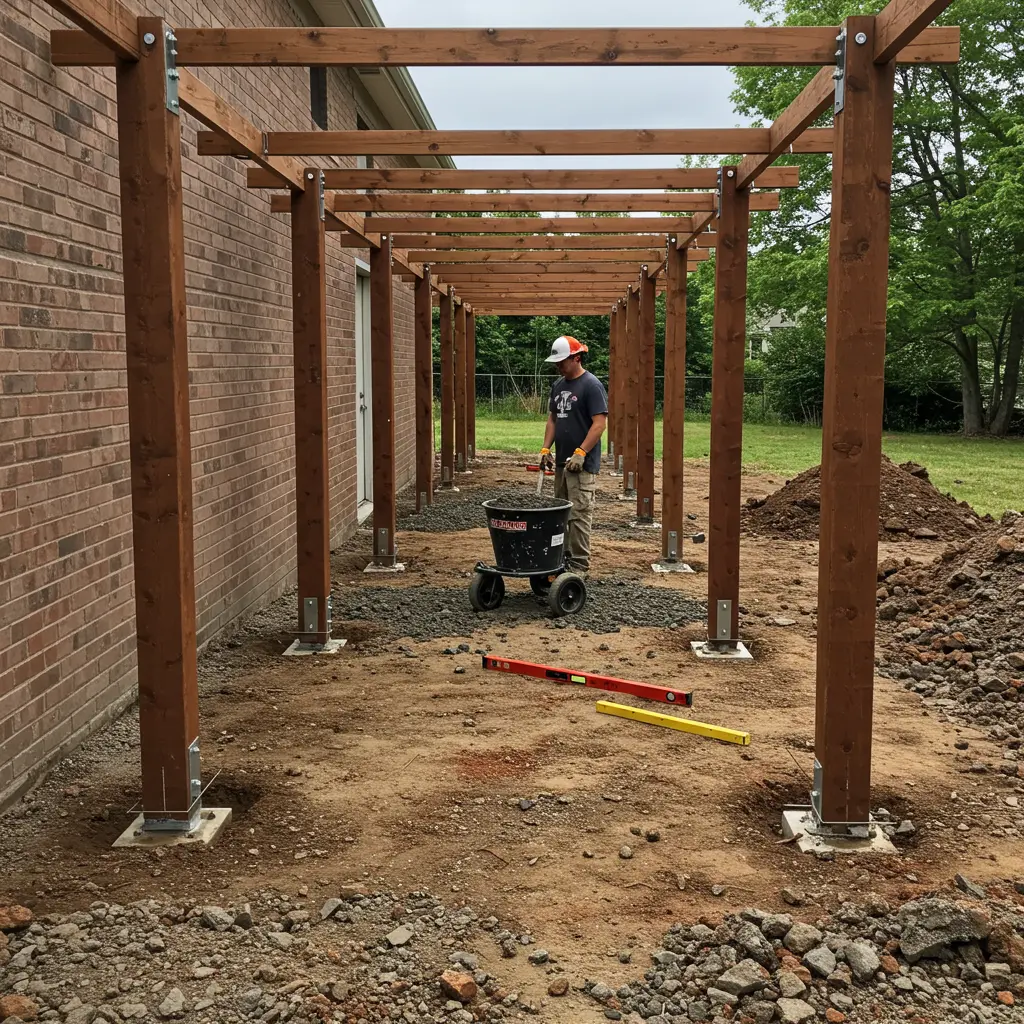
- Why It’s Crucial: The posts are the entire foundation of your pergola. They must be strong, stable, and perfectly plumb (vertically level) to support the weight of the structure.
- Key Consideration: The depth of your post holes is critical for stability. A general rule is that 1/3 of your post should be in the ground, and it should extend below your area’s frost line to prevent heaving in the winter.
- Pro-Tip: After placing your posts in the concrete-filled holes, use temporary 2×4 braces to hold them perfectly plumb in two directions while the concrete cures for at least 24-48 hours.
5: Build and Attach the Beams
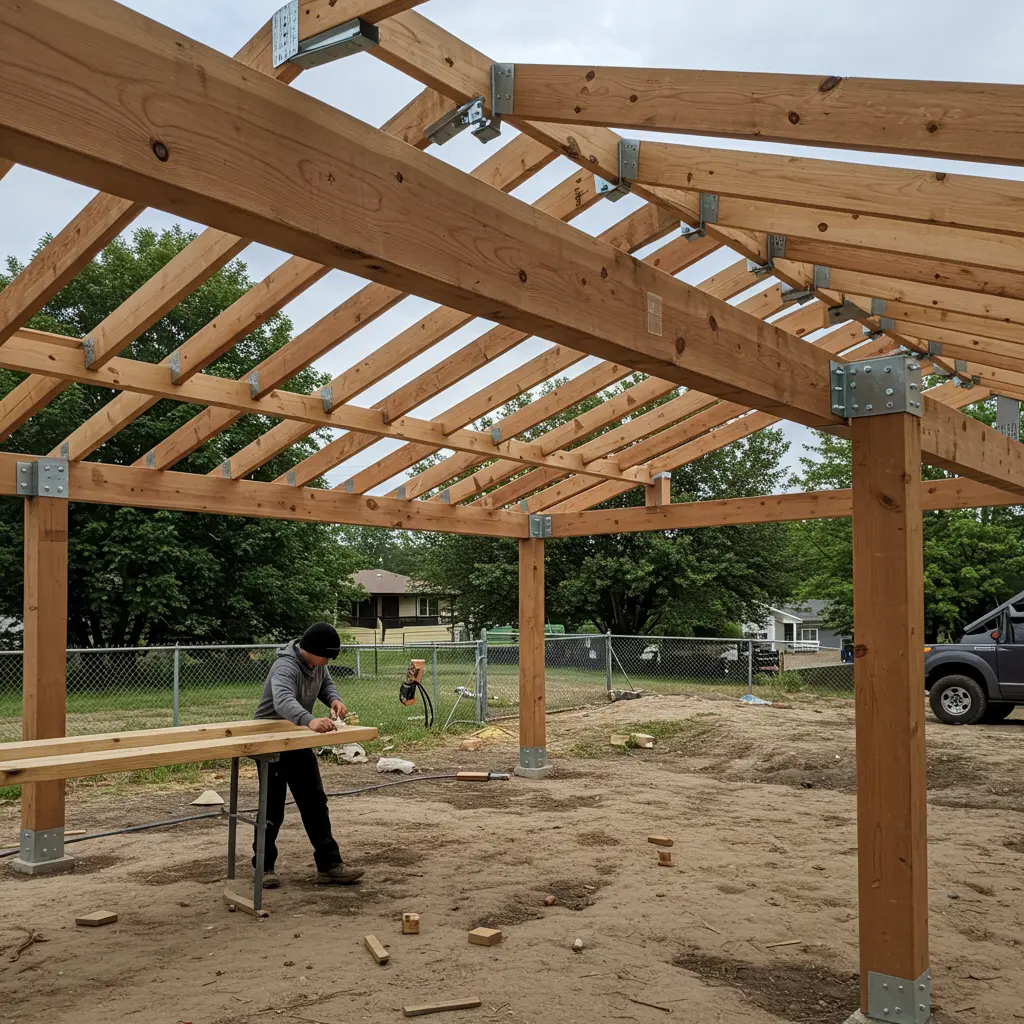
- Why It’s Crucial: The main support beams carry the entire weight of the rafters and define the top frame of your pergola. They must be level and securely attached.
- Key Consideration: Beams are heavy. This is a two or three-person job. Never attempt to lift and install them alone.
- Pro-Tip: To make installation easier, temporarily screw a 2×4 “cleat” to each post, perfectly level, for the beam to rest on while you secure it with heavy-duty lag bolts or carriage bolts.
6: Install the Rafters for That Perfect Pergola Look
- Why It’s Crucial: The rafters are the signature element of a pergola, creating the pattern of light and shadow. Their spacing and alignment determine the final look.
- Key Consideration: Decide on your spacing. Rafters spaced 12-16 inches apart will provide more shade than those spaced 24 inches apart.
- Pro-Tip: To create identical decorative cuts on the tails of your rafters, make a template from a scrap piece of wood. Trace this template onto each rafter for a consistent, professional finish.
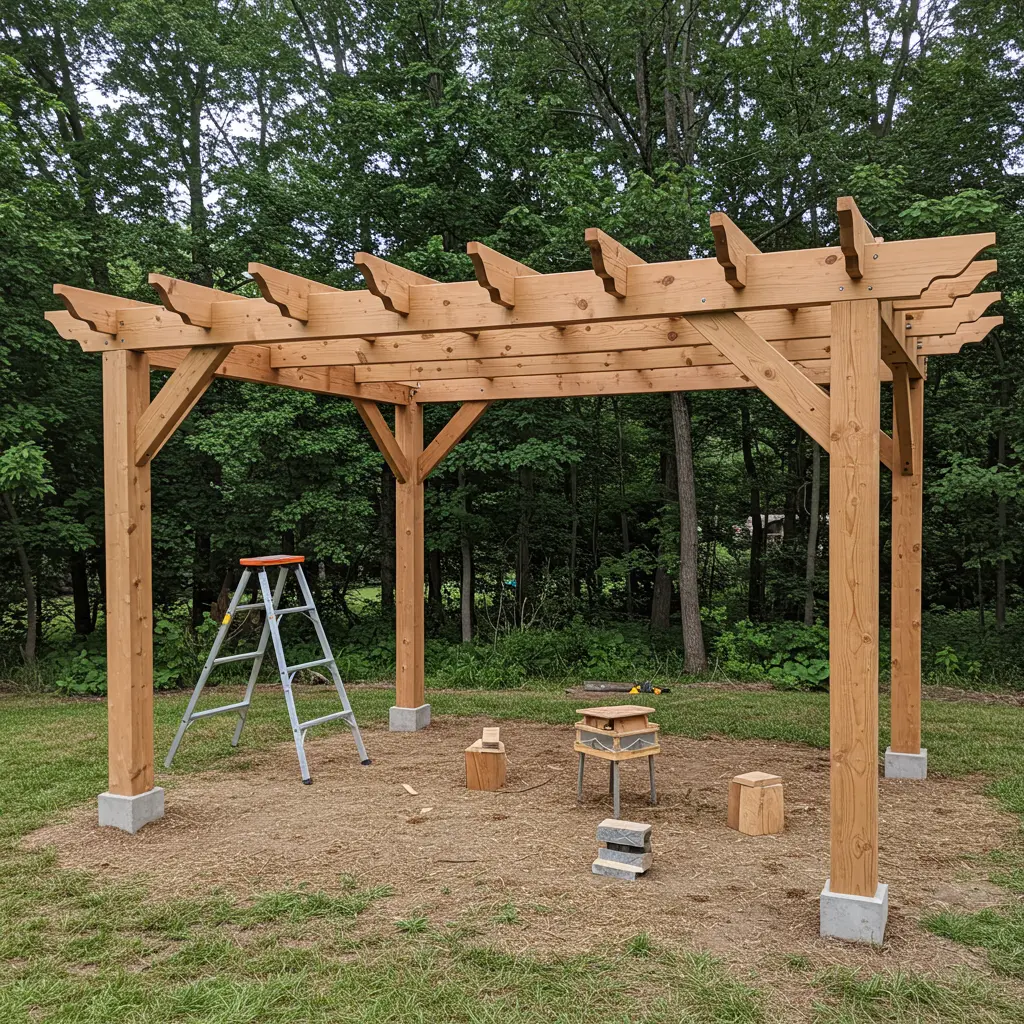
7: Enhance with Cross Beams or Lattice for Extra Shade

- Why It’s Crucial: For many climates, rafters alone don’t provide enough shade. These smaller top pieces, called purlins, are what truly create a comfortable, shaded retreat.
- Key Consideration: Purlins are typically smaller than the rafters (e.g., 2x2s or 2x4s) and are installed perpendicular to them, running across the top.
- Pro-Tip: This top layer provides the perfect framework for climbing plants like wisteria, clematis, or grapevines, which will eventually create a lush, living canopy of shade.
8: Sand, Stain, or Paint for a Professional Finish
- Why It’s Crucial: A protective finish is not just for looks; it’s essential for protecting your investment from sun, rain, and rot, ensuring it lasts for many years.
- Key Consideration: A semi-transparent stain will showcase the natural beauty of the wood grain, while a solid stain or paint offers the most UV protection and allows for bold color choices.
- Pro-Tip: If possible, stain or paint your rafters and purlins on the ground before you install them. It is infinitely easier than trying to do it on a ladder while reaching overhead.
9: Add Lights and Décor for Ambience
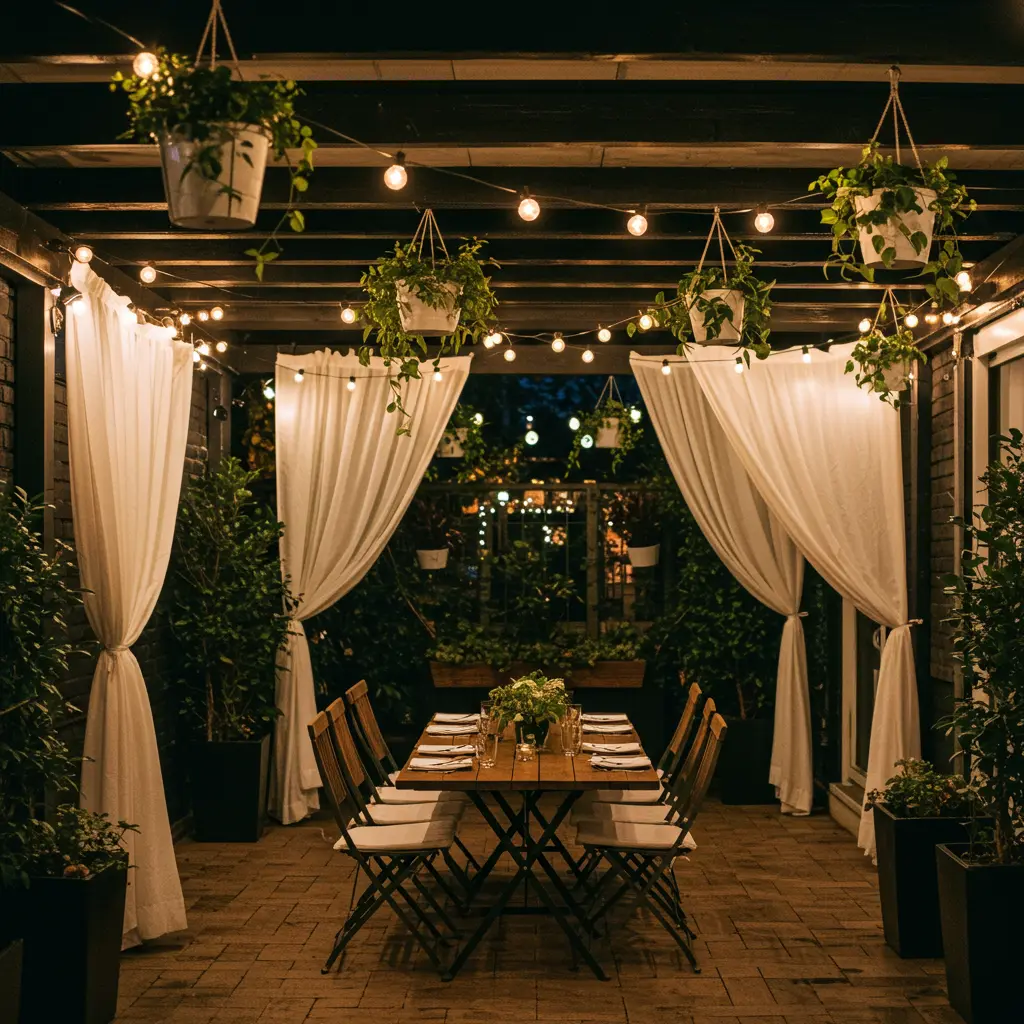
- Why It’s Crucial: This is the step that transforms your wooden structure into a magical outdoor room that can be enjoyed day and night.
- Key Consideration: Only use lights and extension cords that are specifically rated for outdoor use.
- Pro-Tip: Weave outdoor-rated string lights or Edison bulbs through the rafters for a warm, inviting glow. For a touch of elegance, hang outdoor curtains from a wire or conduit pipe mounted inside the pergola frame.
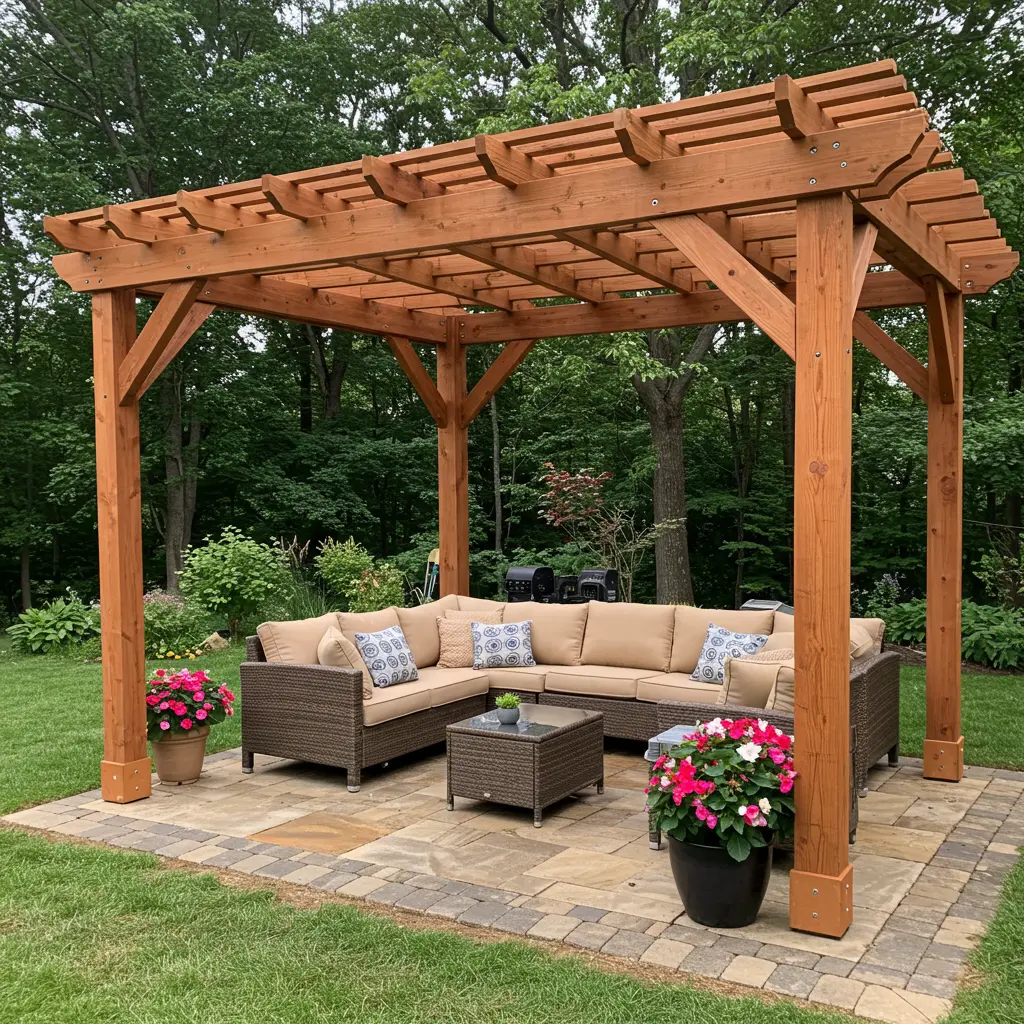
10: Enjoy and Personalize Your New Outdoor Retreat
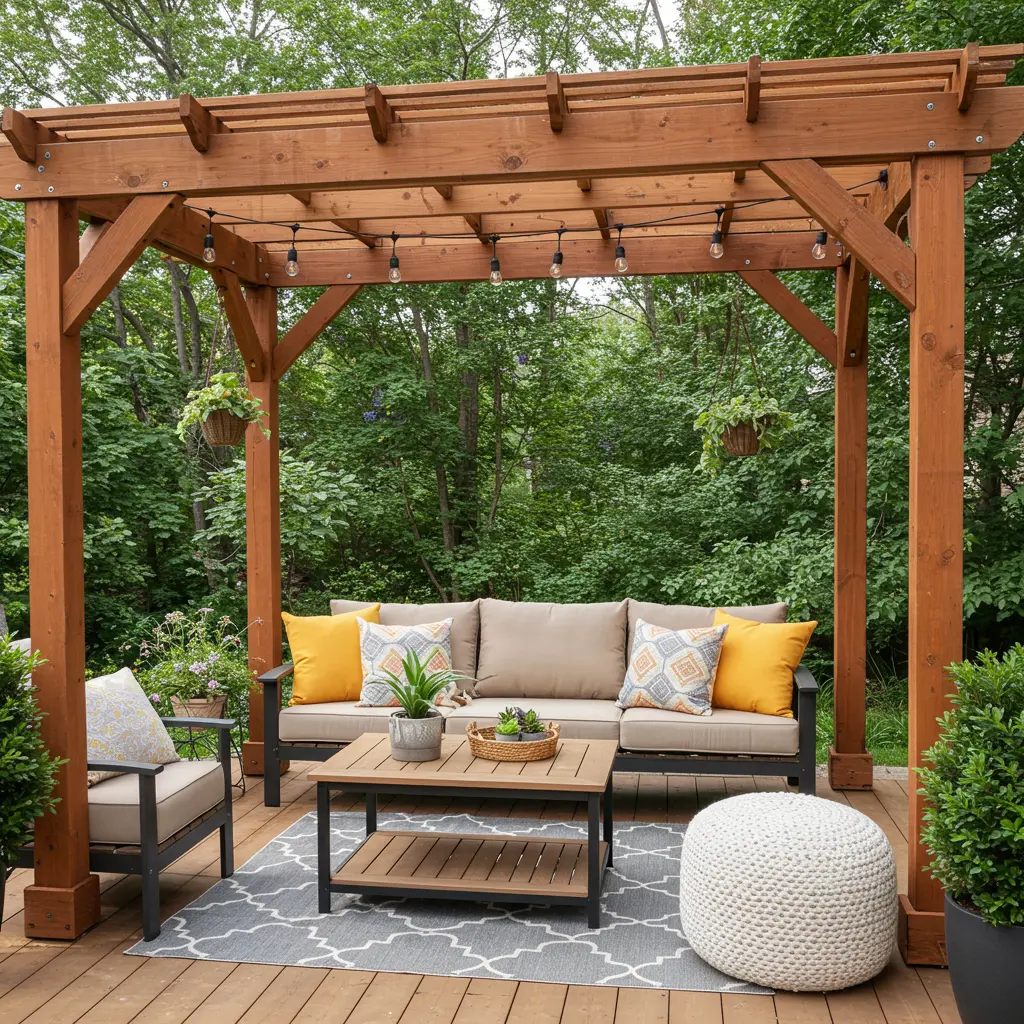
- Why It’s Crucial: You did it! This is the payoff for all your hard work. Now it’s time to make the space truly yours.
- Key Consideration: Choose outdoor furniture that fits the scale of your pergola. A comfortable seating area, a dining table, or a pair of chaise lounges will define the space’s function.
- Pro-Tip: An outdoor rug is the fastest way to define the seating area and make the pergola feel like a true “room.” Add potted plants and comfortable pillows to complete your personal oasis.
Final Thoughts – Your Dream Pergola Awaits!
And just like that, you’re no longer just looking at an empty patio you’re looking at a world of possibilities for relaxation and entertainment. You have the ideas, the inspiration, and the know-how to build a stunning DIY pergola that will add immense value and enjoyment to your home. This isn’t just a weekend project; it’s an investment in your lifestyle.
It all starts with a single choice. Pick a spot in your yard, grab your tape measure, and take the first small step.
You’ve got this.
