🐰 Is your home ready for a touch of springtime magic? Are you looking for a way to create memories that last longer than the chocolate eggs? You’re in the right place.
This isn’t just a list of crafts; it’s your creative playbook for transforming simple materials into pure Easter joy. A handmade bunny shouldn’t just be a decoration; it should be a little piece of the season’s heart, a backdrop for family fun, egg hunts, and cherished moments.
We’ll explore adorable designs, decode the secrets to a polished look, and walk through the practical tips to bring it all to life.
By the end, you’ll see your craft table not as a mess to be made, but as a canvas waiting for your story.
Before You Begin: Your Crafting Game Plan
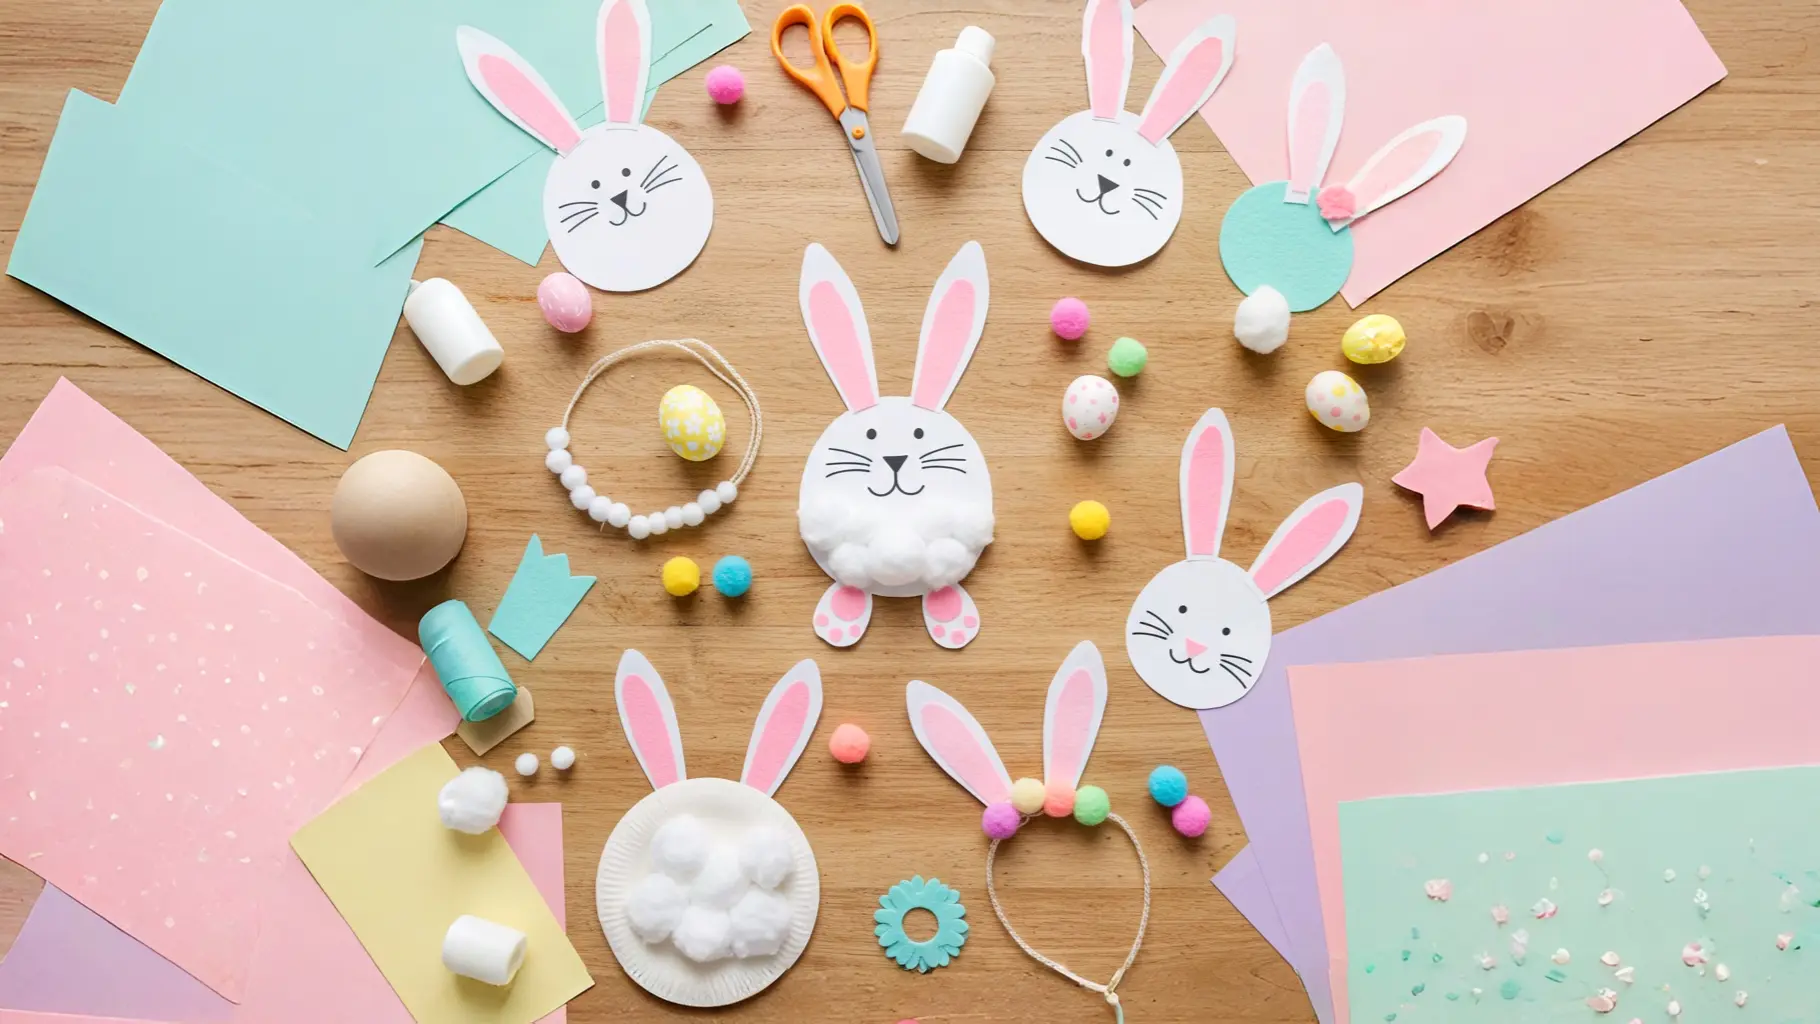
The most delightful projects start with a little bit of preparation, not just a frantic search for glue. Before you snip a single piece of felt, let’s lay the groundwork for a fun, stress-free crafting session that you’ll love from start to finish.
The Secrets to Adorable Crafts: Simple Rules for a Stunning Look
Craft theory sounds complicated, but it’s really just about what makes something feel charming and special. Here are a few simple secrets:
- The Texture Trio: The cutest projects often combine different textures. Think about mixing something fluffy (like a pom-pom or cotton ball), something smooth (like cardstock or painted wood), and something with a little shine (like a touch of glitter or a metallic marker). This creates visual interest and makes your creations look more high-end.
- Pastel Power: A harmonious color palette is key. Stick to a classic Easter palette of 3-4 complementary pastels (like soft pink, baby blue, mint green, and pale yellow). Using these consistently across your projects will make all your decor feel cohesive and professionally styled.
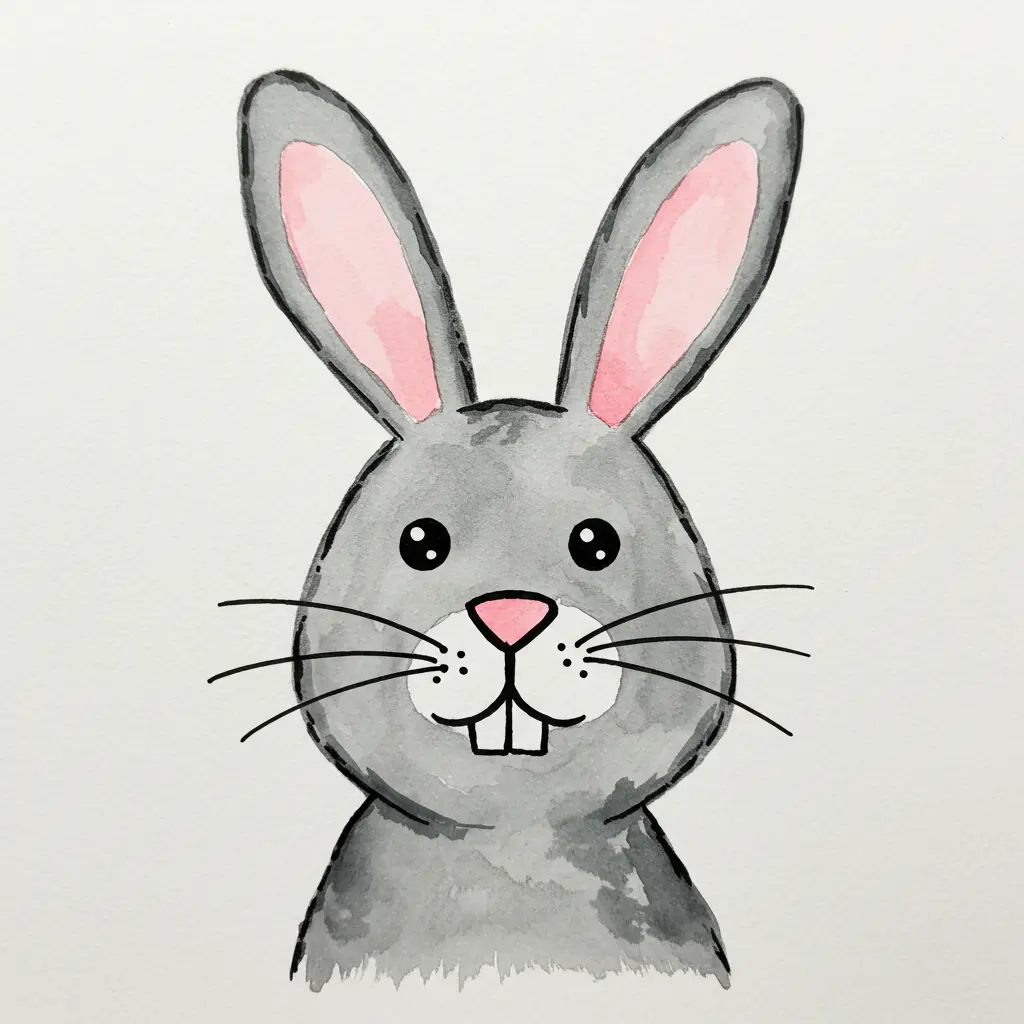
- It’s All in the Face: When making a bunny, the expression is everything. For a sweet, simple look, two dots for eyes and a small ‘Y’ or ‘X’ for the nose and mouth is a foolproof formula. Keep it simple and let the cuteness shine.
- Focus on the Ears: A bunny’s character comes from its ears! Long and floppy feels gentle and sweet. Tall and straight feels alert and playful. Don’t be afraid to give them a little bend or fold to add personality.
The Design Menu: Finding Your Signature Style
Here are the ingredients for your perfect Easter crafting day. Each one comes with a breakdown to help you choose with confidence.
1. Pom-Pom Bunny Garland
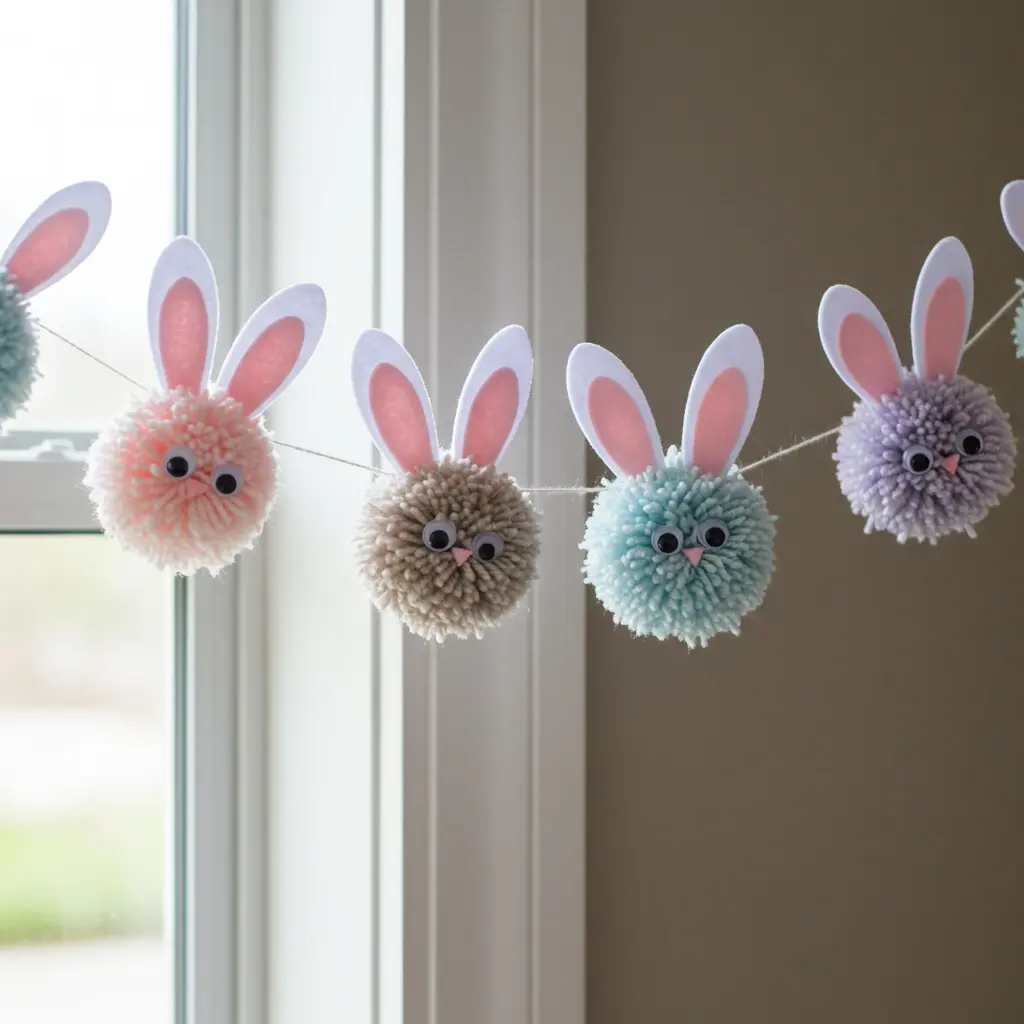
- Best For: Adding instant whimsy to a mantelpiece, doorway, or party table. A fantastic beginner-friendly project with a big visual payoff.
- Key Materials: Pastel yarn, a pom-pom maker (or a fork!), felt for ears, small beads or thread for eyes, hot glue gun.
- Pro-Tip: Make your pom-poms in slightly different sizes to give your garland a more organic, playful rhythm. For an extra full look, use a thicker, fluffier yarn.
- Styling Cue: Weave a thin strand of battery-powered fairy lights through the garland for a magical, twinkling effect in the evening.
2. Bunny Ear Headbands
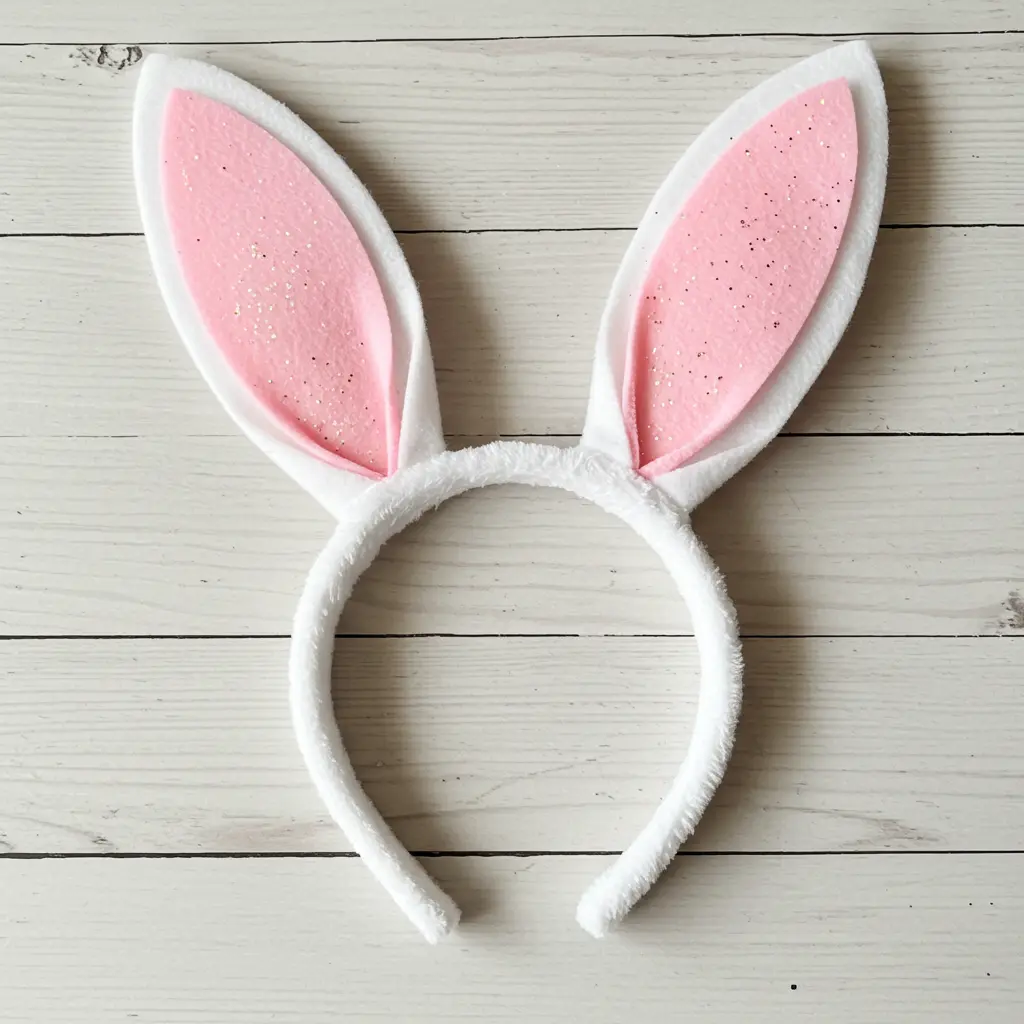
- Best For: Kids’ parties, photo booth props, or as a fun activity everyone can do together on Easter morning.
- Key Materials: Simple plastic or metal headbands, sturdy pipe cleaners (white or pink), felt, and a hot glue gun.
- Pro-Tip: For ears that are extra posable, twist two pipe cleaners together for each ear before covering them with felt. This gives them more structure to be bent into cute shapes.
- Styling Cue: Set up a “decoration station” and let kids (and adults!) personalize their headbands with glitter, small faux flowers, or ribbons.
3. Mason Jar Bunny Treat Holders
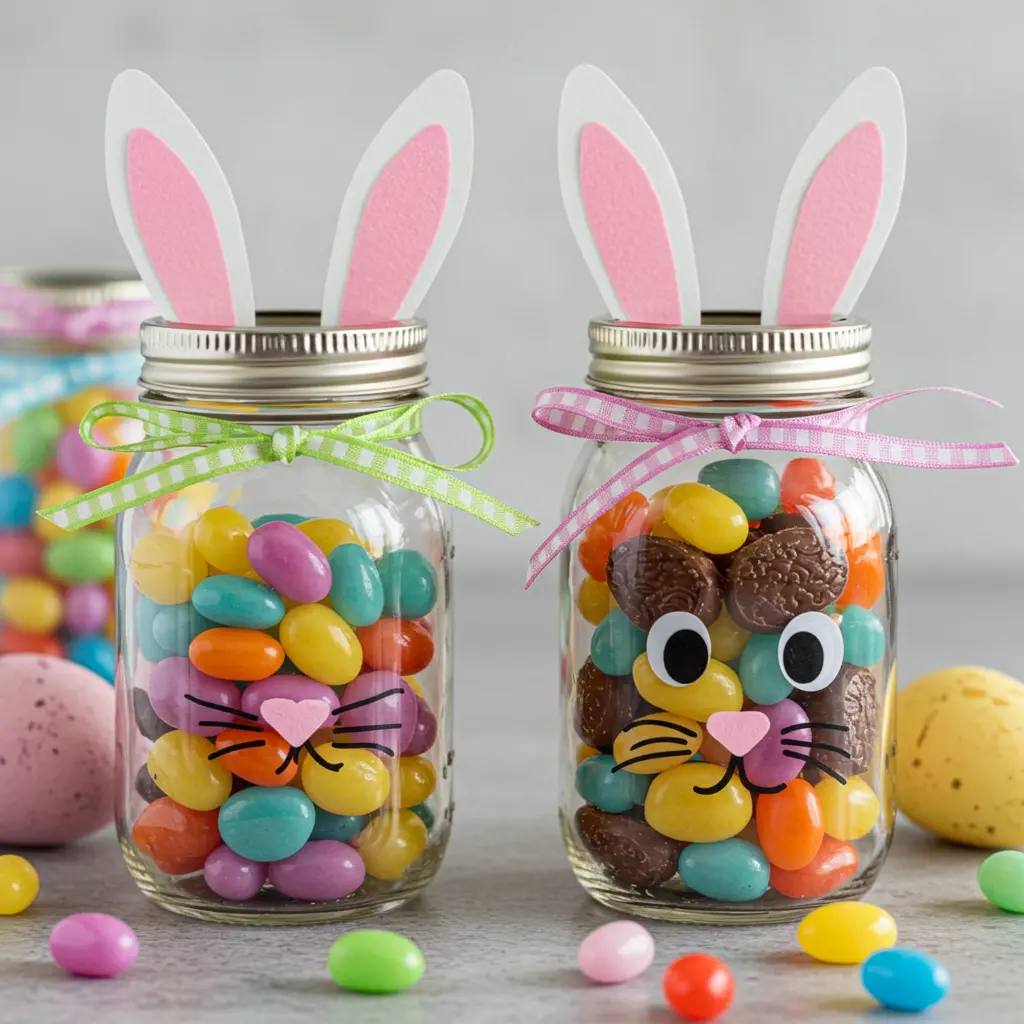
- Best For: Creating charming, personalized Easter gifts or party favors. A great way to present chocolates or homemade goodies.
- Key Materials: Mason jars, white or pastel acrylic paint, felt or craft foam for ears, black permanent marker, ribbon.
- Pro-Tip: Before painting, wipe the outside of the jar with rubbing alcohol. This removes any residue and helps the paint adhere smoothly without chipping.
- Styling Cue: Fill the jar with colorful treats like jelly beans or chocolate eggs that will show through the bunny’s “face,” adding another layer of color and fun.
4. Bunny-Shaped Cookies
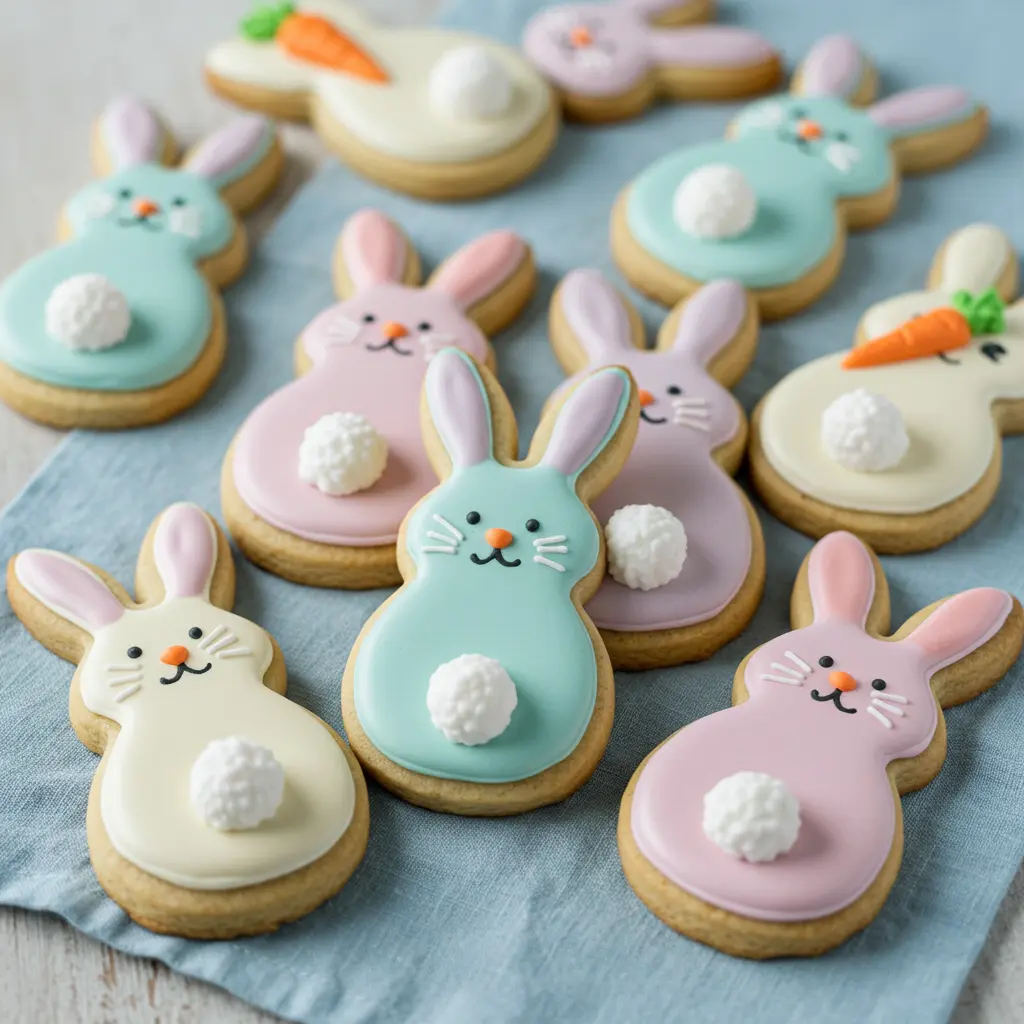
- Best For: A delicious, interactive activity that doubles as a centerpiece for your Easter dessert table.
- Key Materials: Your favorite sugar cookie recipe, a bunny-shaped cookie cutter, royal icing in pastel colors, sprinkles.
- Pro-Tip: For perfectly sharp icing details, use a decorating squeeze bottle with a fine tip. Chill your decorated cookies in the fridge for 10 minutes to help the icing set before you handle them.
- Styling Cue: Arrange your finished cookies on a tiered cake stand or a simple white platter, and nestle a few “Easter Egg Bunnies” (see #9) among them.
5. Paper Plate Bunny Masks

- Best For: A simple, low-cost craft for a group of young children. Perfect for classrooms, playdates, or keeping little hands busy.
- Key Materials: Sturdy paper plates, pink paint or crayons, cotton balls, craft sticks or elastic string, scissors, and glue.
- Pro-Tip: Pre-cut the eye holes for younger children to make the process smoother. Reinforce the spot where you attach the craft stick with a small piece of tape to prevent it from tearing.
- Styling Cue: These masks are made for action! Set up a backdrop with Easter-themed props and have an impromptu photo shoot to capture the fun.
6. Bunny Napkin Rings
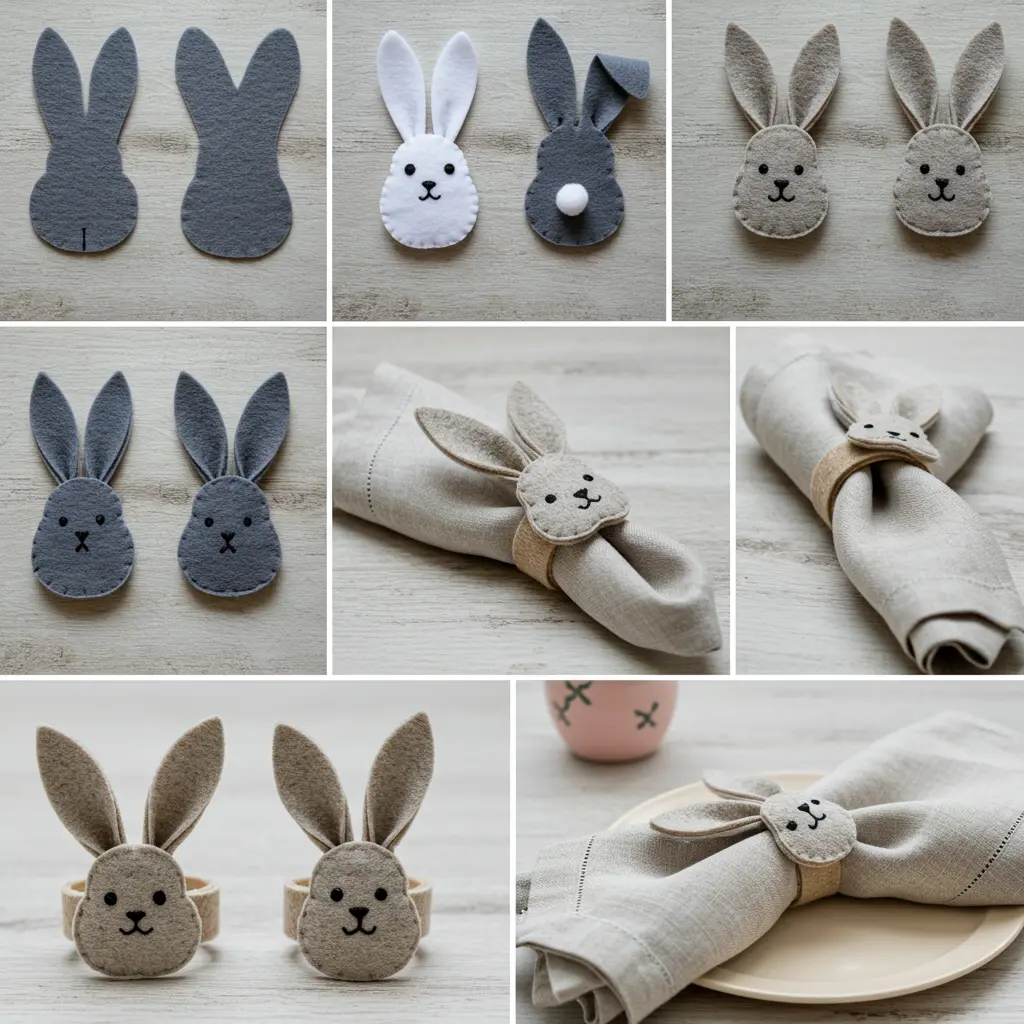
- Best For: Adding a sophisticated, handmade touch to your Easter tablescape that will delight your guests.
- Key Materials: A cardboard tube (from paper towels or foil), felt in white and pink, hot glue, sharp scissors.
- Pro-Tip: Cut the cardboard tube into 1.5-inch rings first. Then, wrap each ring with a strip of white felt to create a clean, seamless base before you add the bunny ears and face.
- Styling Cue: Pair these with simple, solid-colored linen napkins in a complementary pastel shade. The contrast will make the bunny rings pop.
7. Sock Bunnies
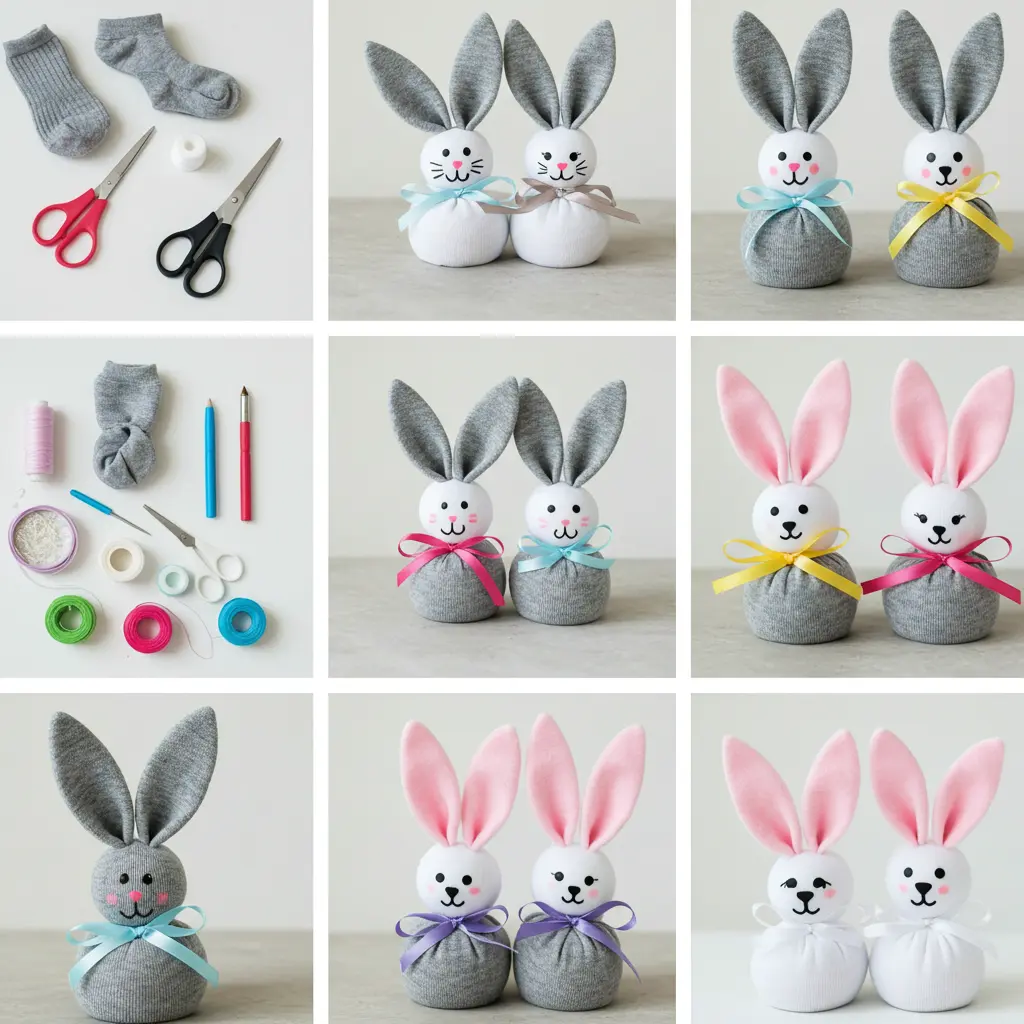
- Best For: A fantastic no-sew project for all ages. Repurposes lonely socks into adorable, cuddly decorations or gifts.
- Key Materials: A clean sock (white or patterned), uncooked rice for filling, rubber bands or string, ribbon, permanent marker.
- Pro-Tip: Add a few drops of lavender essential oil or a cinnamon stick to the rice before filling the sock for a beautifully scented bunny.
- Styling Cue: Make a family of sock bunnies in different sizes and arrange them in a wicker basket filled with faux grass for a charming centerpiece.
8. Bunny-Themed Wreath
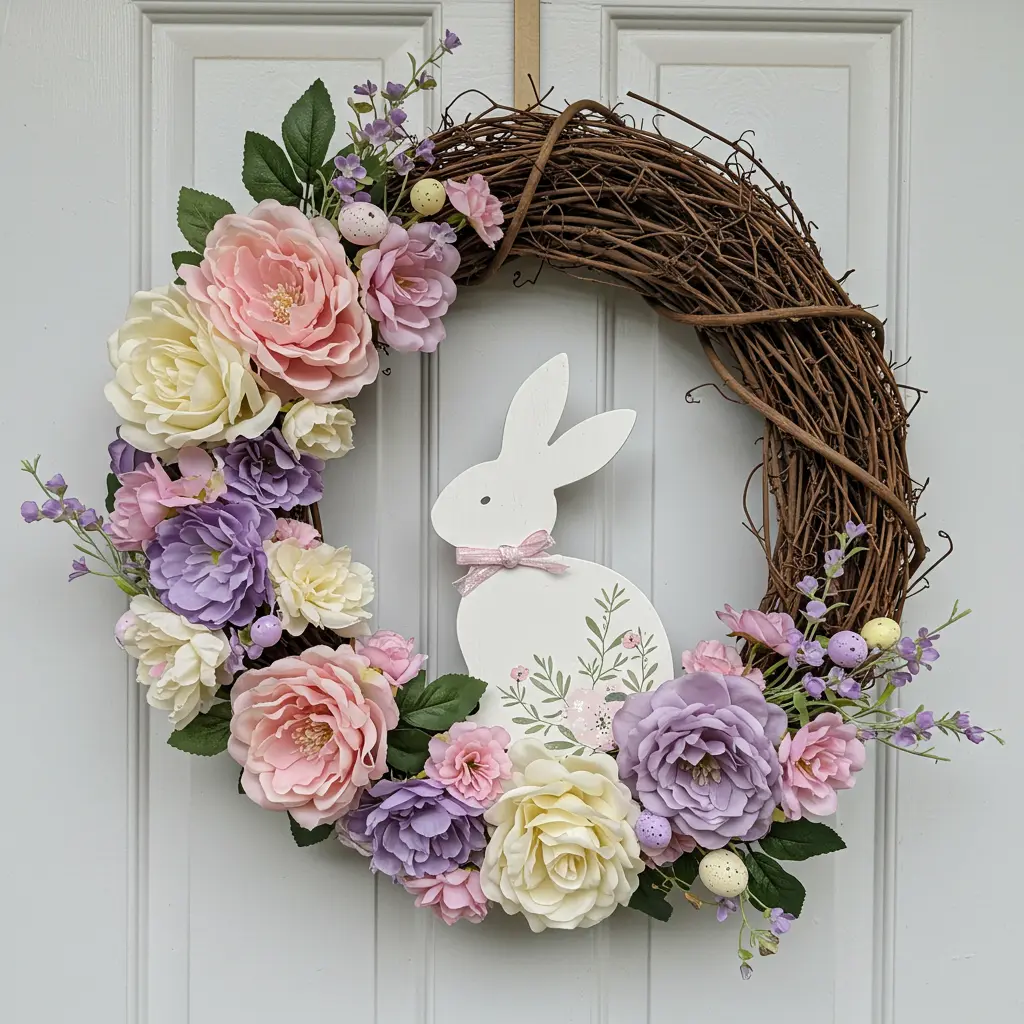
- Best For: Creating a stunning piece of front door decor that sets a festive tone for your home.
- Key Materials: A grapevine or foam wreath form, faux flowers and greenery, a wooden bunny cutout, floral wire, hot glue gun.
- Pro-Tip: Instead of centering the bunny, position it slightly off to one side. Balance the other side with a larger cluster of flowers and cascading ribbons for a more dynamic, designer look.
- Styling Cue: Choose a primary color from your wreath (e.g., the pink from the flowers) and repeat it in a nearby planter or your welcome mat to create a cohesive entryway.
9. Easter Egg Bunnies
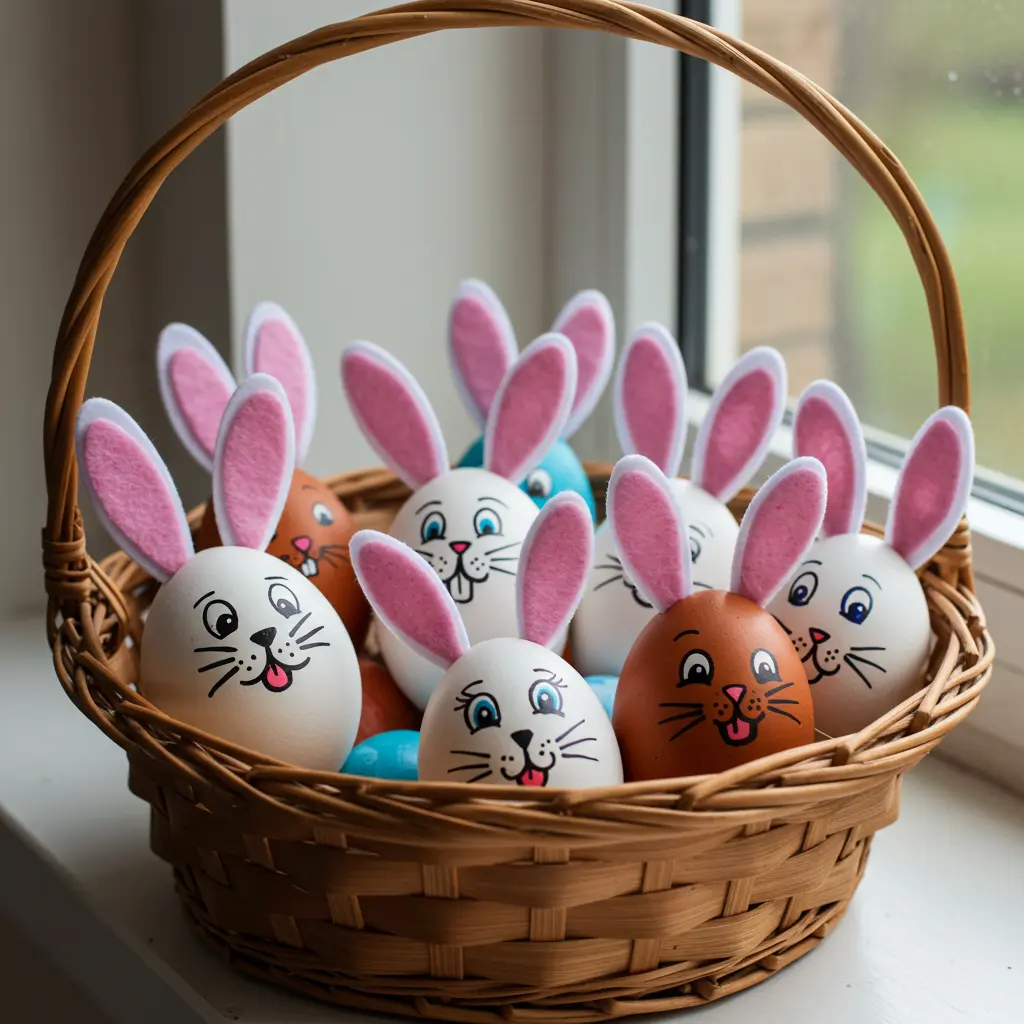
- Best For: Adding personality to your Easter egg display and delighting kids. A creative alternative to just dyeing eggs.
- Key Materials: Hard-boiled or craft eggs, fine-tipped permanent markers, tiny felt or paper scraps for ears, craft glue.
- Pro-Tip: Use a simple egg cup or a ring of modeling clay to hold the egg steady while you draw the face and attach the ears.
- Styling Cue: Display your egg bunnies in a ceramic egg carton or nestle them individually in teacups around your home for a surprising, whimsical touch.
10. Bunny-Themed Tote Bags
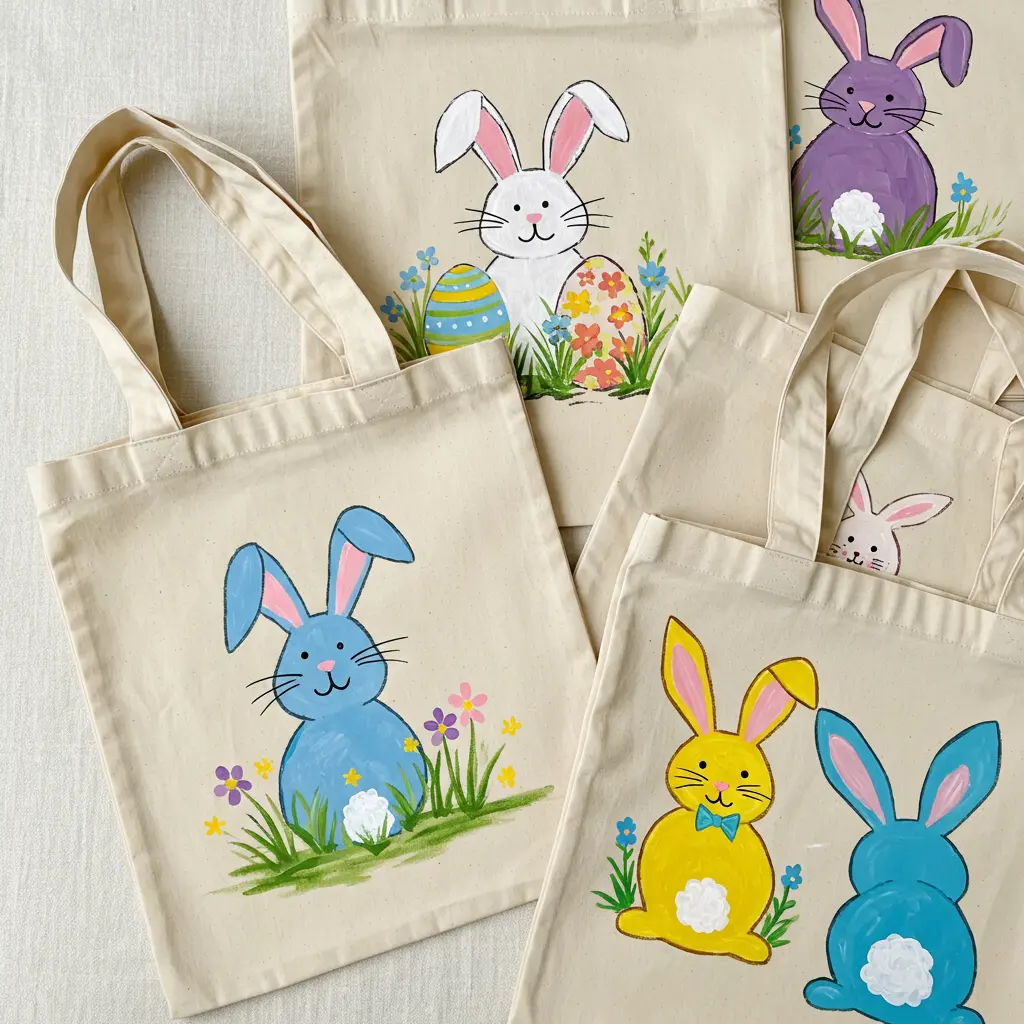
- Best For: Creating personalized Easter baskets, party goodie bags, or a reusable bag for springtime errands.
- Key Materials: Plain canvas tote bags, fabric paint or fabric markers, a bunny-shaped stencil (or a potato for stamping!), iron-on transfers.
- Pro-Tip: Place a piece of cardboard inside the tote bag before you start painting. This prevents the paint from bleeding through to the other side and gives you a firm surface to work on.
- Styling Cue: Attach a fluffy yarn pom-pom to the bag’s handle with a ribbon to serve as the bunny’s “tail” for a fun, 3D element.
11. Popsicle Stick Bunny Puppets
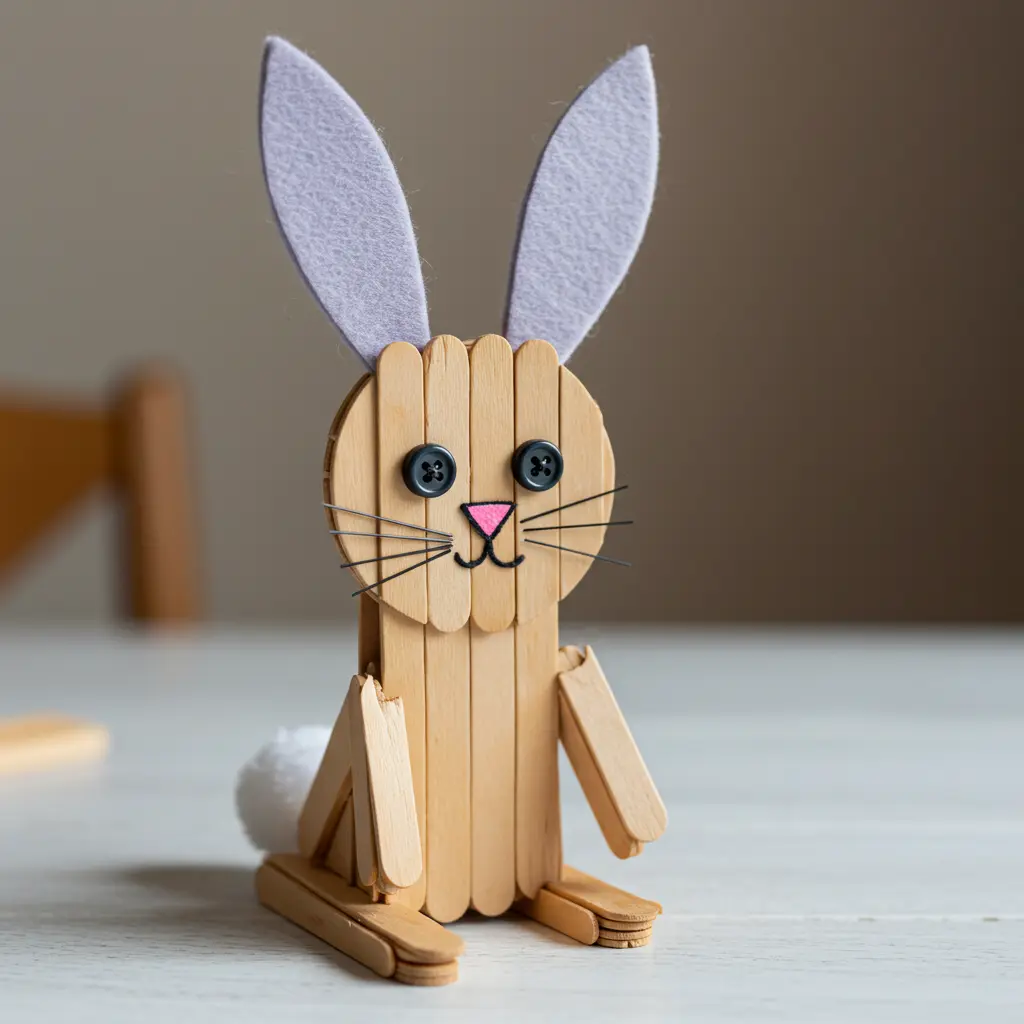
- Best For: A storytelling prop for kids, a cute plant poker for a pot of spring flowers, or a fun bookmark.
- Key Materials: Popsicle/craft sticks, white paint, cardstock or craft foam, googly eyes, a small pom-pom for the nose.
- Pro-Tip: Glue three sticks together side-by-side to create a wider “face” for your bunny. This makes it easier to attach the ears, eyes, and nose.
- Styling Cue: Create a whole cast of characters (chicks, carrots, flowers) and put on an Easter puppet show for the family.
12. Bunny-Shaped Bath Bombs
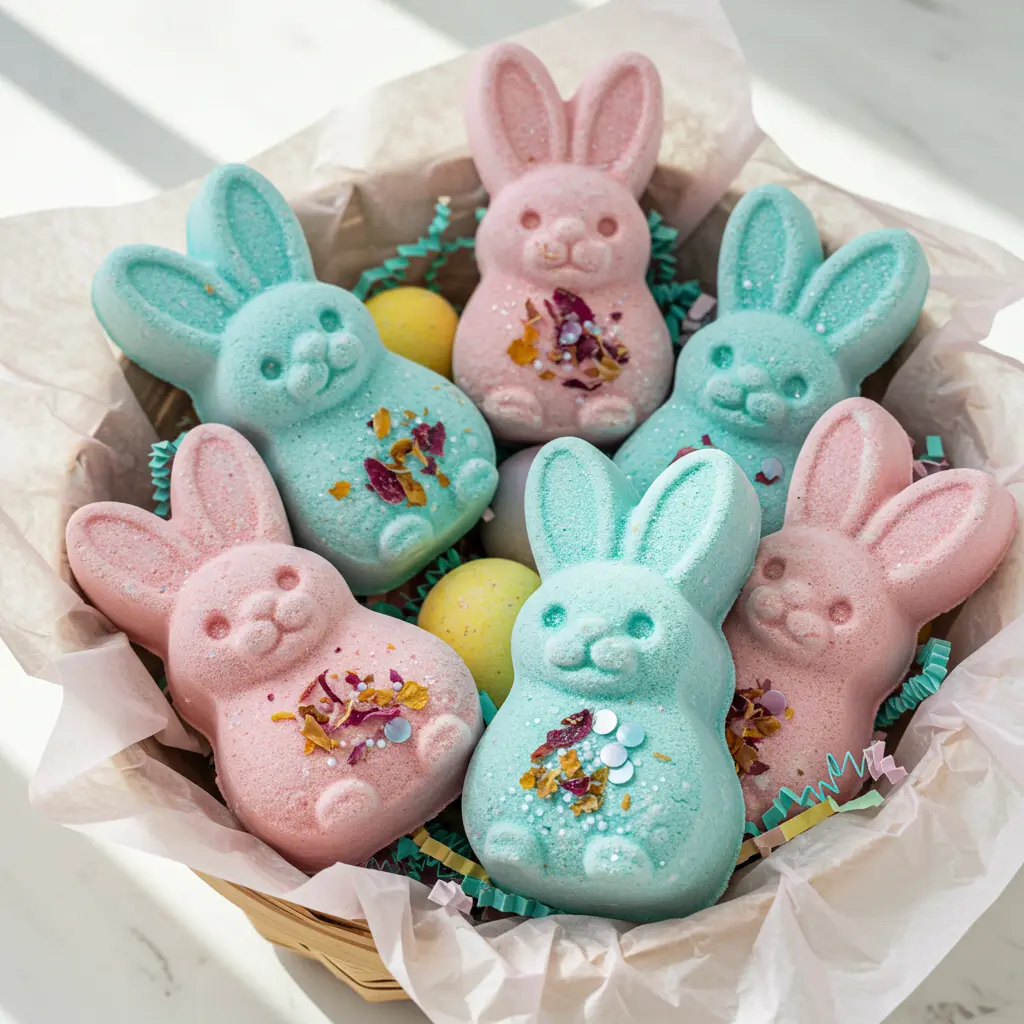
- Best For: A unique, non-candy basket filler or a thoughtful handmade gift for friends and family who deserve some pampering.
- Key Materials: Baking soda, citric acid, Epsom salt, cornstarch, coconut oil, essential oils, bunny-shaped silicone mold.
- Pro-Tip: The key to a perfect bath bomb is the right moisture level. The mixture should feel like slightly damp sand and hold its shape when squeezed in your hand. Pack the molds tightly to avoid crumbling.
- Styling Cue: Wrap the finished bath bombs in clear cellophane bags and tie them with a beautiful pastel ribbon and a handmade gift tag.
13. Bunny-Themed Cupcake Toppers
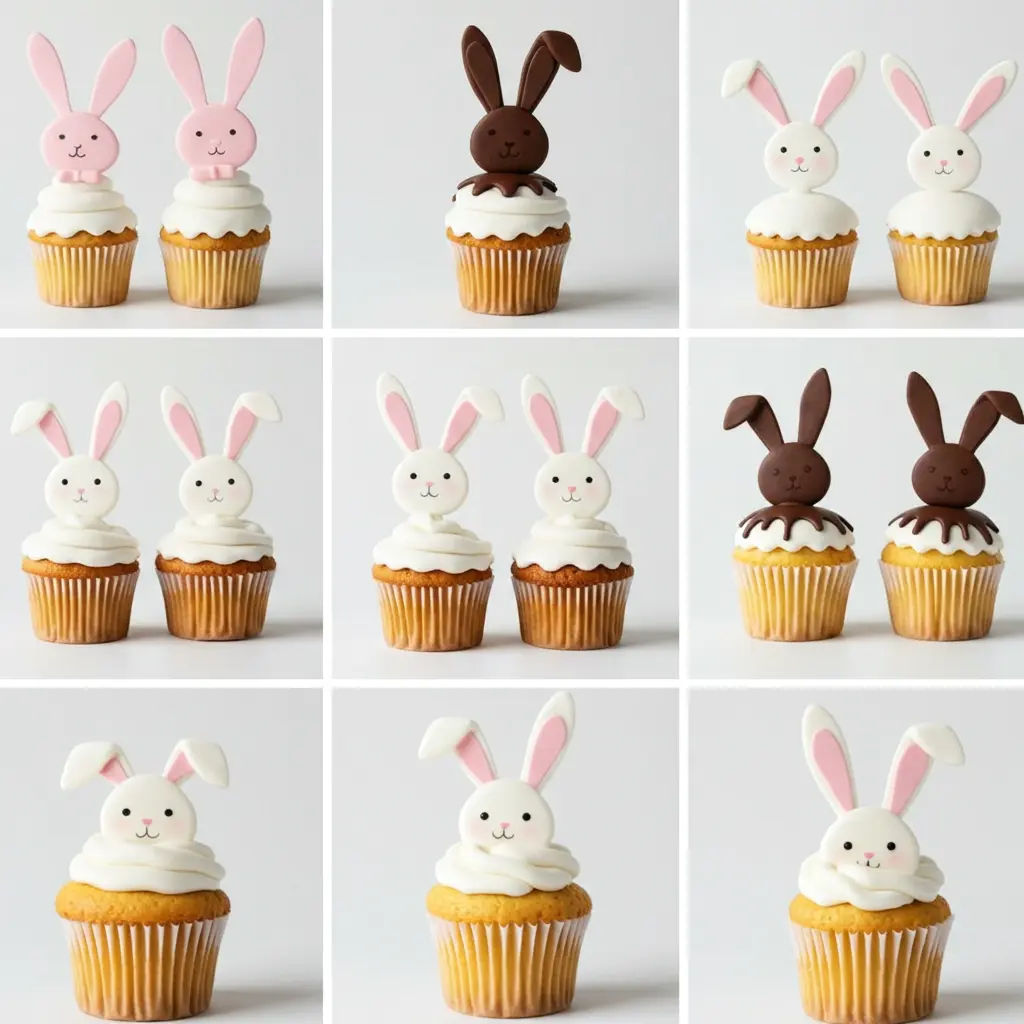
- Best For: An easy way to elevate store-bought or homemade cupcakes and tie them into your Easter theme.
- Key Materials: Sturdy cardstock (white, pink, glitter), toothpicks, craft glue or tape.
- Pro-Tip: For a 3D effect, cut out two identical bunny shapes. Glue the toothpick to the back of one, then glue the second shape on top, sandwiching the toothpick in between for a clean, professional finish on both sides.
- Styling Cue: Don’t just stick them straight up. Angle some of the toppers slightly to create a more dynamic and playful look on your dessert platter.
14. Easter Bunny Lanterns

- Best For: Creating a magical ambiance for an evening Easter gathering or as enchanting room decor for a child.
- Key Materials: Simple white paper lanterns, cardstock for ears and facial features, glue, and battery-operated LED tea lights (never real candles!).
- Pro-Tip: Cut the bunny ears out of a heavier cardstock so they don’t flop over. Attach them to the inner wire frame of the lantern for better stability.
- Styling Cue: Hang a cluster of 3-5 lanterns at varying heights in a corner of a room or above your dining table to create a stunning, glowing focal point.
15. Handprint Bunny Art
- Best For: A sentimental keepsake craft for parents and grandparents. It captures a moment in time in the most adorable way.
- Key Materials: Non-toxic, washable paint (white or pastel), colored construction paper, markers.
- Pro-Tip: The handprint forms the bunny’s head and ears (fingers pointing up). Have a damp cloth ready for immediate cleanup! Once dry, use markers to draw the face on the “palm” part of the print.
- Styling Cue: Frame the finished artwork in a simple white or light wood frame. A collection of these from over the years makes for an incredibly heartwarming gallery wall.
Conclusion: Your Easter’s Next Act
And just like that, you’re no longer just looking at a pile of craft supplies you’re looking at a world of possibilities. You have the ideas, the inspiration, and the know-how to create Easter decorations that are beautiful, personal, and a true reflection of your family’s spirit. This isn’t just about making cute bunnies; it’s about crafting the joy that makes the holiday feel like home.
It all starts with a single choice. Pick a project that made your heart skip a beat, gather your materials, and take the first small step.
You’ve got this.
