Is your apartment’s main room feeling less like a “living and dining” area and more like a “cramped and confusing” zone? Is your “dining table” just the arm of your sofa? You’re in the right place to fix that, and the glow-up will be real.
A living and dining room combo in a small apartment isn’t a design flaw; it’s a “creative opportunity.” This isn’t about making a sad compromise; it’s about crafting a multi-functional, stylish space that feels twice its actual size. You’re not just decorating; you’re hacking your square footage.
This is your creative playbook for transforming that one awkward room into a cohesive, chic, and “shockingly functional” masterpiece.
We’ll explore 40 game-changing ideas, decode the secrets of a seamless flow, and walk through the practical steps to make your small space live large.
By the end, you’ll see that awkward wall not as a problem, but as the perfect spot for a “champagne brunch” nook waiting to happen.
Before You Begin: The Multi-Vibe Mastermind
The most successful combo rooms start with defining zones, not just placing furniture. Before you buy a single thing, let’s lay the groundwork for a design that is clever, cohesive, and feels “effortlessly cool.” The goal is to create distinct vibes that flow together, not fight each other.
The Secrets of Style: Simple Rules for a Stunning Space
“Small space” doesn’t have to mean “sacrificing style.” These simple secrets are what elevate a cramped room into a sophisticated, “perfectly curated” home.
Scale is Everything
This is the #1 commandment of small-space living. Bulky, oversized furniture is your enemy. Opt for pieces with a smaller footprint, thinner profiles, and “leggy” designs that create a sense of openness by showing the floor underneath.
Let There Be Light (Lots of It)
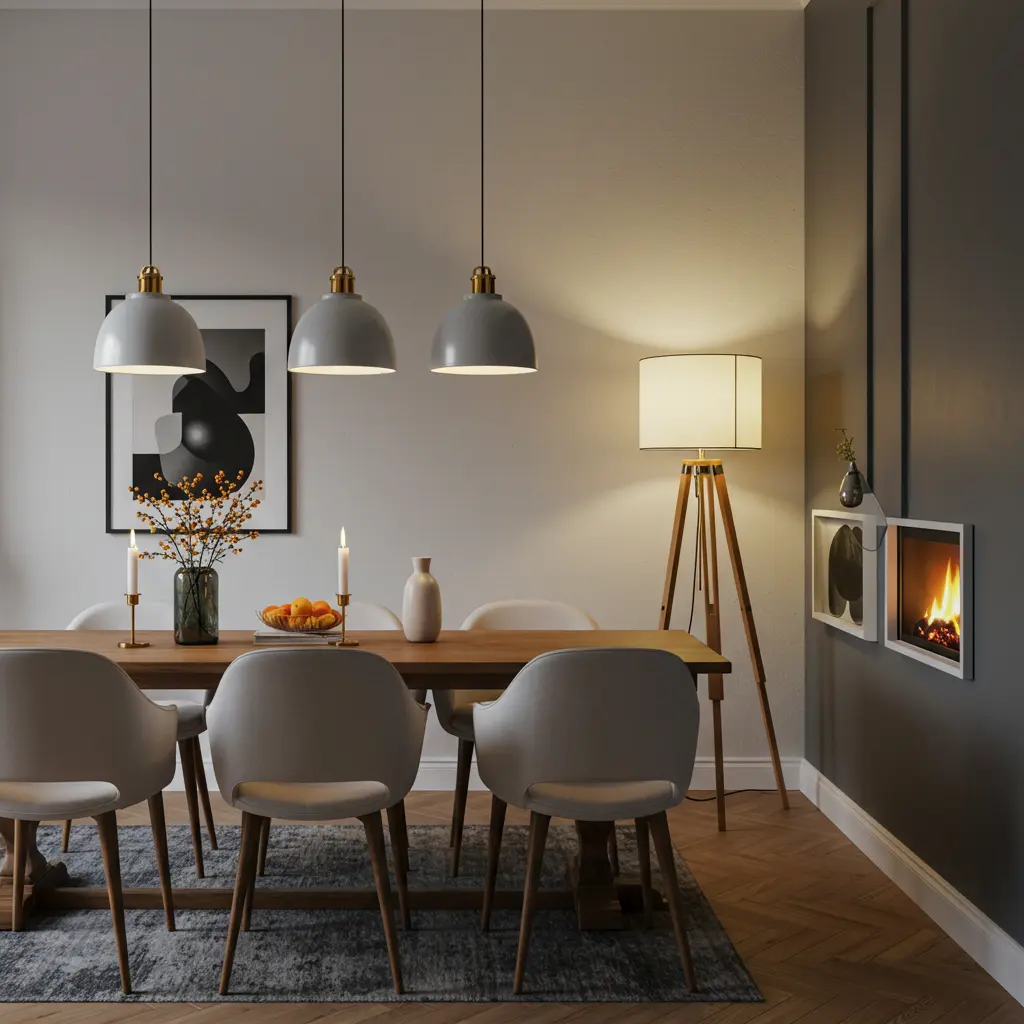
A dark room is a small room. Maximize natural light with sheer curtains. Then, layer your artificial lighting. Ditch the single overhead “big light” in favor of a mix of floor lamps, table lamps, and a stylish pendant over the dining area. “Lighting creates zones” and makes everything feel more intentional.
Multi-Functionality is Your Superpower
In a small space, every piece of furniture should be a hard worker. A coffee table that lifts into a dining table? Genius. A bench that offers both seating and storage? Essential. Think of your furniture as “Transformers for your apartment.”
Create Cohesion, Not Chaos
The key to making two zones feel like one beautiful room is a unified aesthetic. Stick to a tight color palette (three colors is a good rule). Use similar textures, wood tones, or metal finishes throughout both the living and dining areas to “visually tie them together.”
What’s the Real Cost? A No-Fuss Budget Breakdown
| The Approach | Estimated Cost | What Your Money Buys | The Little Extras (Don’t Skip These!) |
| The IKEA Hacker | $100 – $300 | • A simple bistro set or drop-leaf table • A budget-friendly rug to define a zone • Thrifted or DIY decor | • A can of spray paint for a custom look • A handful of healthy, air-purifying plants • Command Strips for damage-free art |
| The West Elm Wannabe | $300 – $800 | • A quality convertible coffee/dining table • A stylish, apartment-sized sofa • A large mirror to create visual space | • A statement pendant light for the dining area • A set of matching, high-quality pillows • A nice tray for the coffee table |
| The Small-Space Specialist | $800+ | • A custom-built banquette with storage • A high-end, extendable designer table • Nesting tables or other specialized furniture | • Professional installation for wall-mounted pieces • Large-scale, original artwork • A consultation with an interior designer |
Layout & Zoning Strategies
1. The Rug Zone Defense
Best For: Creating a clear, visual separation without a physical wall.
Pro-Tip: Use two different but complementary rugs to define the living and dining areas. The trick is to make sure they share a “common color or pattern style” to feel cohesive.
Styling Cue: Place the front legs of your sofa on the living room rug to anchor the space.
2. The Sofa as a Divider
Best For: The most classic and effective way to create two distinct rooms.
Pro-Tip: Float your sofa in the middle of the room with its back to the dining area. This creates a “psychological wall” that separates the lounging zone from the eating zone.
Styling Cue: Place a slim console table behind the sofa. It provides storage, a surface for lamps, and softens the visual of a big sofa back.
3. The Back-to-Back Layout
Best For: Longer, narrow rooms where you need to maximize seating.
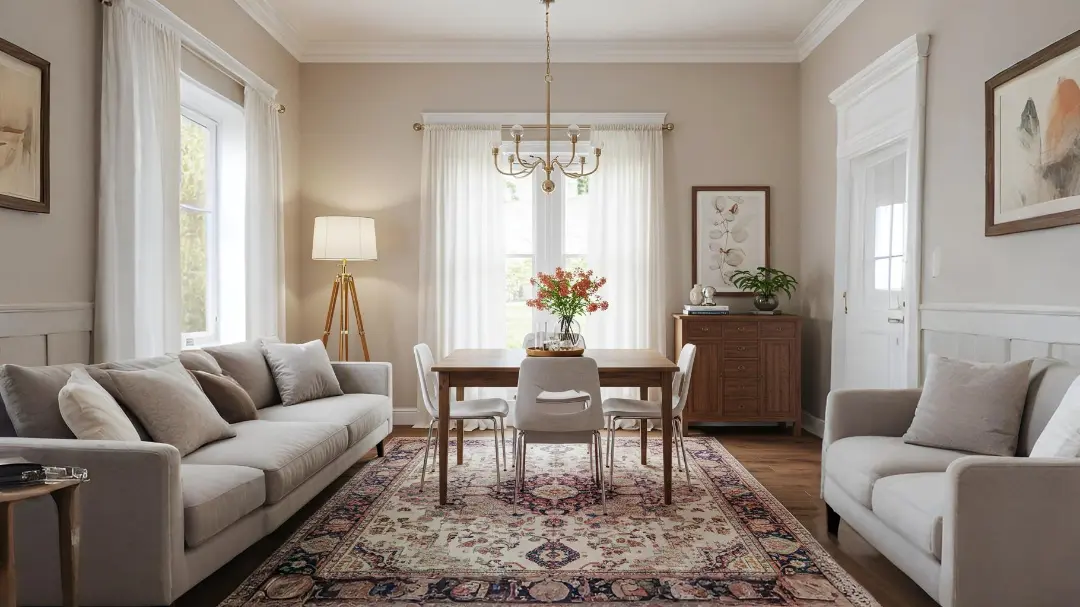
Pro-Tip: Place a low-profile bench as your dining seating directly against the back of the sofa. This “shares the footprint” and makes both zones feel connected.
Styling Cue: Use pillows on the bench that coordinate with the sofa’s throw pillows to tie the two pieces together.
4. The Open Concept Flow
Best For: Super small spaces where any division feels too cramped.
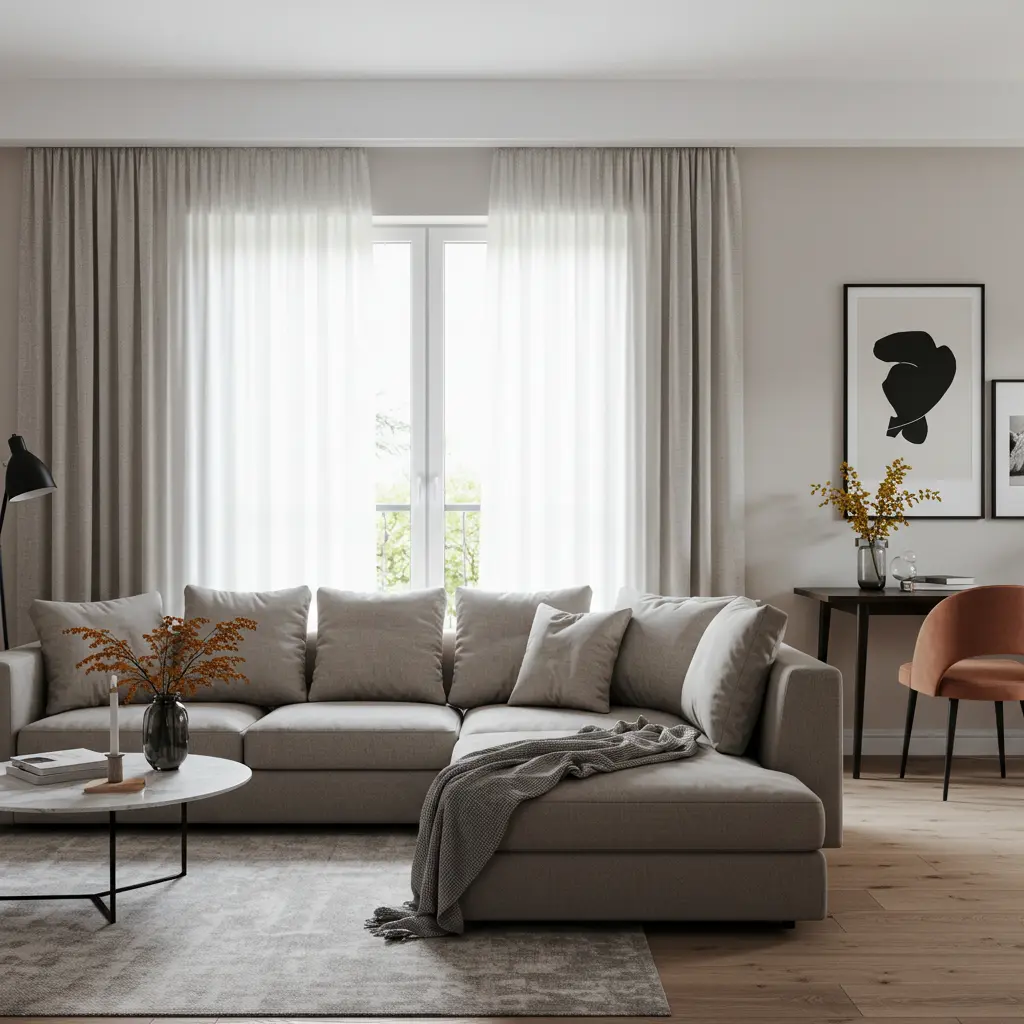
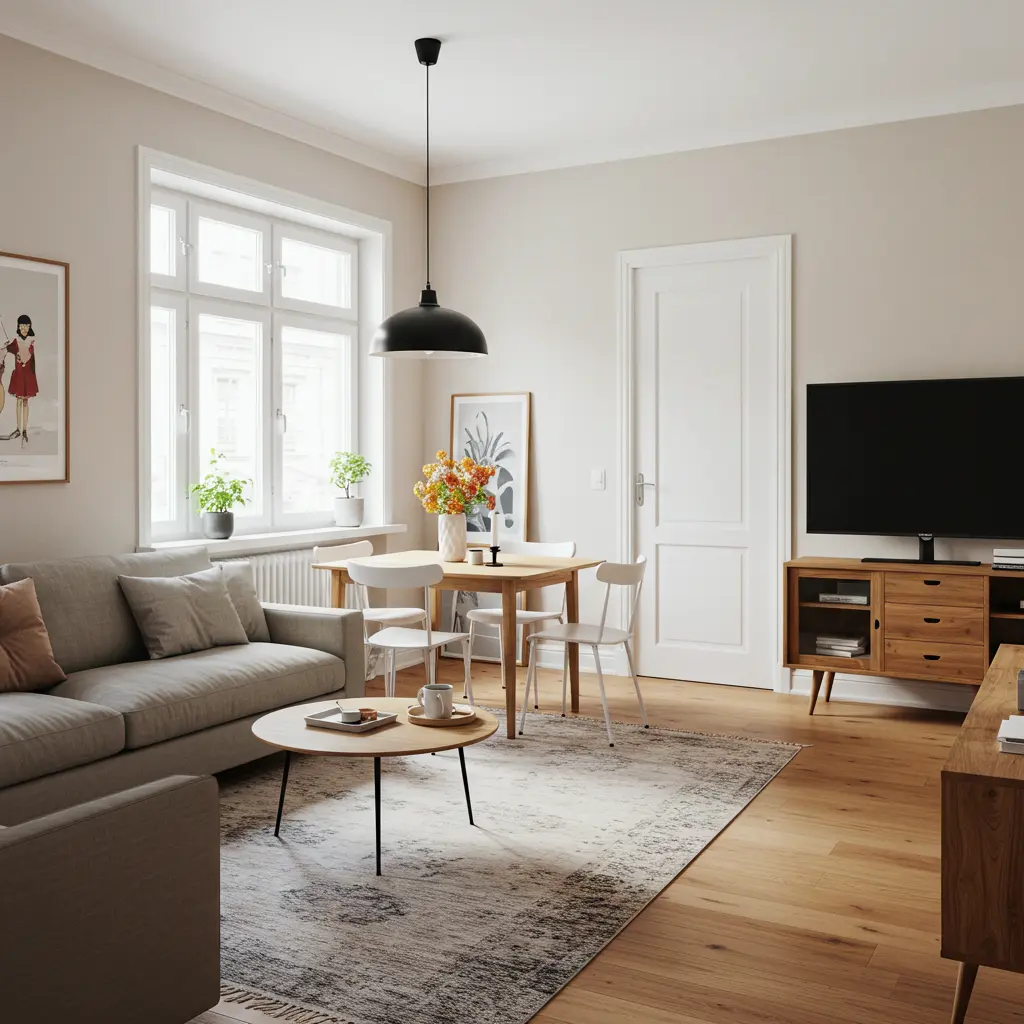
Pro-Tip: Push the sofa against one wall and the dining table against the opposite wall. This creates a “clear central walkway” and makes the room feel as open as possible.
Styling Cue: Use a large, single rug that sits under both zones to unify the entire space.
5. The “Corner Office” Dining Nook
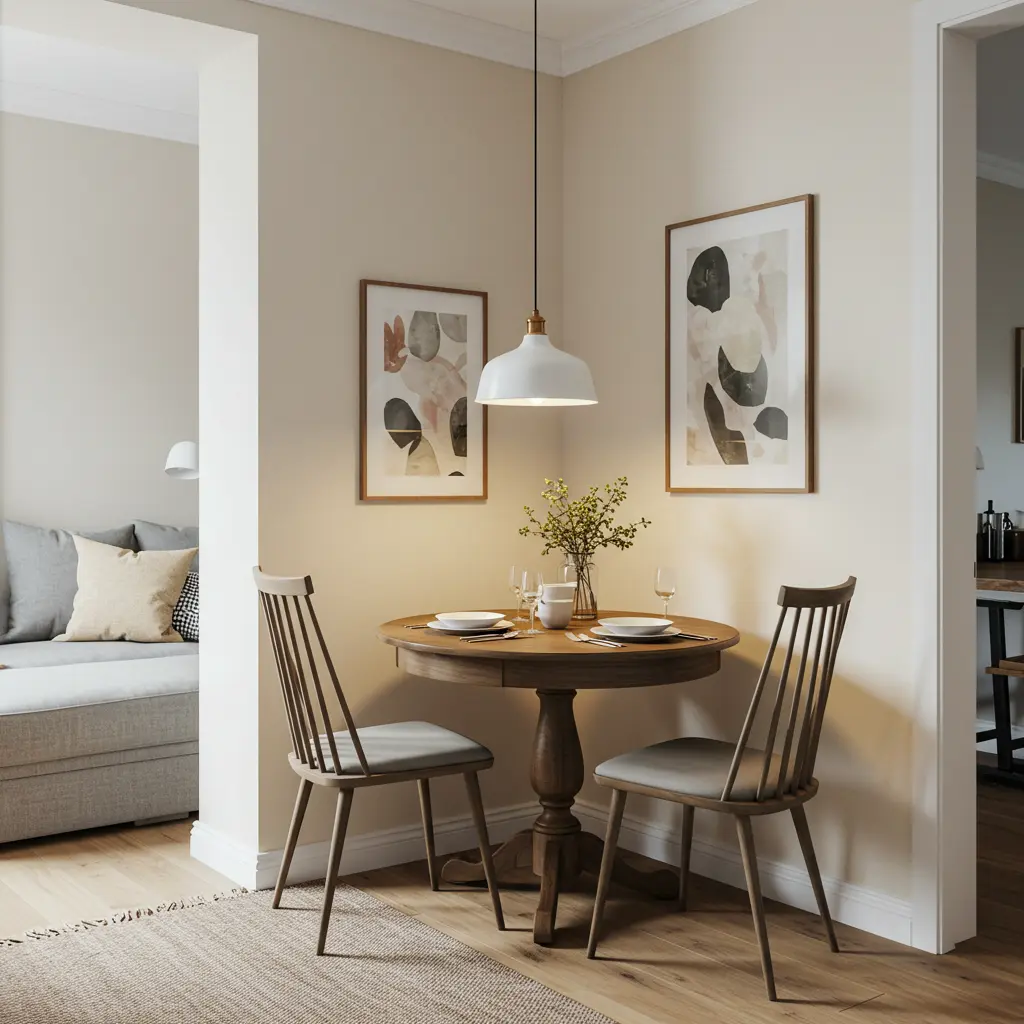
Best For: Utilizing an awkward corner that feels otherwise useless.
Pro-Tip: A small, round table with two chairs tucked into a corner can become a “charming and intentional” dining spot, leaving the rest of the room open for living.
Styling Cue: Define the nook with a small pendant light hanging directly over the table and a piece of art on the wall.
6. The Window-First Approach
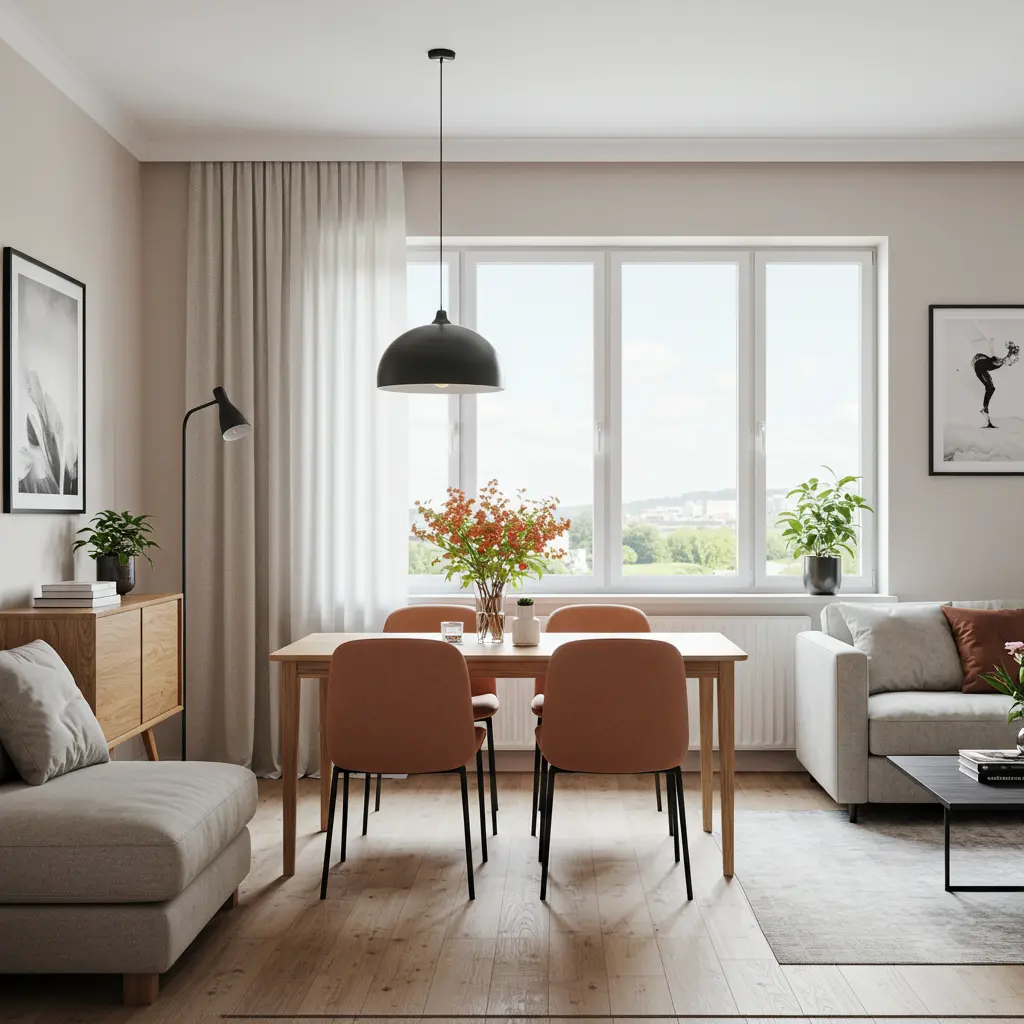
Best For: Rooms with a great view or lots of natural light.
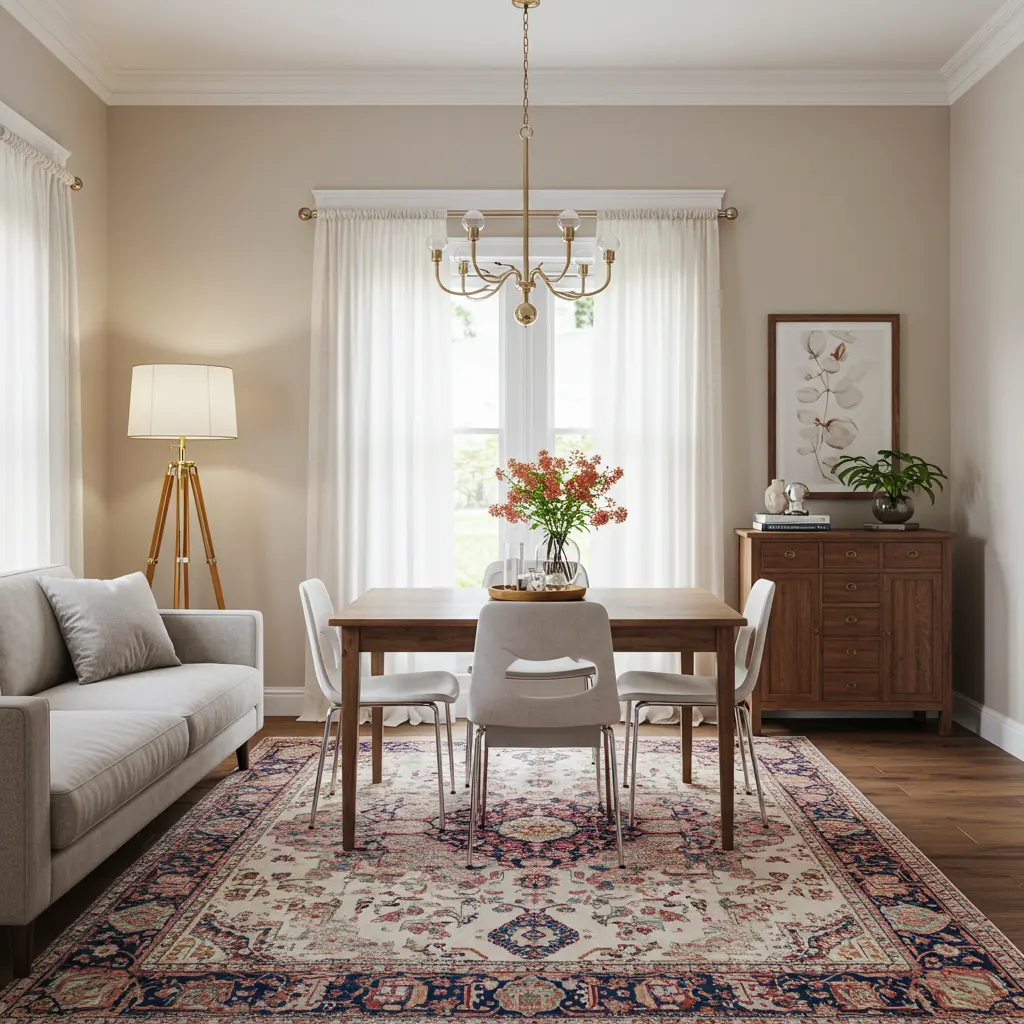
Pro-Tip: Make the window the star. Place your dining table directly in front of it to create a “cafe-like experience.” Arrange the living area furniture to face the window as well.
Styling Cue: This layout makes the room feel connected to the outdoors, which is a “proven hack” for making a space feel larger.
7. The Vertical Divide
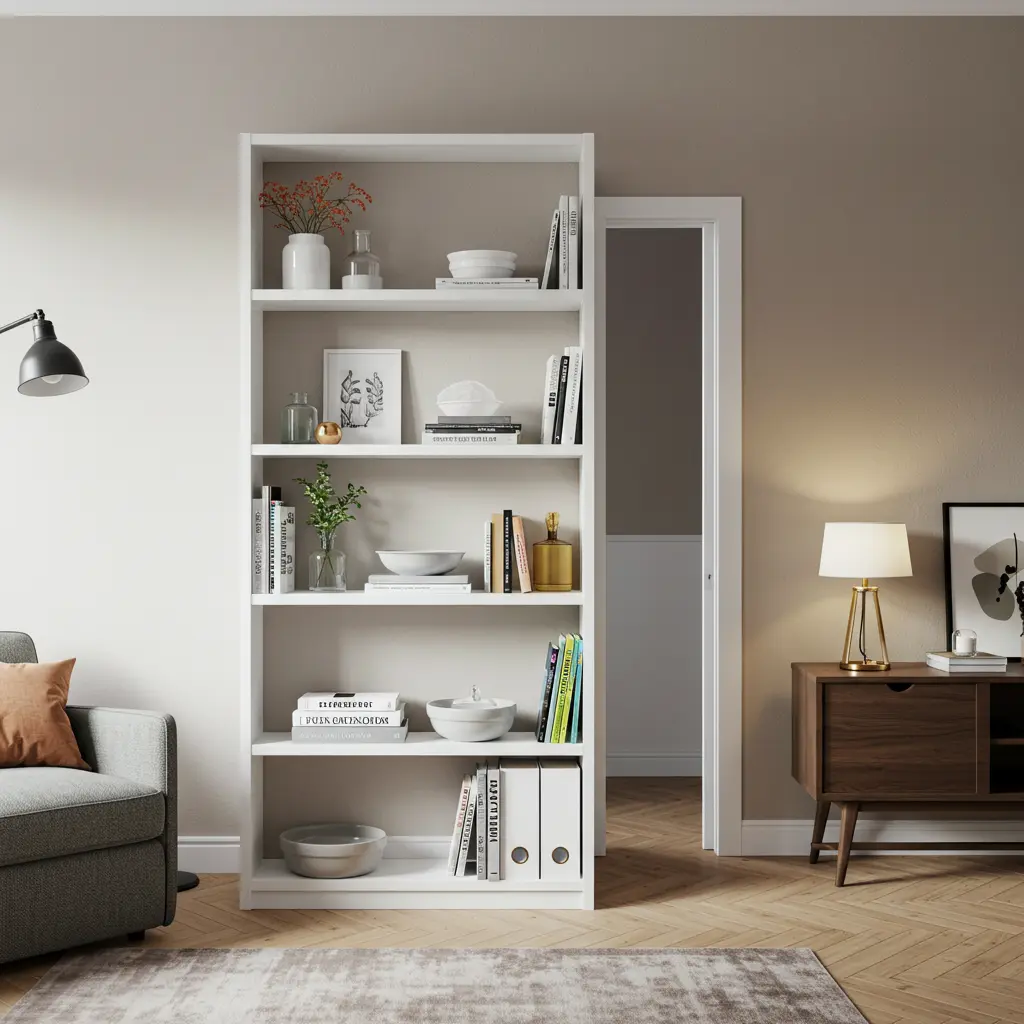
Best For: Creating separation while adding much-needed storage.
Pro-Tip: Use an open-backed bookshelf (like an IKEA KALLAX) perpendicular to the wall to divide the room. It creates separation without completely blocking light or sightlines.
Styling Cue: Style the shelves with items for both zones: books on one side, a pretty serving bowl on the other.
8. The Path of Least Resistance
Best For: Prioritizing function and avoiding a cluttered, obstacle-course feel.
Pro-Tip: Before you place anything, map out the natural traffic paths (e.g., from the doorway to the kitchen). Arrange your furniture to keep these paths “wide and clear.”
Styling Cue: A room that is easy to walk through will always “feel bigger and more serene.”
Smart Furniture Hacks
9. The Drop-Leaf Dynamo
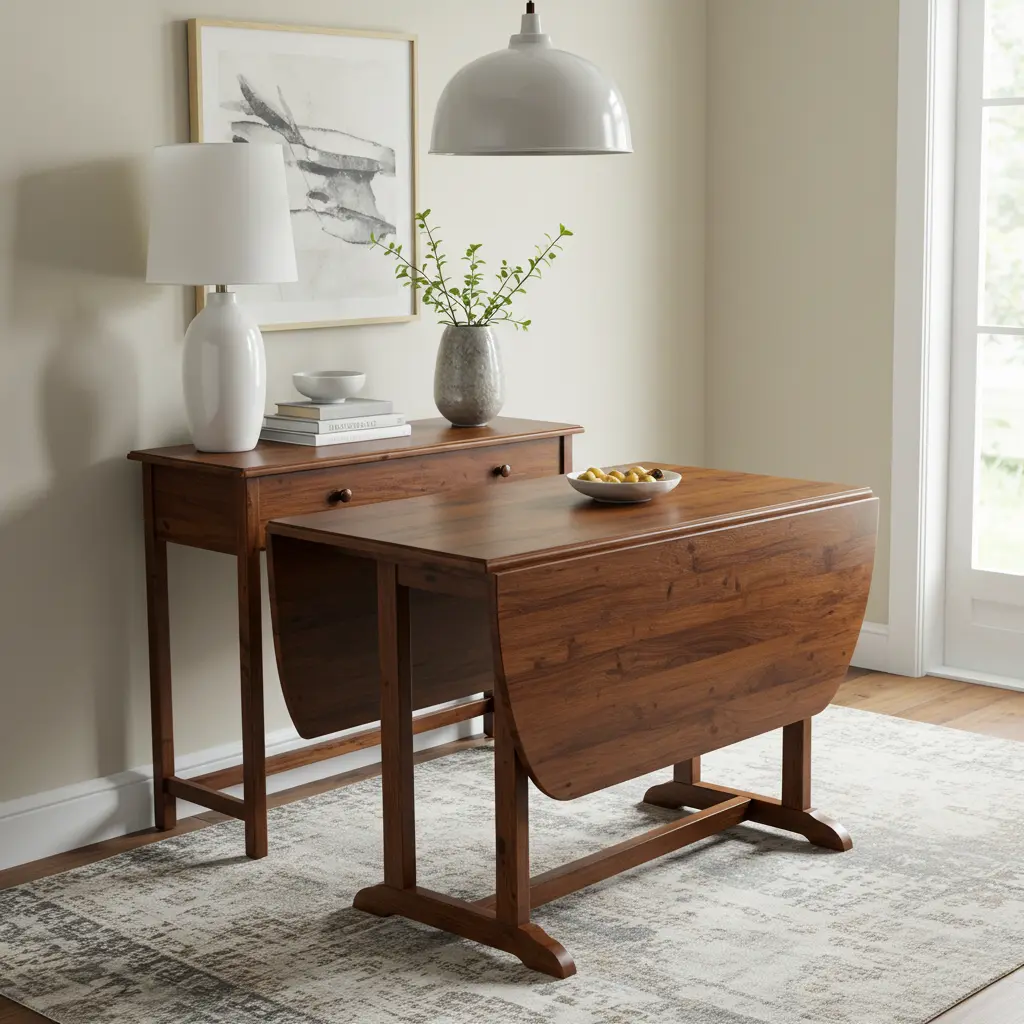
Best For: The ultimate space-saver for people who rarely host.
Pro-Tip: A drop-leaf table can sit against a wall as a slim console table for daily use, then fold out to seat four or more when guests come over. It’s the “original multi-tasker.”
Styling Cue: Keep a vase or a couple of books on it when it’s in console mode so it always looks intentional.
10. The Extendable Table Illusion
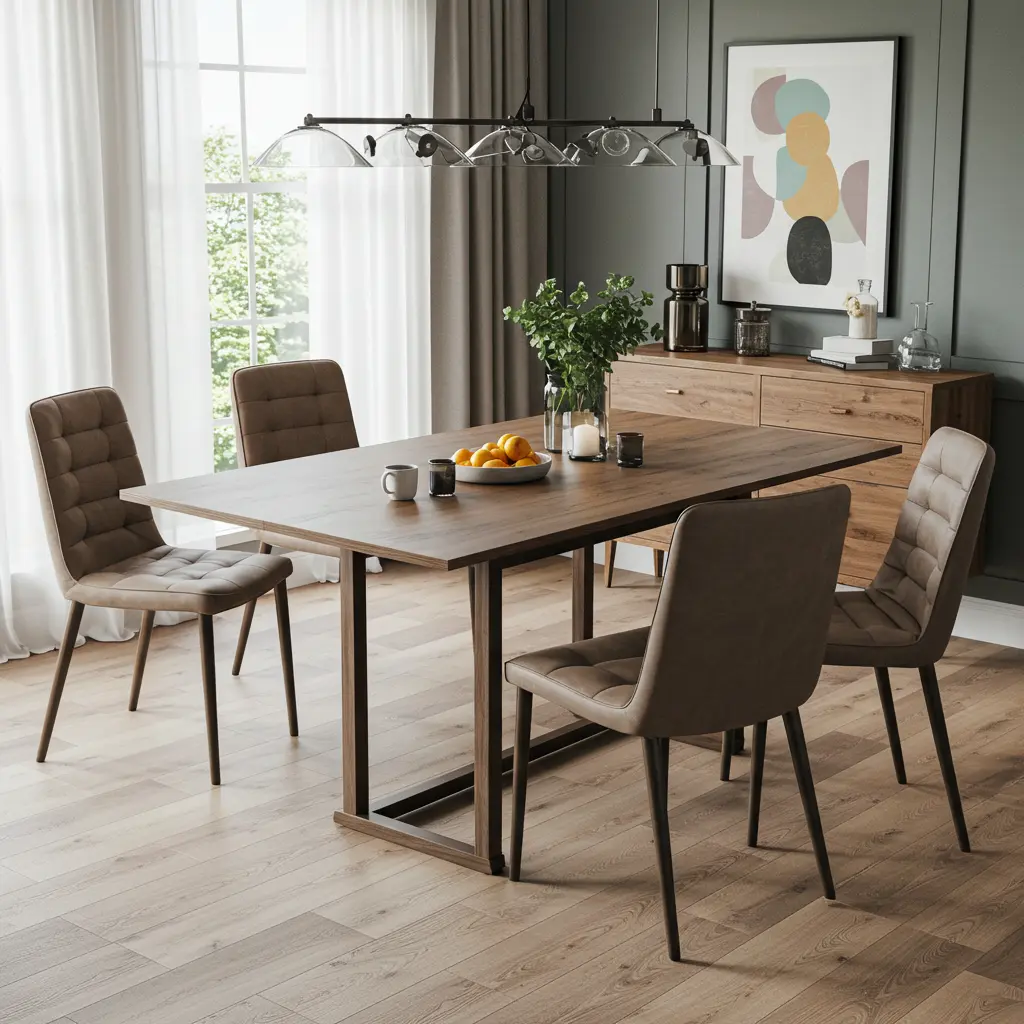
Best For: People who want a small daily table but need to host big dinners.
Pro-Tip: Modern extendable tables are surprisingly sleek. A small, square four-seater can magically transform into a long six or eight-seater. It’s “dinner party magic.”
Styling Cue: Invest in a couple of stylish, stackable chairs that you can tuck away and bring out when the table is extended.
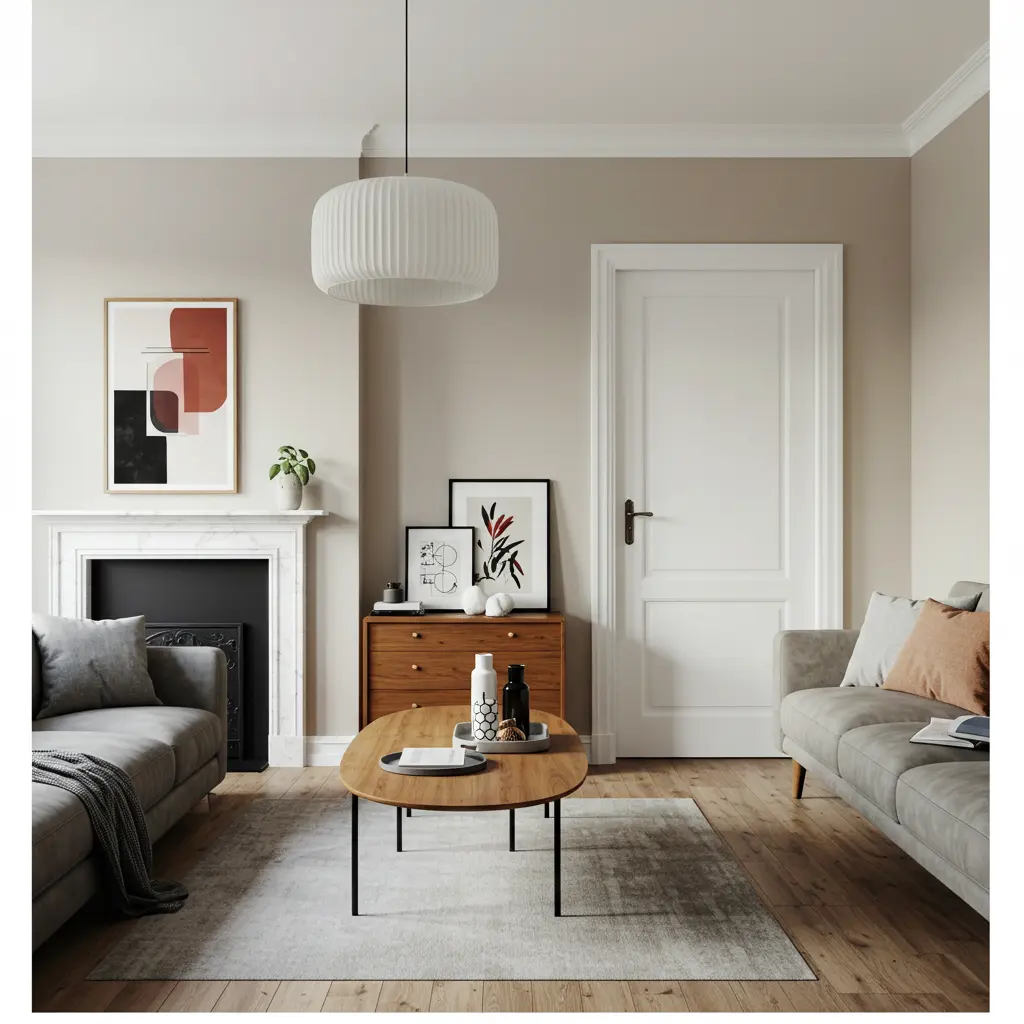
11. The Lift-Top Coffee Table
Best For: People who love to eat dinner while watching TV.
Pro-Tip: This is a game-changer. A lift-top coffee table raises up to become a comfortable dining-height surface. No more hunching over.
Styling Cue: It’s the “official furniture of Netflix and dinner,” and it keeps your living room looking like a living room.
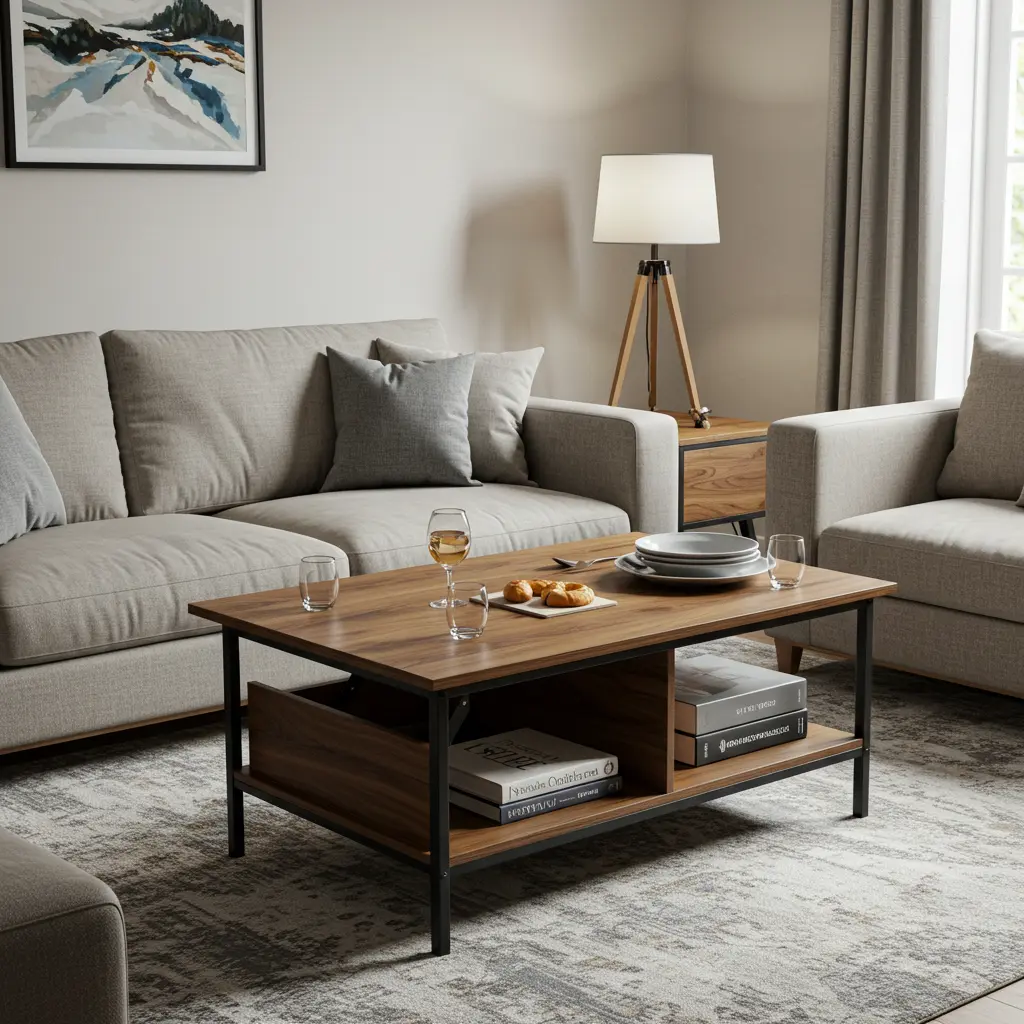
12. The Nesting Tables Triumph
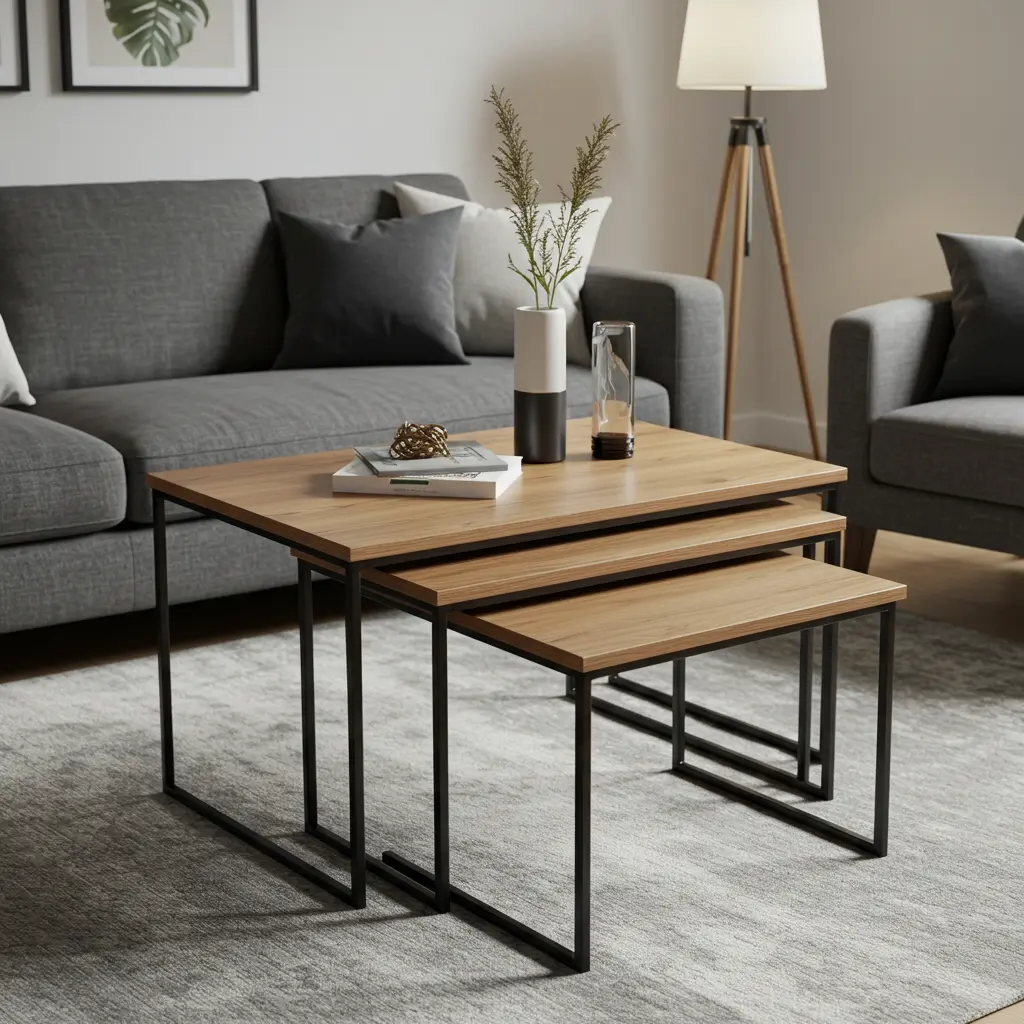
Best For: Gaining extra surface area without sacrificing floor space.
Pro-Tip: A set of nesting tables can act as a coffee table, but the individual tables can be pulled out to be used as side tables, TV trays, or extra seating in a pinch.
Styling Cue: Choose a set with different materials (like wood and metal) for a “curated, designer” look.
13. The C-Shaped Side Table
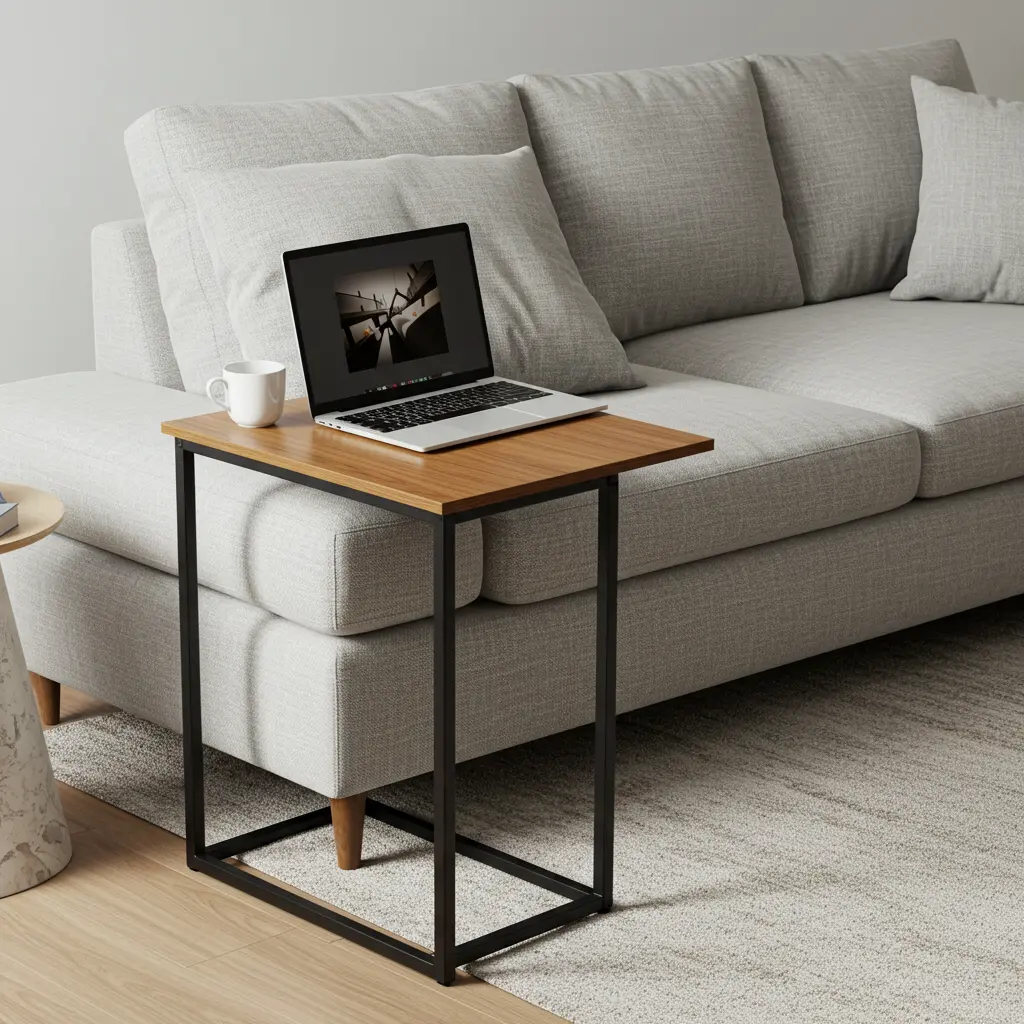
Best For: A solo diner or someone who works from their sofa.
Pro-Tip: This table is designed to slide right under the base of your sofa, so the tabletop hovers over your lap. It’s the “perfect personal dining tray” or laptop stand.
Styling Cue: It’s a small, affordable piece that adds a “huge amount of functionality.”
14. The Multi-Tasking Bench
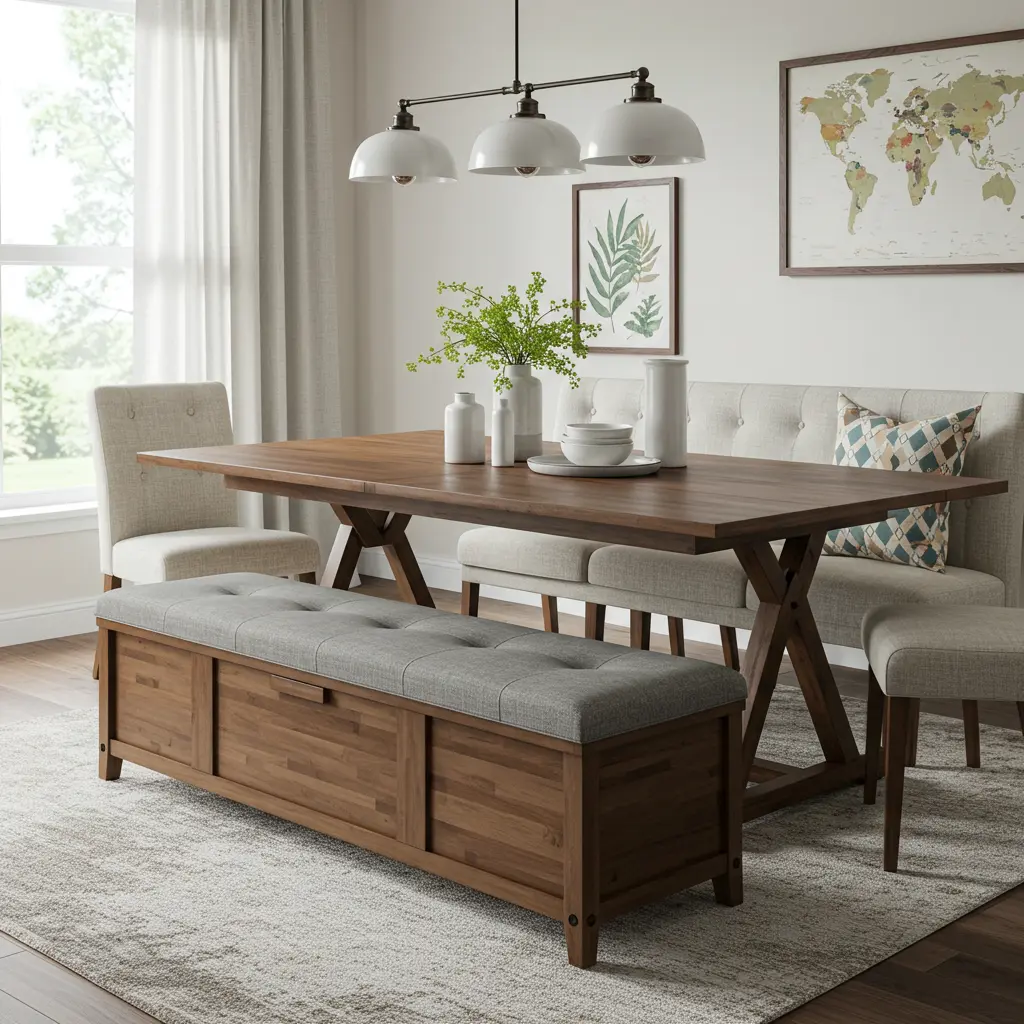
Best For: Maximizing seating and hiding clutter.
Pro-Tip: Use a bench for your dining seating instead of chairs. It can tuck completely under the table when not in use. Get one with a lid for hidden storage.
Styling Cue: It provides more seating in less space than chairs, giving you a “cleaner, less cluttered” look.
15. The Clear Acrylic “Ghost” Furniture
Best For: Creating the illusion of more space by using “invisible” furniture.
Pro-Tip: An acrylic coffee table or dining chairs take up zero visual space. The light passes right through them, making the room feel “airy and open.”
Styling Cue: This is a “classic celebrity designer trick” for small spaces.
16. The Round Table Advantage
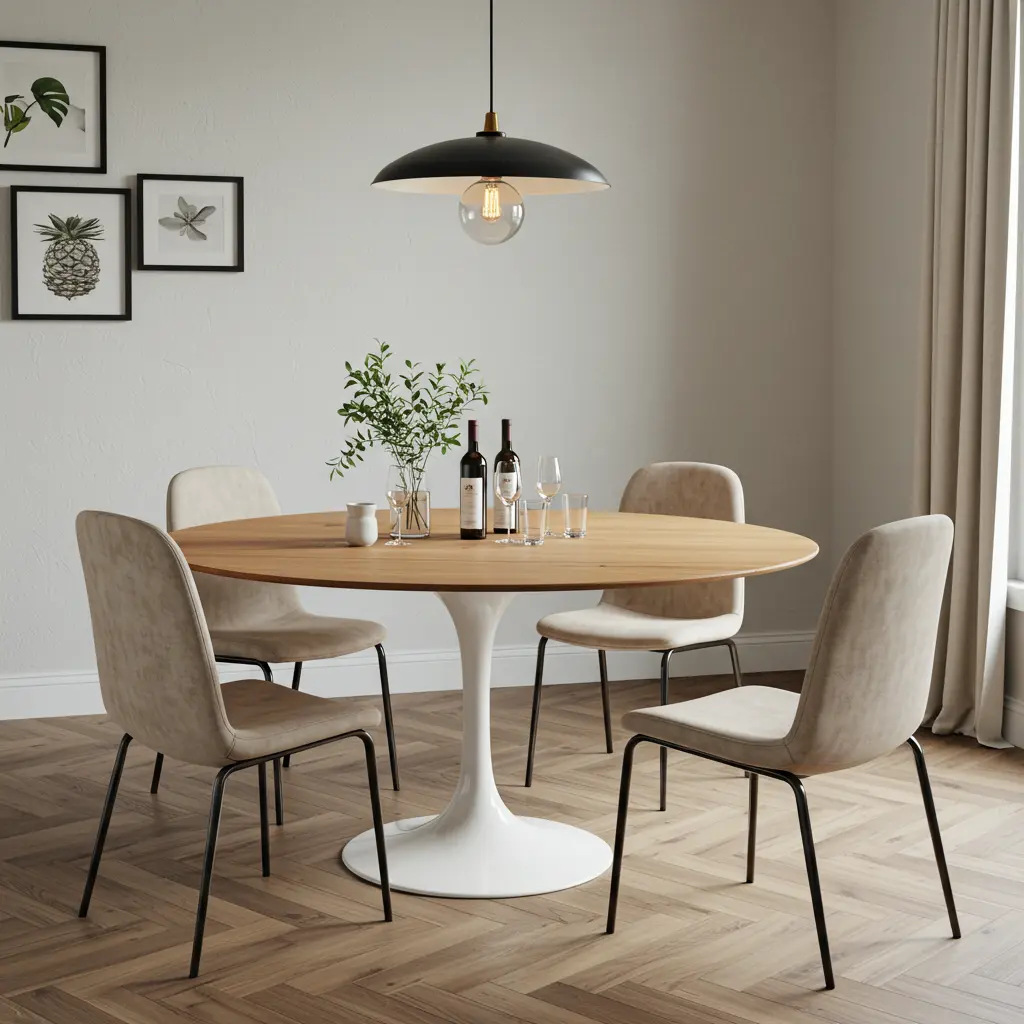
Best For: Improving flow and fitting more people in a tight corner.
Pro-Tip: A round table has no sharp corners to bump into, making it easier to navigate around. It also “feels more intimate” and can often squeeze in an extra chair.
Styling Cue: A round pedestal table is the ultimate space-saver, as there are no legs to get in the way of chairs.
Visual Tricks & Decor Magic
17. The Giant Mirror Hack
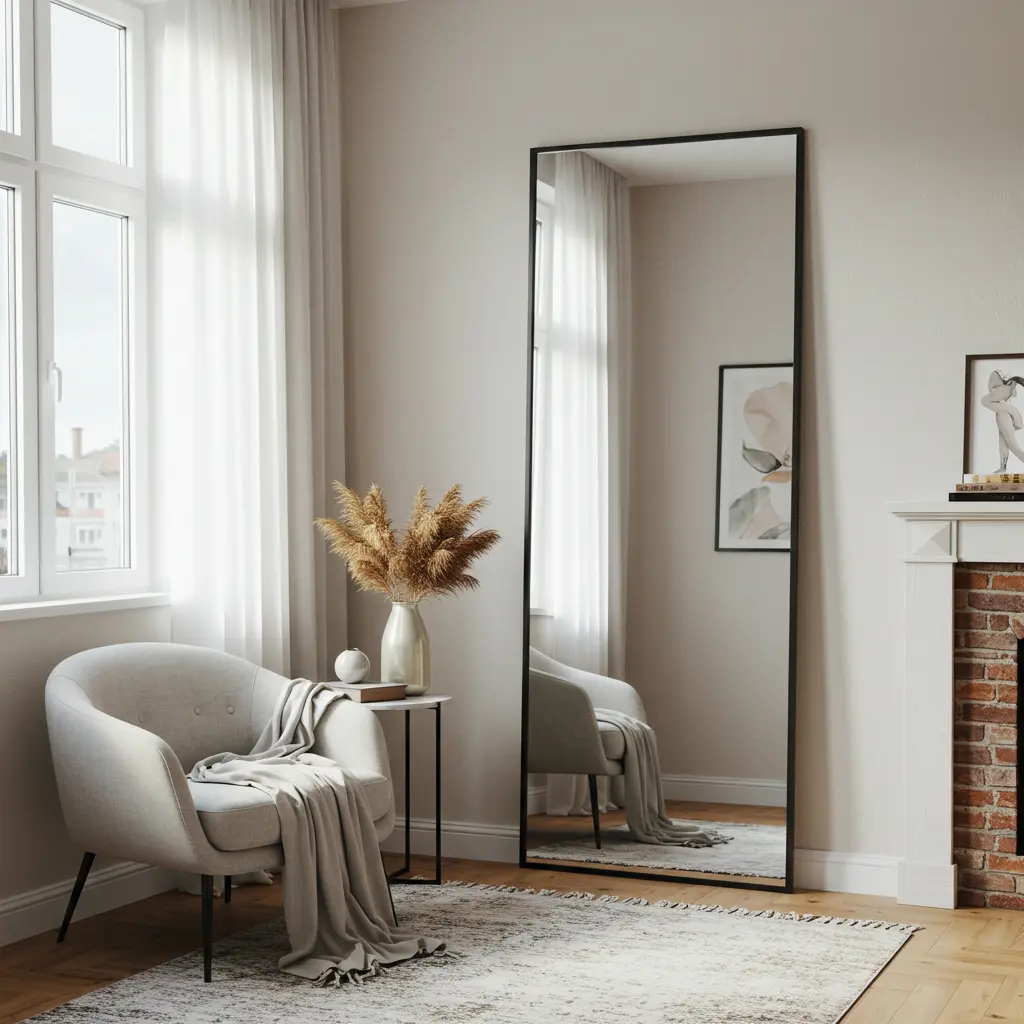
Best For: Instantly making any room feel twice as big and bright.
Pro-Tip: Place a large, floor-length mirror on the wall opposite a window. It will reflect the light and the view, “creating a second window” and adding incredible depth.
Styling Cue: A mirror with a thin, simple frame (like black metal) feels modern and won’t overwhelm the space.
18. The Wall-to-Wall Curtains
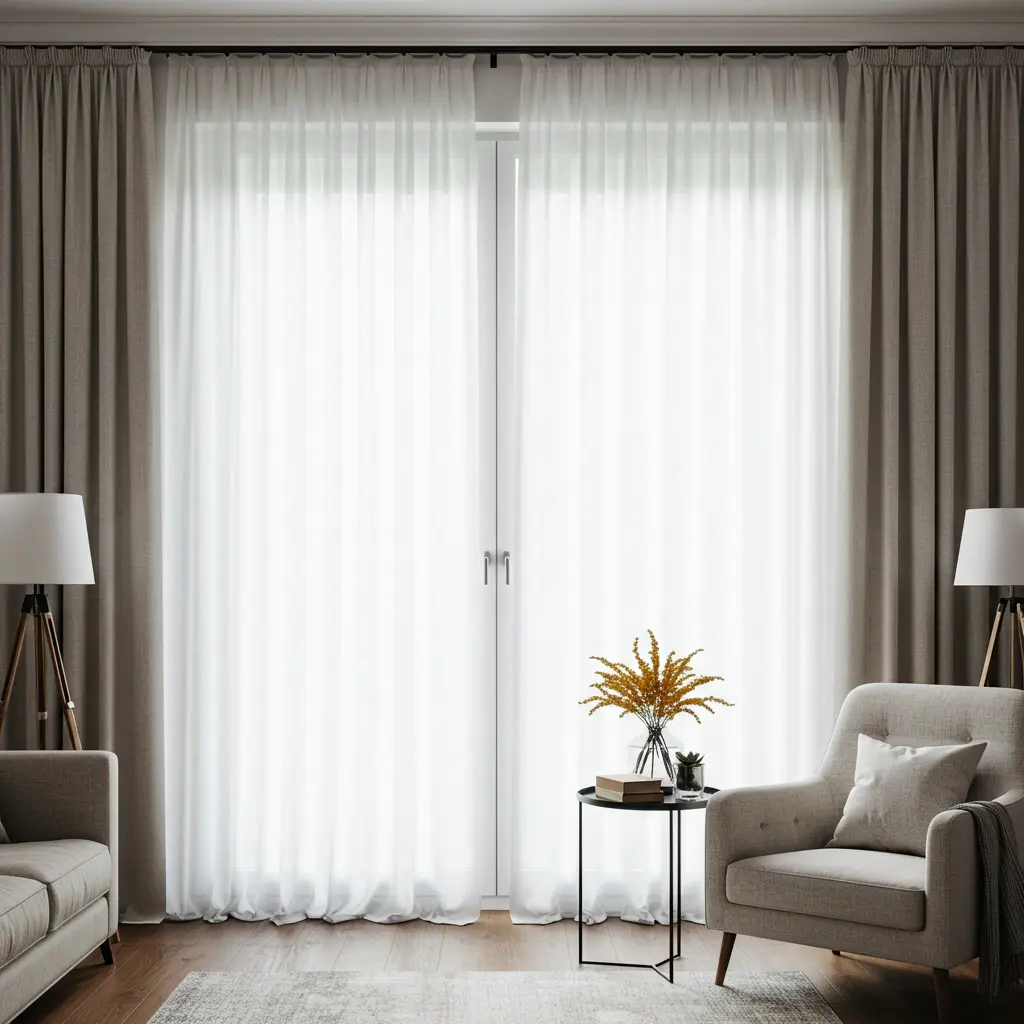
Best For: Making ceilings look higher and windows look bigger.
Pro-Tip: Hang your curtain rod as high and wide as possible, close to the ceiling and extending well beyond the window frame. This “draws the eye upward” and creates an illusion of height.
Styling Cue: Use sheer, light-colored curtains to maximize the amount of natural light that filters through.
19. The Unified Color Palette
Best For: Creating a serene, cohesive, and uncluttered feeling.
Pro-Tip: Paint the entire room, including the trim, in one light, neutral color. This “blurs the lines” of the room and makes the space feel more expansive.
Styling Cue: Add pops of color with your textiles (pillows, throws, art) so the space feels “calm, not boring.”
20. The Power of Vertical Stripes
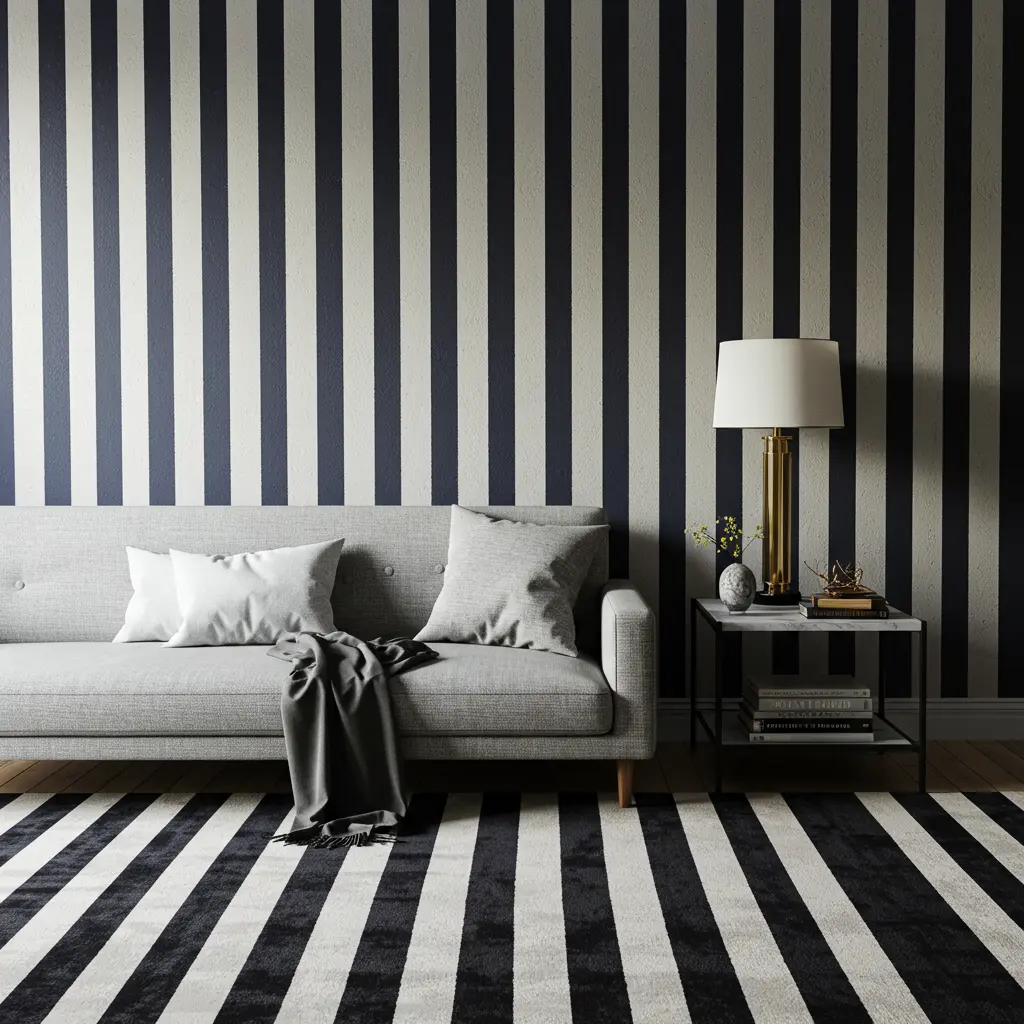
Best For: Another classic trick to create the illusion of height.
Pro-Tip: A rug with bold, vertical stripes will elongate the room. A single panel of vertically striped wallpaper on a focal wall can have the “same powerful effect.”
Styling Cue: This is a bold choice, so keep the rest of the decor relatively simple to let the stripes be the star.
21. Strategic Lighting Zones
Best For: Making the space feel more functional and atmospheric.
Pro-Tip: Put your lights on dimmer switches. Have a pendant on a dimmer over the dining table for intimate dinners, and a floor lamp on a dimmer for cozy movie nights.
Styling Cue: The ability to change the lighting is the “fastest way to change the vibe” of the room.
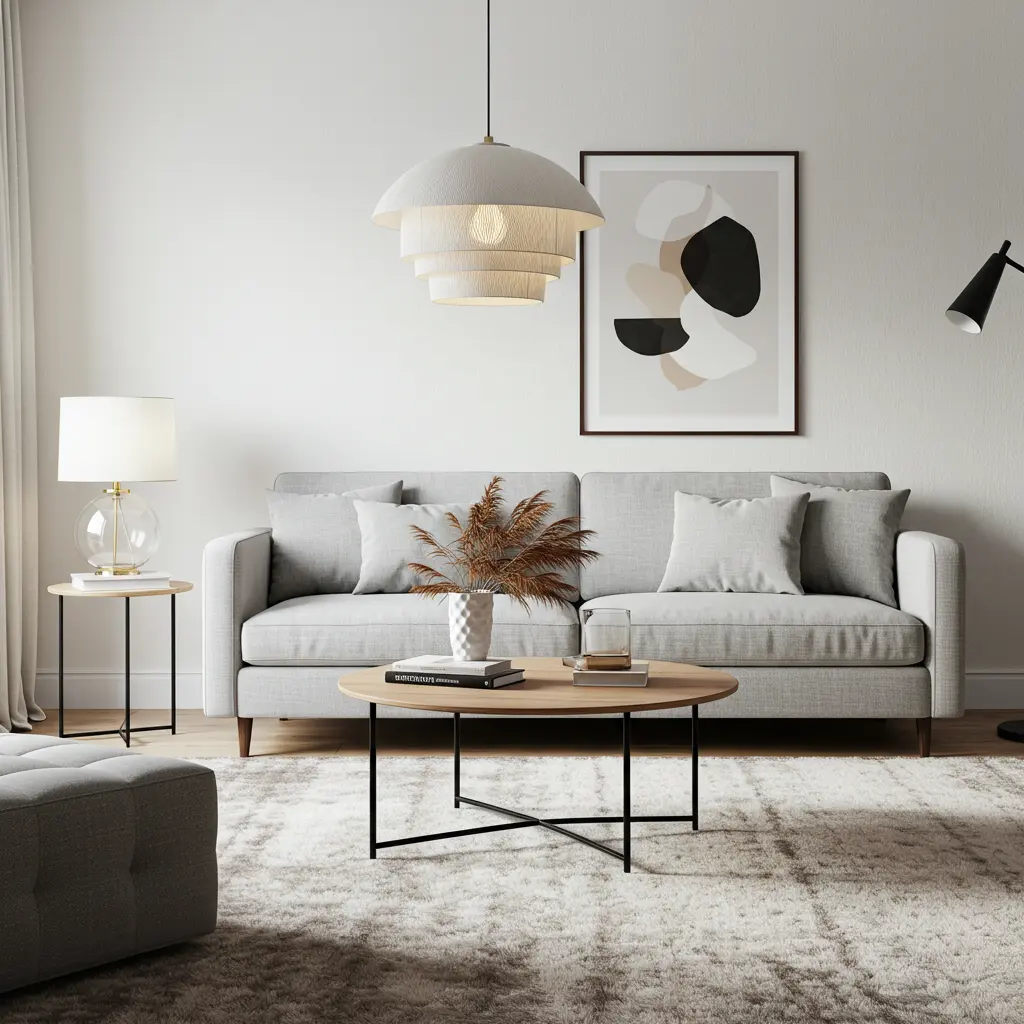
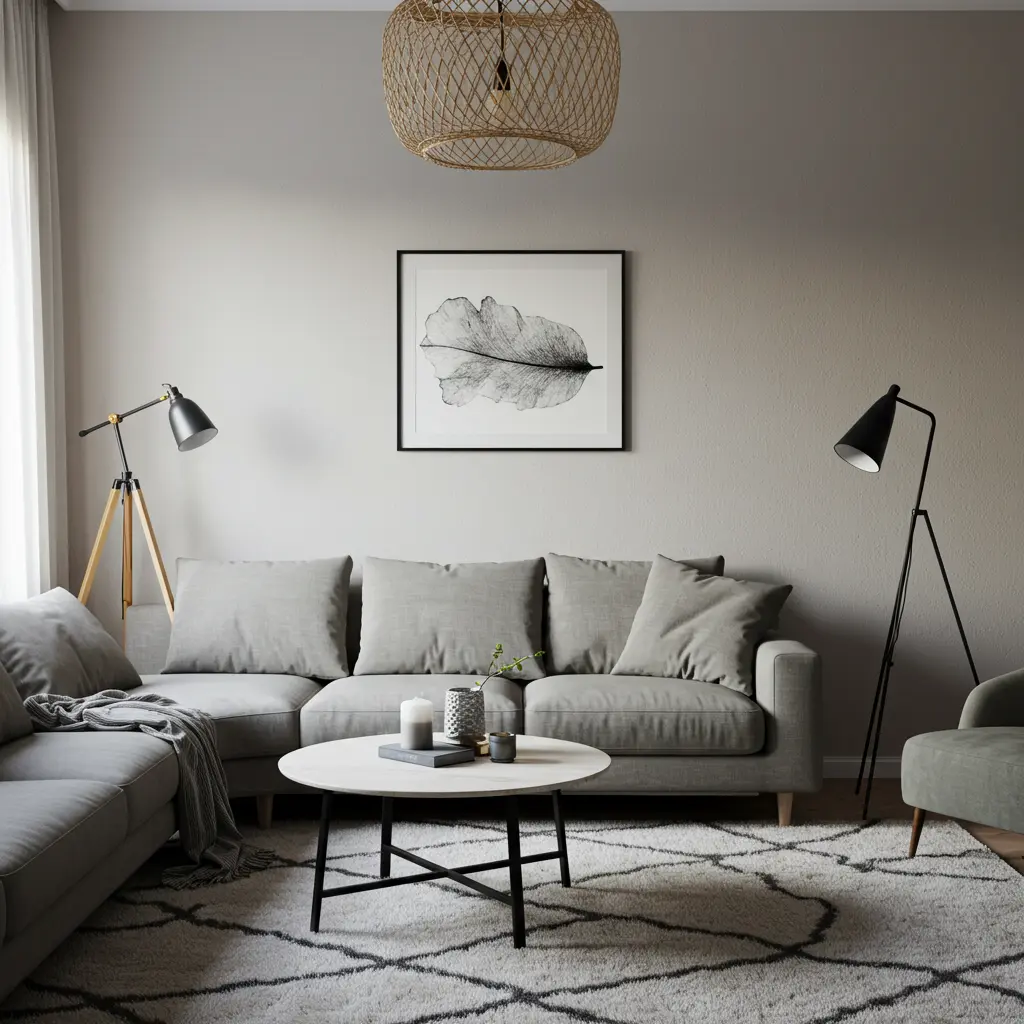
22. “Leggy” Furniture
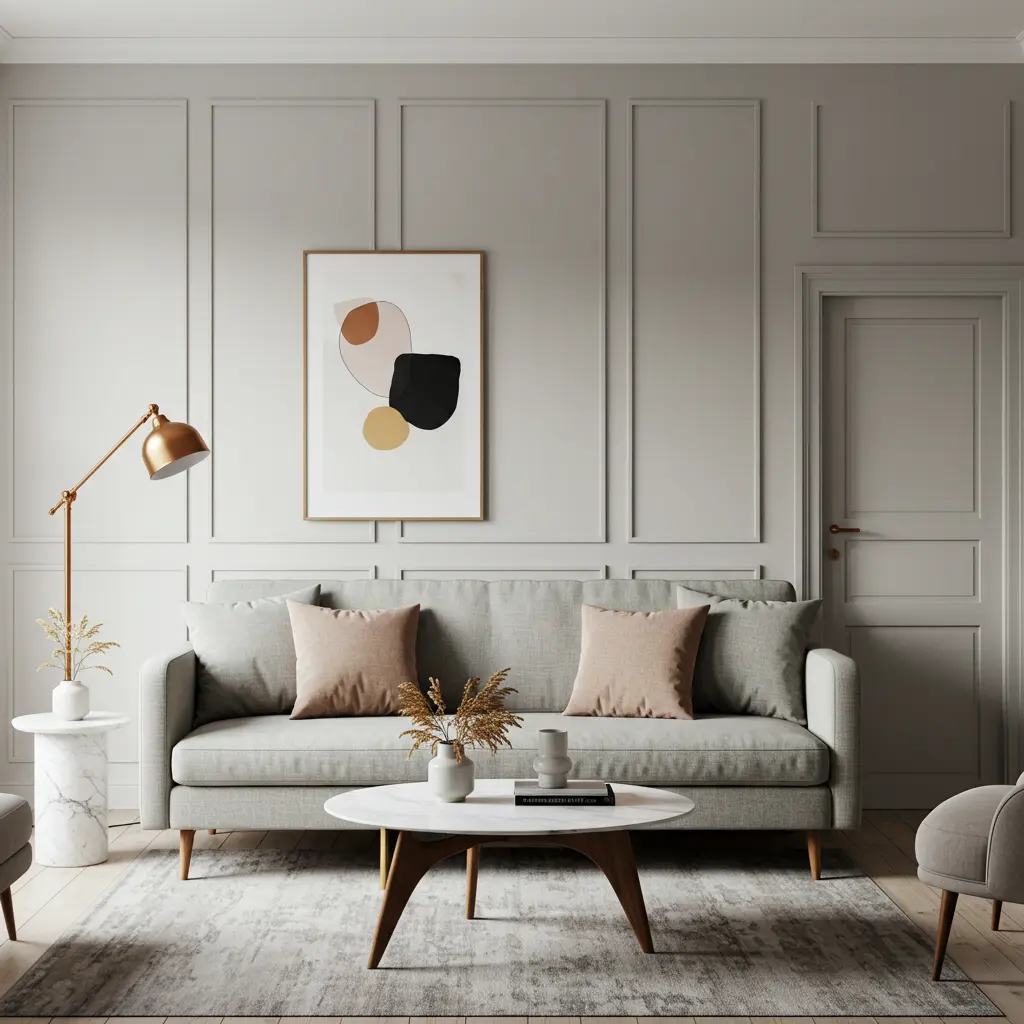
Best For: Creating a sense of lightness and space.
Pro-Tip: Choose a sofa, console, and dining chairs that are up on slender legs. Seeing the floor underneath the furniture makes the room feel “significantly larger and less cluttered.”
Styling Cue: It’s a subtle detail with a “massive psychological impact.”
23. Low-Profile Pieces
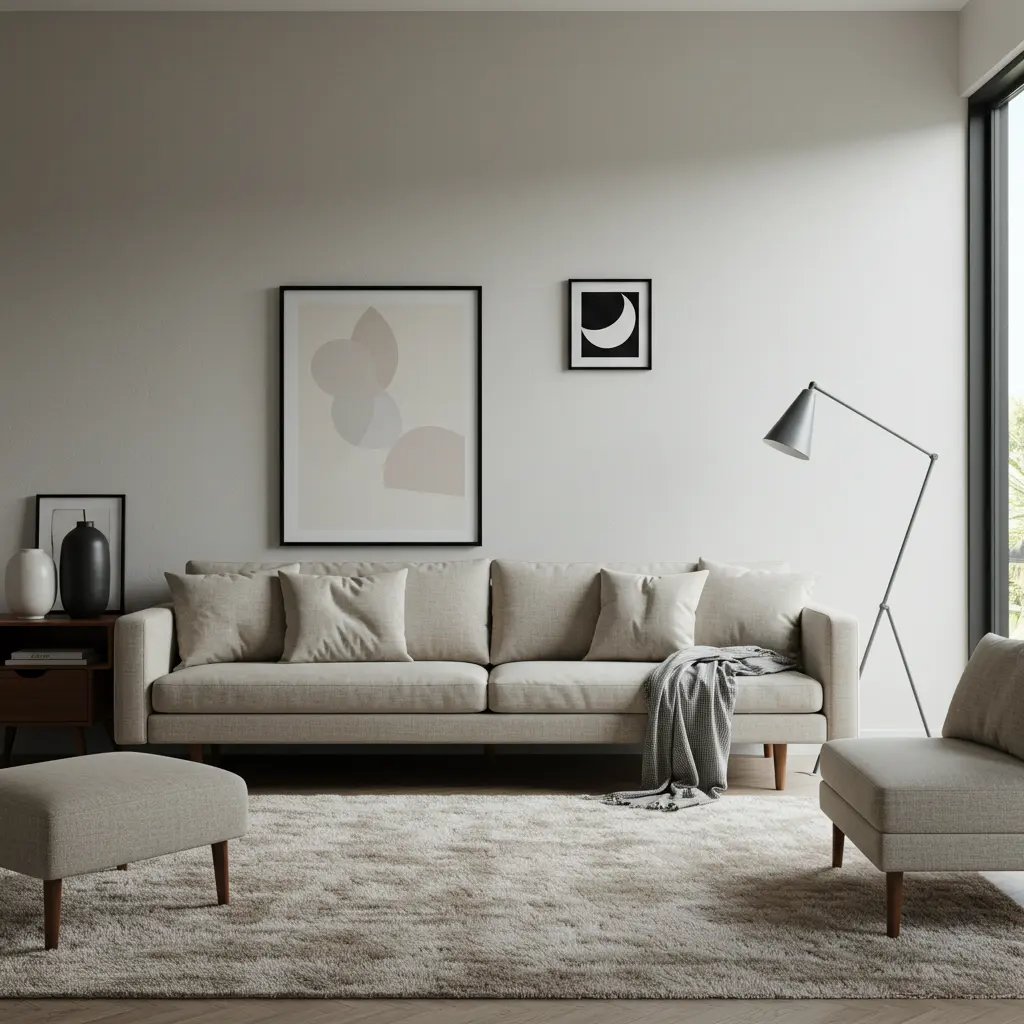
Best For: Unobstructed sightlines and an open, airy feel.
Pro-Tip: Choose furniture that is physically lower to the ground, like a low-back sofa or a low media console. This keeps the “visual plane open” and makes the ceiling feel higher.
Styling Cue: This is a key principle of modern, minimalist design for a reason: it works.
24. The Art of Negative Space
Best For: Fighting the urge to fill every single inch of space.
Pro-Tip: “Negative space” (empty space) is a design element. Leave some walls blank. Don’t cover every surface with knick-knacks. This “allows the room to breathe.”
Styling Cue: A minimalist approach will always make a small space feel more “luxurious and intentional.”
Part 4: Space-Saving Dining Setups
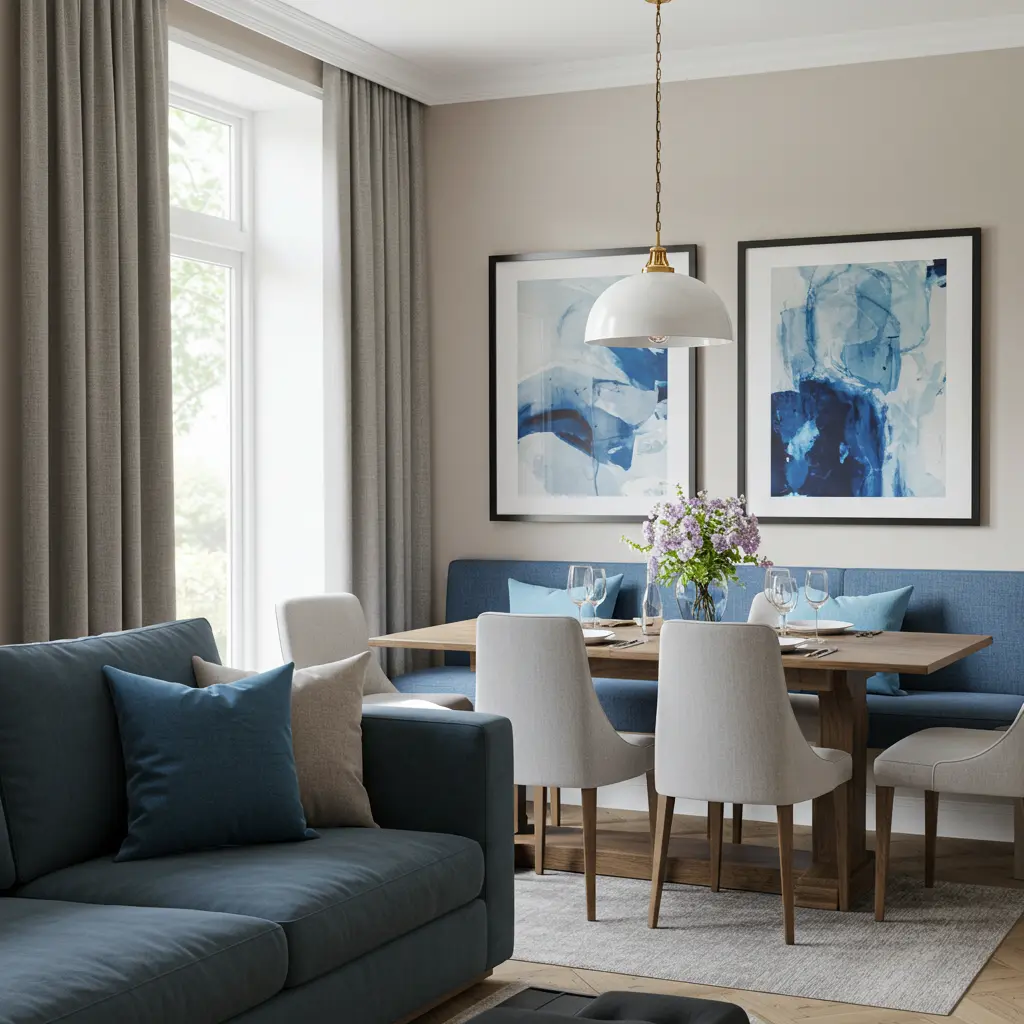
25. The Banquette Seat Solution
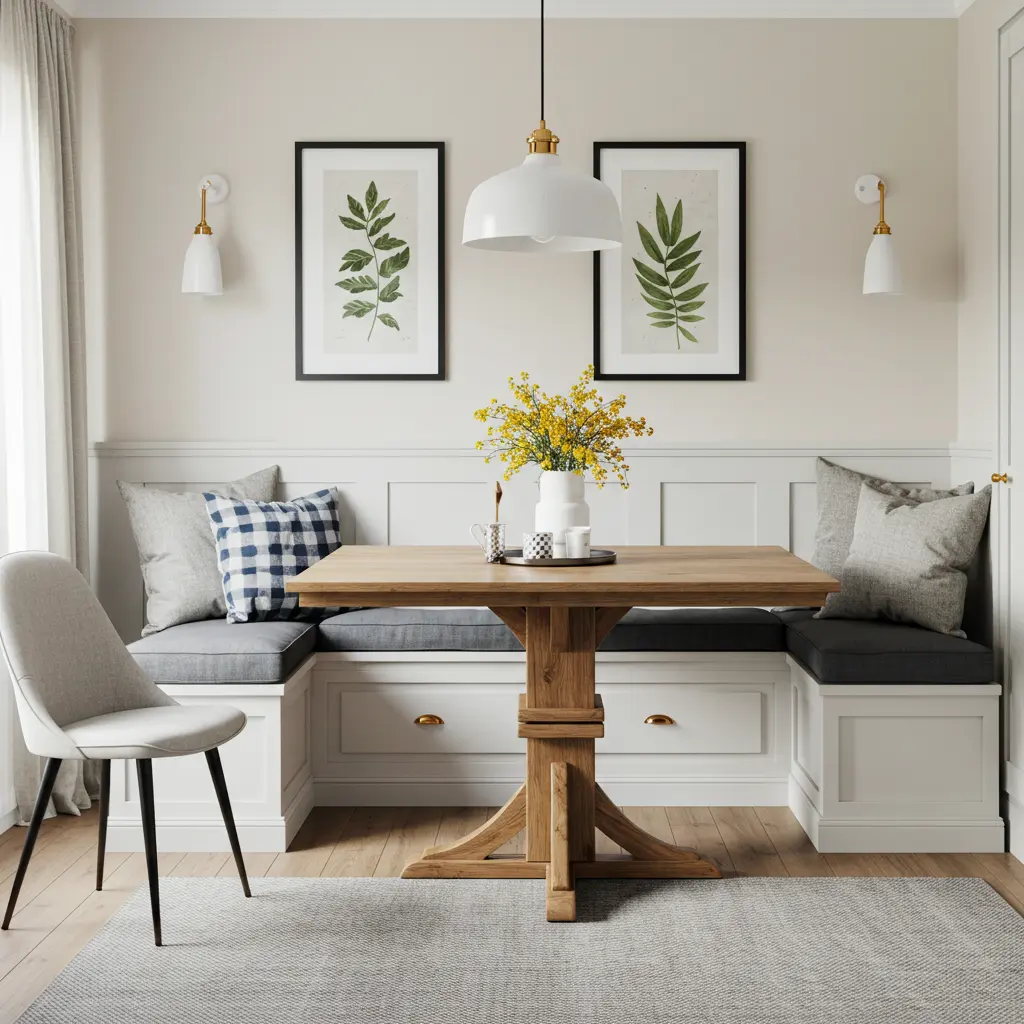
Best For: The ultimate space-saving, high-style dining nook.
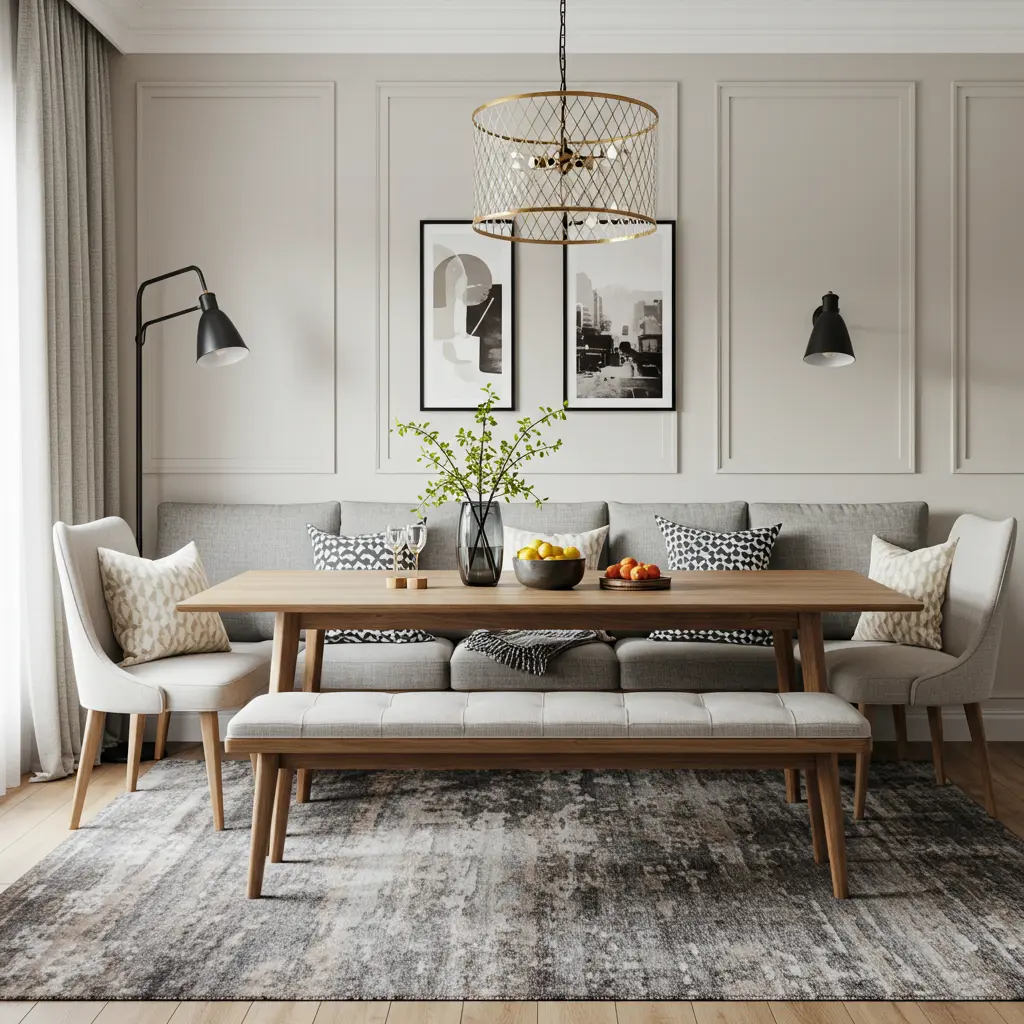
Pro-Tip: A built-in or store-bought banquette bench against a wall can seat more people than chairs and takes up half the space. Bonus points for “hidden storage” underneath the seat.
Styling Cue: Pile it with stylish pillows to make it feel like a cozy, integral part of the living room.
26. The Wall-Mounted Bar
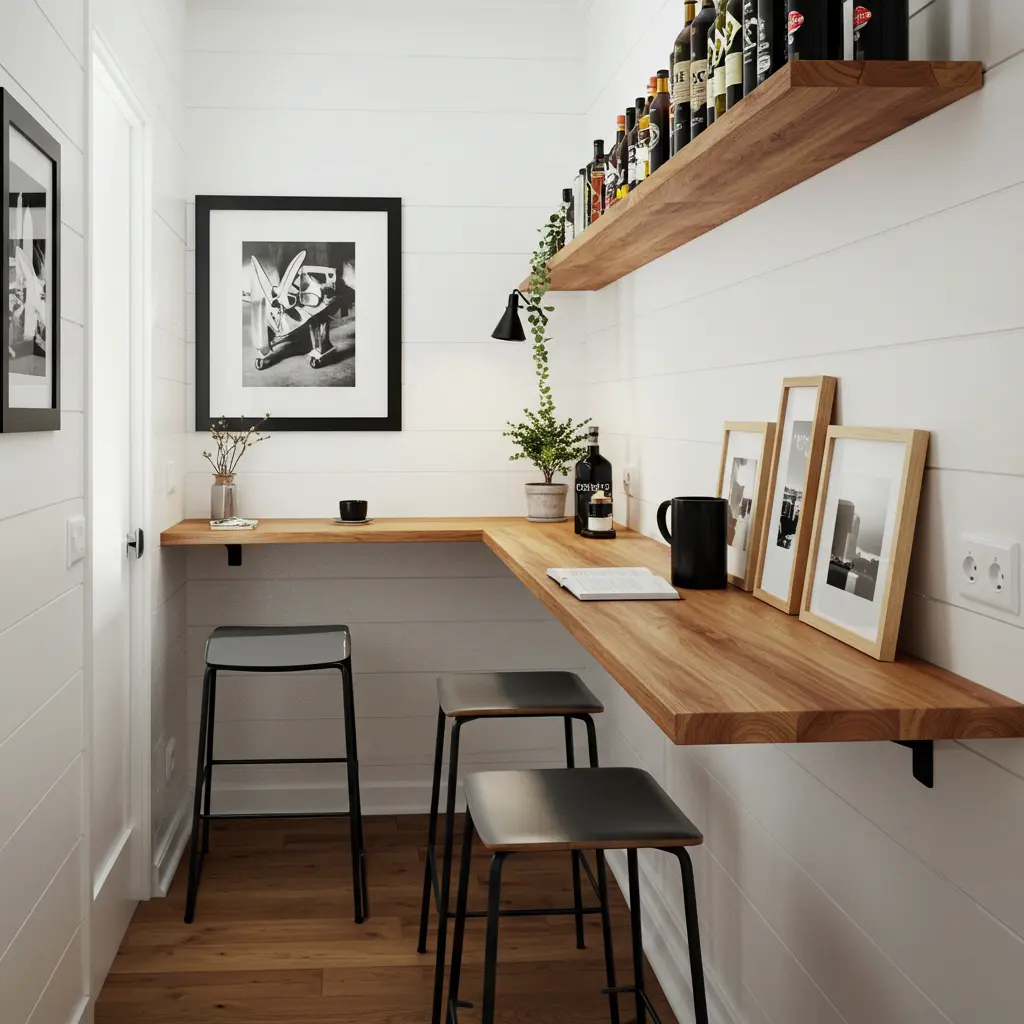
Best For: Super narrow spaces where even a small table won’t fit.
Pro-Tip: Install a narrow slab of wood or countertop material directly onto the wall. Pair it with a couple of sleek bar stools that can tuck underneath.
Styling Cue: It creates a “cool, industrial coffee shop” vibe and takes up almost zero floor space.
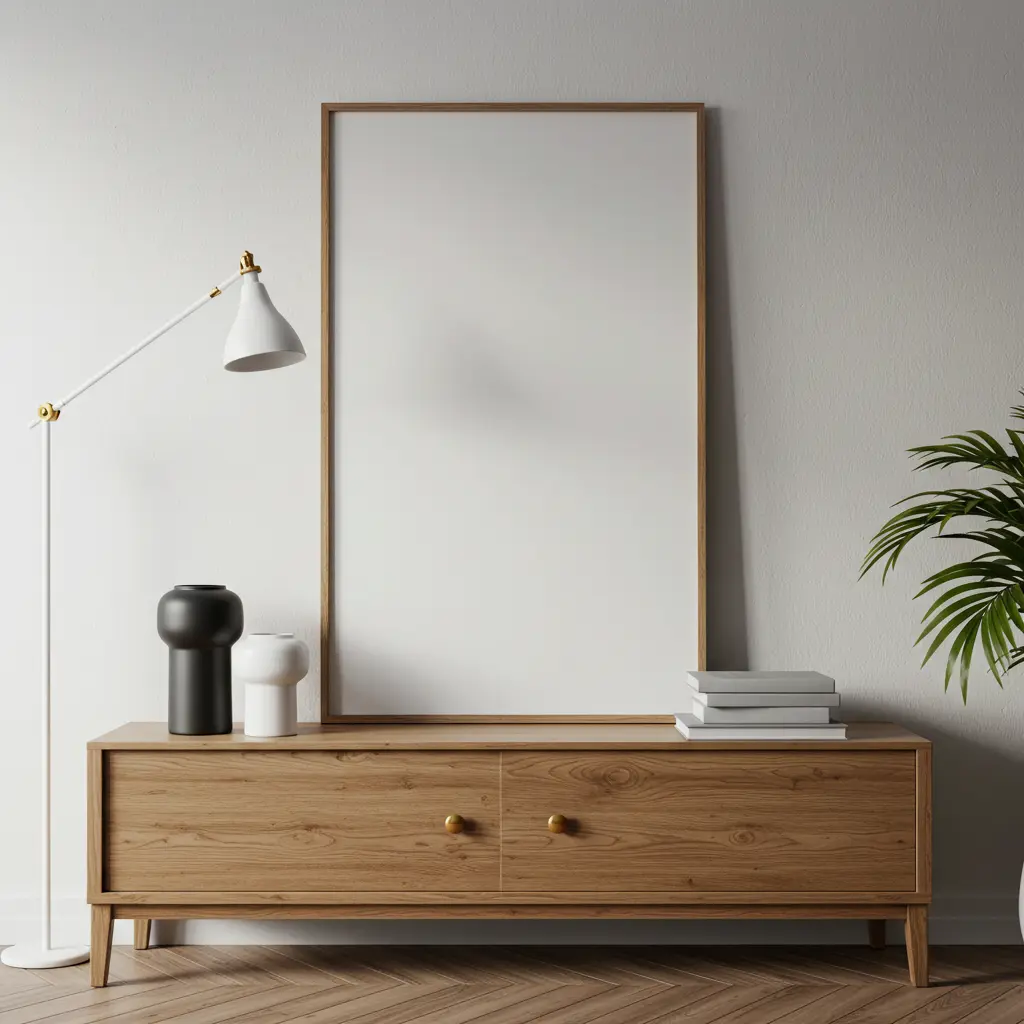
27. The Console Table Transformation
Best For: A dining solution that is completely hidden in plain sight.
Pro-Tip: Place a slim console table against a wall. For daily use, it holds keys and mail. For dining, pull it out and place two chairs on either side.
Styling Cue: Hang a large mirror or piece of art above it so it always “feels like a deliberate design moment.”
28. The Kitchen Island Extension
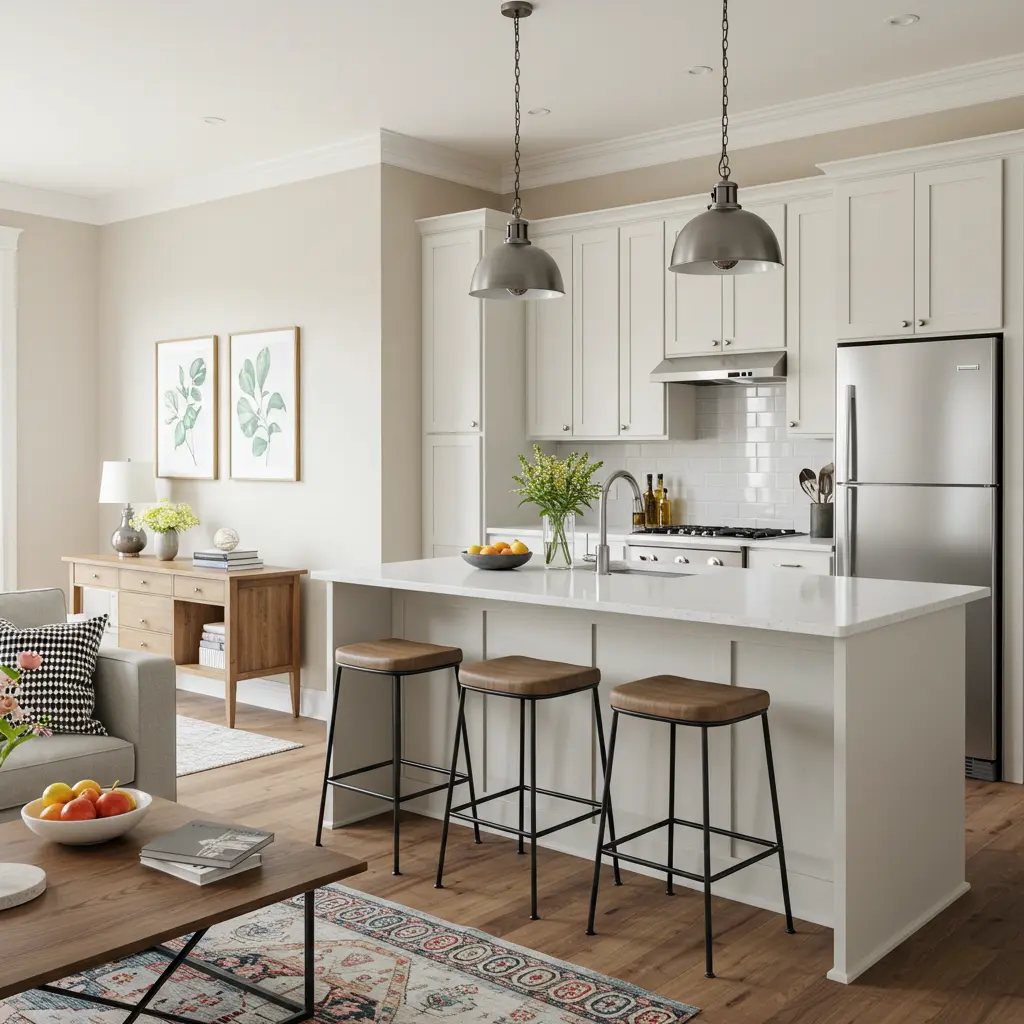
Best For: Apartments with an open kitchen and living area.
Pro-Tip: If you have a kitchen island or peninsula, that is your dining table. Just add two or three stylish, low-profile stools.
Styling Cue: Place a runner on the island and a small vase of flowers to “delineate the dining zone.”
29. The Bistro Set Charm
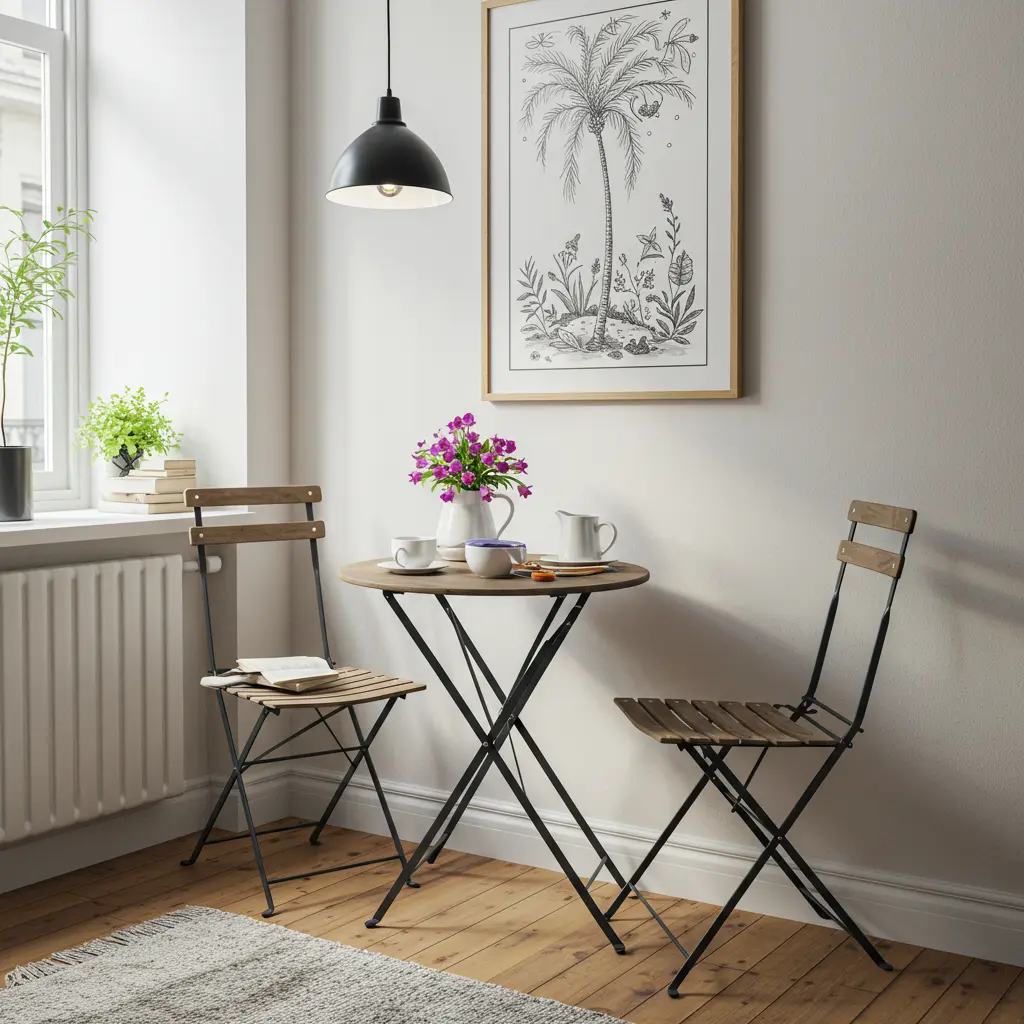
Best For: Adding a touch of Parisian romance to a small corner.
Pro-Tip: A small, round bistro table (usually 24-30 inches) with two simple chairs is all you need for a “perfectly functional” dining spot for one or two.
Styling Cue: It’s an iconic look that feels “charming and intentional,” not like a compromise.
30. The Stool Strategy
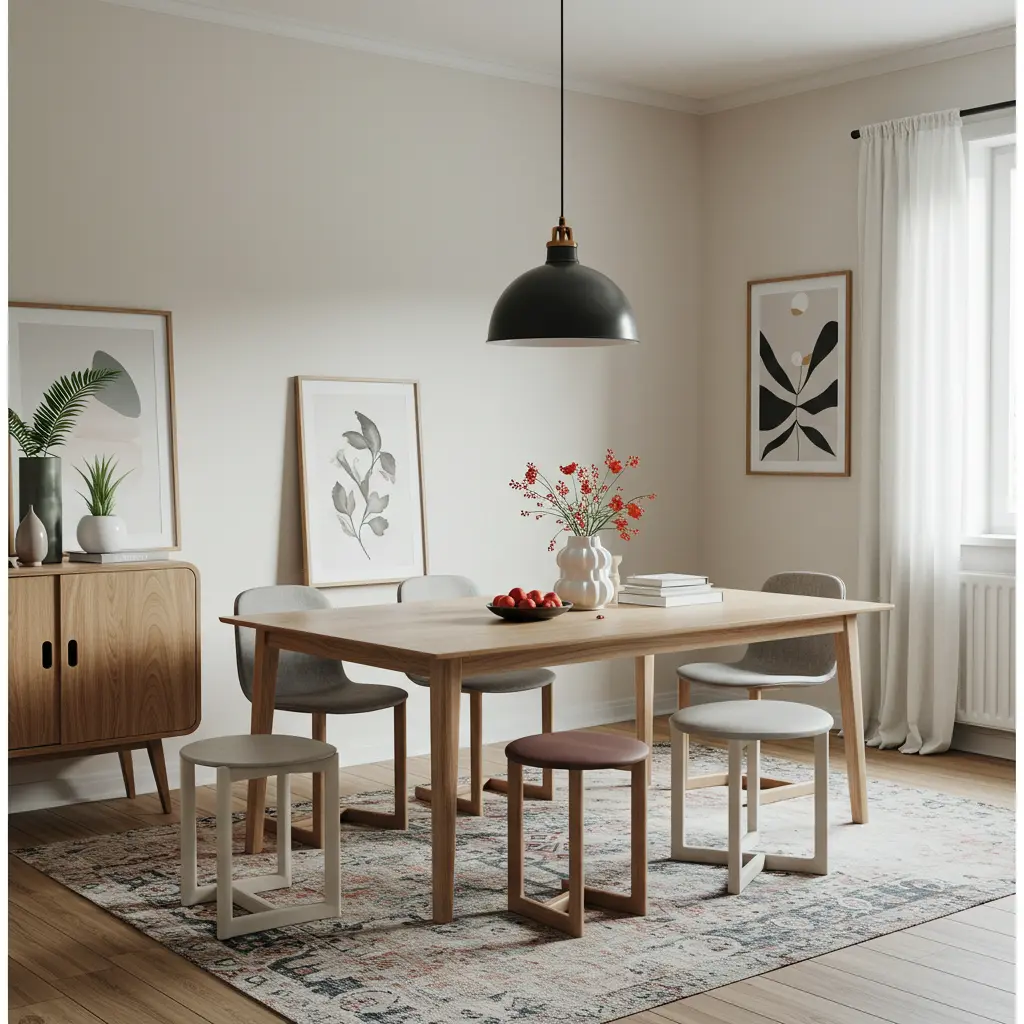
Best For: The most minimalist and flexible dining option.
Pro-Tip: Instead of chairs, use backless stools for your dining seating. They can be “completely tucked away” under the table, or used as extra side tables or seating in the living area.
Styling Cue: Choose stools with a cool design or color to make them feel like a deliberate style choice.
31. The Fold-Away Table
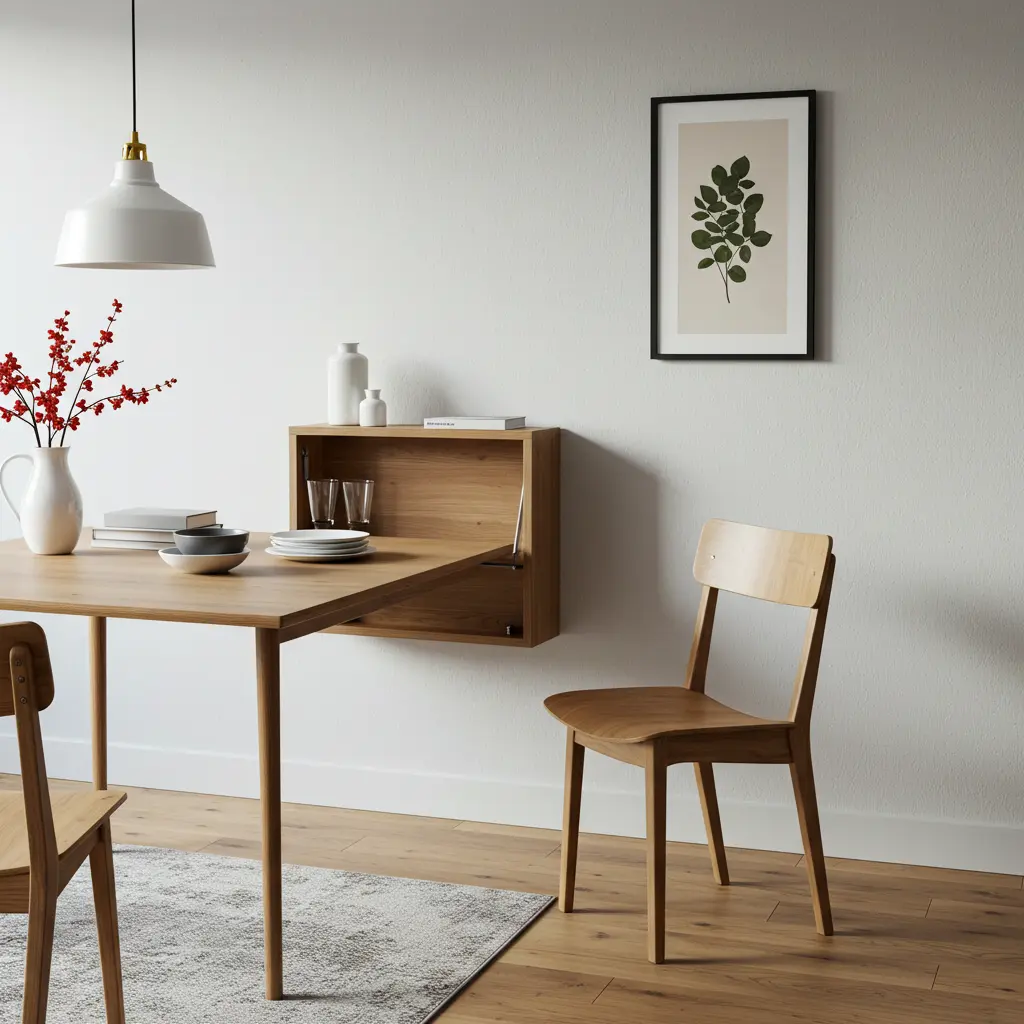
Best For: The person who truly needs the floor space and only dines at a table occasionally.
Pro-Tip: A wall-mounted table, like the IKEA NORBERG, folds down to be completely flat against the wall when not in use. It’s the “ultimate space-saving hack.”
Styling Cue: Hang a piece of art that is visible only when the table is folded down for a clever, hidden surprise.
32. The Window Sill Bar
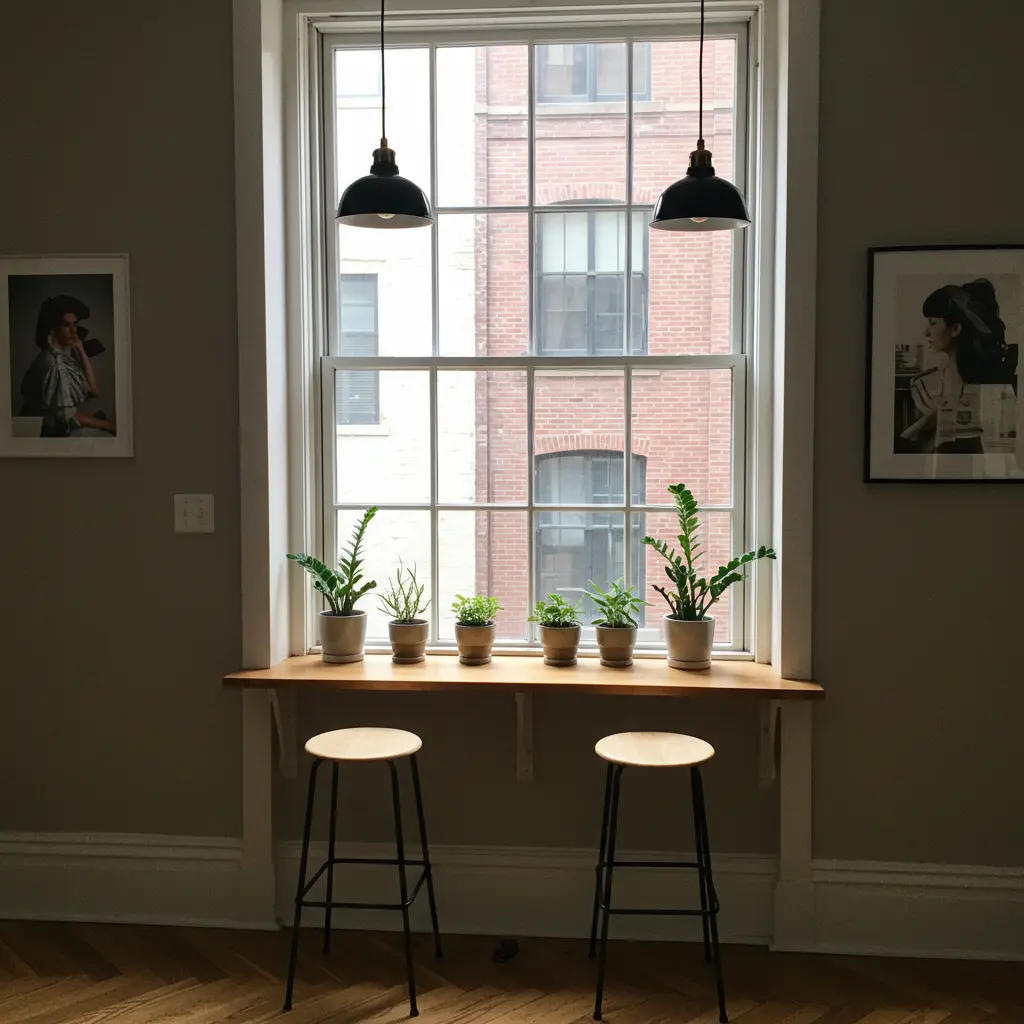
Best For: Apartments with a deep, counter-height window sill.
Pro-Tip: If you’re lucky enough to have a deep window sill, place a couple of bar stools in front of it and call it a day. It’s a “free dining nook” with a view.
Styling Cue: Place a few small plants on the sill to create a beautiful, cafe-like atmosphere.
Cohesive Styling & Finishing Touches
33. The Cohesive Textile Story
Best For: The easiest way to make the two zones feel like one room.
Pro-Tip: Use the same “accent color” in the pillows on your sofa, the art near your dining table, and the napkins on the table. This repetition creates a “strong visual connection.”
Styling Cue: If you have a blue pillow on the couch, find a piece of art with a hint of the same blue for the dining nook.
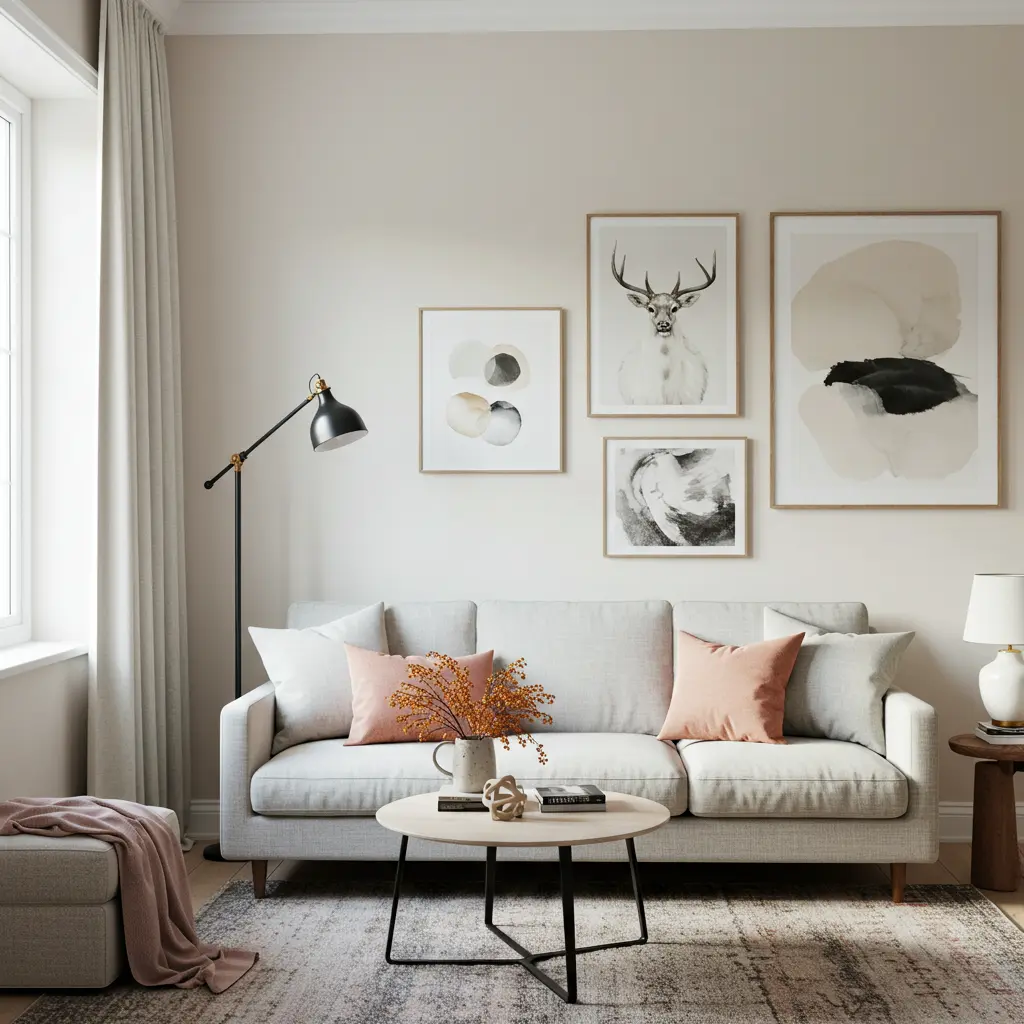
34. The Large-Scale Art Trick
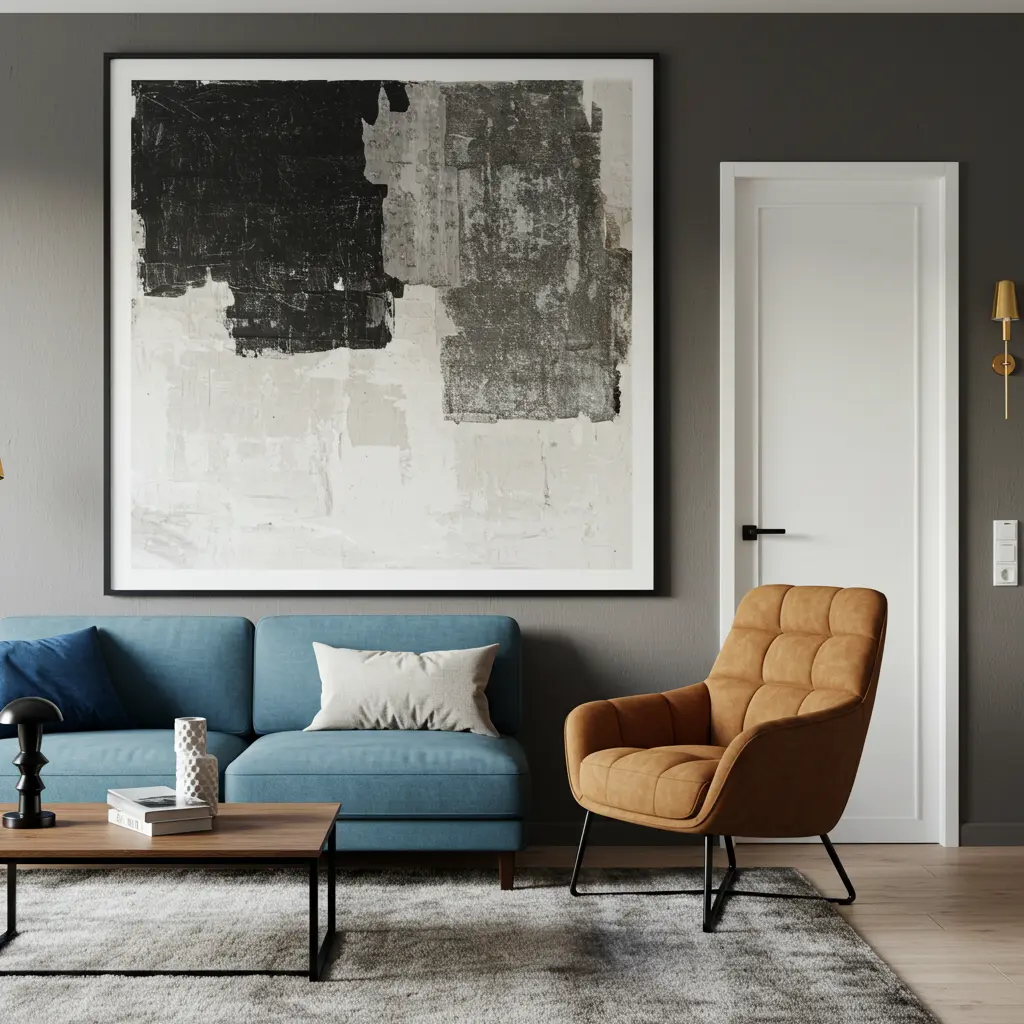
Best For: Making a bold statement and distracting from the small size of the room.
Pro-Tip: One huge piece of art is “far more impactful” in a small space than a bunch of tiny frames. It creates a focal point and makes the wall feel bigger.
Styling Cue: Hang it on the wall that connects the two zones to act as a visual bridge.
35. The Plant Family
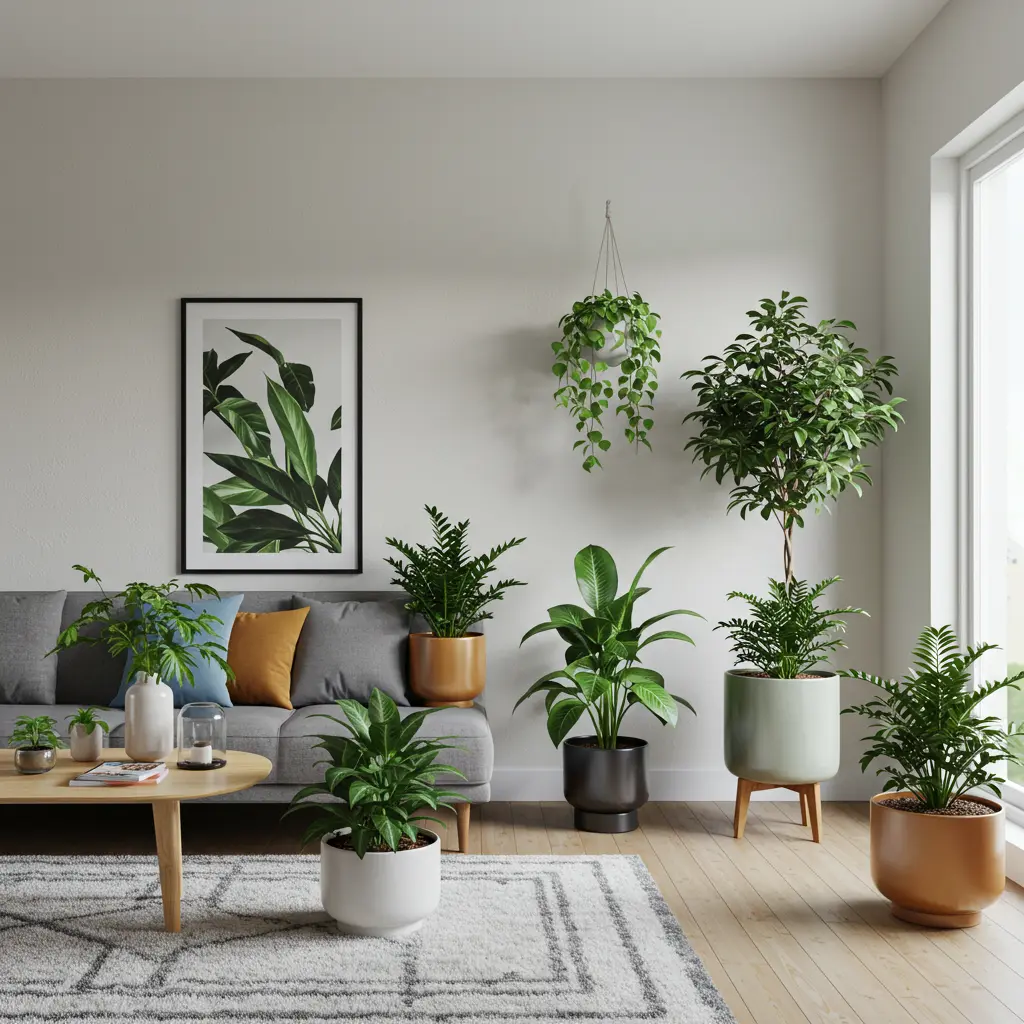
Best For: Adding life, color, and texture that literally purifies the air.
Pro-Tip: Don’t just dot plants around randomly. Create “plant families” by grouping a few plants of different heights together in both the living and dining areas.
Styling Cue: Use planters in the same color or material throughout the room to create another layer of cohesion.
36. The Gallery Wall Connector
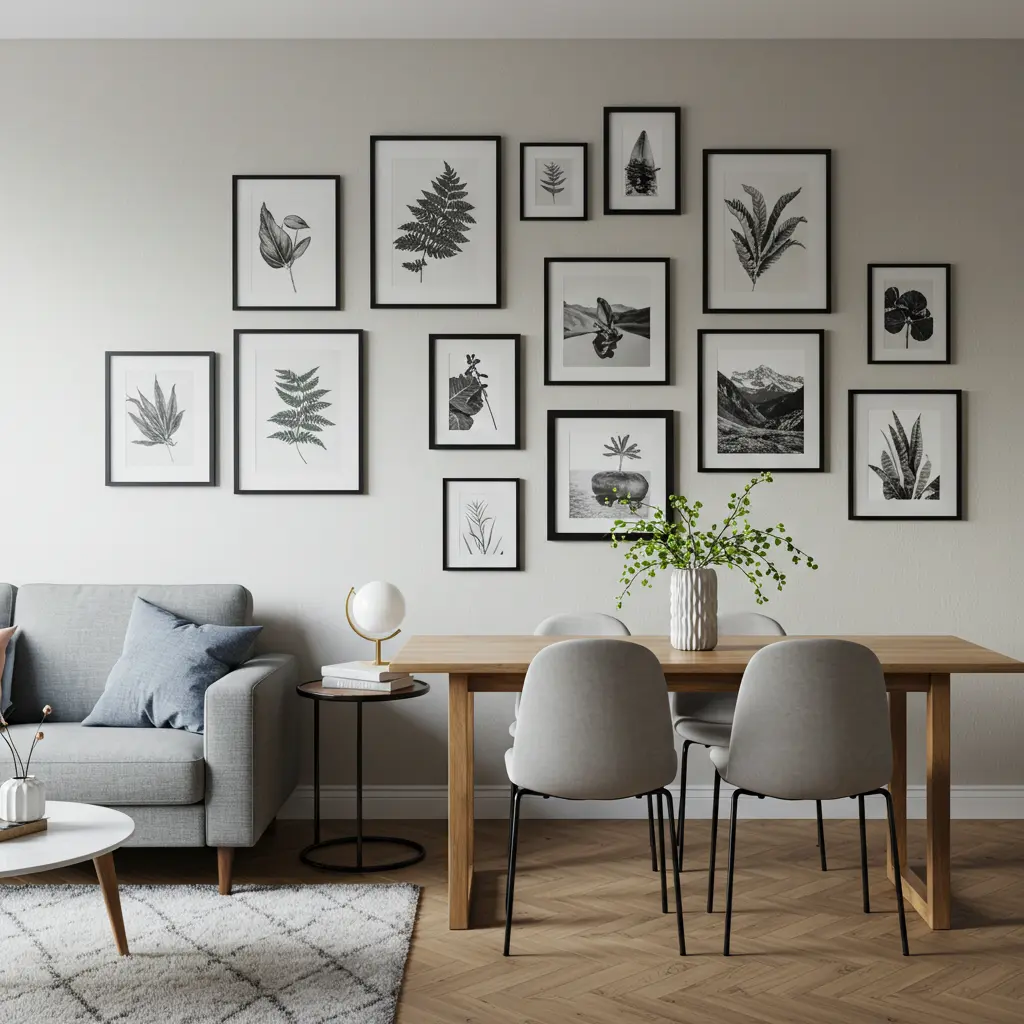
Best For: A personal way to bridge the gap between the two zones.
Pro-Tip: Create a gallery wall that starts in the living room area and continues into the dining room area. This “physically connects” the two spaces.
Styling Cue: Use frames of the same color (like all black or all brass) to keep the look unified, not chaotic.
37. Consistent Hardware Finishes
Best For: A subtle, high-end detail that makes the whole room feel more expensive.
Pro-Tip: If the legs of your coffee table are black metal, try to find a dining pendant light or chair legs in the “same black metal finish.”
Styling Cue: This subconscious consistency makes the entire space feel “professionally designed.”
38. The Tray Trick
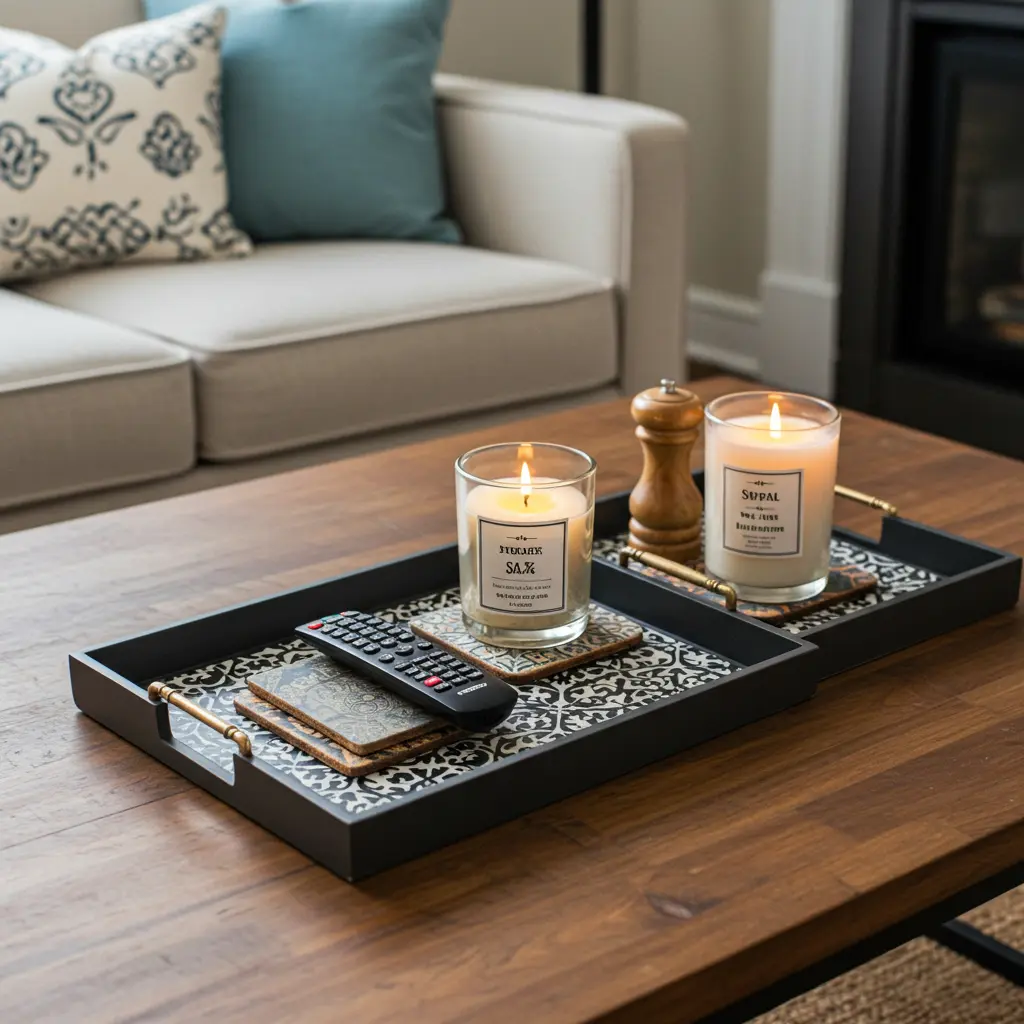
Best For: Corralling clutter and creating defined moments.
Pro-Tip: Use a decorative tray on your coffee table to hold remotes and coasters. Use another, similar tray on your dining table as a centerpiece to hold a candle and a salt shaker.
Styling Cue: The trays create “mini-zones” on your surfaces and make everything look tidy and intentional.
39. The “Third Color” Rule
Best For: A simple formula for a perfect, no-fail color palette.
Pro-Tip: Choose a main neutral color (like white), a secondary color (like gray), and then a “single, bold accent color” (like emerald green) to use sparingly in both zones.
Styling Cue: This disciplined approach to color is the secret to a “serene and stylish” combo room.
40. The Basket Brigade
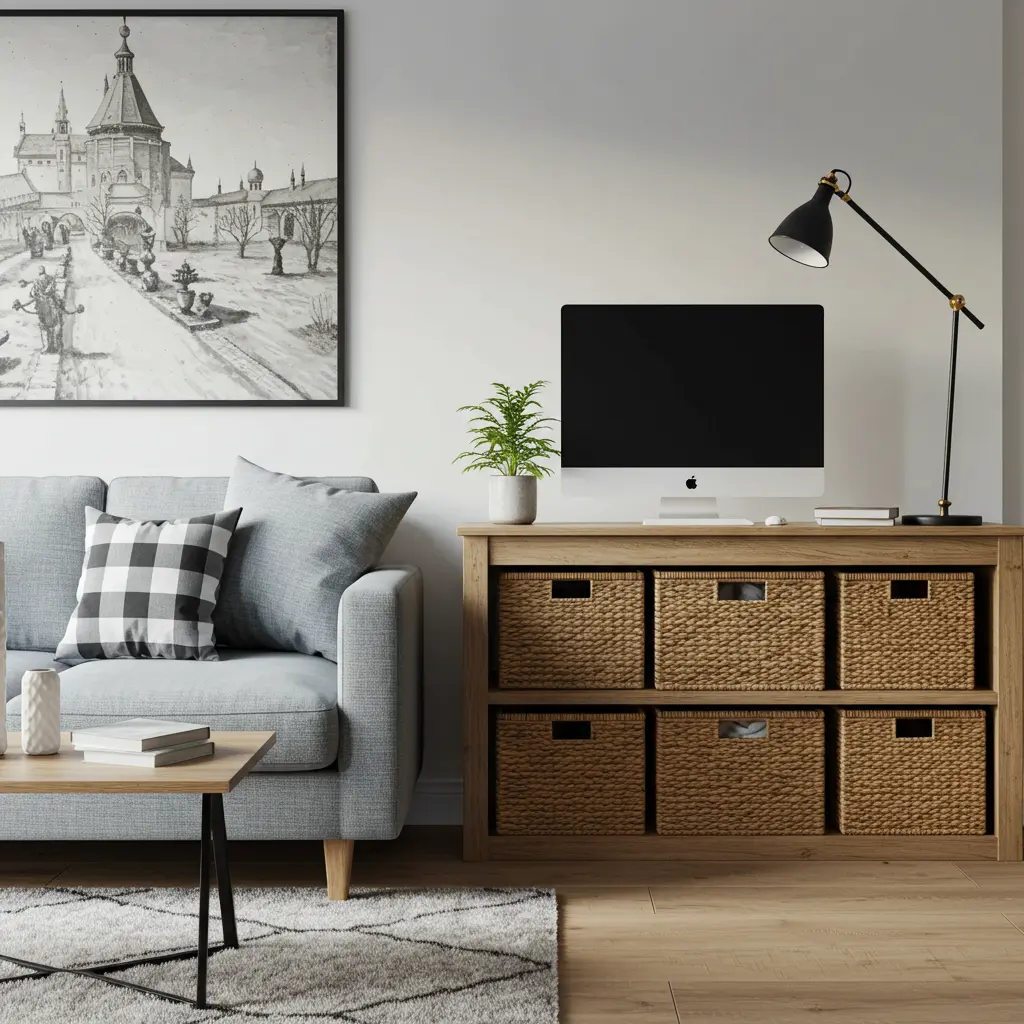
Best For: The ultimate stylish storage solution for hiding everyday clutter.
Pro-Tip: Use beautiful woven baskets in both the living and dining areas. One by the sofa can hold extra blankets, while another in the dining corner can hide extra linens or even your work laptop.
Styling Cue: The repeated texture of the baskets provides another “layer of visual cohesion” while being incredibly practical.
Conclusion: Your Small Space, Mastered
And just like that, you’re no longer just looking at one small, awkward room; you’re looking at a world of creative, functional possibilities. You have the ideas, the insider tips, and the know-how to create a living and dining space that is beautiful, personal, and “shockingly spacious.” This isn’t just about decorating; it’s about mastering your space and creating a home that works for you.
It all starts with a single choice. Pick the idea that gave you that spark of “I can totally do that,” and take the first step.
You’ve got this.
