Is your heartfelt message getting lost in a sea of generic, store-bought greetings? A quick signature on a pre-printed sentiment that doesn’t quite say what’s in your heart? You’re in the right place to change that.
A card shouldn’t just be a folded piece of paper; it should be the envelope for your affection, a backdrop for a heartfelt note, and a cherished keepsake long after the occasion has passed.
This is your creative playbook for transforming paper and glue into a gesture that’s not only beautiful and impressive but feels deeply, personally you.
We’ll explore charming designs, decode the secrets of a professional finish, and walk through the practical steps to bring your vision to life.
By the end, you’ll see a blank piece of cardstock not as an empty space, but as a canvas waiting for your story.
Before You Begin: The Card-Maker’s Code
The most beautiful cards start with a few foundational techniques, not just a pair of scissors. Before you make a single fold, let’s lay the groundwork for a design that looks polished and professional.
The Secrets of Style: Simple Rules for a Stunning Look
Card making sounds simple, but these little secrets are what separate a homemade craft from a handmade treasure.
- The Power of Paper: Always use cardstock (at least 65 lb / 175 gsm weight) for your card base. It’s sturdy, holds a fold without crinkling, and gives your card a satisfying, high-quality feel. It’s the single biggest difference-maker.
- The Secret to a Perfect Fold: Never fold your card by hand. To get that crisp, professional crease, you must score it first. Use a ruler and a blunt tool (like a bone folder or the dull side of a butter knife) to press a line into the cardstock where you want to fold. It will then fold perfectly every time.
- The 60-30-10 Color Secret (Card Edition): This designer’s foolproof recipe works for paper, too!
- 60% is your main card color (the card base).
- 30% is your secondary color (this could be a patterned paper layer or a large focal element).
- 10% is your accent (think a pop of color in a sentiment, a sparkly gem, or a brightly colored ribbon).
- Let the Star Shine: Your card has a main event. If you create a beautiful shaker window or an intricate quilled flower, let it be the hero. Avoid crowding it with too many other “scene-stealing” elements. Let your beautiful design be the focal point.
What’s the Real Cost? A No-Fuss Budget Breakdown
| The Approach | Estimated Cost | What Your Money Buys | The Little Extras (Don’t Skip These!) |
| The Kitchen Table Crafter | $0 – $20 | • Using paper & craft supplies you already own • Recycled materials (buttons, ribbon) | • A good ruler & craft knife • Quality double-sided tape or glue • A pack of blank cardstock |
| The Hobbyist’s Toolkit | $25 – $75 | • A few versatile stamp sets & ink pads • Patterned paper pads • A corner rounder punch | • A scoring tool/board • A self-healing craft mat • Good, sharp scissors |
| The Papercrafting Pro | $100 – $300+ | • A die-cutting machine (like a Sizzix or Cricut) • A heat embossing gun & powders • An extensive collection of inks & dies | • Specialized storage solutions • A paper trimmer • A stamping platform (like a MISTI) |
The Design Menu: Finding Your Signature Style
Here are the ingredients for your perfect handmade card. Each one comes with a breakdown to help you create with confidence.
1. Pop-Up Surprise Card
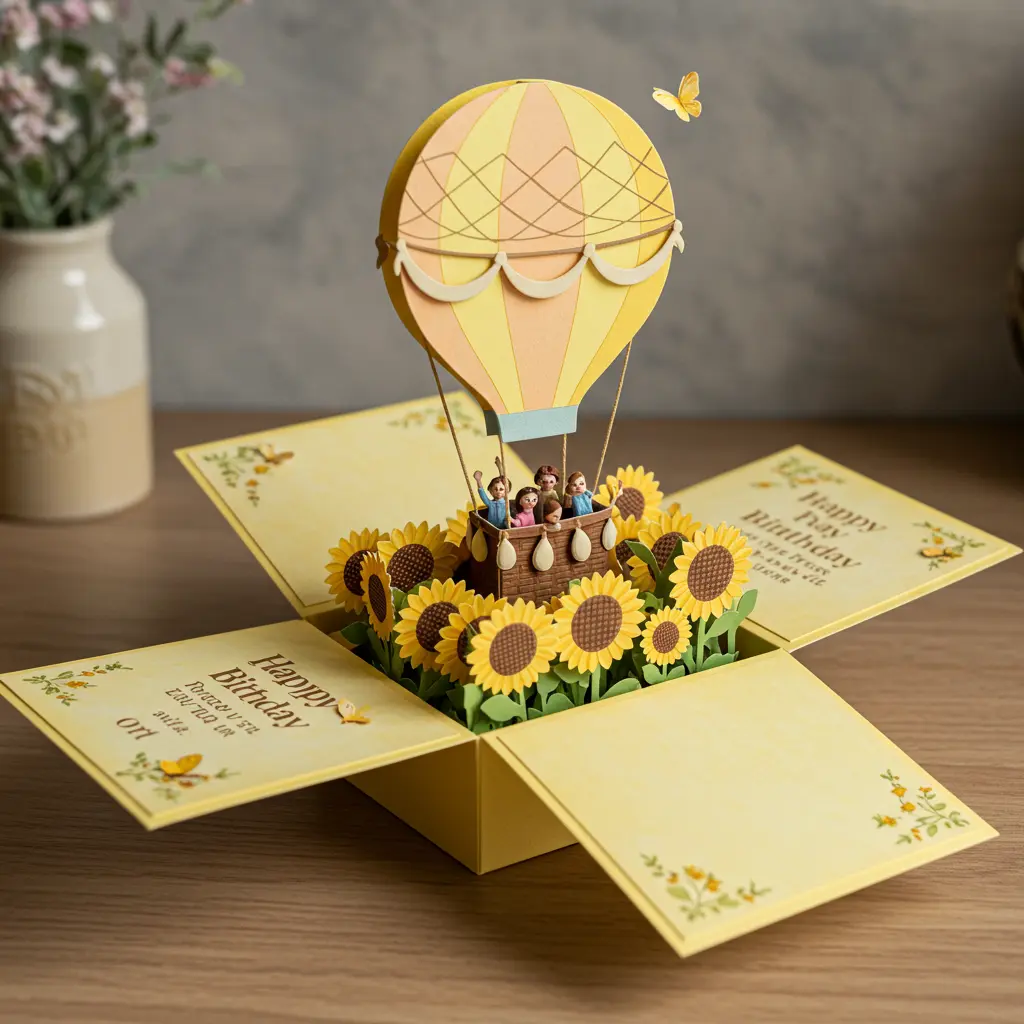
Best For: Making a card that’s an experience. Fantastic for children’s birthdays and playful congratulations.
- Key Consideration: The complexity can vary wildly. Start with a simple, single pop-up element before attempting a multi-layered scene.
- Pro-Tip: The simplest pop-up is the “box” method. Fold your card base, then make two parallel cuts from the folded edge into the center. Open the card and “pop” that cut section forward to create a platform to glue your pop-up element onto.
- Styling Cue: Decorate the background behind the pop-up element to create a full scene, like a sky behind a pop-up cloud.
2. Watercolor Wash Card
Best For: Elegant thank yous, sophisticated birthdays, and heartfelt sympathy cards.
- Key Consideration: Use proper watercolor paper (140 lb) for the best results. Regular cardstock will buckle and pill when it gets too wet.
- Pro-Tip: Tape the edges of your paper to your work surface with painter’s tape before you begin. This prevents the paper from buckling as it dries and leaves you with a crisp, clean white border.
- Styling Cue: Once dry, use a fine-tipped white or metallic gel pen to write a simple “hello” or “thank you” directly over the beautiful, abstract background.
3. Button Bouquet Card
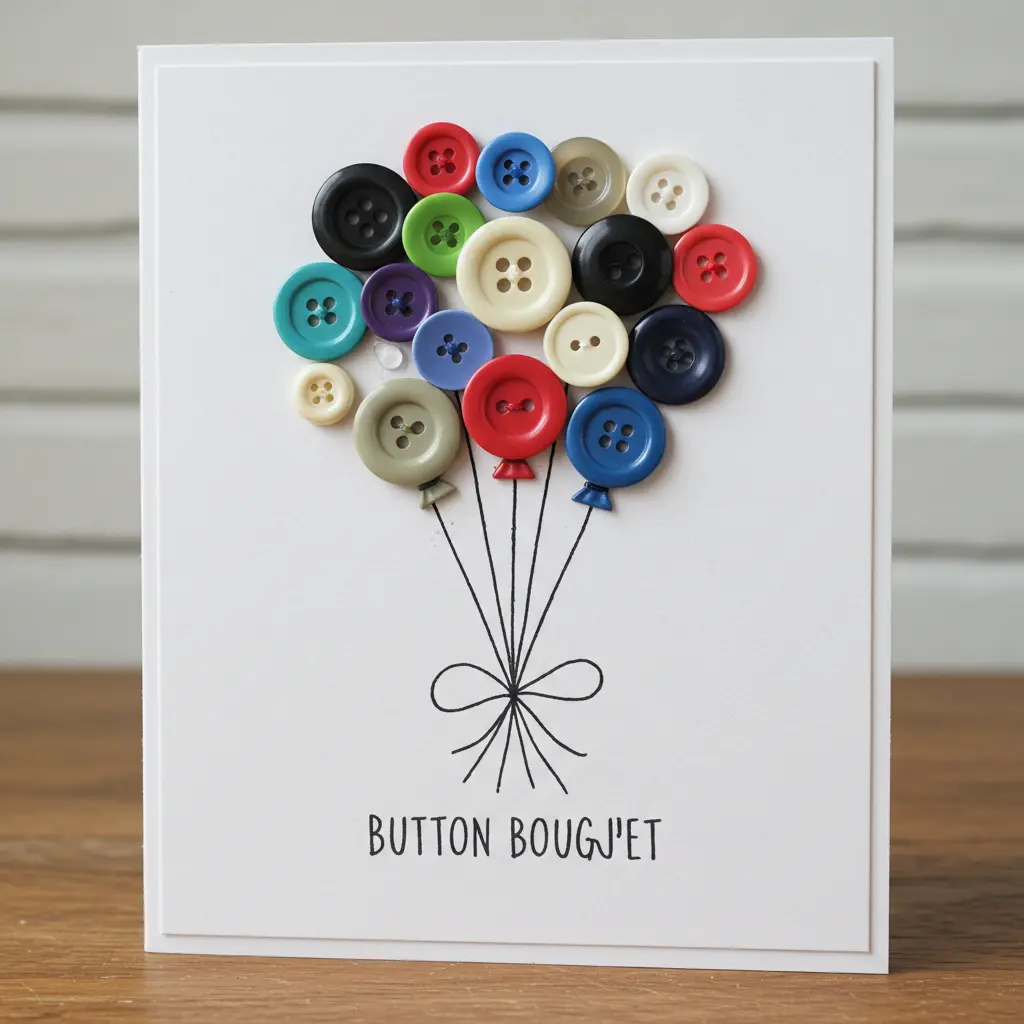
Best For: A charming, homespun feel. Perfect for baby showers, thank yous, or get-well-soon cards.
- Key Consideration: A mix of button sizes and shapes will create a more interesting and dynamic “bouquet” than using all identical buttons.
- Pro-Tip: Arrange your buttons into a shape (like a heart or a flower) before you glue anything down. Take a quick photo with your phone so you can remember the placement.
- Styling Cue: Use a fine-liner pen to draw strings coming down from a cluster of colorful buttons to create a bunch of balloons.
4. Handprint Keepsake Card
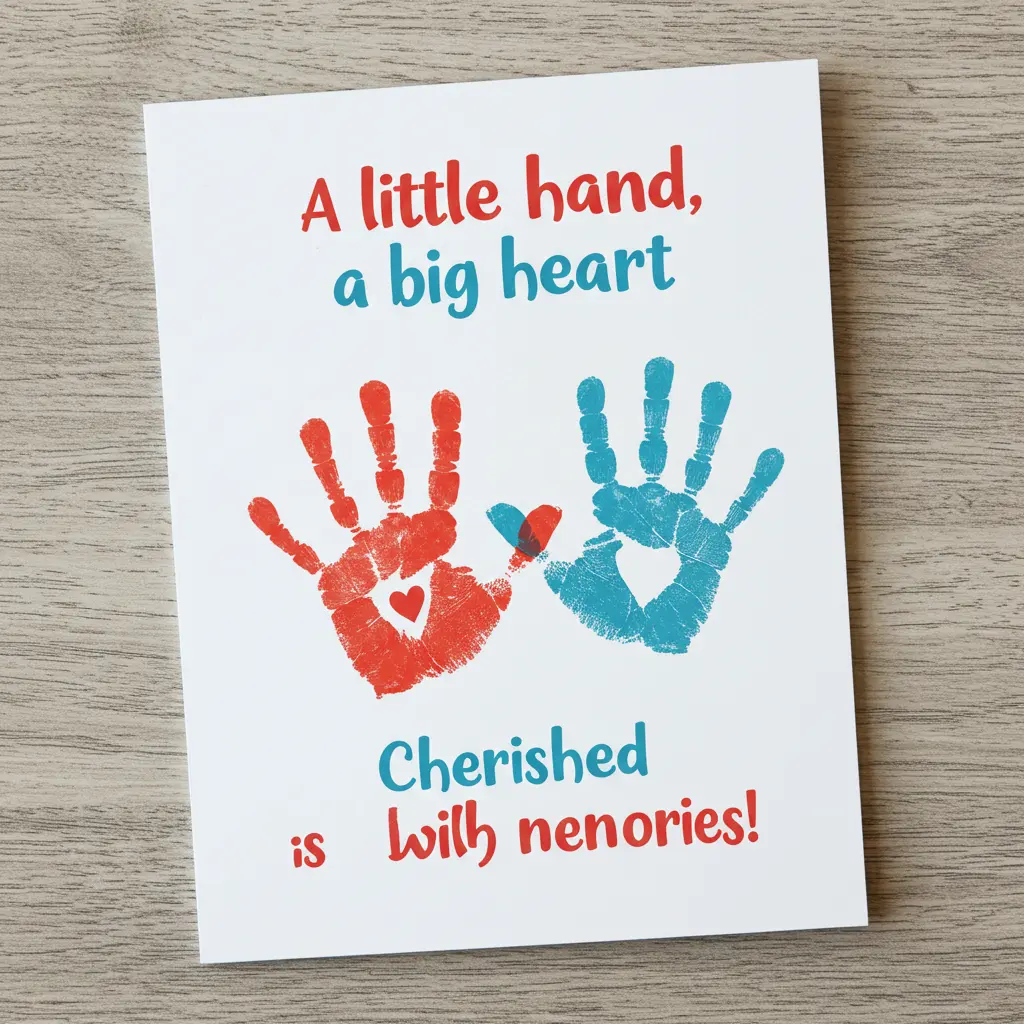
Best For: A deeply sentimental card for parents, grandparents, or teachers that captures a moment in time.
- Key Consideration: Use non-toxic, washable paint or ink, and have a wet cloth ready for immediate cleanup!
- Pro-Tip: Less paint is more! A light, even coat on the hand will show the unique print details better than a thick, goopy layer.
- Styling Cue: Turn the handprint into an animal! A sideways thumb-up print is a perfect elephant head (just add an eye and ear), and a palm-up print makes a great turkey or flower bouquet.
5. Glitter Explosion Card
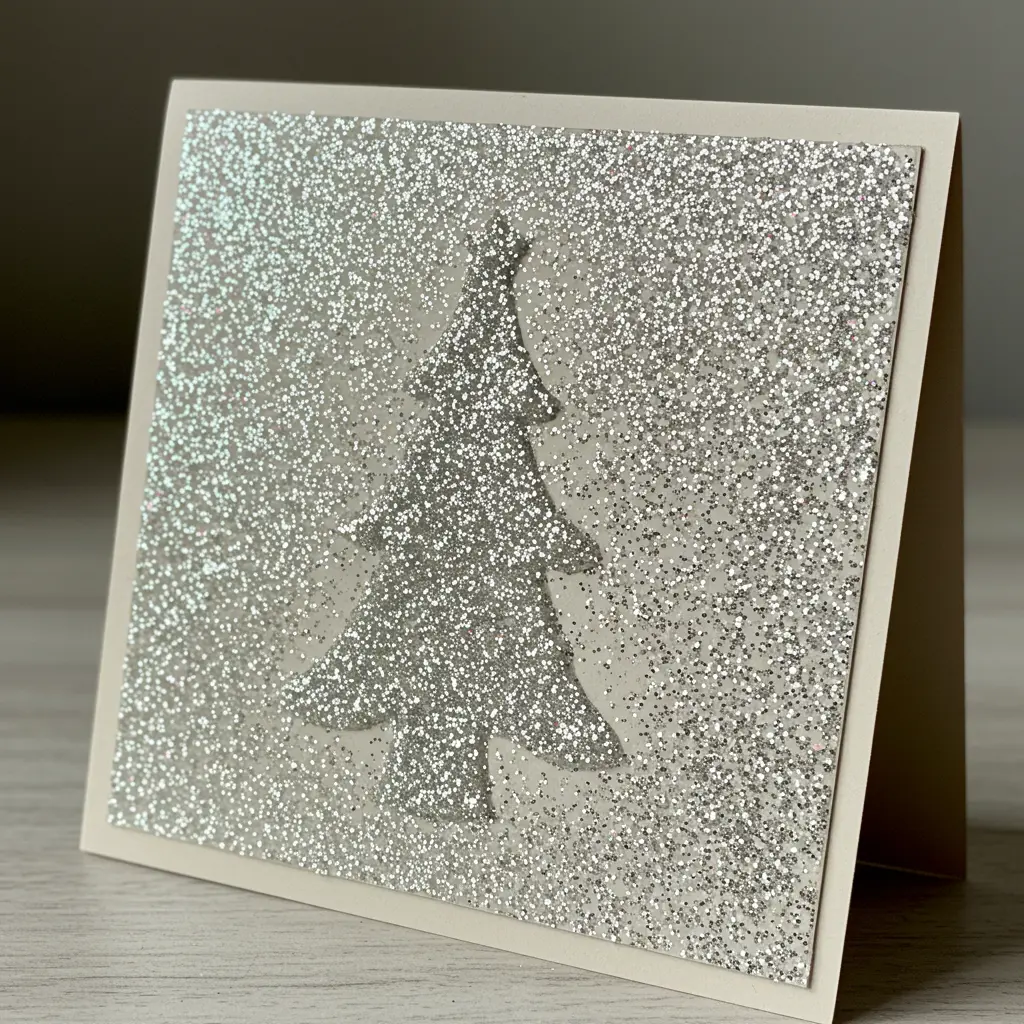
Best For: Over-the-top celebrations, bachelorette parties, and anyone who loves a bit of sparkle.
- Key Consideration: Fine glitter gives a more sophisticated, full-coverage look, while chunky glitter adds bold, light-catching texture.
- Pro-Tip: To avoid getting glitter absolutely everywhere, work on a piece of scrap paper. When you’re done, you can fold the paper in half and easily pour all the excess glitter back into its container.
- Styling Cue: Use a glue pen to write a word like “Celebrate,” then cover it with glitter for a dazzling, textural sentiment.
6. Cut-Out Window Card 🪟
Best For: Creating intrigue, dimension, and a professional, layered look.
- Key Consideration: A sharp craft knife is essential for clean corners. For curved shapes, a circle or oval die-cutter is your best friend.
- Pro-Tip: Cut the window from a top panel of cardstock before you attach it to the main card base. This makes it much easier to get a clean cut without accidentally slicing through your whole card.
- Styling Cue: Place a small, interesting image or stamp a sentiment on the card base so it’s perfectly framed by the window you’ve cut.
7. Embroidered Thread Card
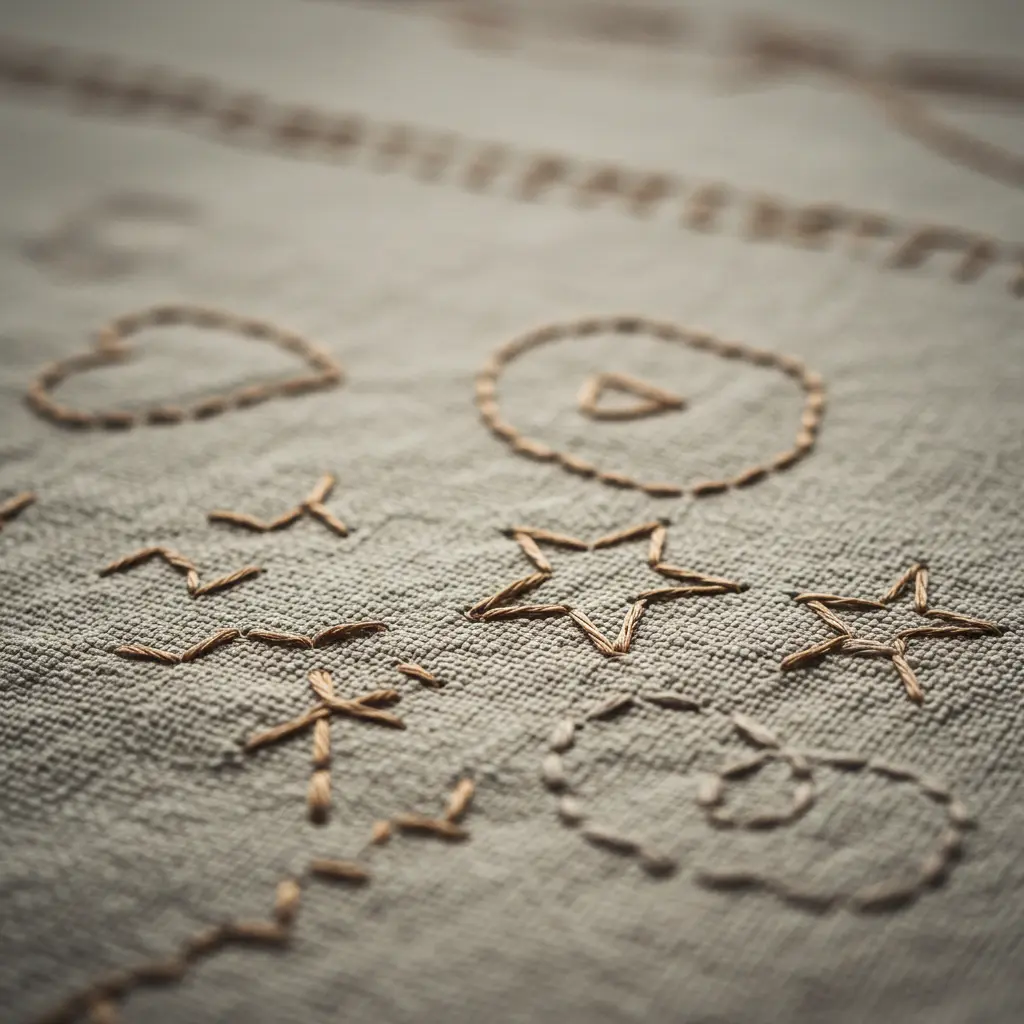
Best For: Adding unexpected texture and a cozy, handmade touch to a simple design.
- Key Consideration: Choose a simple design. A complex embroidered scene can cause the cardstock to warp or tear.
- Pro-Tip: Lightly draw your design (like a heart or a star) on the card. Use a thumbtack to pre-pierce your stitching holes along the line. This makes it much easier to pass the needle through the cardstock without bending it.
- Styling Cue: A simple embroidered border around a small stamped sentiment elevates the entire card.
8. Washi Tape Wonder Card
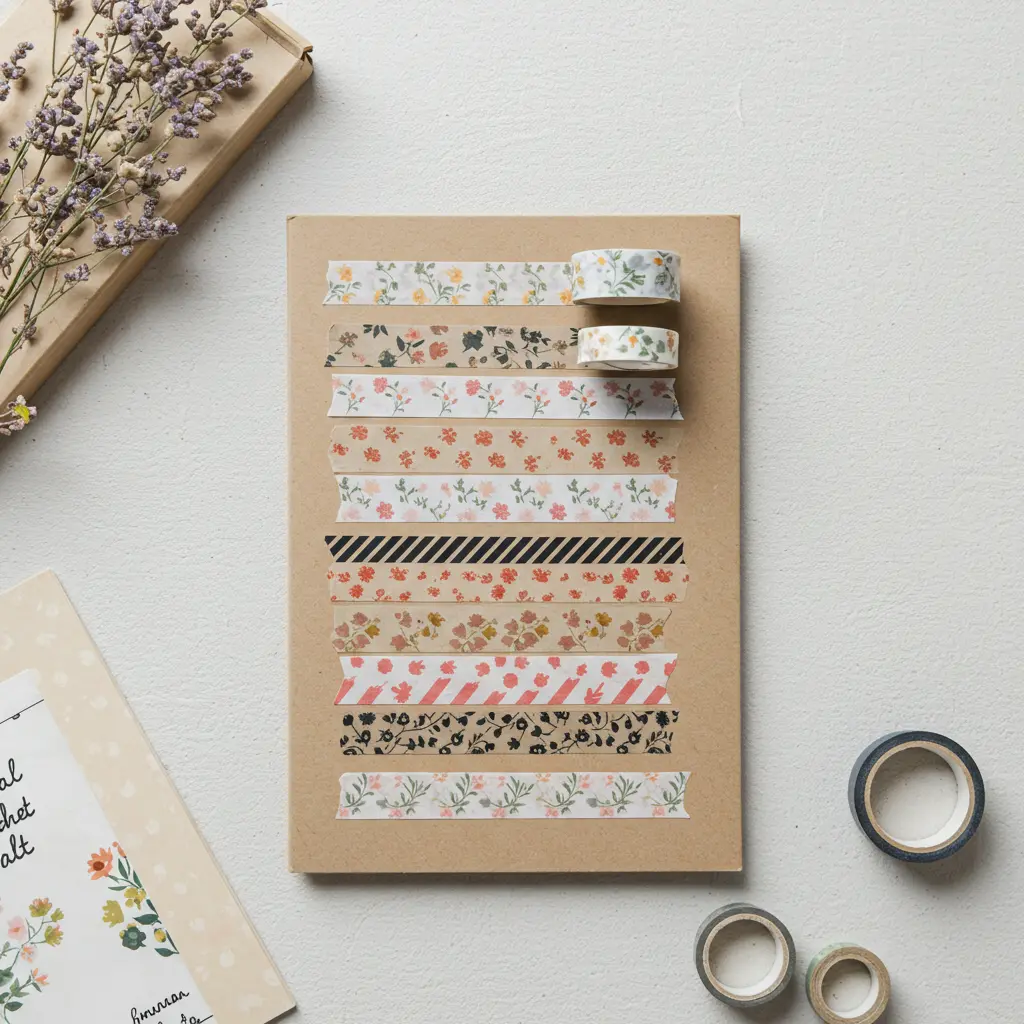
Best For: Quick, modern, and clean designs. Perfect for masculine cards or last-minute needs.
- Key Consideration: Washi tape is low-tack and repositionable, which is great for getting the placement right, but you may want to add a tiny dab of stronger glue to the ends to secure it permanently.
- Pro-Tip: Lay down strips of washi tape on a diagonal, slightly overlapping them. Use a craft knife to trim the edges perfectly flush with your card panel for a super clean, professional look.
- Styling Cue: Create a simple birthday candle design by placing vertical strips of washi tape and drawing a small flame on top of each with a yellow marker.
9. Shaker Card
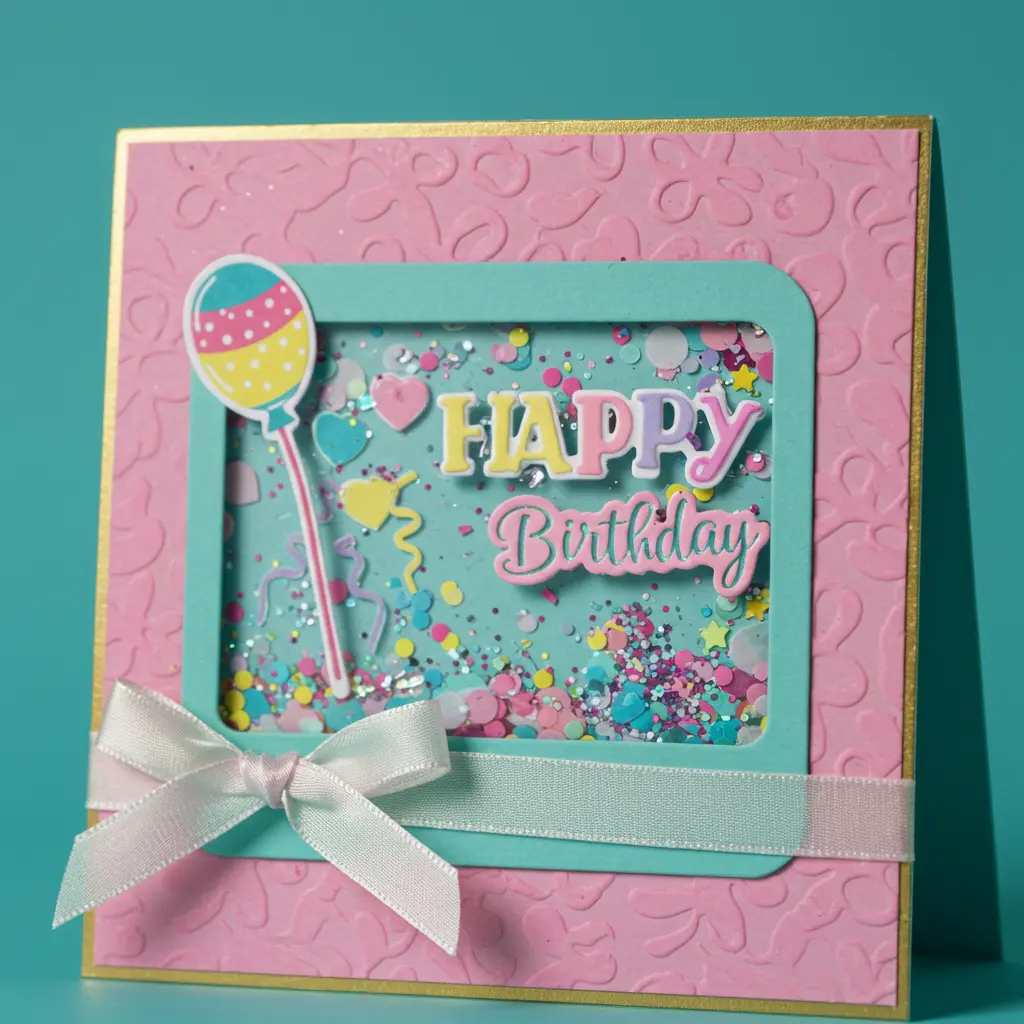
Best For: Fun birthdays (especially for kids), major celebrations, and congratulations cards.
- Key Consideration: Your shaker bits (sequins, beads, glitter) should be small and flat enough to move freely.
- Pro-Tip: Use double-layered foam tape to create a “wall” around your window. This gives the shaker pieces enough room to move. Ensure your foam wall is completely sealed with no gaps!
- Styling Cue: The shaker element is the star. Keep the rest of the card design simple with just a stamped sentiment so it doesn’t compete.
10. Scratch-Off Hidden Message Card
Best For: Big reveals! Perfect for “Will you be my bridesmaid?” cards, gender reveals, or announcing a surprise trip.
- Key Consideration: The “paint” mixture needs to dry completely, which can take several hours. Plan ahead!
- Pro-Tip: Write your hidden message, then cover it completely with a piece of clear packing tape. Mix 2 parts metallic acrylic paint with 1 part dish soap and paint it over the tape. Let it dry.
- Styling Cue: Write “Scratch Here!” with a small arrow pointing to the scratch-off section and tape a penny to the card.
11. Calligraphy Elegance Card
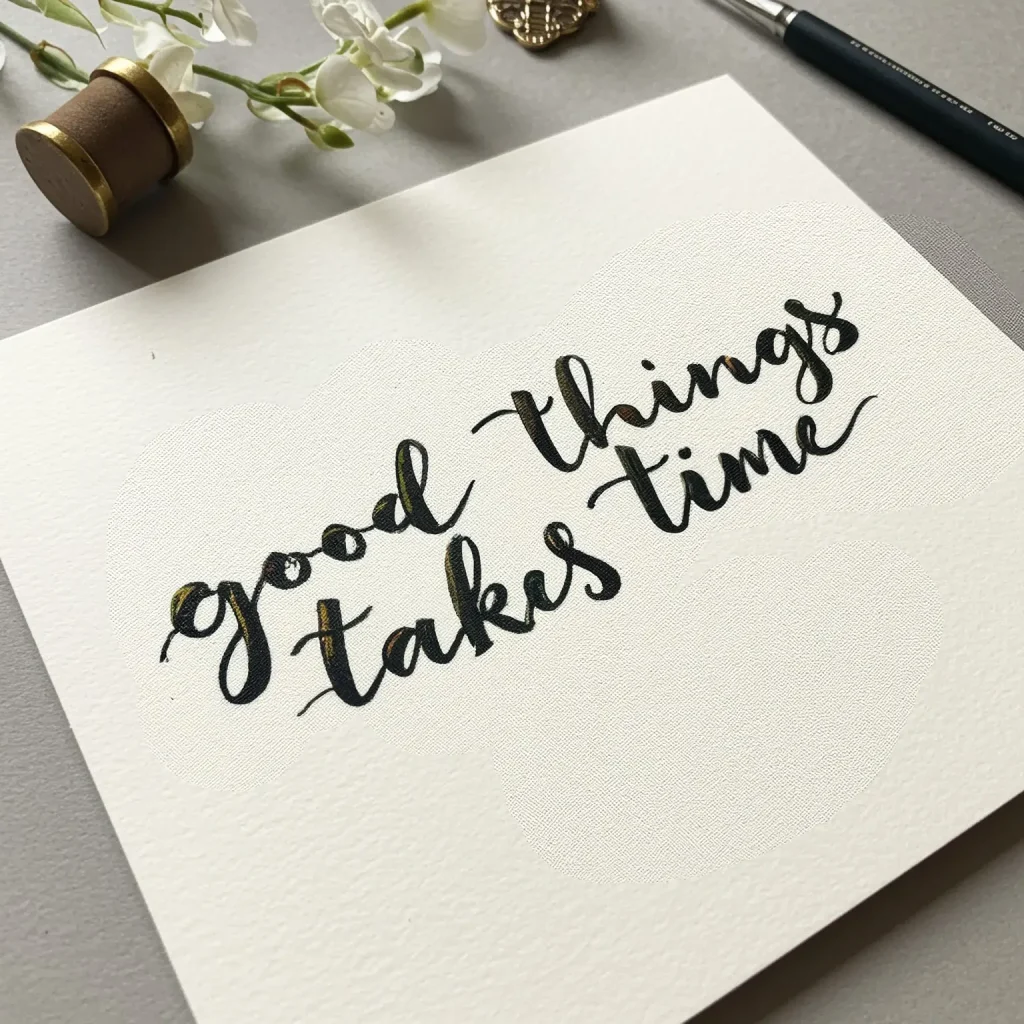
Best For: A truly personal and motivational card for any occasion that calls for a touch of class.
- Key Consideration: The paper matters. Use a smooth cardstock (like Bristol Smooth) to prevent your brush or calligraphy pens from fraying.
- Pro-Tip: Faux calligraphy is easy! Write your quote in simple cursive. Then, go back and thicken every “downstroke” (every part of a letter where your pen was moving down the page). This mimics the look of real calligraphy.
- Styling Cue: Embellish your lettering with simple floral doodles or leafy vines winding around the words.
12. Quilling Masterpiece Card
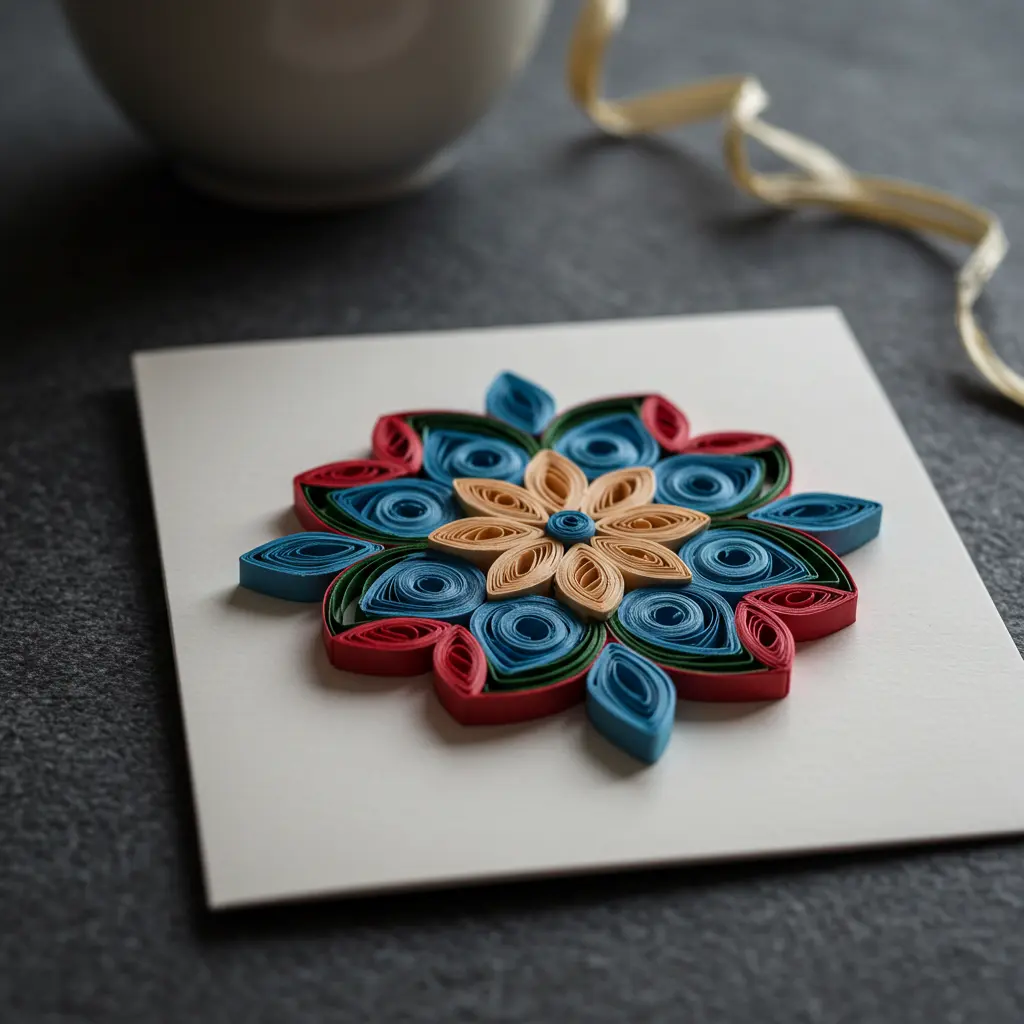
Best For: A personalized wedding, anniversary, or milestone birthday card that feels like a treasured gift.
- Key Consideration: This craft requires patience, but the results are stunning. Start with simple shapes like teardrops and circles before moving to complex scrolls.
- Pro-Tip: Lightly pencil the initial or shape onto your card first. Use this as a guide to glue down your rolled and shaped quilling strips. It’s much easier than free-handing it.
- Styling Cue: Keep the rest of the card completely blank. The intricate, three-dimensional letter is all the decoration you need.
13. 3D Flower Pot Card
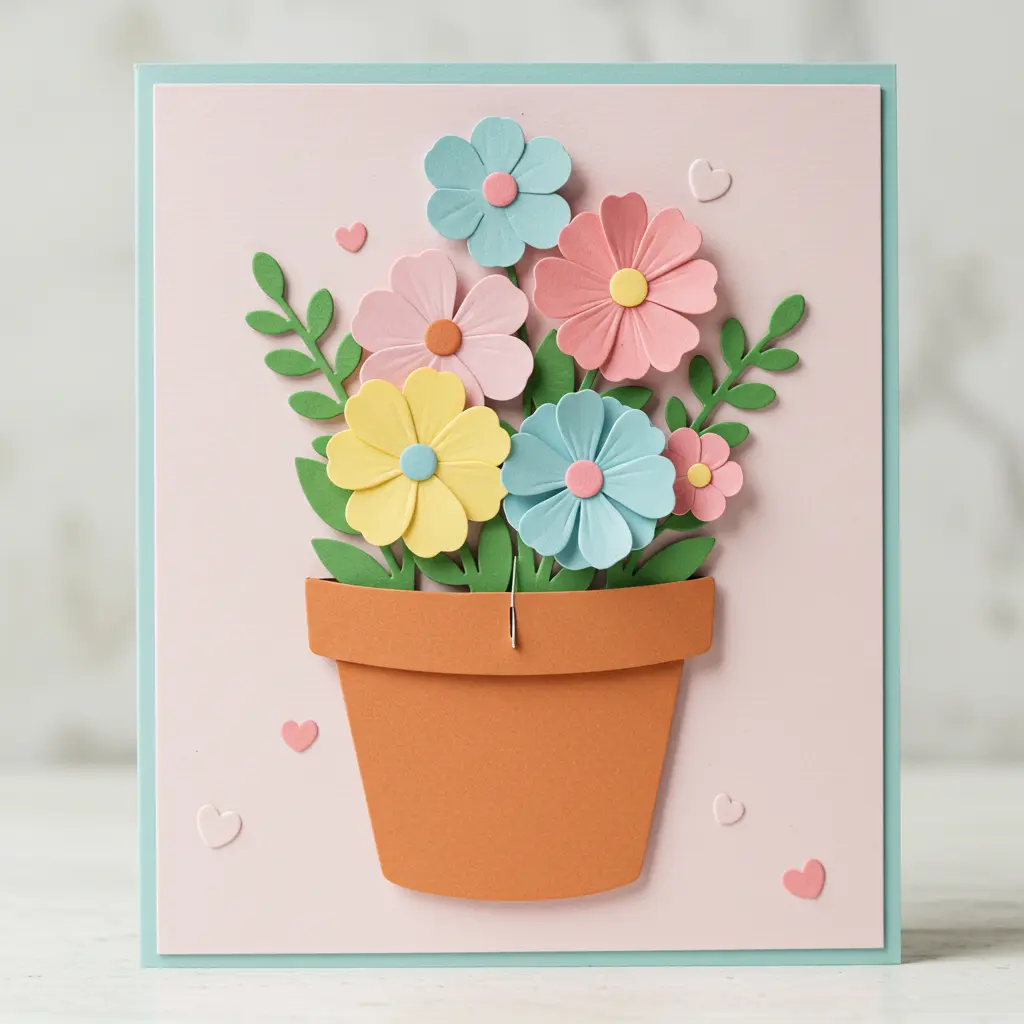
Best For: Mother’s Day, get-well-soon wishes, or a spring birthday.
- Key Consideration: This card can be bulky. Consider a custom envelope or plan to hand-deliver it.
- Pro-Tip: Create the pop-up flowers by folding small pieces of paper and cutting them into layered floral shapes. Accordion-fold thin strips of green paper for the stems to make them pop up realistically.
- Styling Cue: Write a sweet sentiment on the front of the paper “pot” like “Love grows here.”
14. Interactive Slider Card
Best For: Revealing a hidden message or making an image change color.
- Key Consideration: Precision cutting is key to a smooth sliding mechanism. Use a sharp craft knife and a ruler.
- Pro-Tip: Cut a slit in your card front. Create a pull-tab from a strip of cardstock. Use a hidden plastic strip to connect your pull-tab to the element you want to move or the message you want to reveal.
- Styling Cue: A classic use is a black-and-white image that becomes color as you pull the tab, or a sentiment that changes from “Guess what?” to “Happy Birthday!”
15. Photo Collage Card
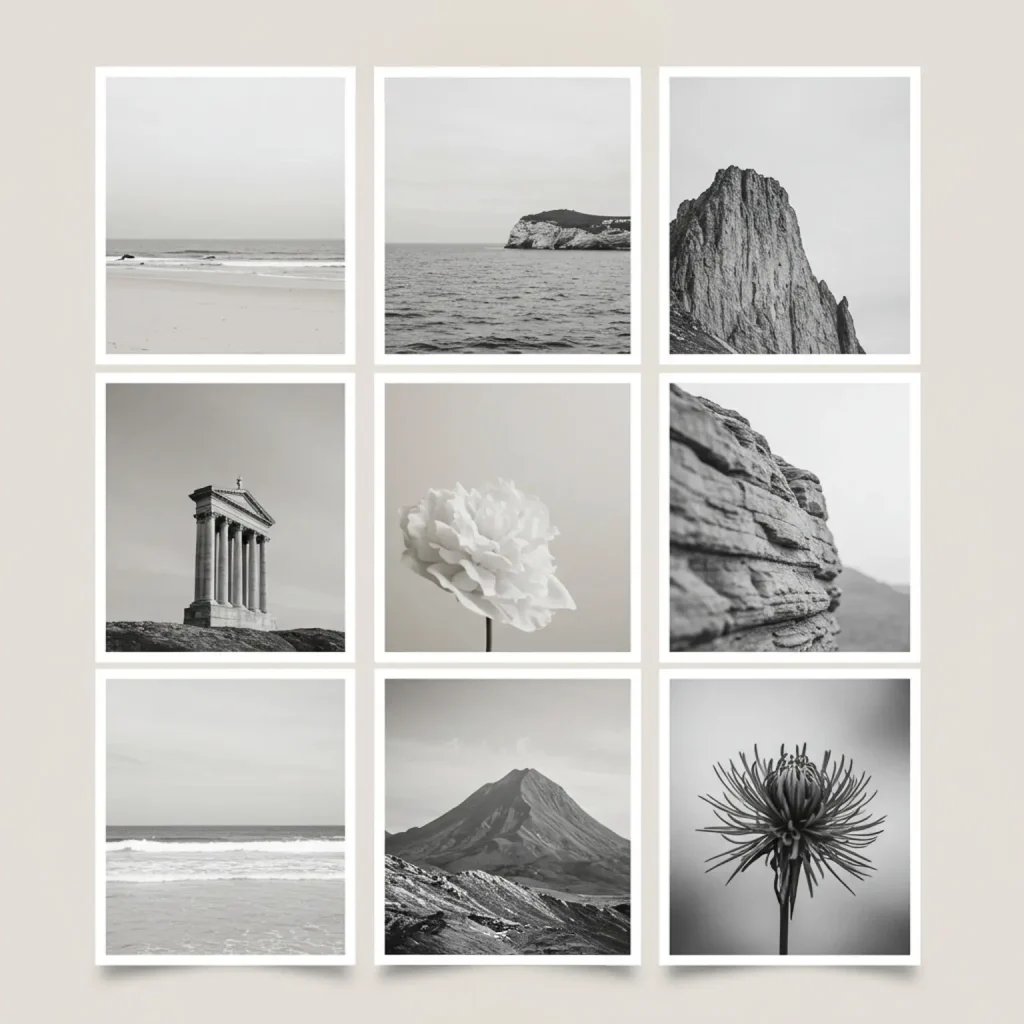
Best For: A deeply personal card for close family and friends, especially for holidays or anniversaries.
- Key Consideration: Choose photos with a similar color tone or apply the same filter to all of them for a more cohesive, less chaotic look.
- Pro-Tip: Instead of just gluing photos on top, create a “polaroid” frame for each one. Cut small frames from white cardstock and mount them over your photos using foam tape for a classic, dimensional look.
- Styling Cue: Arrange the photos in a grid for a clean look, or overlap them at jaunty angles for a more casual, scrapbook feel.
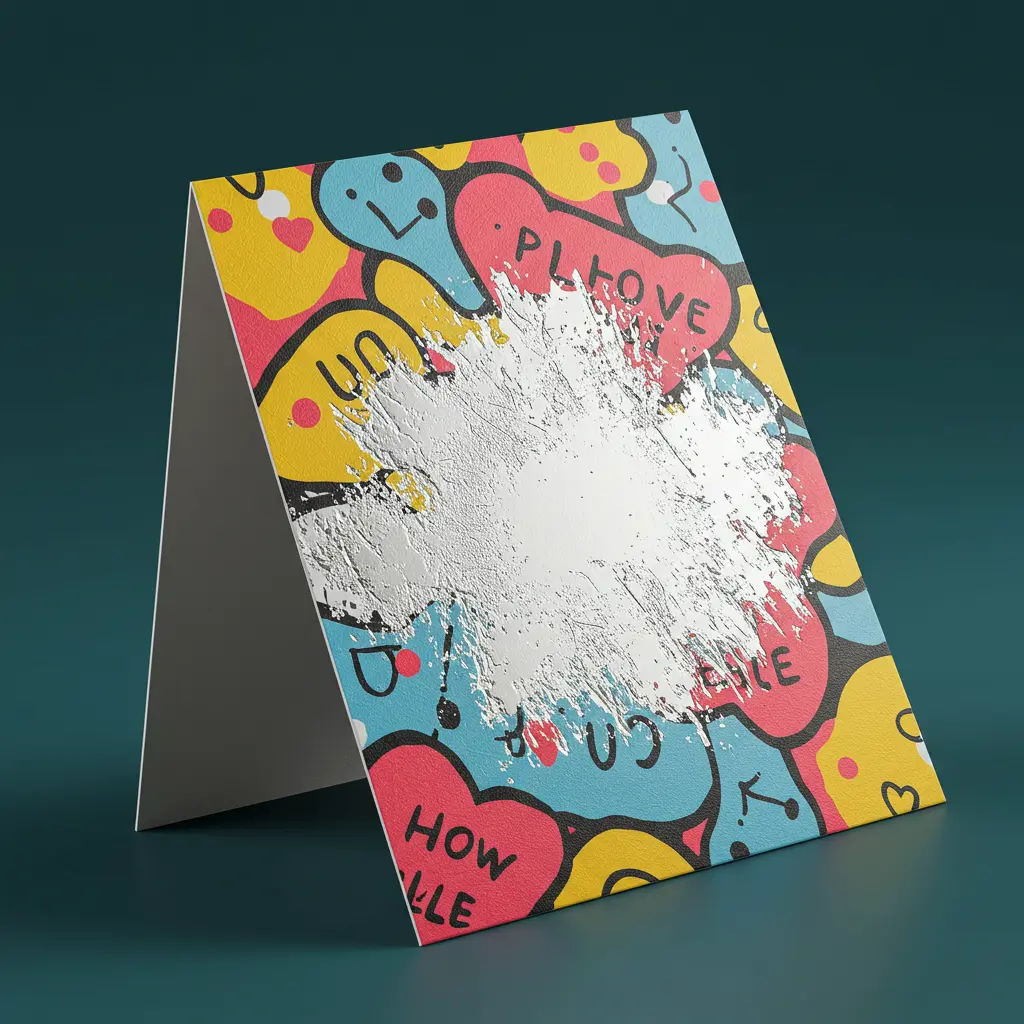
16. Comic Strip Story Card
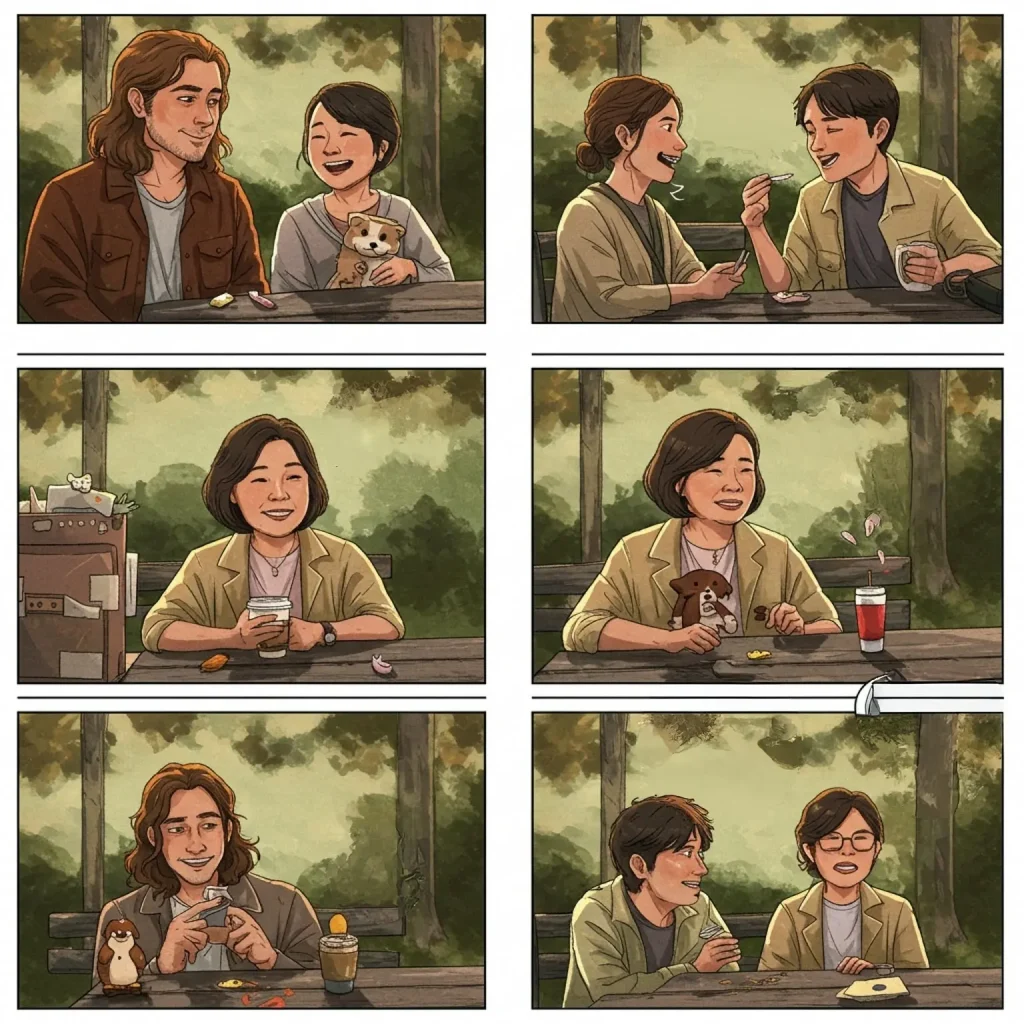
Best For: Telling a personal story or inside joke in a fun, graphic way.
- Key Consideration: Keep the story short and sweet. Three or four panels is usually perfect for a card front.
- Pro-Tip: Use a ruler to draw out a simple comic grid. Keep your drawings simple (stick figures work great!) and use speech bubbles to tell the story.
- Styling Cue: End the comic with the final panel revealing the birthday wish or celebratory message.
17. Puzzle Piece Card
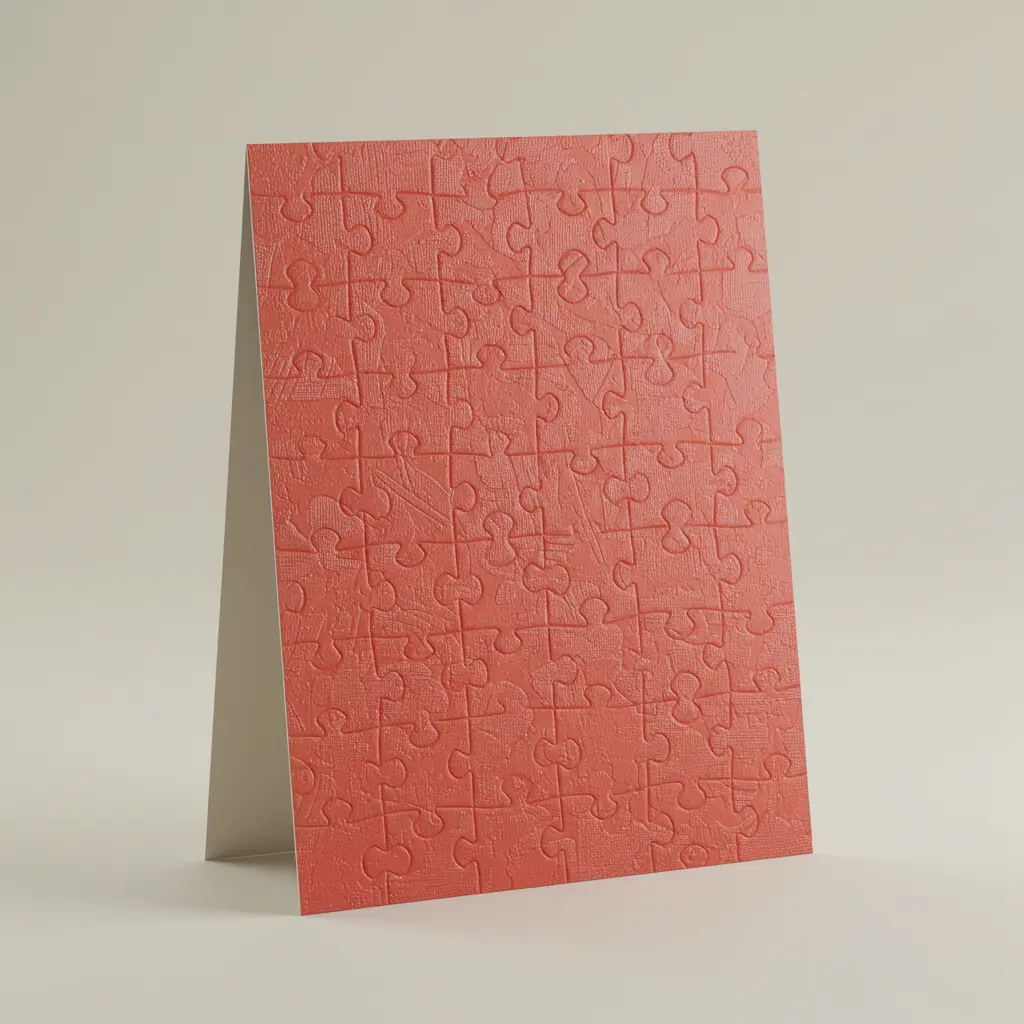
Best For: A creative and interactive card for anniversaries or Valentine’s Day.
- Key Consideration: Make sure your pen won’t smear on the glossy surface of a pre-made blank puzzle. Test it first!
- Pro-Tip: Write your message across the assembled puzzle, then break it apart and place the pieces in a small envelope or bag attached to the card front.
- Styling Cue: The front of the card can simply say, “I love you to pieces!”
18. Folded Origami Card

Best For: An elegant, sculptural card that shows off your paper-folding skills.
- Key Consideration: Use true origami paper, which is thin but strong and designed to hold a crease.
- Pro-Tip: For a clean look, only glue down the center of the origami shape (like a heart or crane) to the card. This allows the edges to lift slightly, creating a beautiful shadow and a 3D effect.
- Styling Cue: Use a solid-colored origami paper that contrasts sharply with your card base to make the shape pop.
19. Thumbprint Art Card
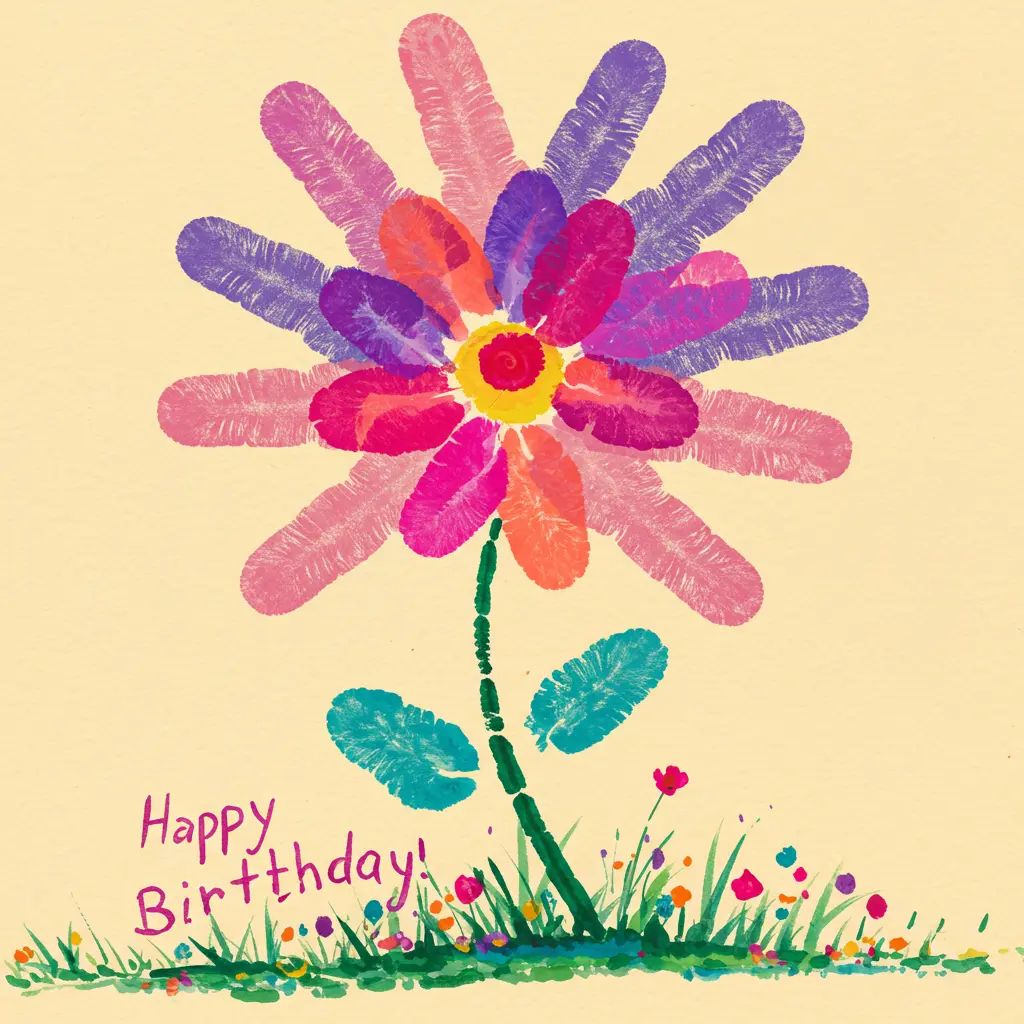
Best For: A fun craft to do with kids; makes a perfect card for grandparents, teachers, or parents.
- Key Consideration: You can use multiple fingers to create different-sized “characters.”
- Pro-Tip: Less ink is more! Press the finger lightly onto the ink pad. Too much ink will obscure the unique fingerprint ridges.
- Styling Cue: Turn fingerprints into anything! Add antlers and a red nose for a reindeer, legs and a beak for a chick, or draw a string to turn it into a balloon.
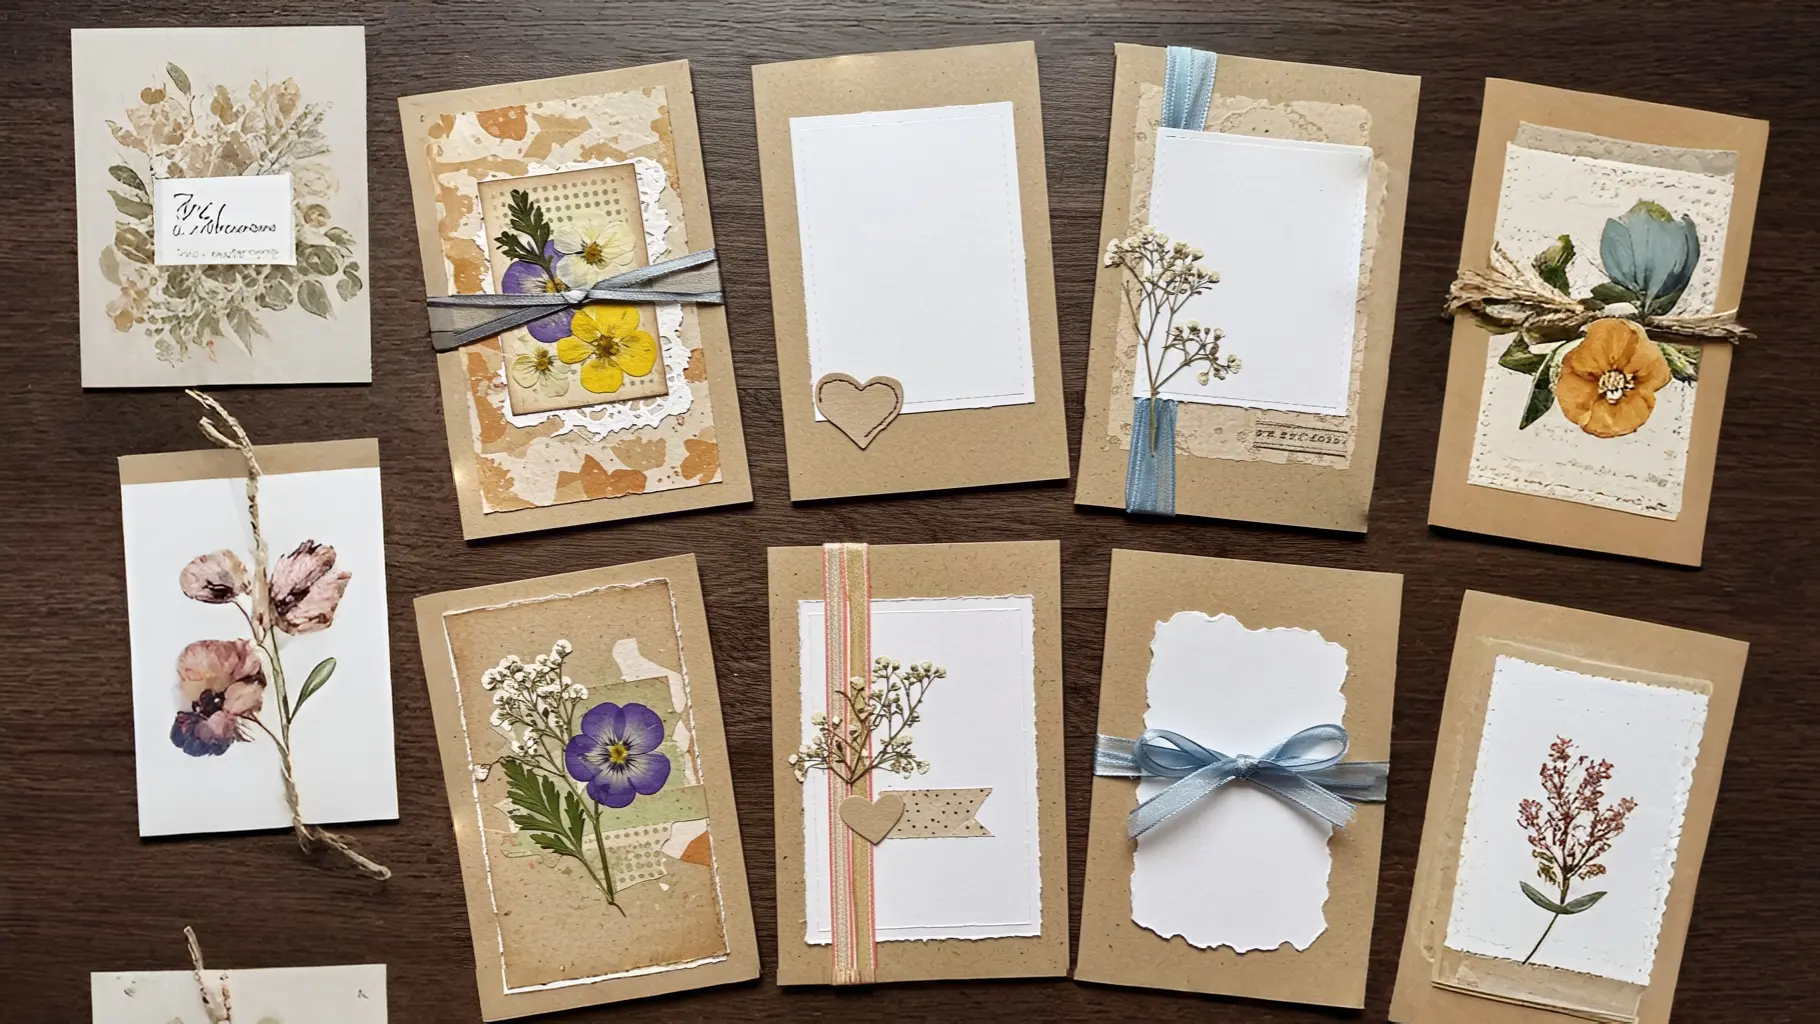
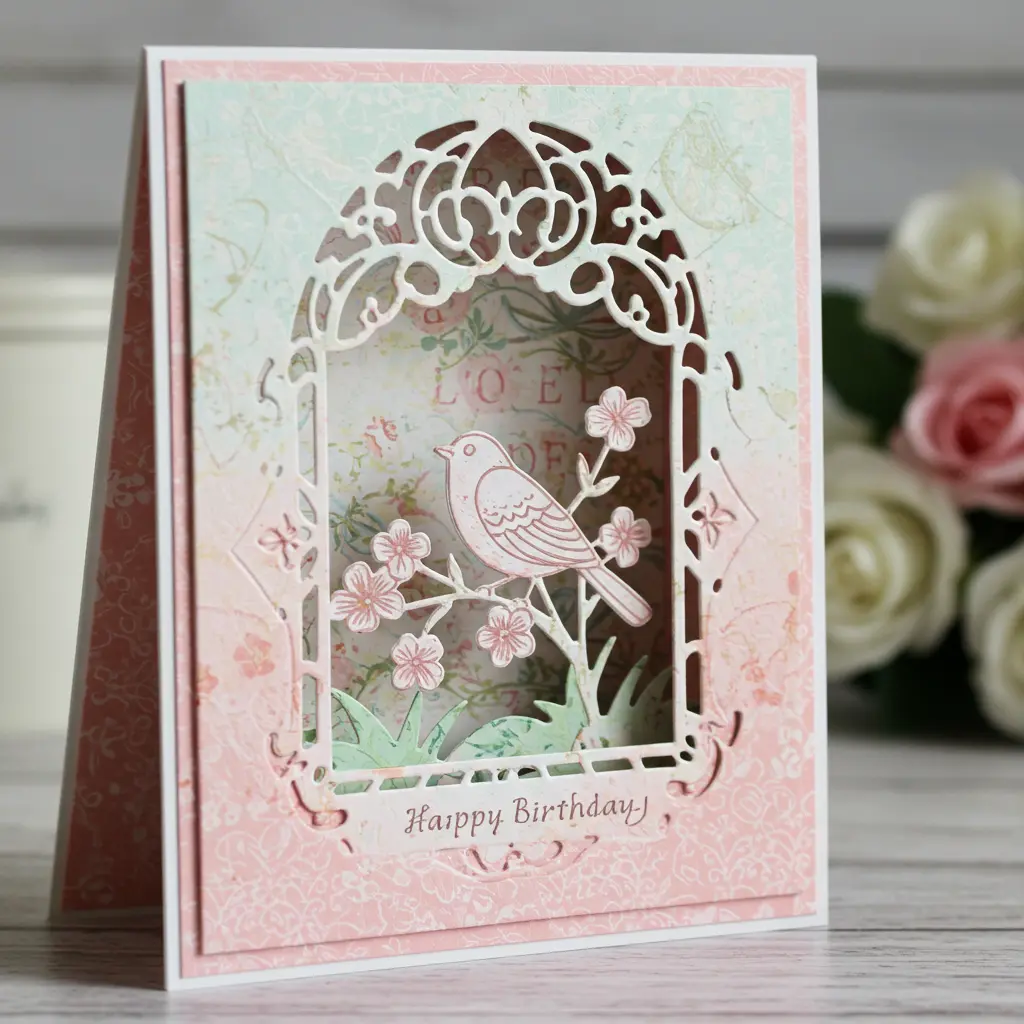
20. Lace & Vintage Charm Card
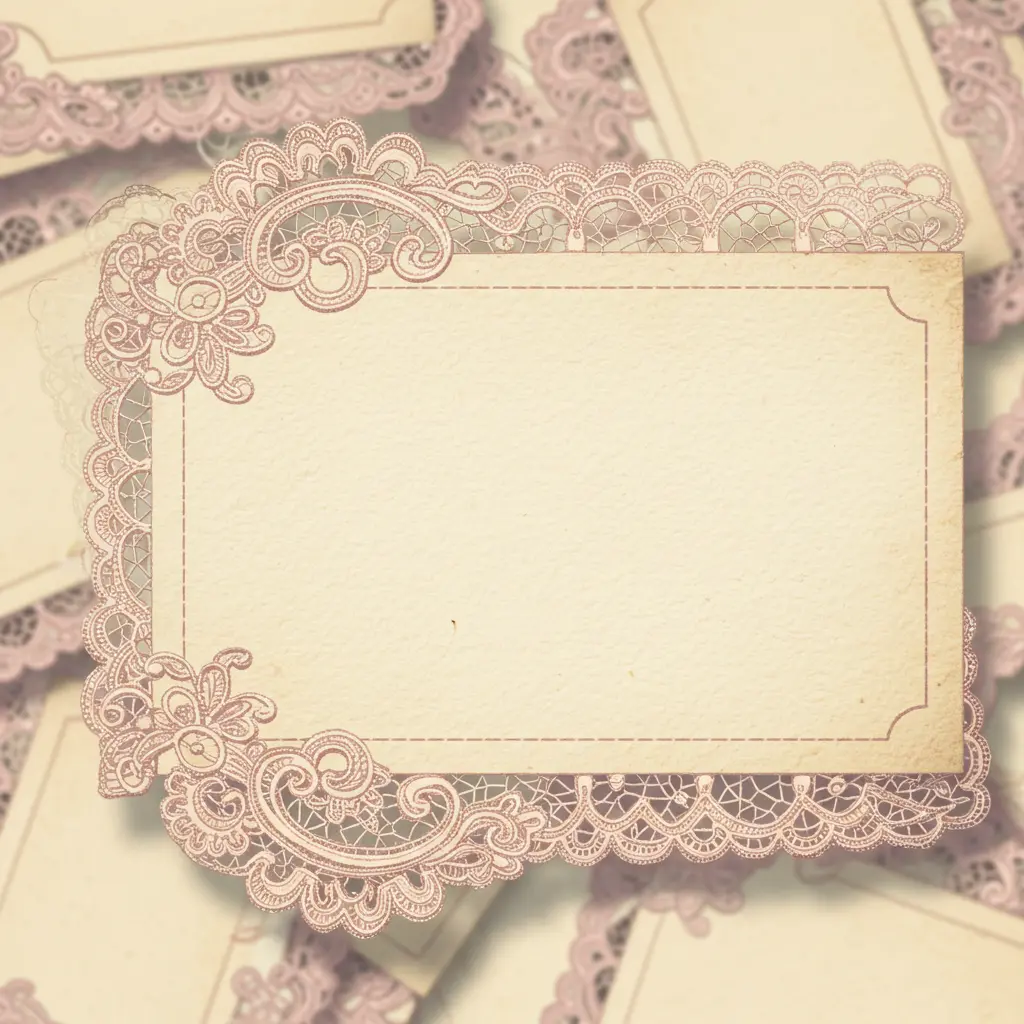
Best For: Weddings, anniversaries, and anyone who loves a touch of old-world romance.
- Key Consideration: Real lace can be bulky. Look for flat lace trim for easier mailing.
- Pro-Tip: To instantly age a piece of plain paper, lightly sponge the edges with a brown ink pad. It creates a soft, vintage, tea-stained look.
- Styling Cue: Wrap a piece of lace around a panel of cardstock and tie it with a simple piece of twine before adding a single faux pearl in the center.
21. Fabric Swatch Card
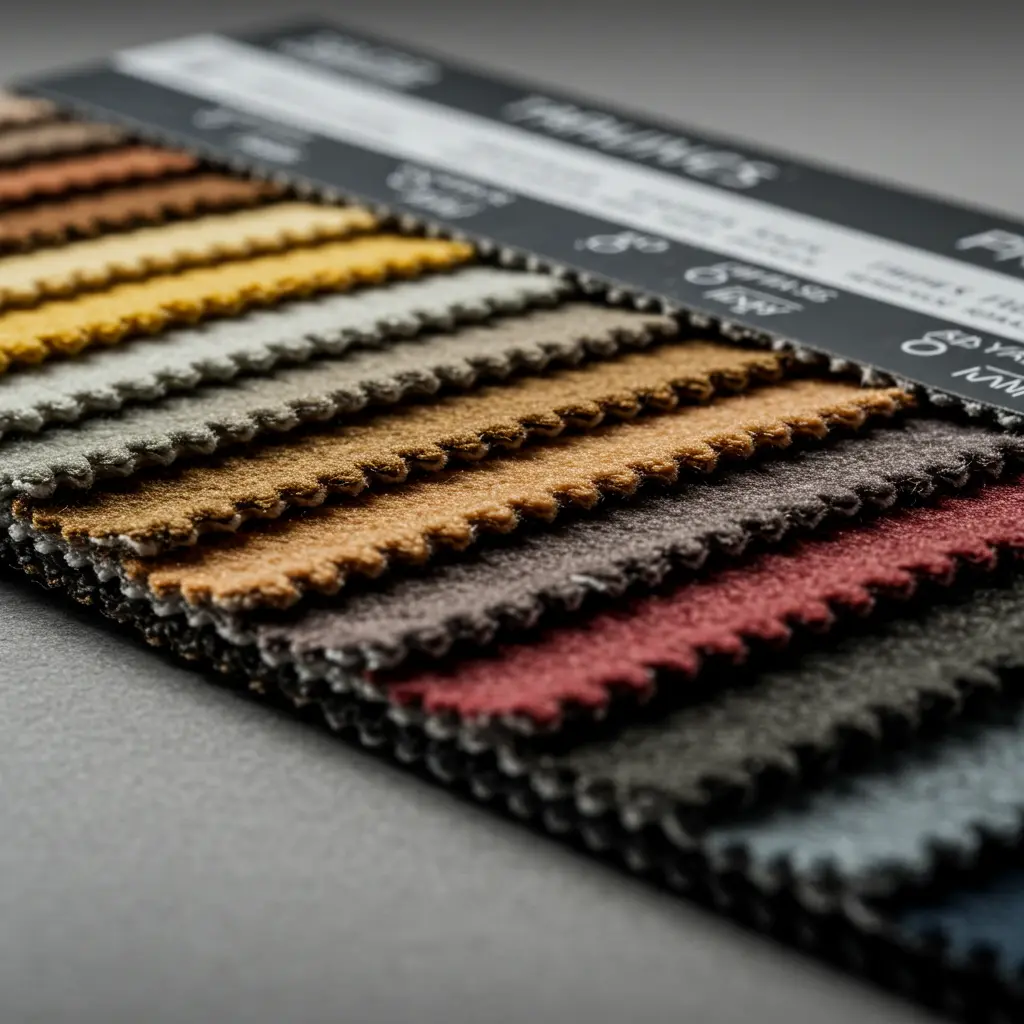
Best For: Using up tiny scraps of beautiful fabric and adding rich, unexpected texture.
- Key Consideration: Choose fabrics with small patterns. A large pattern will be lost when cut into a small shape for a card.
- Pro-Tip: Use iron-on adhesive (like HeatnBond) on the back of your fabric scraps before cutting them into shapes. This prevents fraying and makes it easy to iron your design right onto the card.
- Styling Cue: Cut out simple shapes like hills and a sun from different fabric patterns to create a beautiful, textural landscape.
22. Hand-Drawn Sketch Card

Best For: Showcasing your unique artistic talent for a truly one-of-a-kind card.
- Key Consideration: Confidence is your best tool. Don’t erase! Imperfect lines are part of the charm of a sketch.
- Pro-Tip: Don’t be afraid of simple subjects! A sketch of a single coffee cup, a favorite houseplant, or a beloved pet can be more personal and meaningful than a complex scene.
- Styling Cue: Mount your smaller sketch onto a larger, colored card base to create a beautiful frame for your artwork.
23. Spinning Wheel Card
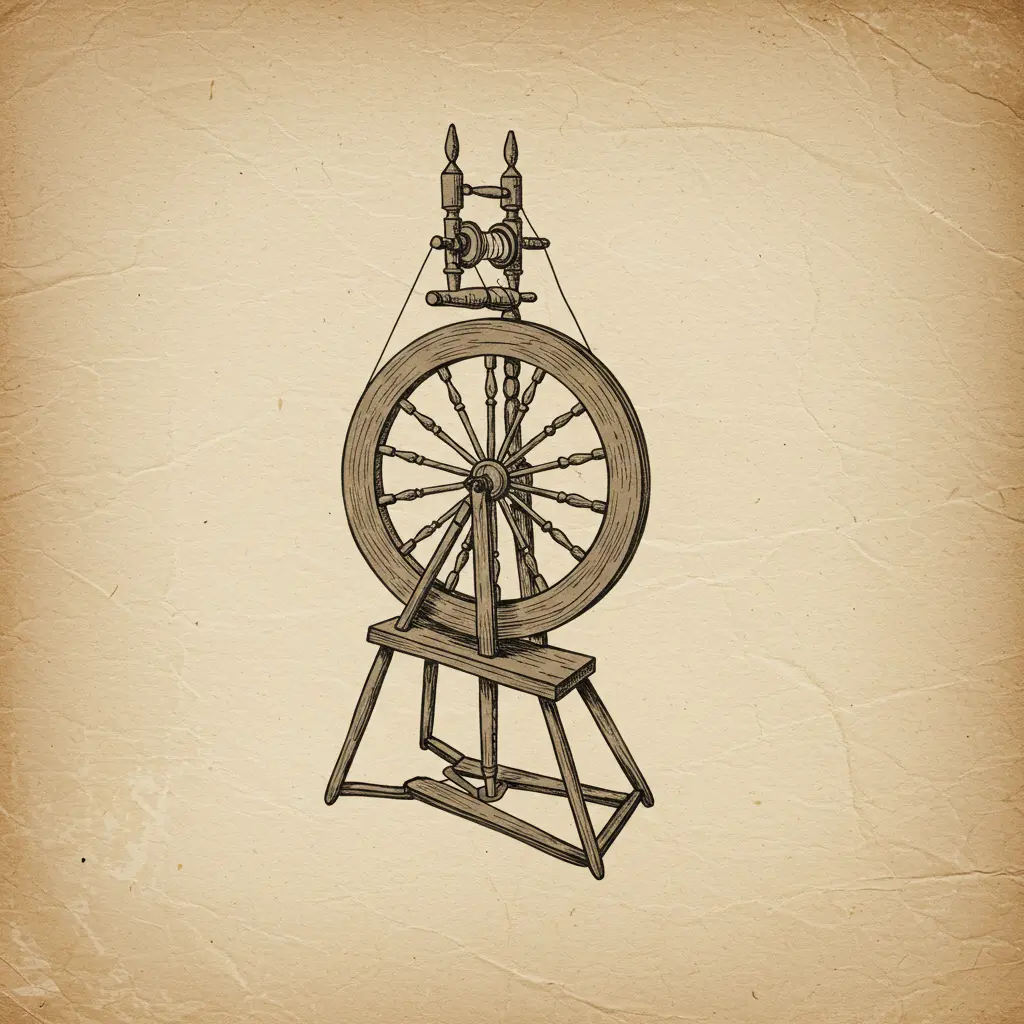
Best For: An interactive card that reveals multiple messages or images in a fun, surprising way.
- Key Consideration: The alignment of the window and the wheel is crucial. Measure carefully!
- Pro-Tip: Use a paper brad to attach the wheel to the card base. Make it just loose enough so the wheel can spin freely. Cut a small window on the top layer to reveal the messages or images on the wheel below.
- Styling Cue: Add a small arrow or a notched edge to the spinning wheel to make it easier for the recipient to turn.
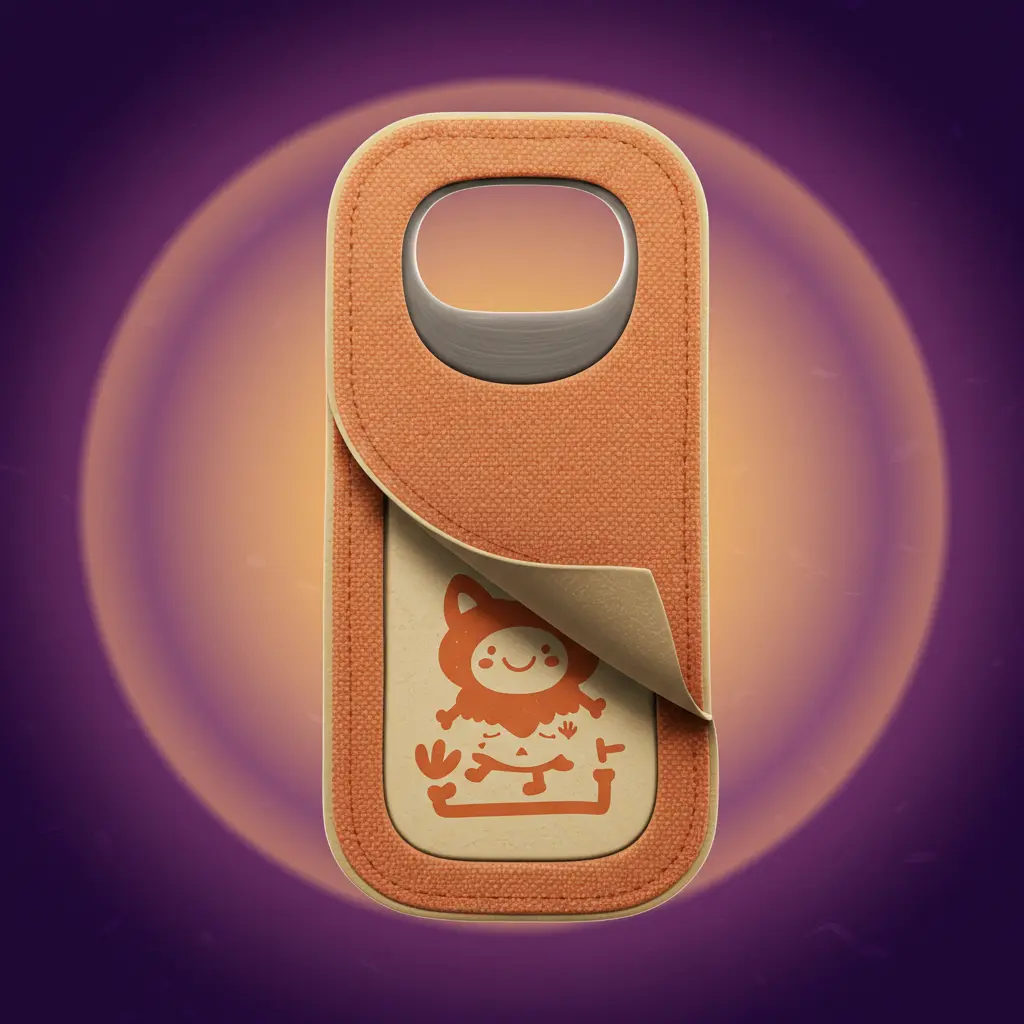
24. Secret Envelope Card

Best For: Gifting money, a gift card, or just a tiny, private note in a special way.
- Key Consideration: The size of the mini envelope determines what can fit inside. Make sure it’s big enough for a folded bill or gift card if that’s your plan.
- Pro-Tip: There are many simple envelope templates online. Create a tiny envelope from a beautiful patterned paper and glue it to the inside of your card for a wonderful surprise.
- Styling Cue: Create a tiny “card” to go inside your tiny envelope for an extra layer of delight.
25. Layered Die-Cut Card
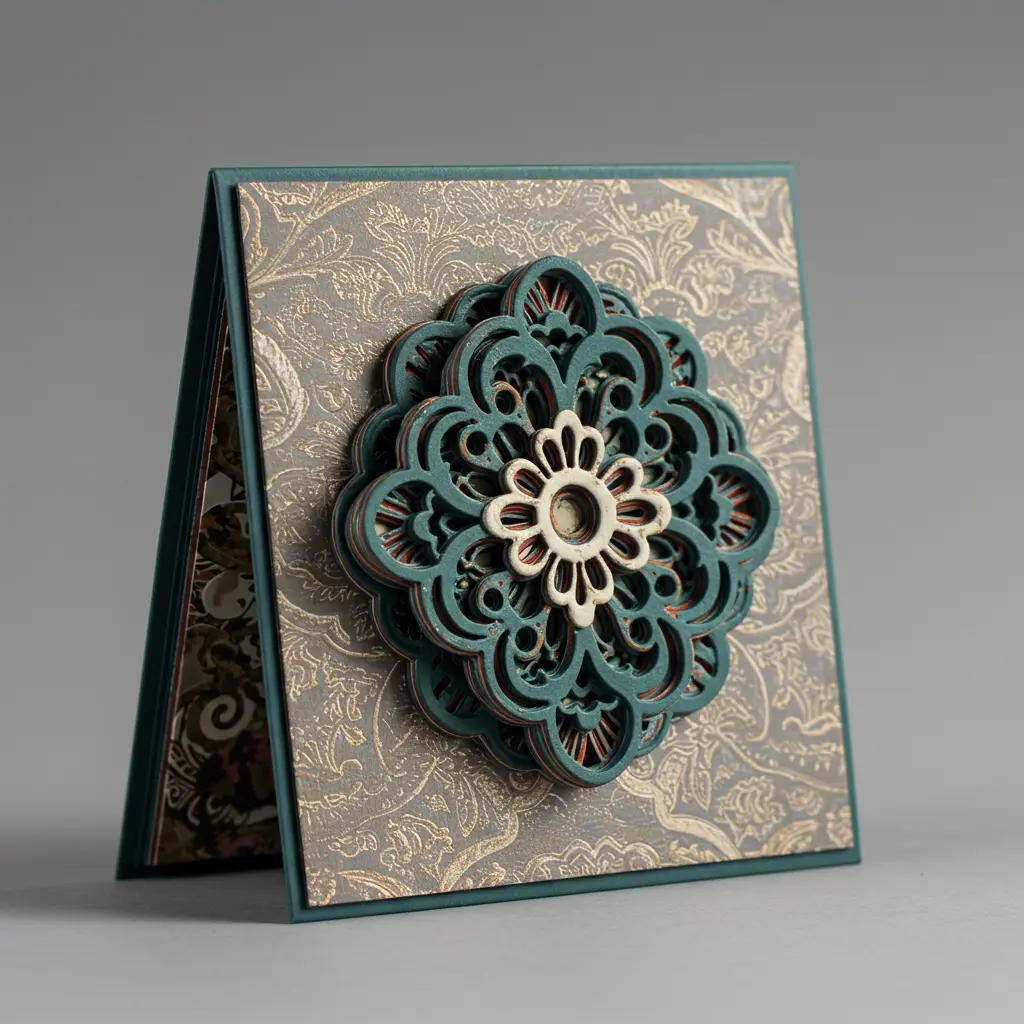
Best For: Creating stunning depth and intricate scenes with a clean, professional finish.
- Key Consideration: This technique usually requires a die-cutting machine, which is an investment. However, you can also buy pre-cut die shapes at craft stores.
- Pro-Tip: To create a sense of distance, use foam dots to pop up the “foreground” elements, and glue the “background” elements flat to the card.
- Styling Cue: Use increasingly lighter shades of a single color for each layer of a landscape (like hills or waves) to create a beautiful, atmospheric sense of depth.
Conclusion: Your Heartfelt Next Act
And just like that, you’re no longer just looking at a piece of paper you’re looking at a world of heartfelt possibilities. You have the ideas, the inspiration, and the know-how to create a card that’s a gift in itself. This isn’t just about crafting; it’s about connection, and putting a little piece of your heart into someone else’s hands.
It all starts with a single choice. Pick an idea that made you smile, grab your paper, and take the first small step.
You’ve got this.
