Is your campsite just a collection of tents and coolers? A perfectly normal spot in the woods, missing the chilling whisper of the spooky season? You’re in the right place to change that.
A Halloween campsite shouldn’t just be a place to sleep; it should be the very setting of a ghost story, a backdrop for eerie campfire tales, s’mores with a side of scares, and cherished, creepy memories.
This is your creative playbook for transforming your patch of wilderness into a haunted hollow that’s not only impressive and fun but feels deeply, personally terrifying.
We’ll explore chillingly clever crafts, decode the secrets of creating a haunted forest, and walk through the practical, portable steps to bring your nightmare to life under the stars.
By the end, you’ll see your campsite not as a plot of land, but as a scene waiting for a monster.
Before You Begin: Plotting Your Haunted Hollow
The most memorable haunts start with a little bit of scheming, not just a frantic packing session.
Before you unroll a single sleeping bag, let’s lay the groundwork. First, check your campground’s rules on decorations. Then, decide on your theme. Are you a coven of witches, a family of zombie apocalypse survivors, or the unlucky hosts of a campsite creature feature?
The Secrets of Style: Simple Rules for a Stunning Scare
Design theory sounds intimidating, but it’s really just about what makes a space feel spooky, especially outdoors.
Getting the Scale Right: Use the natural landscape to your advantage.
- Go Big for Impact: Use the space between two trees to hang a colossal spider web. This creates an immediate “wow” factor for anyone approaching your site.
- Go Small for Discovery: Line the path to your tent with small, glowing markers or have creepy crawlers emerging from your cooler. These are the details that make a campsite feel truly infested.
The Power of the Perimeter: Define your space. Use decorations to mark the entrance to your campsite, creating a “portal” from the normal campground into your haunted zone. This makes the experience more immersive.
The Natural Haunting Color Rule: The forest is your canvas.
- 60% is your main color: The Darkness of the Woods. The deep greens, browns, and inky black of night are your base.
- 30% is your secondary color: Ethereal White/Grey. Think ghosts, spiderwebs, bones, and fog. This provides crucial contrast against the dark woods.
- 10% is your accent: A pop of unnatural light. Use the toxic green of glow sticks, the fiery orange of jack-o’-lanterns, or the blood-red of a colored bulb to signal that something isn’t right here.
Sound and Shadow are Everything: In the quiet of the woods, sound travels. A hidden Bluetooth speaker playing faint whispers or twig snaps is incredibly effective. Use lanterns and the campfire to cast long, dancing shadows that turn every tree into a potential monster.
What’s the Real Effort? A No-Fuss Project Breakdown
| The Approach | Estimated Cost | What Your Money Buys | The Little Extras (Don’t Skip These!) |
| The Last-Minute Scare | $20 – $50 | • Cheesecloth, fishing line • Glow sticks, empty jugs • Caution tape | • Extra batteries! • Duct tape & zip ties • A good pair of scissors |
| The Weekend Haunting | $50 – $150 | • A posable skeleton • Battery-powered string lights • Styrofoam heads or skulls | • A small can of spray paint • A portable Bluetooth speaker • Lots of rope or twine |
| The Legendary Campsite | $150 – $300+ | • A portable fog machine • A battery-powered projector • Multiple skeletons & props | • A portable power station • Black tarps or fabric • A curated spooky sounds playlist |
The Design Menu: Finding Your Signature Fright
Here are 17 ingredients for your haunted campsite. Each is a DIY project designed for portability and maximum outdoor impact.
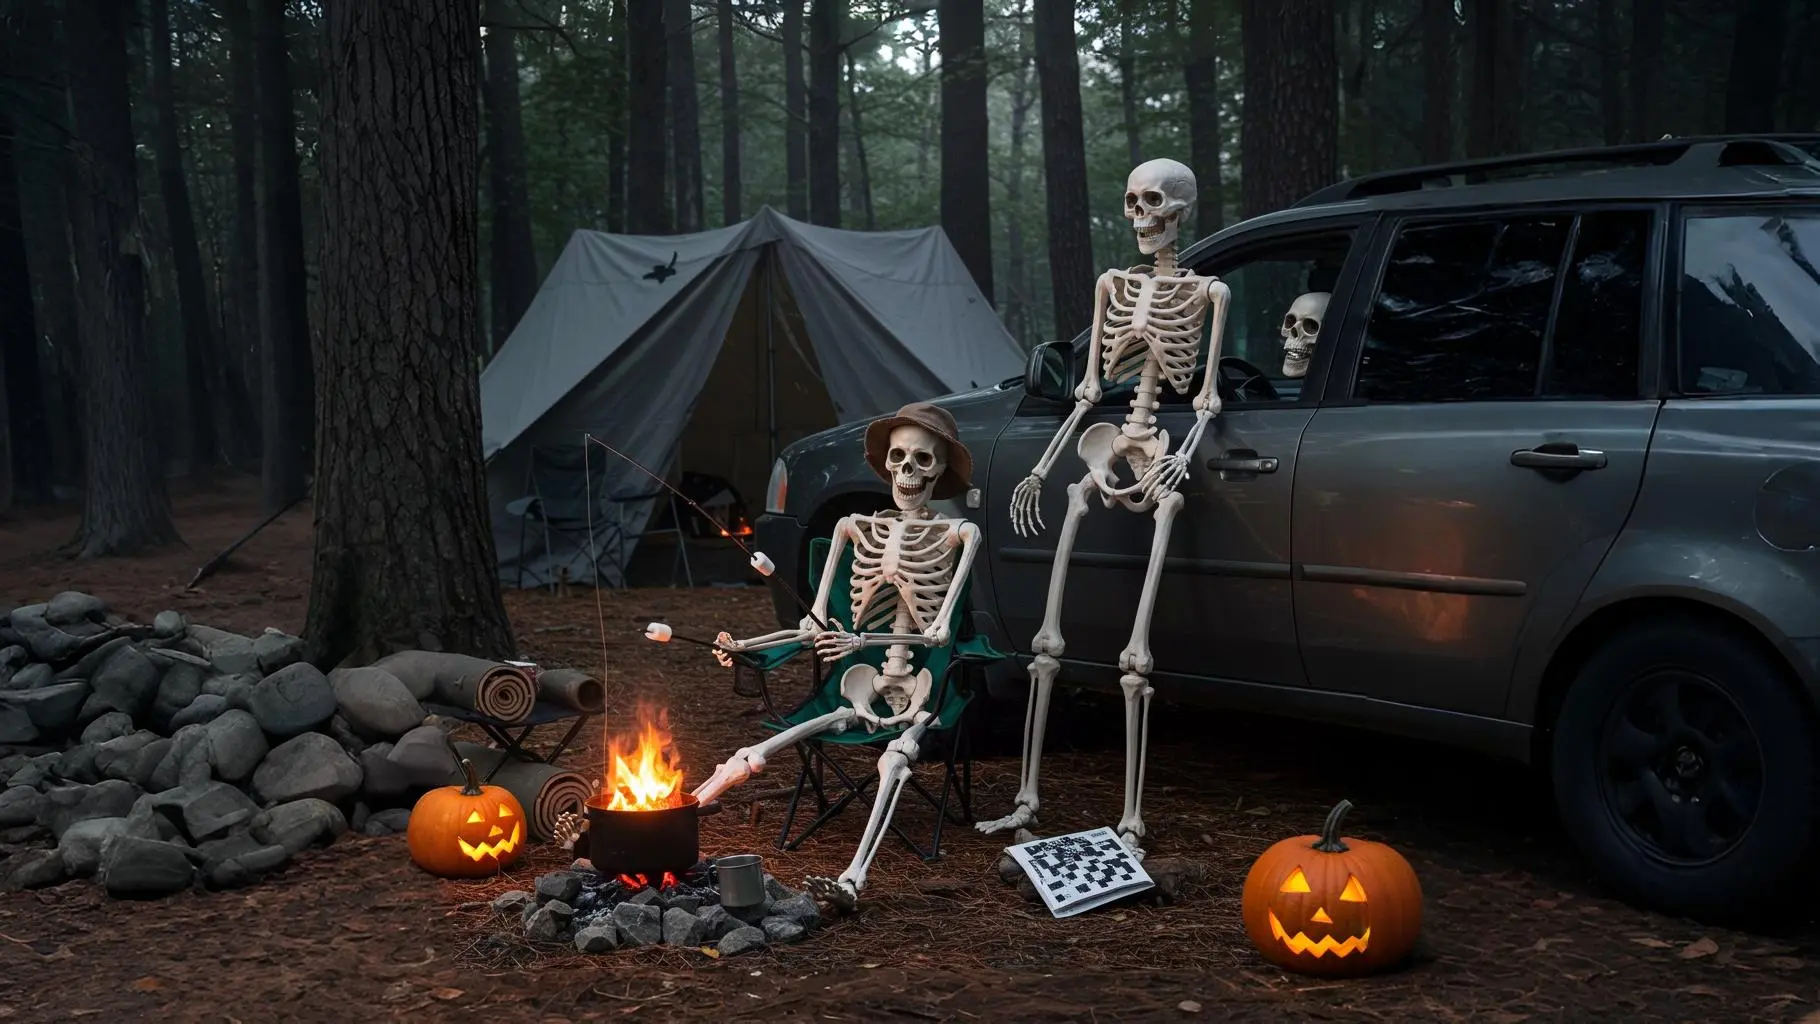
1. The Skeleton Crew Campsite
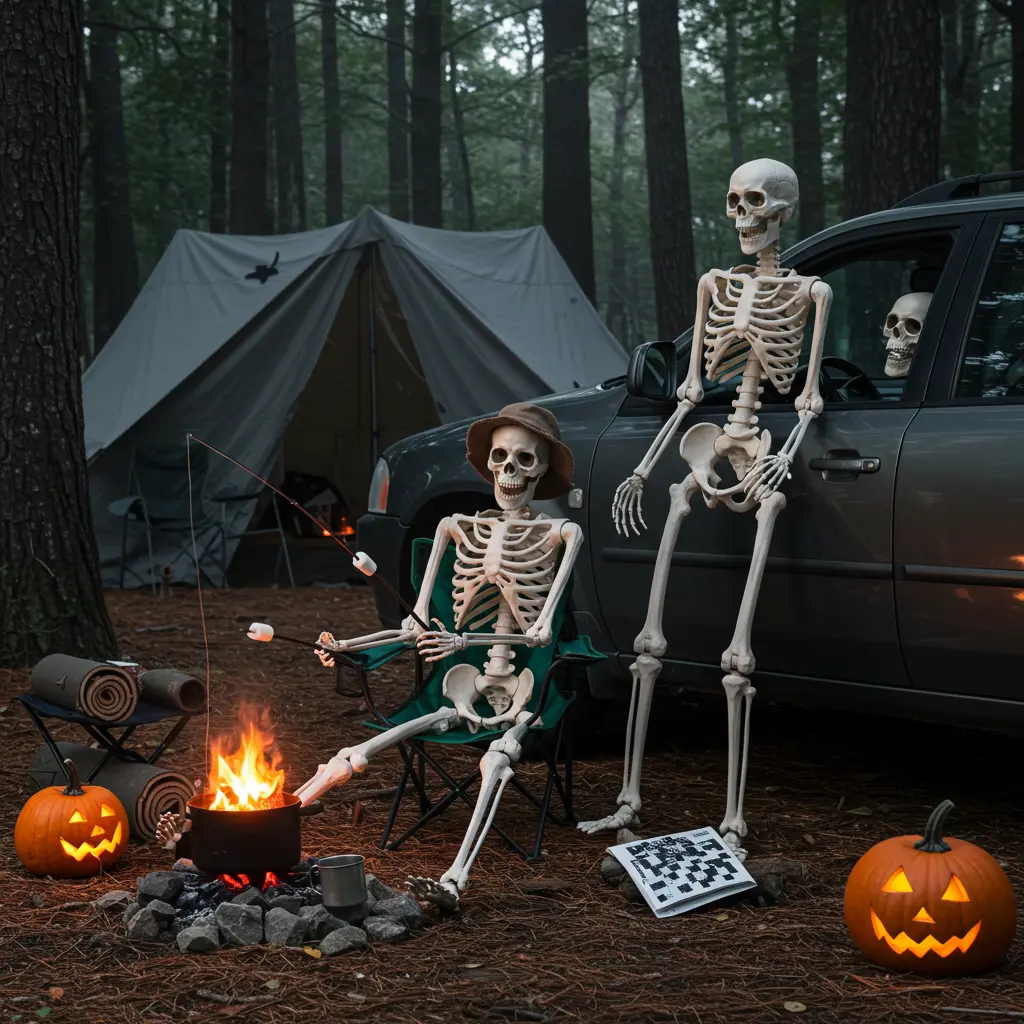
- Best For: A humorous and creepy narrative that uses the whole campsite as a stage.
- Key Consideration: You need at least one posable skeleton. They are an investment but can be reused every year.
- Pro-Tip: Don’t just stand the skeleton up. Pose it doing camp activities: roasting a marshmallow (or another bone), fishing by the lake, trying to put up a tent, or peeking out from inside your car.
- Styling Cue: Give your skeleton a name and a backstory. Place a half-finished crossword puzzle in its lap or a camp mug in its bony hand.
2. The Glowing Jug Ghouls
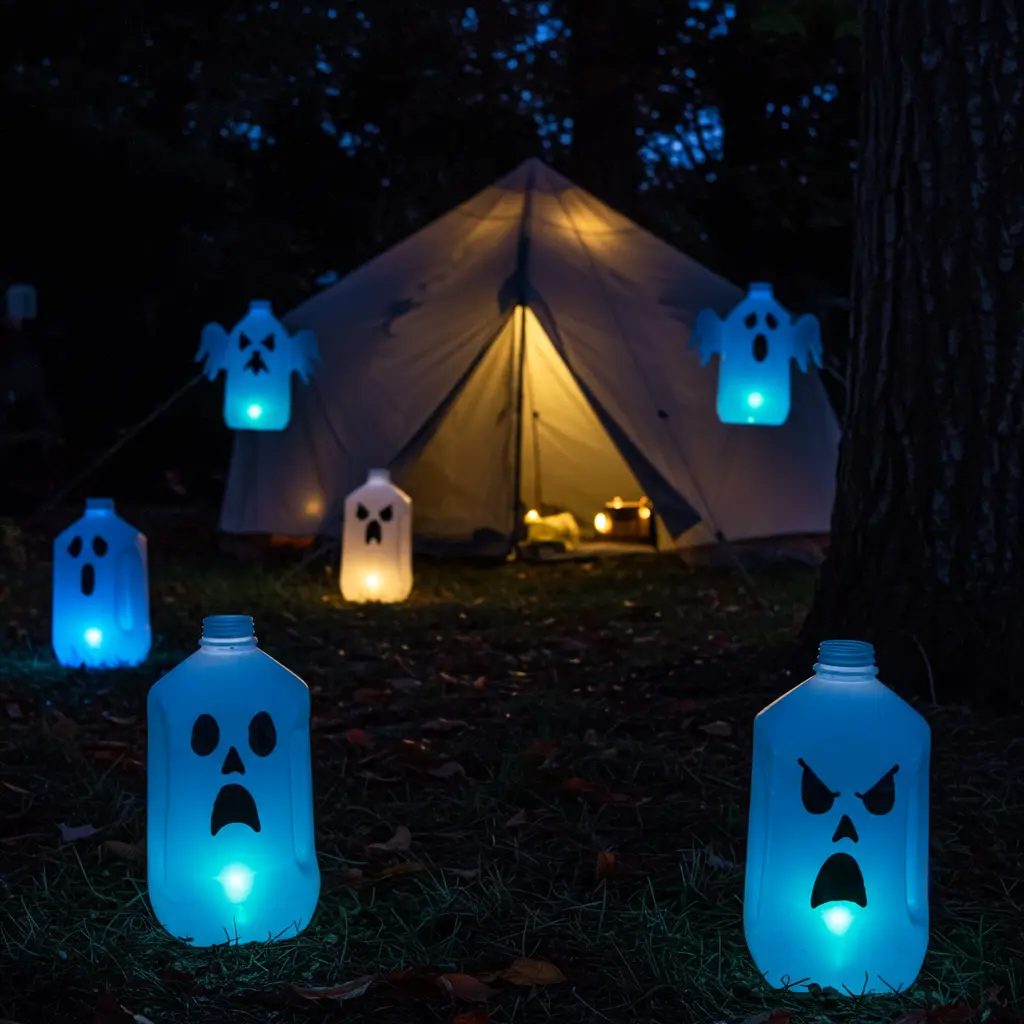
- Best For: A super cheap, weather-proof, and surprisingly effective way to create a host of spirits.
- Key Consideration: Start saving your translucent gallon milk or water jugs now.
- Pro-Tip: Use a black permanent marker to draw ghostly faces on the jugs. Cut a small hole in the back, drop in a few activated glow sticks, and line the path to your tent or hang them from tree branches.
- Styling Cue: Make a whole family of ghouls with different expressions some scared, some angry, some goofy.
3. The Colossal Campsite Web
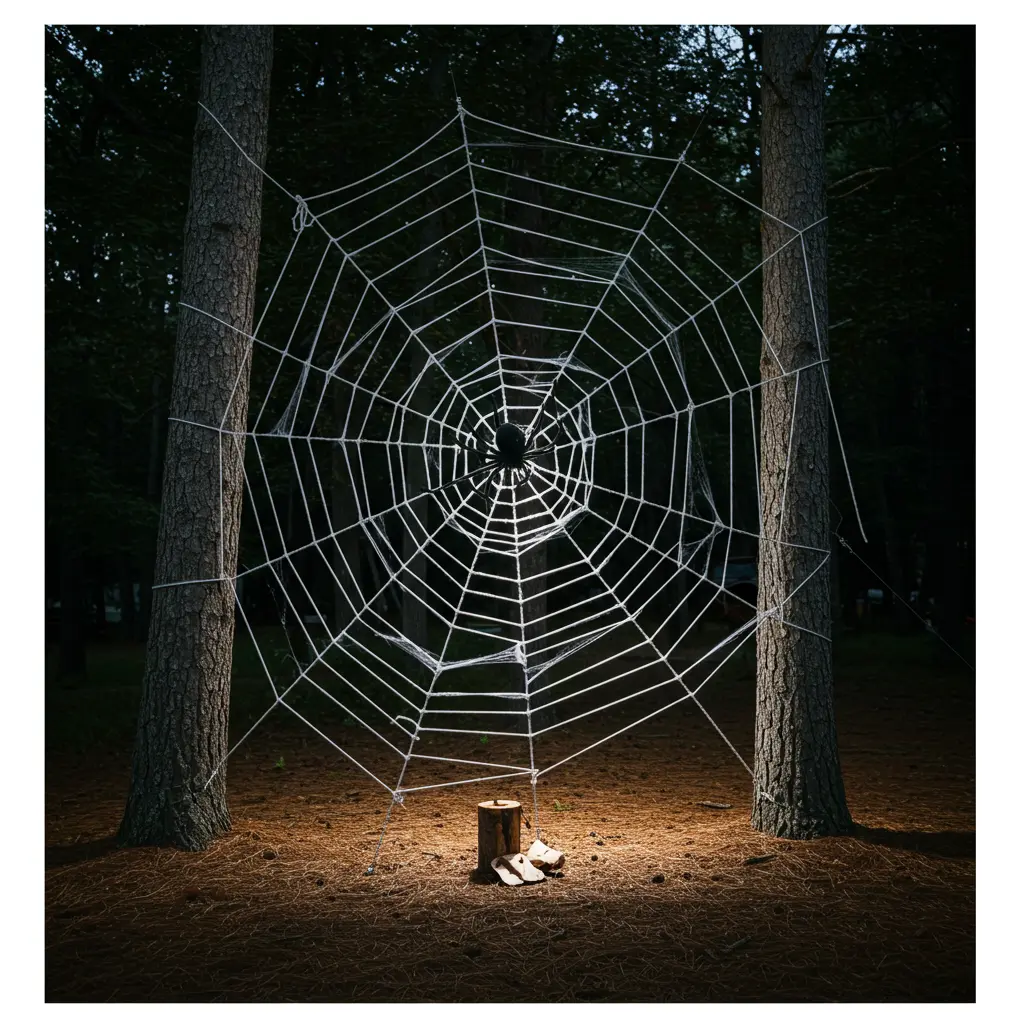
- Best For: Creating a massive, high-impact focal point using the natural architecture of your campsite.
- Key Consideration: You need two or more well-spaced trees or posts to act as anchors.
- Pro-Tip: Use thick white rope for the main “spokes” of the web and thinner clothesline for the spiraling sections. A giant spider from a Halloween store is a must-have for the center.
- Styling Cue: In the evening, aim a single, bright flashlight or lantern beam at the web. It will catch the light and look incredibly eerie.
4. The Eyes in the Woods
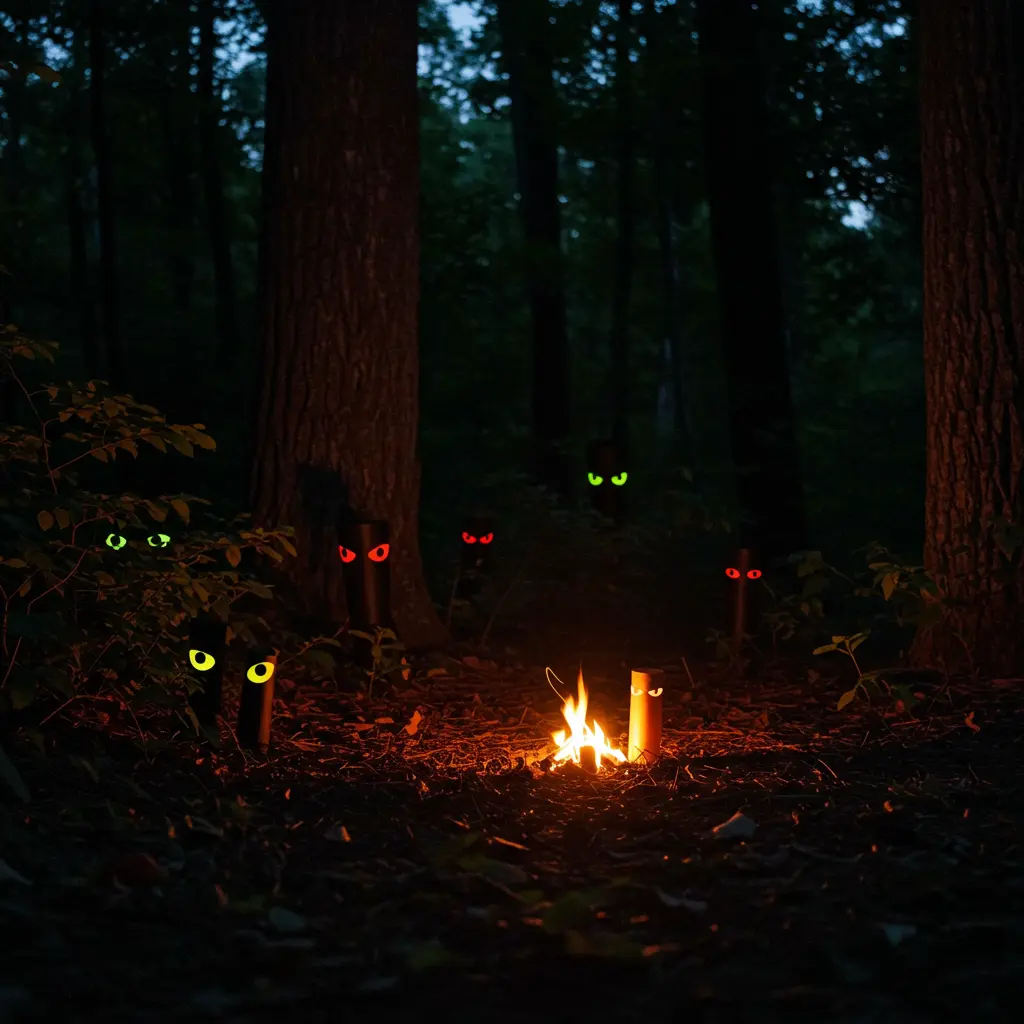
- Best For: A simple, subtle, and genuinely unnerving effect that makes the surrounding forest feel alive.
- Key Consideration: This works best in the dark. The scare is in the slow realization that you’re being watched.
- Pro-Tip: Cut spooky eye shapes out of the middle of paper towel tubes. Place an activated glow stick inside, cap the ends, and hide them in the bushes and trees just outside the ring of your campfire light.
- Styling Cue: Use different colored glow sticks (red, yellow, green) to suggest different types of creatures lurking just beyond sight.
5. The Witch’s Brew Bonfire
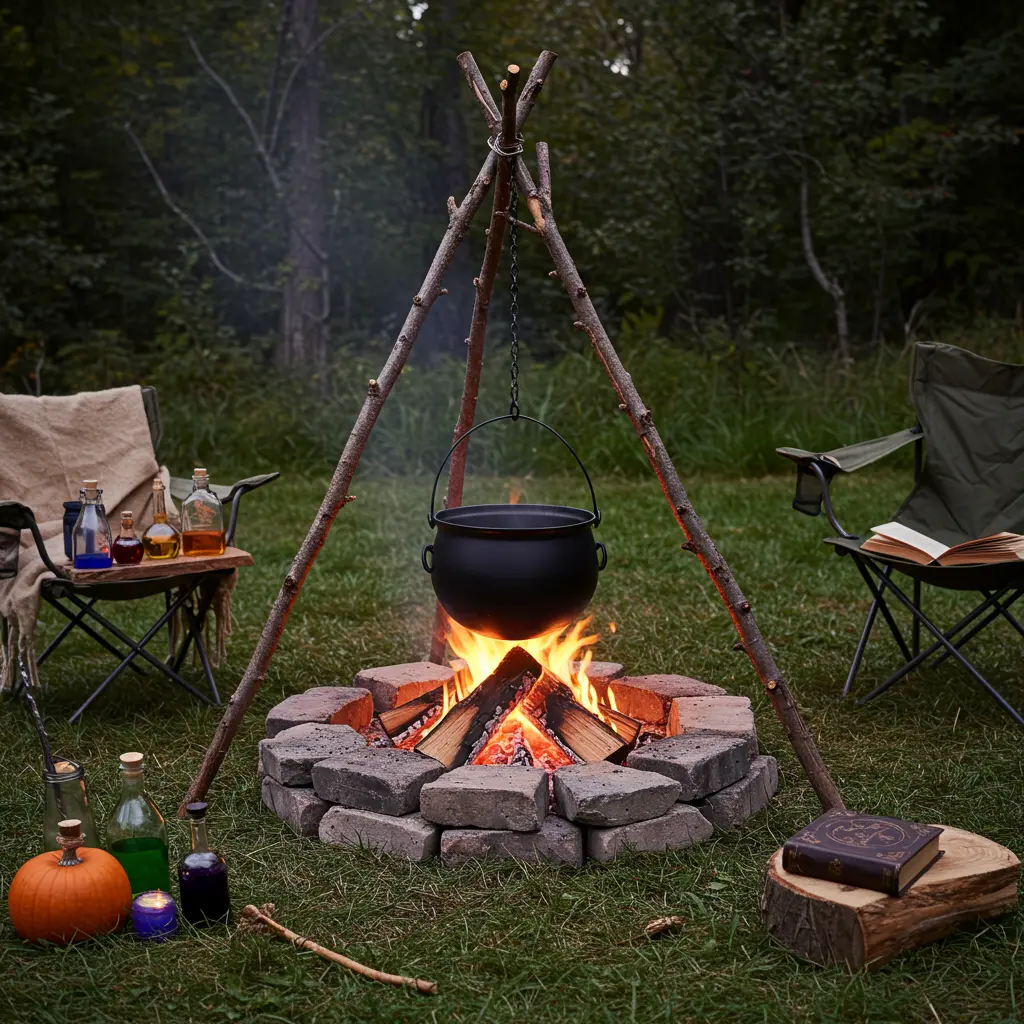
- Best For: Making your functional campfire the magical centerpiece of your haunt.
- Key Consideration: Safety first! Never place flammable decorations too close to the actual fire.
- Pro-Tip: Build a tripod out of three long, sturdy branches over your (unlit) fire pit. Hang a large black cauldron from the center. When you build your fire, it will look like you’re heating the brew.
- Styling Cue: Surround the fire pit with potion bottles, a gnarled stirring stick (a cool branch), and a “spellbook” left open on a camp chair.
6. The Shadow Puppet Terror Tent
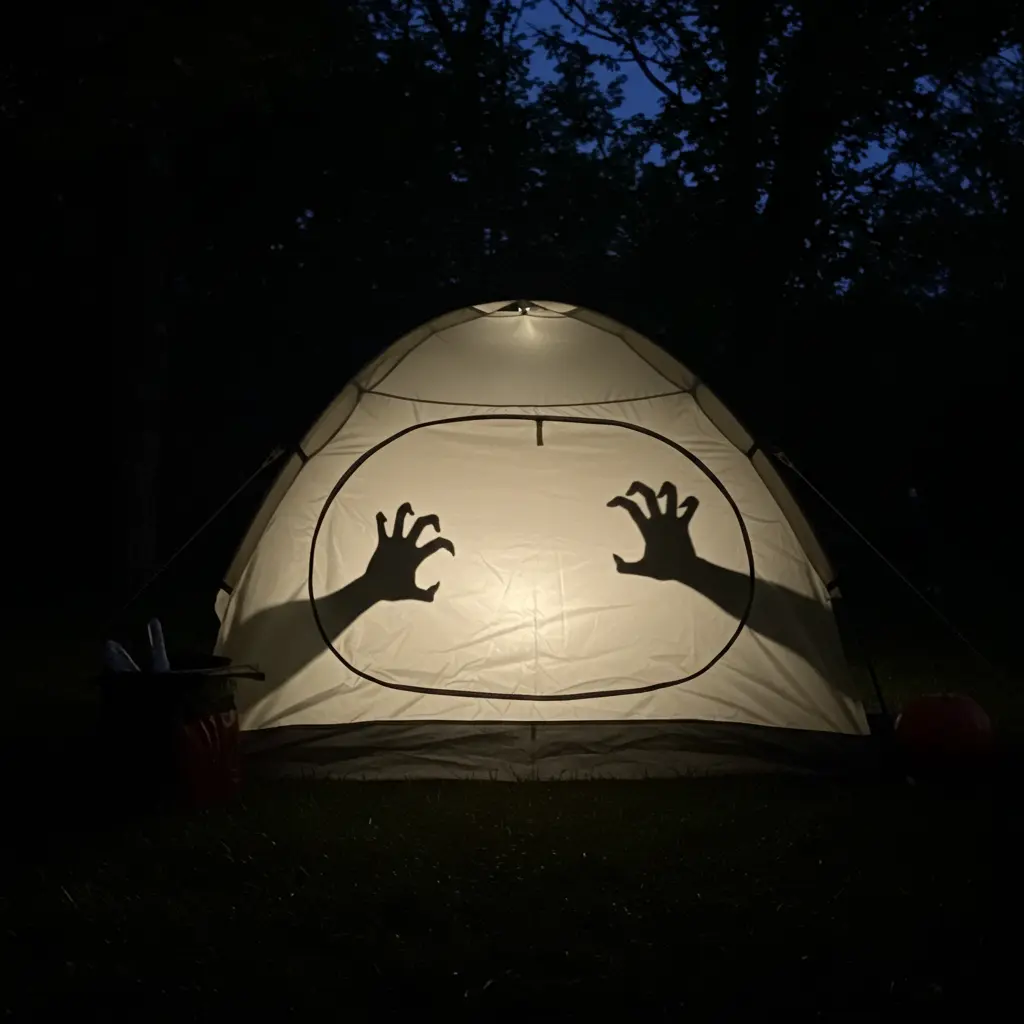
- Best For: Turning your tent into a living, breathing part of the horror show.
- Key Consideration: This works best at night with a light source inside the tent.
- Pro-Tip: Place a battery-powered lantern inside your tent. From the outside, the tent will glow. Use your hands or black cardboard cutouts to create menacing silhouettes from the inside think monster claws, a knife shape, or a creepy face.
- Styling Cue: For a next-level scare, set up a recording of spooky whispers on a small speaker inside the tent to go along with the shadows.
7. The Haunted Trail Markers
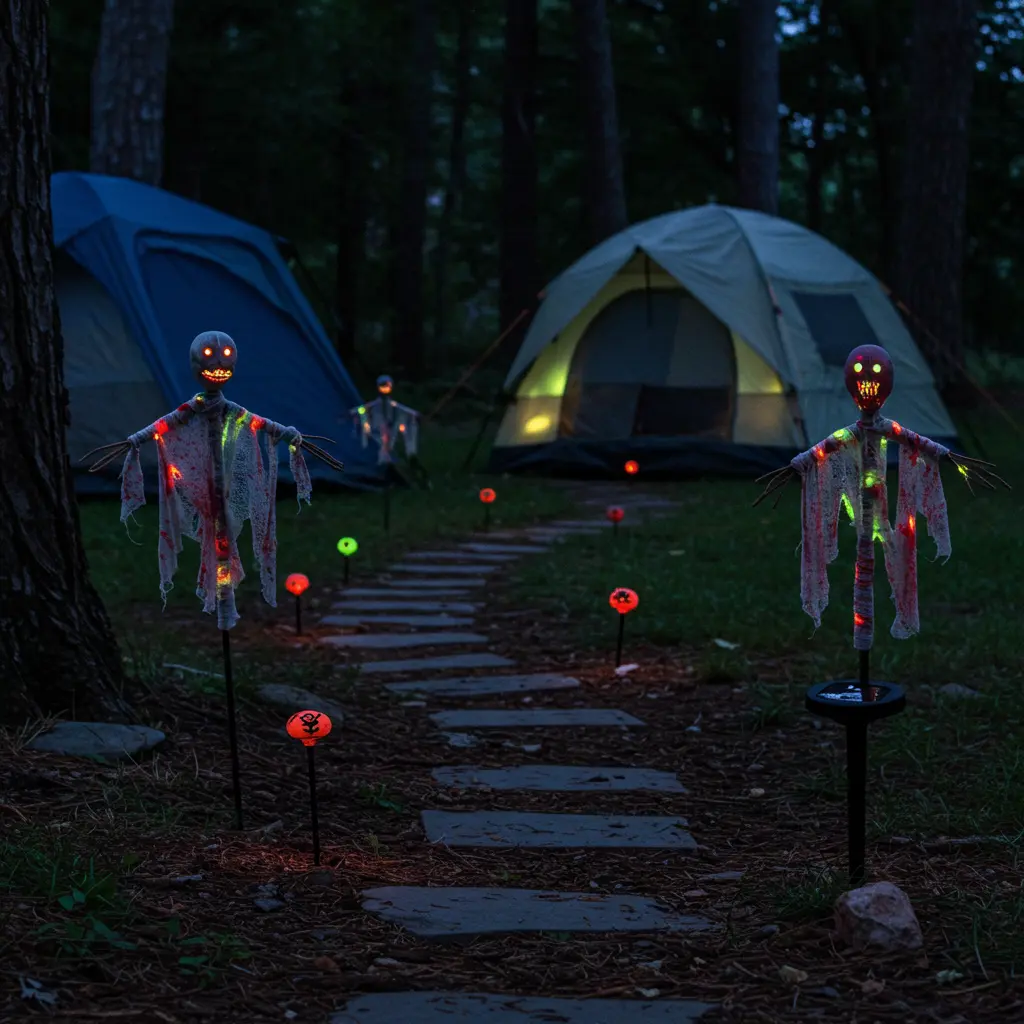
- Best For: A practical way to light a path to the bathroom or other tents that doubles as creepy decor.
- Key Consideration: You don’t want these to be a trip hazard, so place them just off the main path.
- Pro-Tip: Collect some small, smooth rocks. Paint them with glow-in-the-dark paint and add spooky symbols or arrows. Alternatively, wrap small solar garden stakes with tattered, bloody gauze.
- Styling Cue: The famous stick figures from The Blair Witch Project are incredibly easy to make with twigs and twine and make for terrifying trail markers.
8. The Floating Head Lanterns
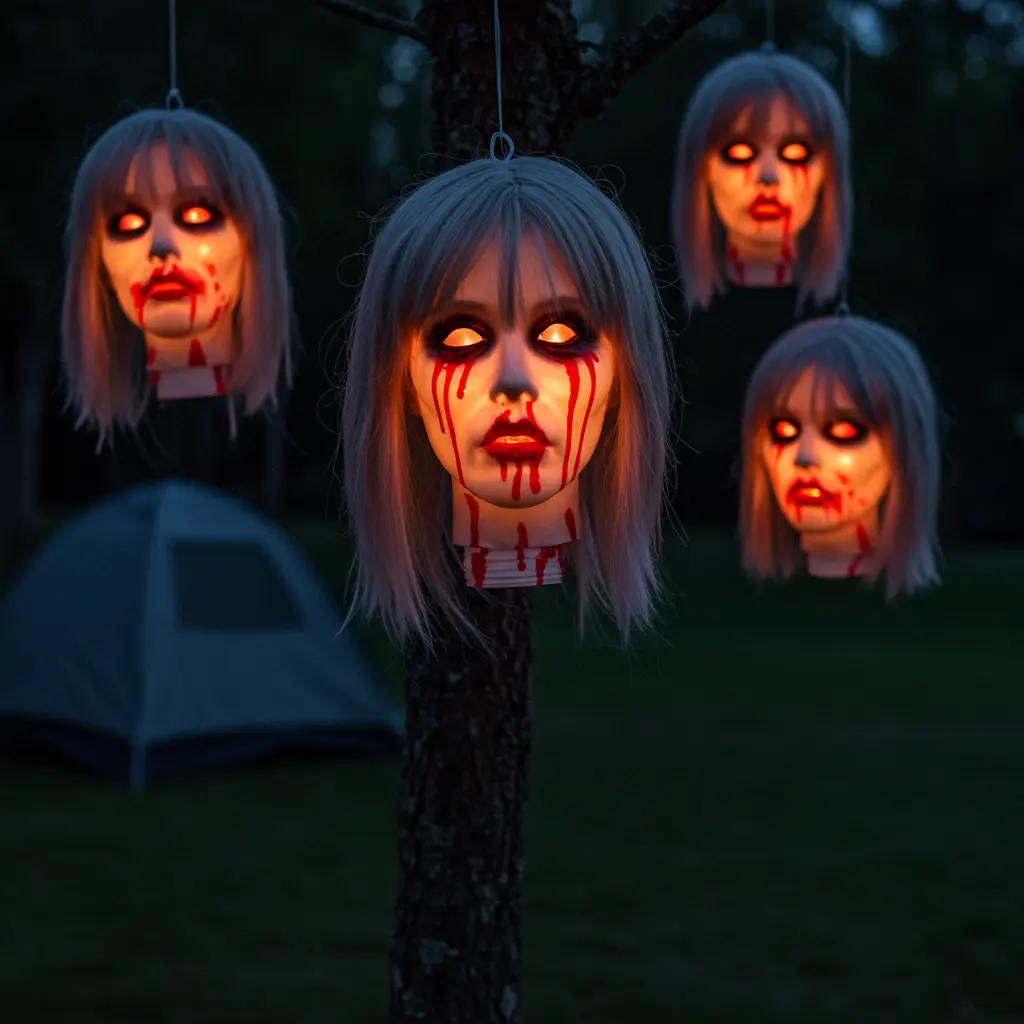
- Best For: A truly gruesome and terrifying way to light your campsite perimeter.
- Key Consideration: This is an upgrade to the jug ghouls for a more intense scare.
- Pro-Tip: Buy cheap foam wig heads. Hollow out the bottom and use a craft knife to carve out the eyes and mouth. Place a battery-powered tea light or a glow stick inside and hang it from a tree.
- Styling Cue: Drip red paint from the neck and eyes for an extra-gory effect.
9. The Cocooned Camper Surprise
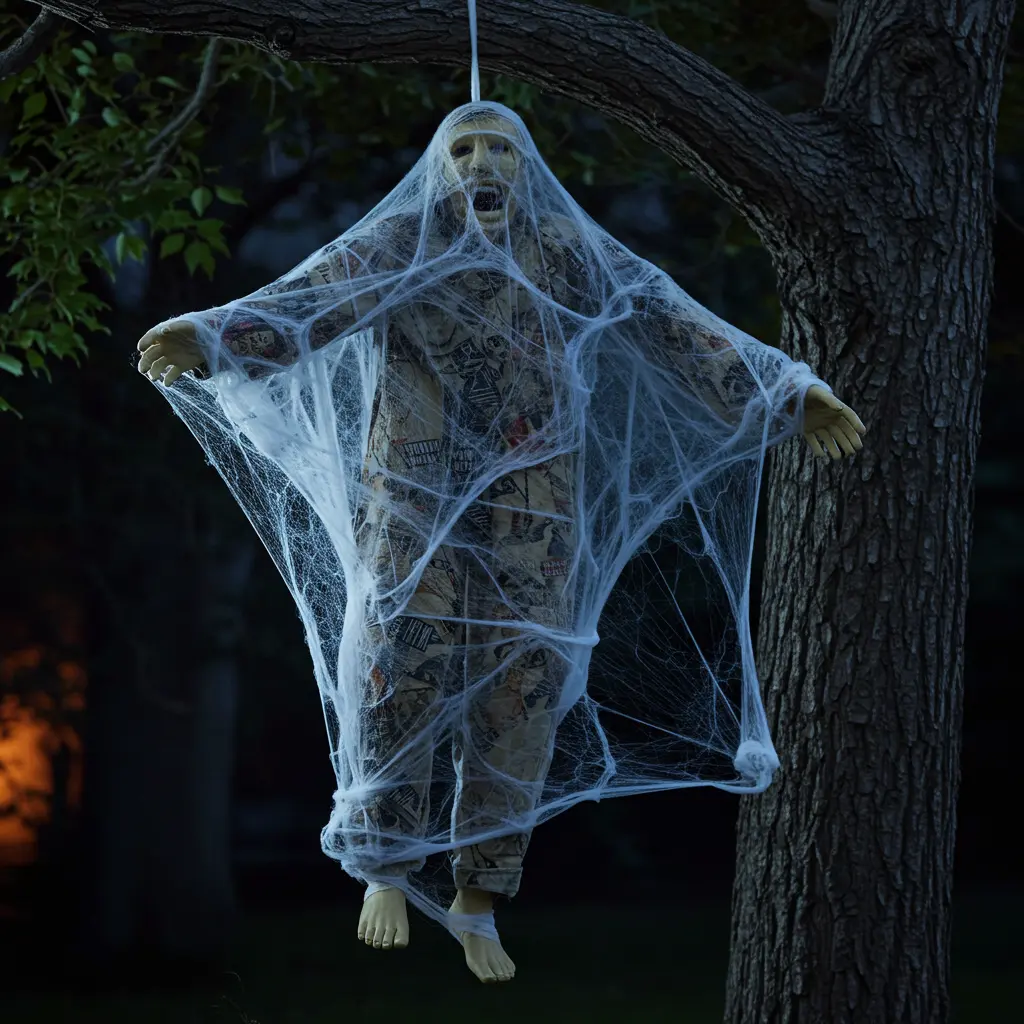
- Best For: A classic horror movie prop that is perfect for hanging from a large tree branch.
- Key Consideration: You need a vaguely human shape to make this convincing.
- Pro-Tip: Stuff an old pair of pants and a shirt with leaves and newspaper, and top with a foam head. Wrap the whole thing tightly and haphazardly with tons of stretchy spider web material until the form is obscured.
- Styling Cue: Let one fake hand or foot poke out of the webbing for a truly disturbing final touch.
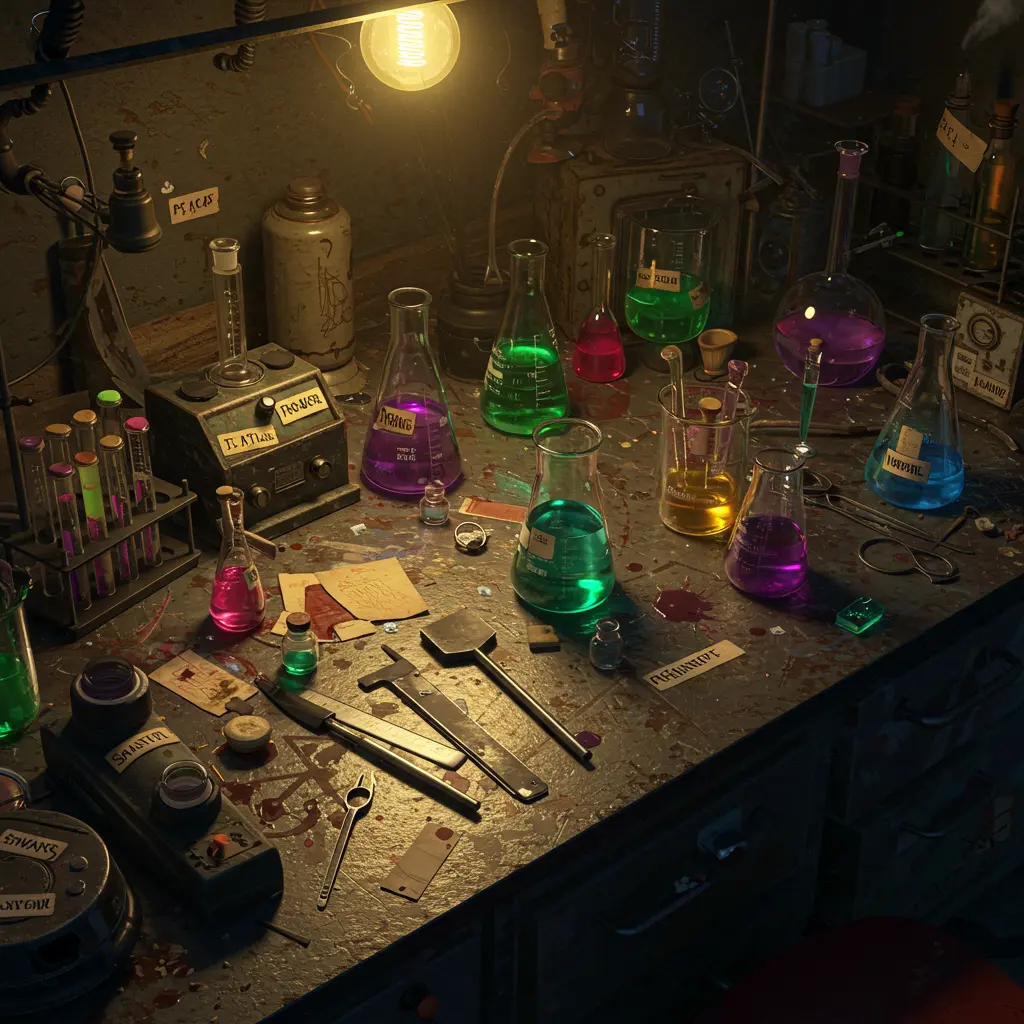
10. The Mad Scientist’s Mess Kit
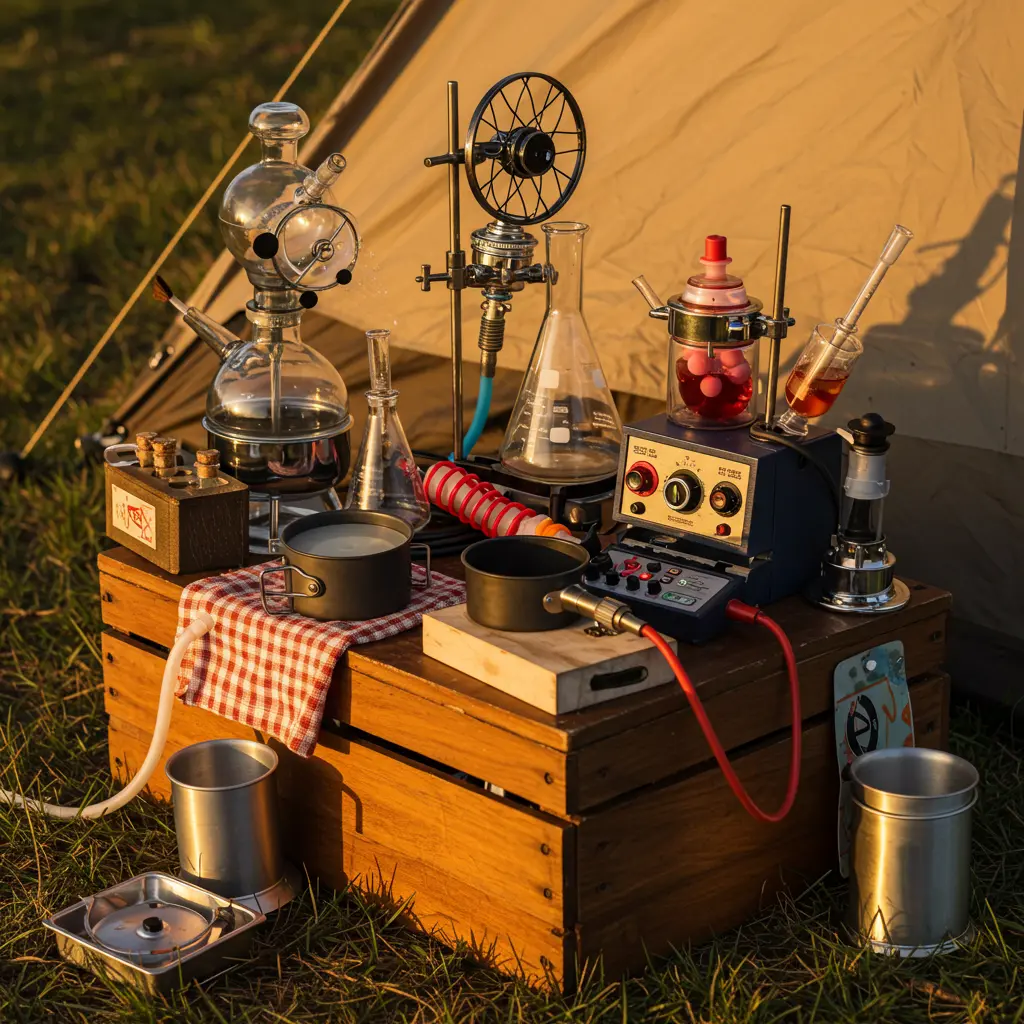
- Best For: Transforming your picnic table from a dining area into a gruesome laboratory.
- Key Consideration: Use food-safe props and keep your actual eating area separate if needed.
- Pro-Tip: Fill jars with water and food coloring, then add things like gummy worms (“Live Specimens”) or peeled grapes (“Eyeballs”). Use ketchup for “blood” splatters on a disposable tablecloth.
- Styling Cue: Relabel your condiment bottles with medical-sounding names. Your ketchup is now “Blood Sample B+” and the mustard is “Virus Specimen.”
11. The Whispering Woods
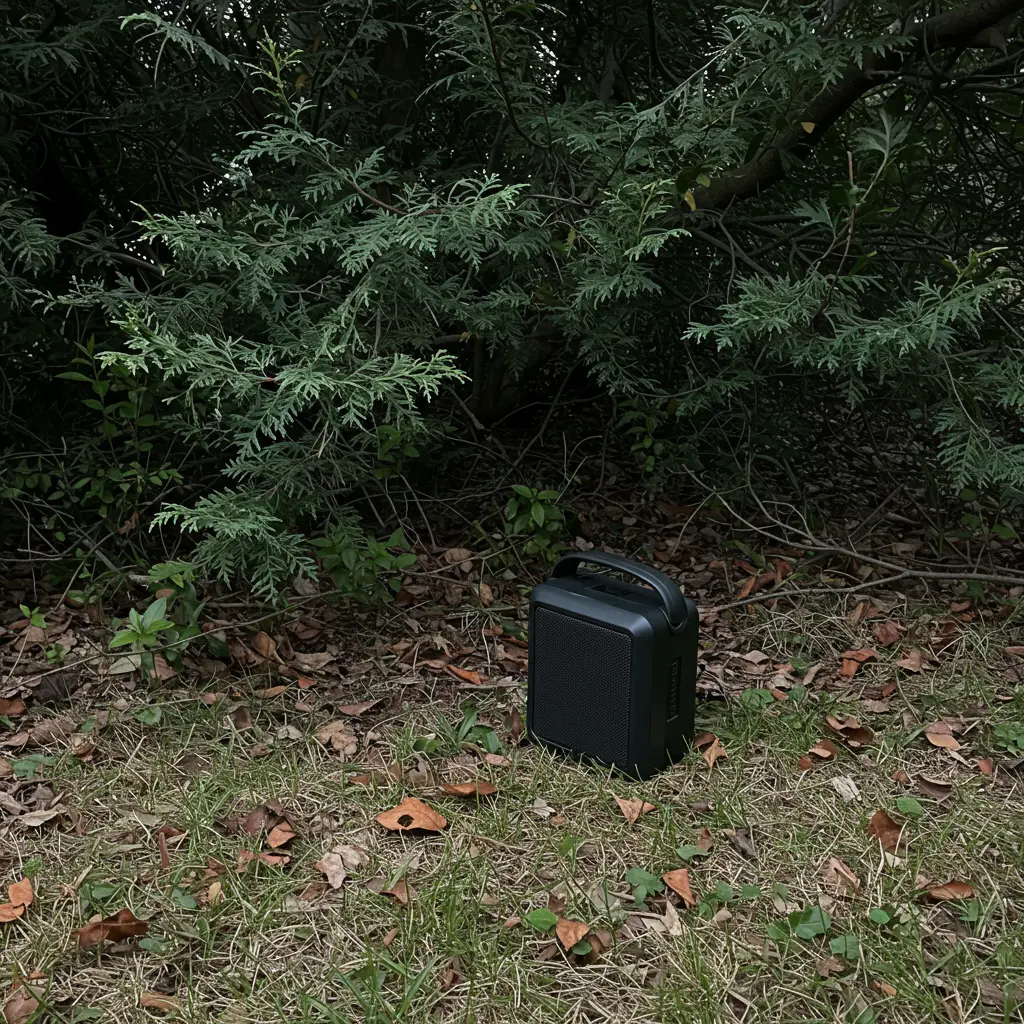
- Best For: Using sound to create an immersive, psychological scare that stays with people.
- Key Consideration: The sound should be faint enough to make people question if they really heard it.
- Pro-Tip: Record your own spooky whispers, twig snaps, and faint growls, or find a “haunted forest” track online. Hide a small, camouflaged Bluetooth speaker in the bushes away from your main site and play the track on a low-volume loop.
- Styling Cue: Don’t tell anyone about the speaker. Let them discover the sounds on their own.
12. The Tattered Tarp Canopy
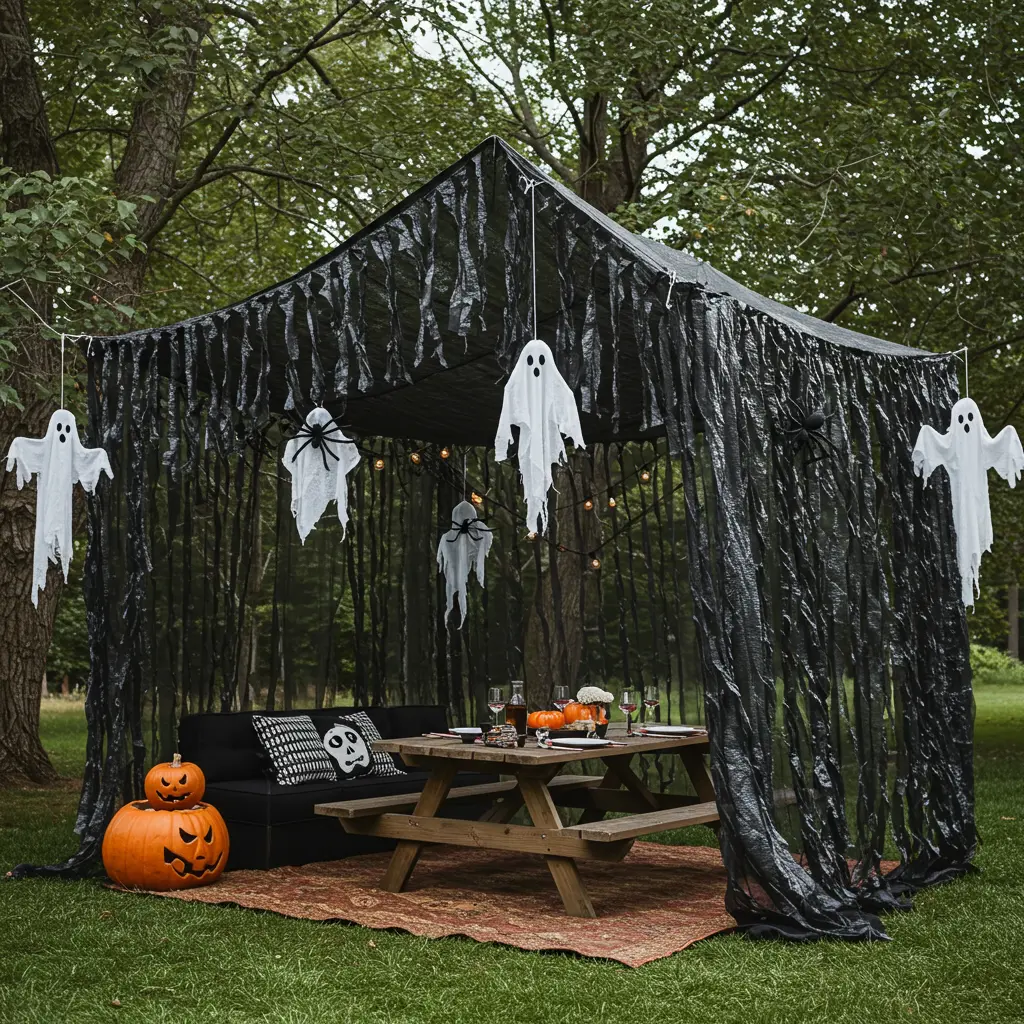
- Best For: Creating a spooky, enclosed “ceiling” for your main seating area.
- Key Consideration: You need trees or poles to hang this from.
- Pro-Tip: Take an old, cheap tarp (or black plastic sheeting) and shred it with a utility knife. Hang it high above your picnic table or fire pit. It will block out the stars and make the space feel claustrophobic and creepy.
- Styling Cue: Hang fake spiders and cheesecloth ghosts from the canopy so they dangle just above your guests’ heads.
13. The Cemetery Entrance
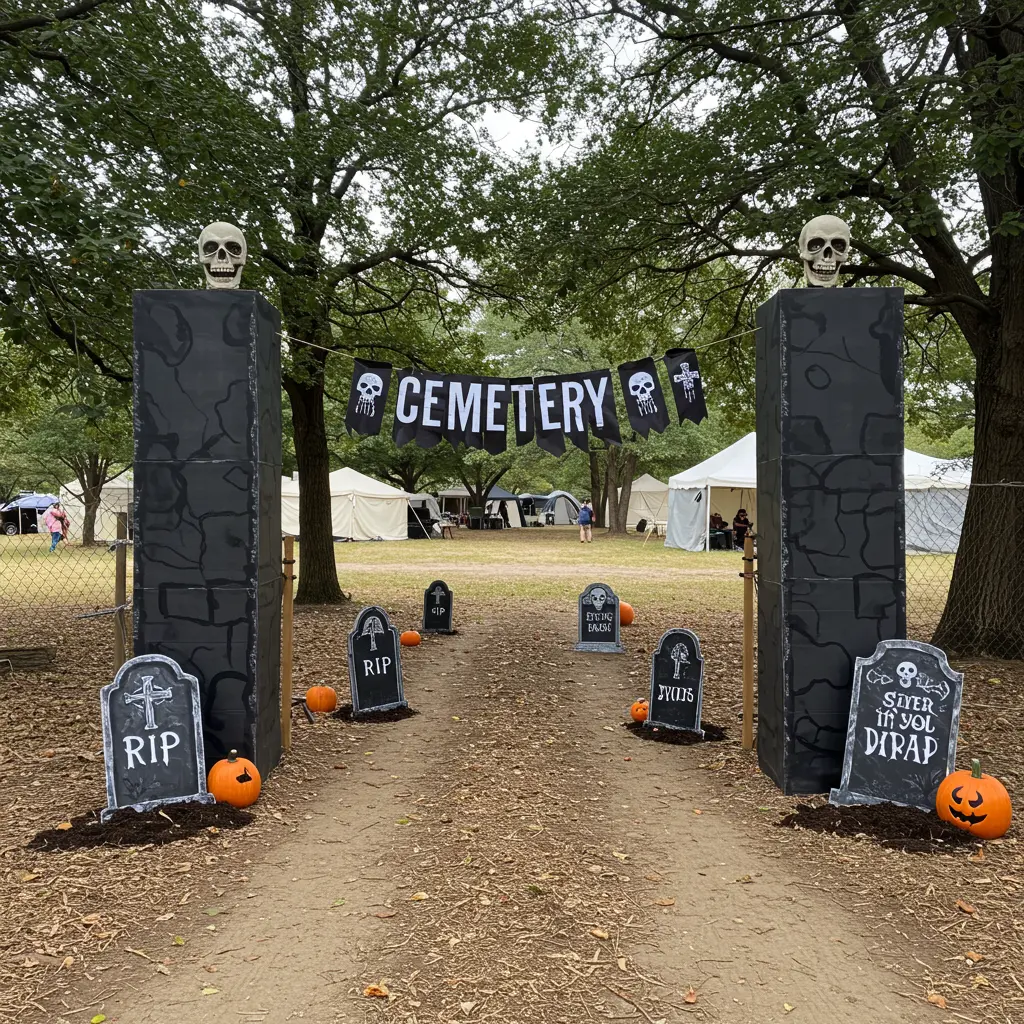
- Best For: Defining your campsite’s boundary and setting the theme from the moment people arrive.
- Key Consideration: This works best at the head of your campsite’s driveway or path.
- Pro-Tip: Make two simple pillars out of cardboard boxes spray-painted to look like stone. Write “Cemetery” or “Enter If You Dare” on a piece of wood or cardboard and string it between them.
- Styling Cue: Place a few cardboard tombstones and a small pile of dirt just inside the entrance to sell the graveyard theme.
14. The Zombie Escape Zone
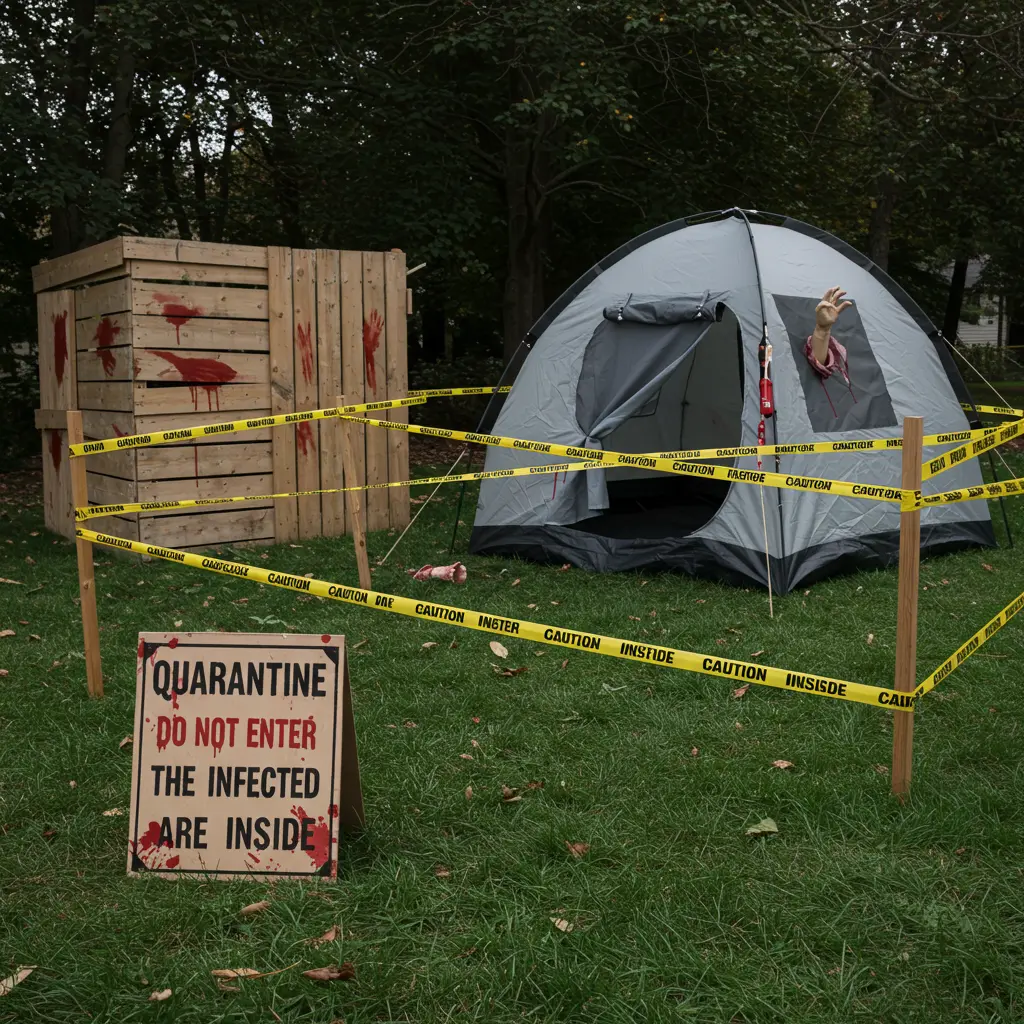
- Best For: A low-cost, high-narrative theme that’s easy to set up.
- Key Consideration: This is all about telling a story of a failed quarantine.
- Pro-Tip: Use yellow or red caution tape to create a perimeter. Splatter the tape and the ground with “bloody” handprints (using red paint). Have a half-boarded-up tent with a fake arm sticking out.
- Styling Cue: Create a sign on a piece of cardboard that says “QUARANTINE – DO NOT ENTER – THE INFECTED ARE INSIDE.”
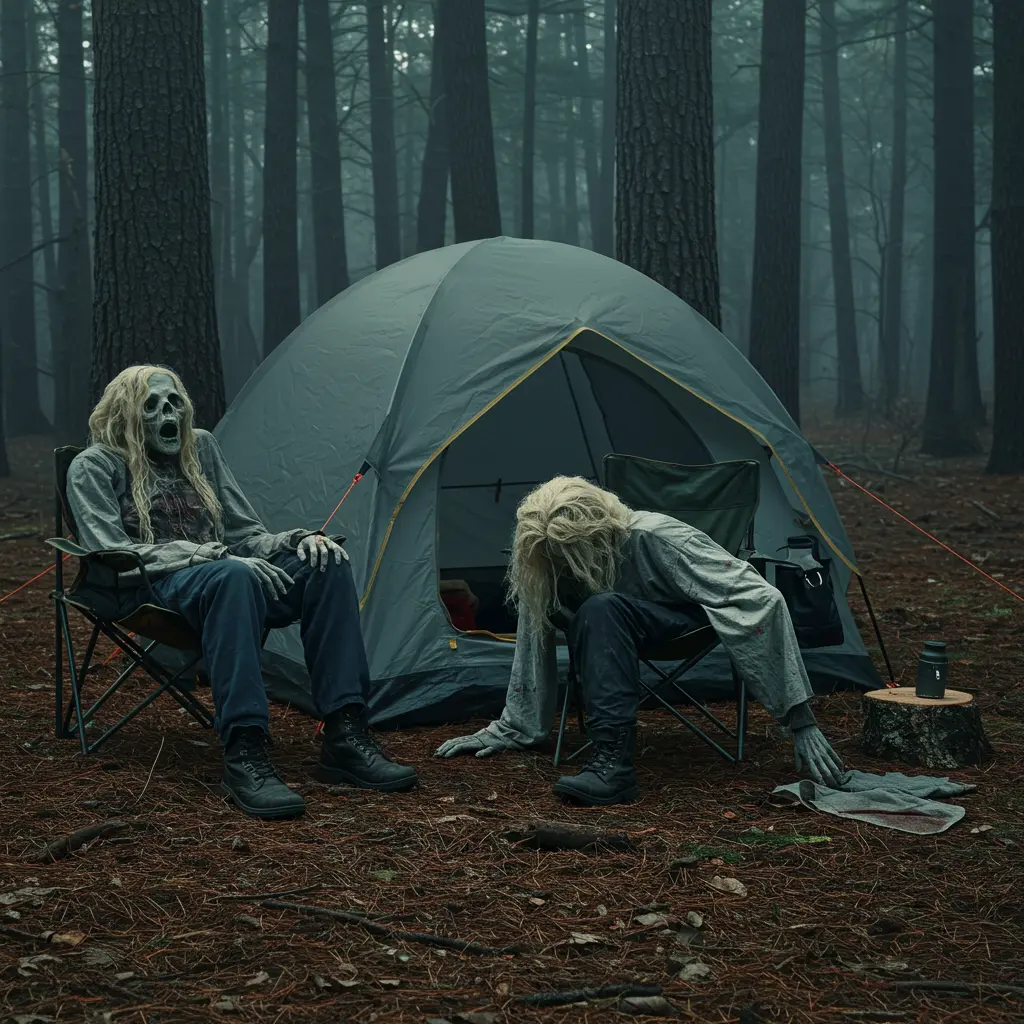
15. The Petrified Campers
- Best For: A creepy illusion that suggests the previous inhabitants of your site met a terrible fate.
- Key Consideration: You just need old clothes and stuffing material.
- Pro-Tip: Stuff old clothes, boots, and gloves with leaves, newspaper, or sleeping bags to create motionless figures. Pose them in terrified positions one cowering in a camp chair, another trying to crawl into a tent.
- Styling Cue: For a Blair Witch-style scare, have one of the figures facing the corner of your tent.
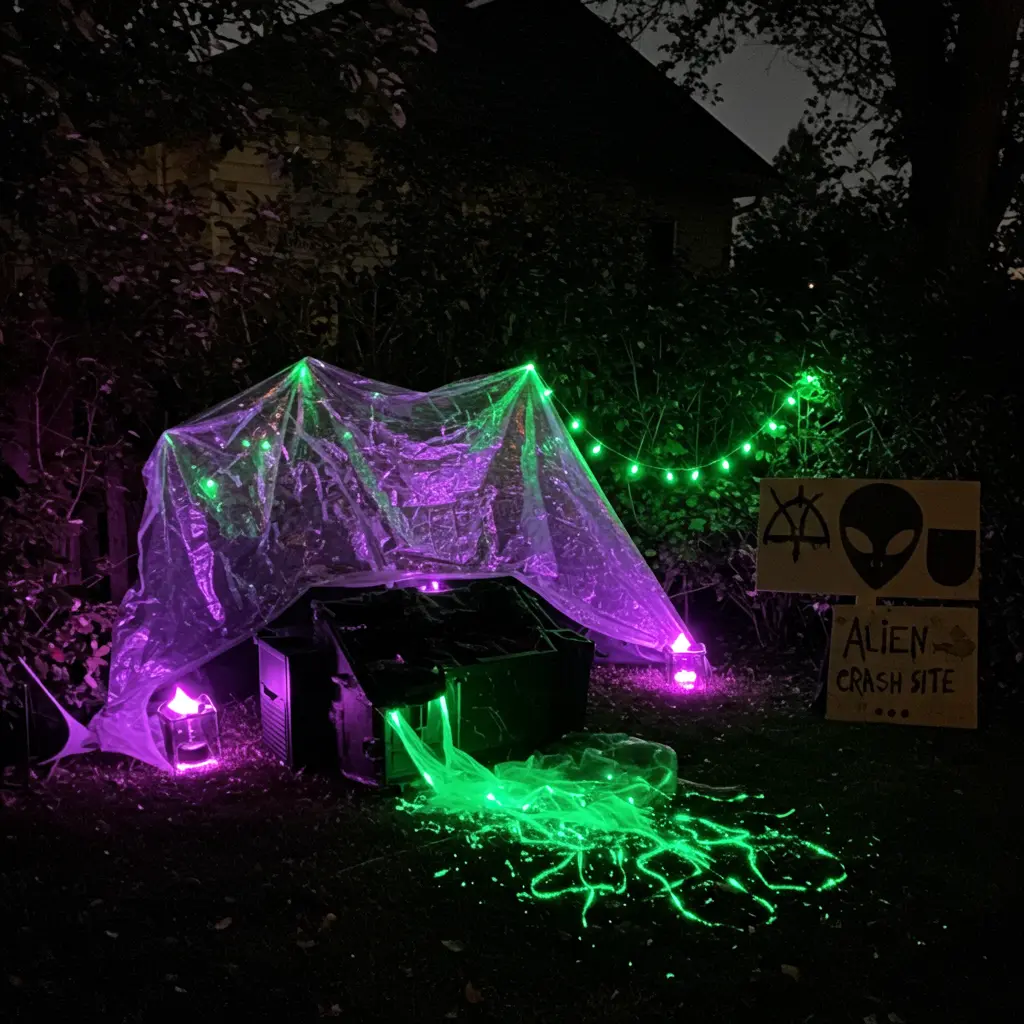
16. The Alien Crash Site
- Best For: A non-traditional, sci-fi horror theme.
- Key Consideration: The lighting is key to this effect.
- Pro-Tip: Drape a large silver or black tarp over some bushes or a small tent to look like wreckage. String green or purple battery-powered lights around it and use green glow sticks to create an “alien goo” spill.
- Styling Cue: Add a sign made of cardboard with strange, alien symbols on it, and play quiet, staticky radio sounds from a hidden speaker.
17. The Creepy Crawler Cooler
- Best For: A simple jump-scare that everyone will eventually fall for.
- Key Consideration: This works best in a cooler that is opened frequently.
- Pro-Tip: Buy a handful of realistic-looking fake spiders, snakes, or roaches. Use clear tape or poster putty to stick a few to the outside, and then place a bunch on the inside, right on top of the drinks.
- Styling Cue: Leave the cooler slightly ajar with one fake snake or spider leg peeking out.
The Camper’s Code: Spooky, Safe, and Smart
- Fire Safety First: Never place flammable materials like cheesecloth, tarps, or paper too close to your campfire, grill, or lanterns.
- Avoid Trip Hazards: Be mindful of where you run ropes and extension cords. Use glow-in-the-dark tape to mark any potential hazards.
- Respect Nature (Leave No Trace): Do not harm trees by putting nails in them. Use rope, twine, or zip ties that can be easily removed. Avoid glitter or small plastic decorations that can be impossible to clean up. The goal is to leave your campsite even cleaner than you found it.
Conclusion: Your Campsite’s Final Chapter
And just like that, you’re no longer just camping you’re the director of a live-action horror movie. You have the ideas, the inspiration, and the know-how to create a haunted campsite that is terrifying, memorable, and a true adventure for everyone involved.
This isn’t just about setting up a tent; it’s about crafting a world, telling a story, and creating an atmosphere where the best spooky memories are made.
It all starts with a single choice. Pick a project that sent a shiver down your spine, and let the haunting begin. You’ve got this.
