Is that pile of mini pumpkins on your counter waiting for a touch of magic? A collection of blank canvases, ready to be transformed into something truly special for the season? You’re in the right place to bring them to life.
A painted mini pumpkin shouldn’t just be a simple craft; it should be a tiny jewel of the season, a pop of personality for your mantel, bookshelf, or tablescape.
This is your creative playbook for transforming those small gourds into a charming collection that’s not only beautiful and fun but feels deeply, personally you.
We’ll explore delightfully simple designs, decode the secrets of pint-sized style, and walk through the practical steps to create a pumpkin patch that tells a story.
By the end, you’ll see your small pumpkins not as a challenge, but as a tiny canvas for big creativity.
Before You Begin: Dreaming Up Your Pint-Sized Patch
The most beautiful projects start with a little bit of fun, not a lot of pressure.
Before you uncap a single paint pen, let’s lay the groundwork. The magic of mini pumpkins is in their numbers. Think of them as a collection. Choose a simple color palette of 3-4 colors to tie your whole patch together, even with different designs.
The Secrets of Style: Simple Rules for a Stunning Look
Design theory sounds intimidating, but it’s really just about what makes a project feel right. Here are a few simple secrets for beautiful mini pumpkins:
The Power of a Collection: One painted mini pumpkin is cute. A dozen arranged in a bowl or scattered down a table runner is a statement. Design with the group in mind.
Color is Key: A cohesive color palette is the secret to making different patterns look like they belong together. Try a classic black, white, and orange, or a more modern palette of cream, sage green, and copper.
Let the Stem Shine: The stem is the pumpkin’s natural crown. Don’t forget it! Painting the stem a contrasting color like metallic gold on a white pumpkin or black on an orange one is a simple touch that makes the whole project look more finished and intentional.
Embrace Imperfection: These are small, bumpy, natural canvases! A slightly wobbly line or an imperfect dot is part of the handmade charm. This is about fun, not fine art.
What’s the Real Effort? A No-Fuss Project Breakdown
| The Approach | Estimated Cost | What Your Money Buys | The Little Extras (Don’t Skip These!) |
| The Quick Doodle | $10 – $25 | • A few mini pumpkins • A set of paint pens (black & white) | • A clear sealant spray • A protected work surface (newspaper) |
| The Crafty Afternoon | $25 – $50 | • A bag of mini pumpkins • A set of acrylic craft paints • A few small brushes | • Painter’s tape for clean lines • Round sponge pouncers • A paint palette or paper plate |
| The Cohesive Collection | $40 – $75 | • Lots of pumpkins! • A coordinated set of paint colors • Metallic and specialty paints | • A tiered tray or bowl for display • Quality paint pens for fine details • Stencils for letters or shapes |
The Design Menu: Finding Your Signature Style
Here are the ingredients for your perfect pumpkin patch. Each one is a simple idea designed for maximum charm with minimal stress.
Classic Patterns & Simple Shapes
1. The Perfect Polka Dots

- Best For: A playful, timeless, and incredibly easy pattern.
- Pro-Tip: For flawless, uniform dots, dip the back of a pencil eraser in paint and press it onto the pumpkin. For varied sizes, use the ends of different-sized paintbrushes.
- Styling Cue: White dots on a black pumpkin (or vice-versa) is a chic, graphic look that works anywhere.
2. The Crisp Stripe

- Best For: A classic, clean, and modern look.
- Pro-Tip: Use thin painter’s tape or washi tape to create perfectly straight lines. You can do vertical stripes following the pumpkin’s natural grooves or horizontal stripes for a more modern feel.
- Styling Cue: Alternate a striped pumpkin with a solid-colored one in your display for a pleasing rhythm.
3. The Modern Color Block

- Best For: A high-impact, minimalist design with zero drawing skills required.
- Pro-Tip: Use painter’s tape to create a sharp diagonal line across the pumpkin. Paint one half a solid color (like cream) and leave the other half natural, or paint it a contrasting color (like black). This is often called “color dipping.”
- Styling Cue: Paint the stem a metallic gold for an extra touch of chic on your color-blocked pumpkin.
4. The Simple Plaid

- Best For: A cozy, farmhouse-inspired pattern that looks more complicated than it is.
- Pro-Tip: Paint the whole pumpkin a base color (like white). Use tape to create a series of vertical stripes in one color (like gray). Let it dry, then create a series of horizontal stripes in another color (like black).
- Styling Cue: A plaid pumpkin looks fantastic mixed in with rustic elements like twine, wood, and burlap.
5. The Dainty Scallops

- Best For: A sweet, charming, and slightly retro pattern.
- Pro-Tip: Use a round sponge pouncer or your fingertip dipped in paint to create a simple row of “scallops” around the top of the pumpkin, just below the stem.
- Styling Cue: This looks especially lovely on a white or pastel-painted pumpkin for a soft, cottage-inspired feel.
Cute Characters & Fun Foods
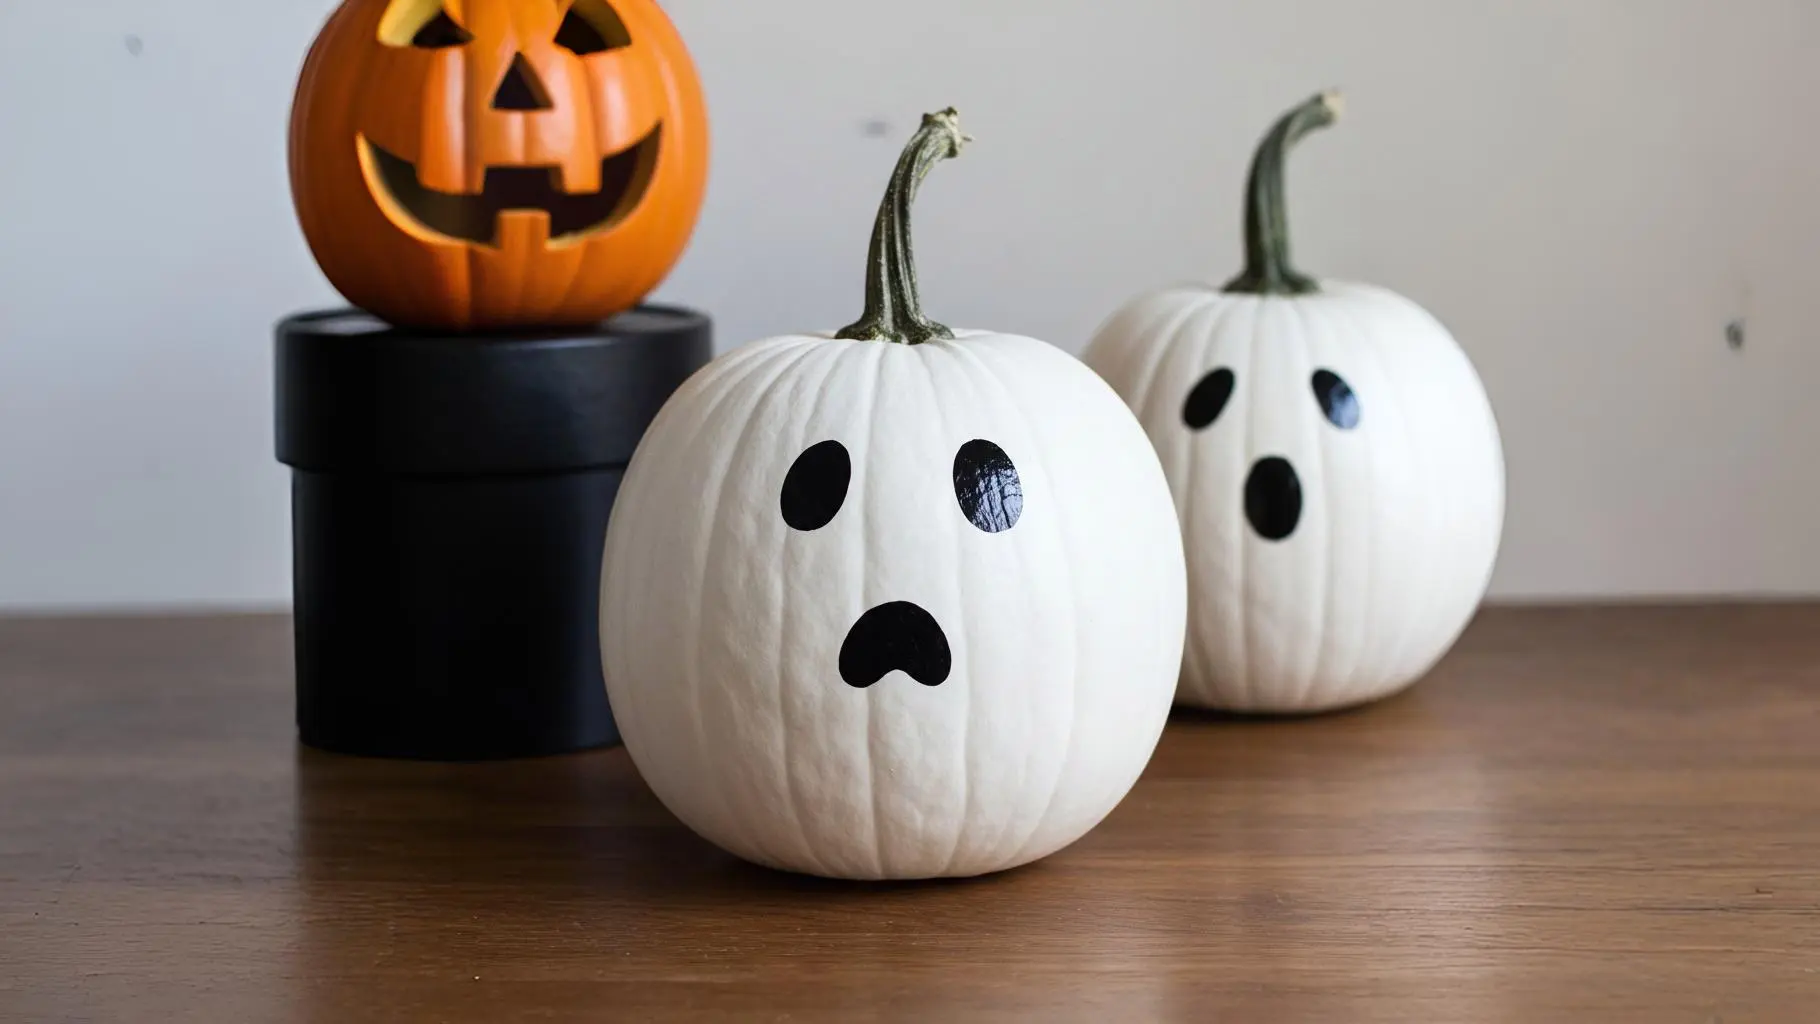
6. The Classic Ghost Face

- Best For: The quintessential cute Halloween look.
- Pro-Tip: Paint your pumpkin white first. Then, use a black paint pen to draw two simple ovals for eyes and a slightly larger, wobbly oval for the mouth. Keep it simple!
- Styling Cue: Make a whole family of these little ghosts, each with a slightly different expression.
7. The Sweet Donut

- Best For: A playful, colorful, and completely unexpected design.
- Pro-Tip: Paint the top third of the pumpkin a “frosting” color like pink or chocolate brown. Use colorful craft paint or puff paint to add the “sprinkles.”
- Styling Cue: Group a few donut pumpkins together on a cake stand for a truly adorable and calorie-free centerpiece.
8. The Black Cat Silhouette

- Best For: A chic and spooky nod to a classic Halloween icon.
- Pro-Tip: Paint the whole pumpkin black. Use a white or gold paint pen to draw two simple triangle ears on top and a few straight lines for whiskers. You don’t need to draw the whole face the suggestion is what makes it charming.
- Styling Cue: Place a few of these next to a “ghost” pumpkin for a perfect Halloween pair.
9. The Candy Corn Trio

- Best For: A classic Halloween color scheme that’s instantly recognizable.
- Pro-Tip: This is easiest on the tall, oblong-shaped mini pumpkins. Paint the bottom third white, the middle third orange, and the top third (and stem) yellow.
- Styling Cue: You must do at least three of these and group them together to get the full, candy-inspired effect.
Artistic Finishes & Chic Looks
10. The Moody Matte Black

- Best For: A sophisticated, minimalist, and incredibly versatile look.
- Pro-Tip: Use a matte black spray paint or chalk paint for a flat, non-reflective finish. This makes the pumpkin’s natural texture stand out.
- Styling Cue: A collection of matte black pumpkins with metallic gold stems looks incredibly high-end and pairs beautifully with modern decor.
11. The Gilded Glam
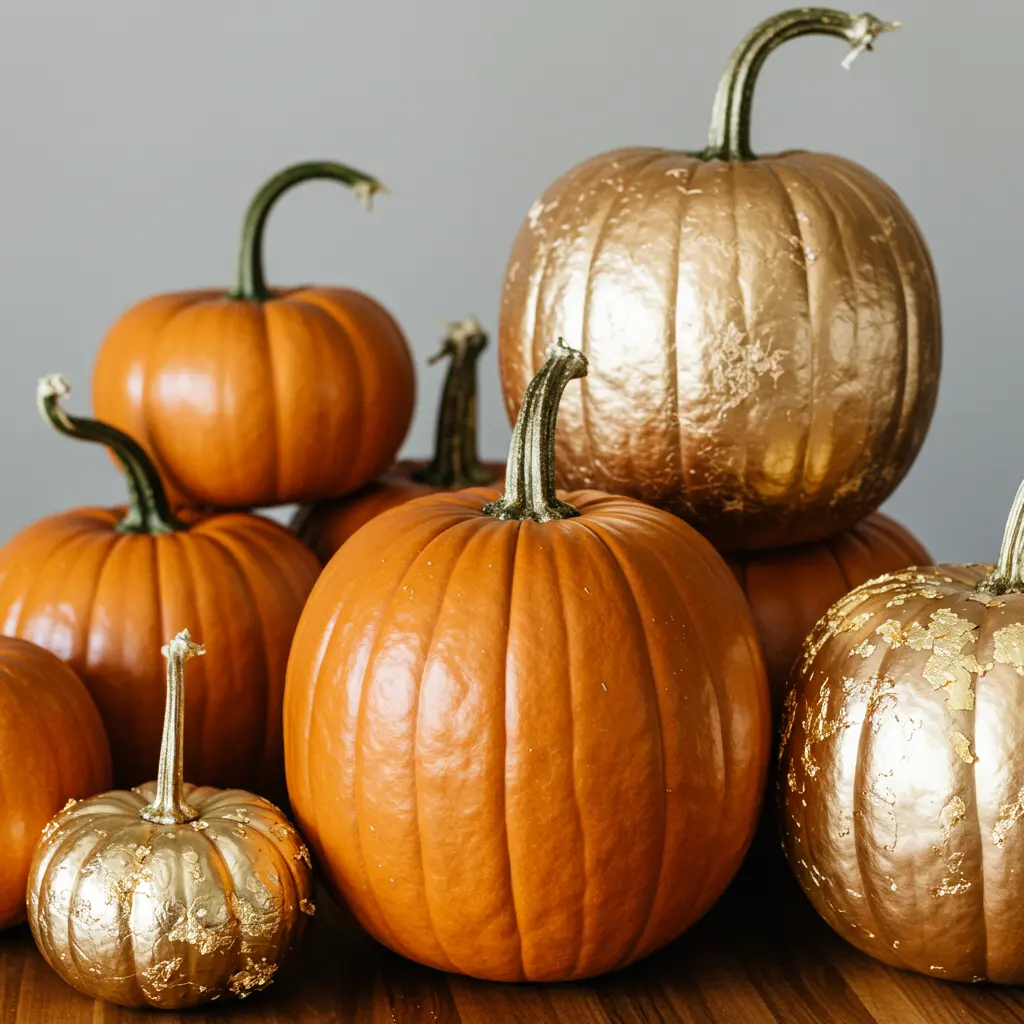
- Best For: A touch of elegance and shine.
- Pro-Tip: Metallic spray paint is the easiest way to achieve this. A full pumpkin sprayed in copper or gold is stunning. For a more subtle touch, use gold leaf adhesive and sheets to create an abstract, flaky metallic pattern.
- Styling Cue: Scatter a few fully gilded pumpkins among natural, unpainted ones for a beautiful contrast of rustic and glam.
12. The Artistic Drip

- Best For: A modern, artsy, and slightly spooky effect.
- Pro-Tip: Place your pumpkin on a protected surface. Pour a generous amount of craft paint onto the very top, right around the stem, and let it drip down the sides naturally.
- Styling Cue: Use black paint on a white pumpkin (or vice-versa) for a high-contrast look. Dripping red paint on a white pumpkin is perfect for a spooky, vampire vibe.
13. The Cosmic Galaxy

- Best For: A magical, mesmerizing, and forgiving design.
- Pro-Tip: Paint your pumpkin black. Use a sponge to dab on patches of dark blue, purple, and pink. Once dry, take a stiff brush with a little white paint on it and flick the bristles with your thumb to create a “starry sky” splatter.
- Styling Cue: This looks incredible under a blacklight or mixed in with metallic silver pumpkins.
14. The Simple Monogram

- Best For: A personalized touch for a place setting or a family display.
- Pro-Tip: Use a stencil to get a perfect, clean letter. A beautiful script font looks elegant, while a bold serif font feels classic and rustic.
- Styling Cue: Use a single monogrammed pumpkin at each place setting for a Thanksgiving dinner. It doubles as a place card and a party favor.
15. The Spiderweb Spin

- Best For: A classic spooky design that works perfectly with the pumpkin’s shape.
- Pro-Tip: Use a white or metallic paint pen on a black or orange pumpkin. Start by drawing 5-7 lines from the stem down to the base, following the pumpkin’s grooves. Then, connect these lines with slightly curved, scalloped lines to create the web.
- Styling Cue: Add a small plastic spider near the stem for a final creepy-crawly touch.
The Practical Stuff: Prep, Paint & Preserve
- Wash & Dry: Before you start, give your pumpkins a good wash with mild soap and water and let them dry completely. This removes dirt and helps the paint adhere.
- Acrylic is Your Friend: Simple acrylic craft paint is the best choice for pumpkins. It’s opaque, comes in a million colors, and dries quickly.
- Paint Pens for Details: For fine lines, writing, or small details, nothing beats a good paint pen.
- Seal the Deal: If you want your painted pumpkins to last longer (especially outdoors), give them a coat of clear spray sealant once the paint is fully dry.
Conclusion: Your Pumpkin Patch’s Next Chapter
And just like that, you’re no longer just looking at a pile of pumpkins you’re looking at a world of creative possibilities. You have the ideas, the inspiration, and the know-how to create a collection of painted pumpkins that is charming, personal, and a true celebration of the season.
This isn’t just about making a craft; it’s about adding a small, joyful touch to your home that will make you smile every time you see it.
It all starts with a single choice. Pick a design that sparked your imagination, and let the painting begin. You’ve got this.
