Do you love the perfect fit of an adjustable bracelet but get tangled up trying to tie that tricky sliding knot? Is your beautiful DIY jewelry missing that final, professional touch? You’re in the right place to change that.
A sliding knot shouldn’t just be a closure; it should be a seamless, functional, and beautiful part of your design, a backdrop for a handmade gift that says, “this was made with care, just for you.”
This is your creative playbook for transforming a simple piece of cord into the perfect adjustable closure for any bracelet, from friendship threads to macrame masterpieces.
We’ll explore a dozen essential knots, decode the secrets of a smooth slide, and walk through the practical steps to master this crucial skill.
By the end, you’ll see a piece of string not as a challenge, but as a canvas for a perfect, professional finish.
Before You Begin: The Knot-Tyer’s Code
The most successful sliding knots start with the right materials, not just nimble fingers. Before you tie a single loop, let’s lay the groundwork for a knot that is both beautiful and built to last.
The Secrets of Style: Simple Rules for a Flawless Knot
“Adjustable knot” can mean many things. These simple secrets are what separate a clumsy, sticking knot from a smooth, elegant closure.
- The Right Cord is Everything: This is the #1 rule. The material you choose will determine how well your knot slides and holds. Waxed cotton or polyester cord is the ultimate beginner-friendly choice; the wax helps the knot grip when tight but allows it to slide smoothly when adjusted.
- Tension is Your Best Friend: The key to a neat, professional-looking knot is consistent tension. As you form your loops and pull the knot tight, do so with a firm, steady, and even pressure.
- Leave a “Tail”: After you tie your knot, don’t trim the leftover cord right up against the knot. Leave a small tail of about 1/4 inch (5mm). This prevents the knot from accidentally working itself loose.
- Practice Makes Perfect: Don’t practice on your finished bracelet! Grab a scrap piece of cord and practice tying your chosen knot 5-10 times to build muscle memory.
What’s the Real Cost? A No-Fuss Budget Breakdown
| The Approach | Estimated Cost | What Your Money Buys | The Little Extras (Don’t Skip These!) |
| The Friendship Bracelet Fix | $0 – $10 | • Using embroidery floss you already own • A single spool of basic craft cord | • A pair of sharp scissors • A ruler or measuring tape • A dab of clear nail polish (to seal ends) |
| The Hobbyist’s Setup | $15 – $40 | • Several colors of high-quality waxed cord • A macrame board or clipboard • A set of beads for finishing the ends | • A good pair of thread snips • A lighter (for melting synthetic cord ends) • A bead reamer (to widen bead holes) |
| The Pro Jeweler’s Kit | $50 – $100+ | • Full spools of premium leather or nylon cord • A set of jewelry-making pliers • High-quality metal beads or crimp ends | • A knotting tool • Jeweler’s cement or Hypo Cement • A complete set of macrame tools |
The Design Menu: Finding Your Signature Sliding Knot
Here are the ingredients for your perfect adjustable bracelet. Each one comes with a breakdown to help you choose with confidence.
1. The Basic Sliding Knot (Perfect for Beginners)
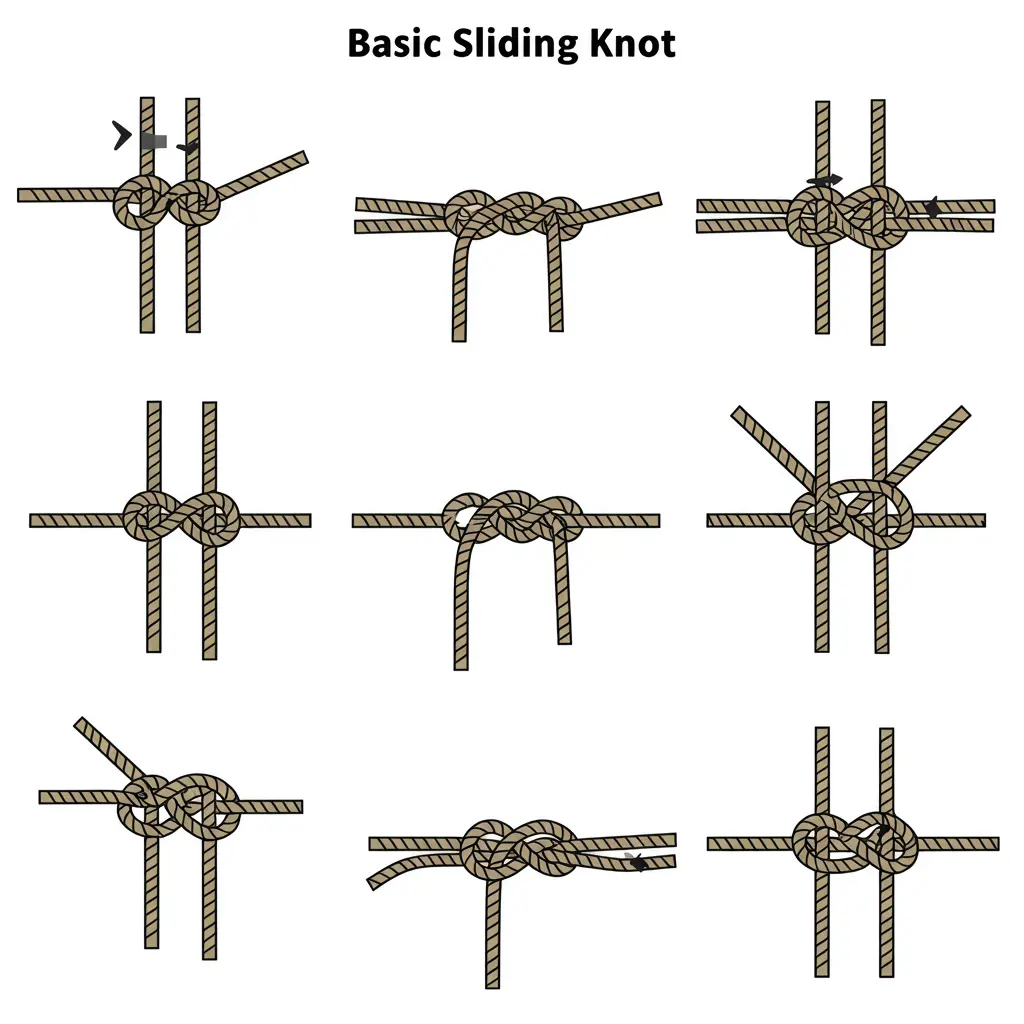
- Best For: The foundation of all adjustable bracelets. A must-know for friendship bracelets and simple cord jewelry.
- How to Tie It: Overlap the two ends of your bracelet. Take the right cord and wrap it backward around the left cord 2-3 times. Pass the end of the right cord back through all the loops you just created. Pull tight to create a neat barrel knot. Repeat this process on the other side, using the left cord to tie a knot around the right cord.
- Pro-Tip: When first learning, try tying this knot around a drinking straw that’s lying over the bracelet cords. Once the knot is formed, you can slide the straw out, which helps create a perfect channel.
- Styling Cue: Add a decorative bead to each of the two loose ends of the cord to give it a polished, finished look.
2. Double Sliding Knot (Extra Secure!)

- Best For: Bracelets with heavier beads or pendants that need a more substantial, secure knot that won’t loosen.
- How to Tie It: This is an upgraded version of the Basic Sliding Knot. Follow the same steps, but instead of 2-3 wraps, make 4-5 wraps. This creates a longer, more secure “barrel” that provides extra grip and durability.
- Pro-Tip: This knot consists of two separate, secure knots. Ensure both are tied with the same number of wraps and with similar tension for a symmetrical, balanced look.
- Styling Cue: The two symmetrical knots create a balanced look that is perfect for chunkier, more masculine bracelet styles.
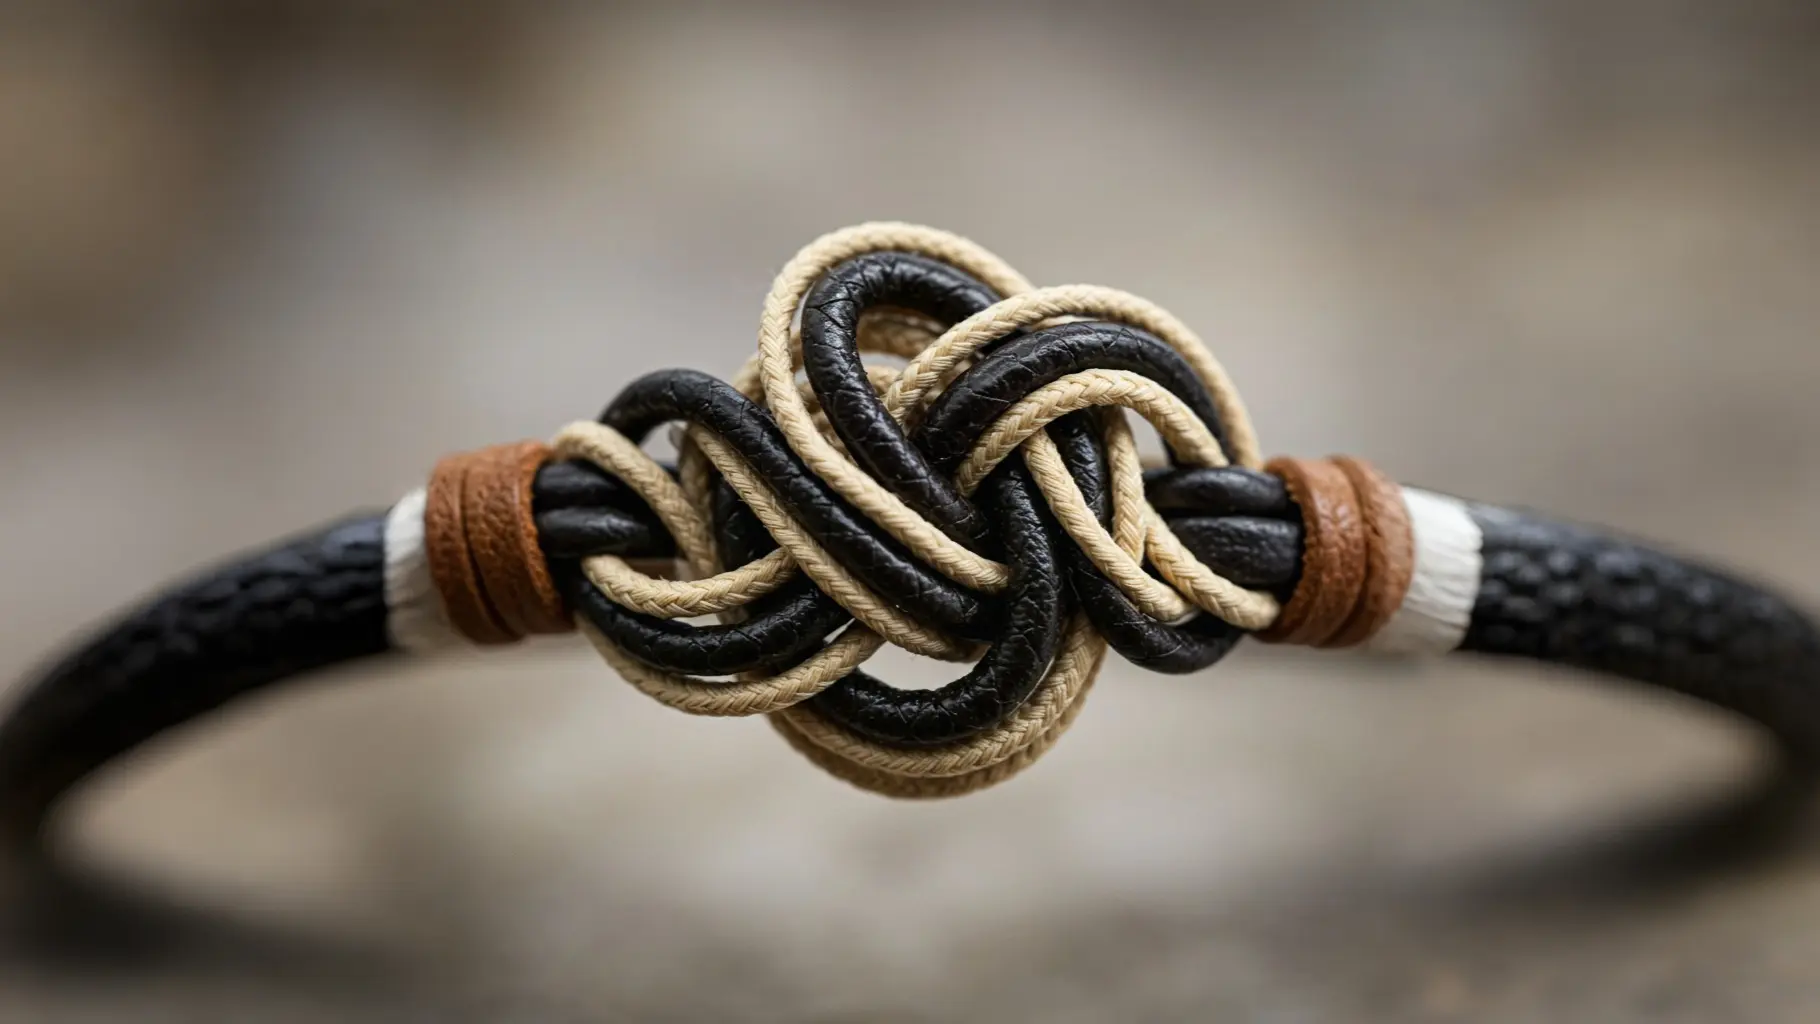
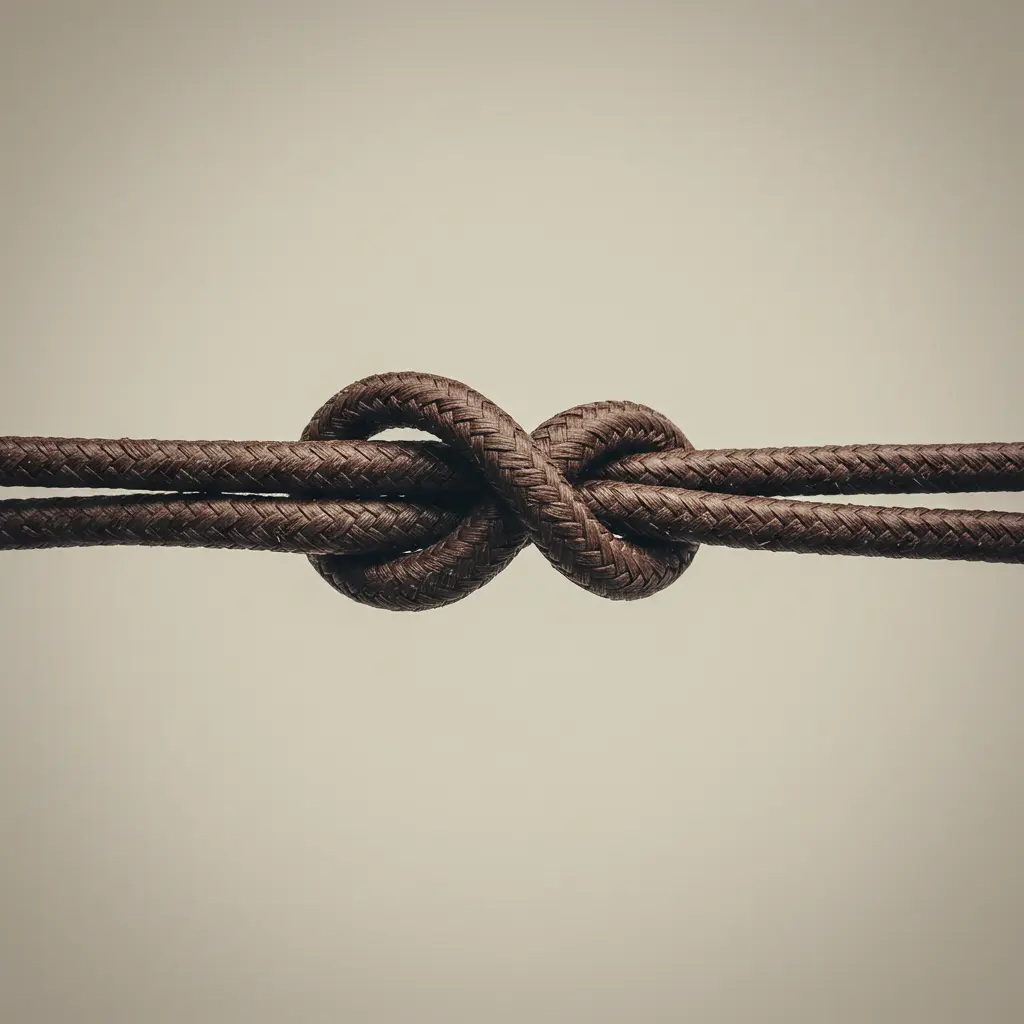
3. Infinity Knot (Stylish & Symbolic)
- Best For: Friendship bracelets, anniversary gifts, or any piece where you want to add a layer of meaning.
- How to Tie It: Take a single cord and form a loop. Cross the working end under the standing end to create a classic figure-eight shape. Weave the working end through the loops following a simple over-under pattern to complete the knot. Gently pull on all four strands to tighten into the iconic infinity shape.
- Pro-Tip: Use your thumbnail to hold the center crossing point of the “figure eight” in place as you gently pull on the loops to tighten.
- Styling Cue: The knot itself is the centerpiece. Keep the rest of the bracelet simple to let the beautiful and symbolic shape shine.
4. Square Knot (Classic & Strong)
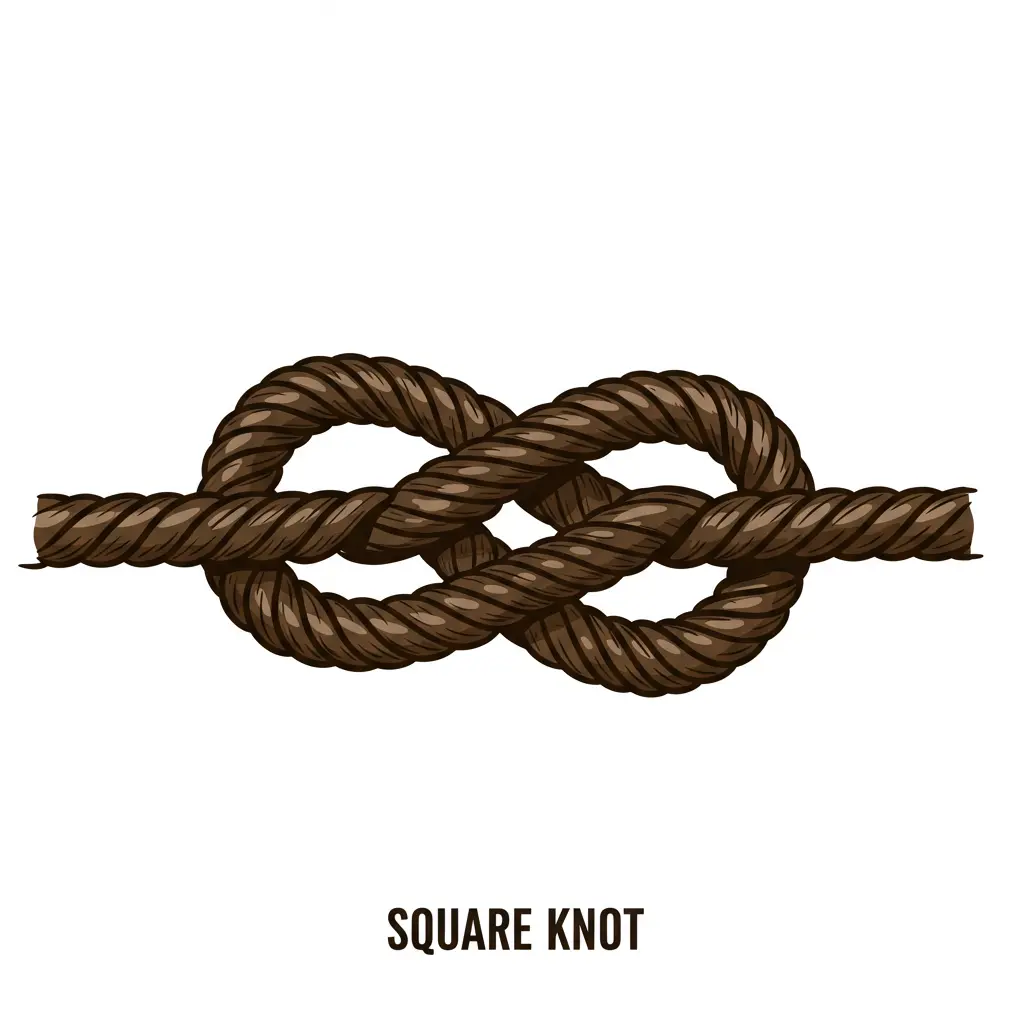
- Best For: The quintessential closure for macrame and bohemian-style bracelets. It creates a flat, decorative clasp.
- How to Tie It: Lay the two bracelet ends parallel. Take a separate, shorter piece of cord and place its center under the two bracelet cords. Take the right side of your short cord, cross it over the middle cords, and under the left cord. Then take the left cord, go under the middle cords, and up through the loop on the right. Pull tight. Repeat, starting from the left, to complete one full square knot. Create a series of 5-7 knots.
- Pro-Tip: The mantra for tying a square knot is “right over left, left over right.” This ensures it lies flat and doesn’t twist into a spiral.
- Styling Cue: A series of square knots creates a beautiful, wide “clasp” that is a decorative element in its own right.
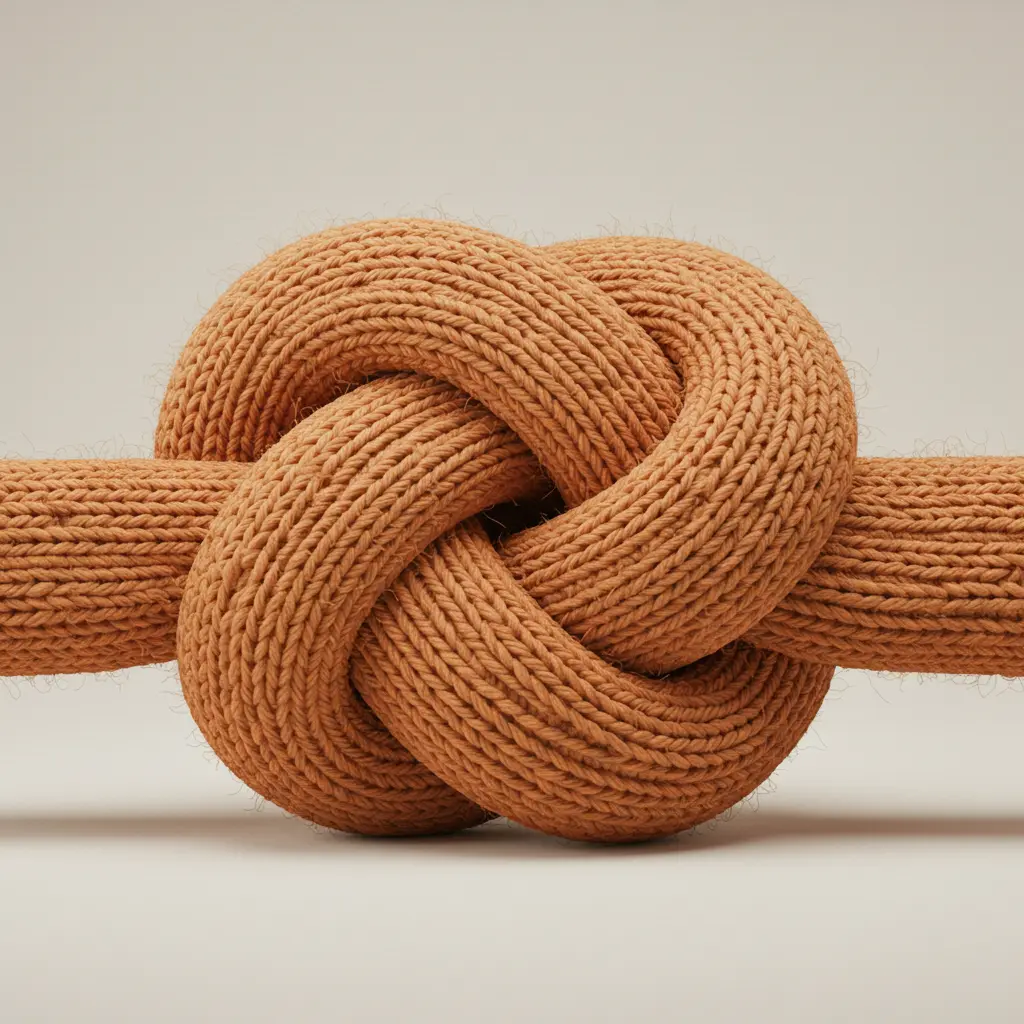
5. Barrel Knot (Minimalist & Secure)
- Best For: A sleek, compact knot that blends seamlessly into the bracelet. Perfect for leather or hemp cord.
- How to Tie It: Overlap the bracelet ends. Lay a finger (or a straw) alongside the cords. Take one working end and wrap it backwards around both the cords and your finger 3-4 times. Thread the end through the loops you created and carefully remove your finger. Pull tight to form a neat barrel. Repeat for the other side.
- Pro-Tip: The number of wraps determines the length of the “barrel.” For a small, subtle knot, use 3-4 wraps. For a longer, more decorative knot, use 5-7 wraps.
- Styling Cue: This knot looks particularly good with natural materials. It’s the ideal closure for a minimalist leather cord bracelet or a rustic hemp piece.
6. Fisherman’s Knot (Strong & Durable)
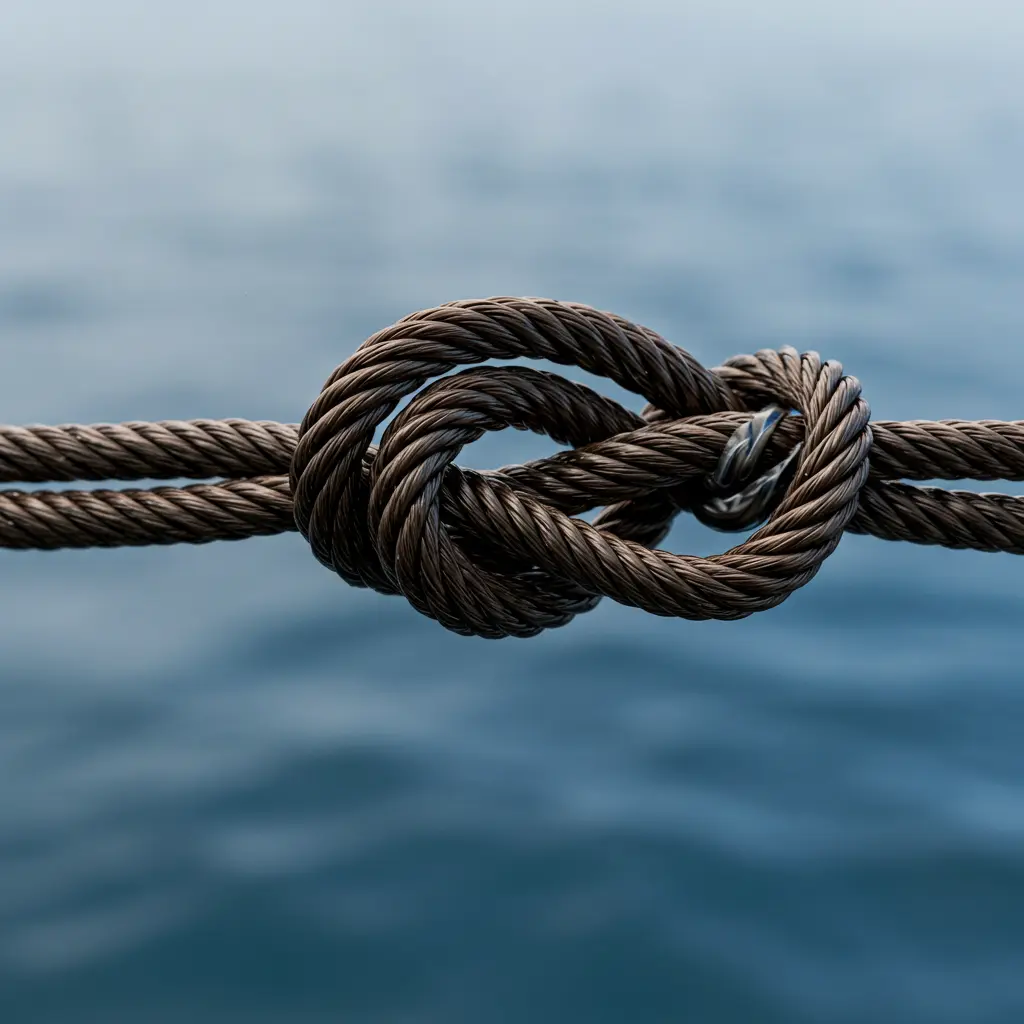
- Best For: Outdoor, survival, and paracord bracelets. It’s one of the strongest and most reliable joining knots.
- How to Tie It: Overlap the two bracelet ends. Take the right cord and tie a simple overhand knot around the left cord. Then, take the left cord and tie a simple overhand knot around the right cord. Pull the main bracelet cords apart to slide the two knots together, where they will lock securely.
- Pro-Tip: This knot is also known as a Double Fisherman’s Bend. It’s designed for joining two ropes, which makes it incredibly secure for a bracelet.
- Styling Cue: This is a purely functional knot. It’s less about decoration and more about unshakeable durability, making it perfect for rugged, utilitarian designs.
7. Snake Knot (Intricate & Unique)
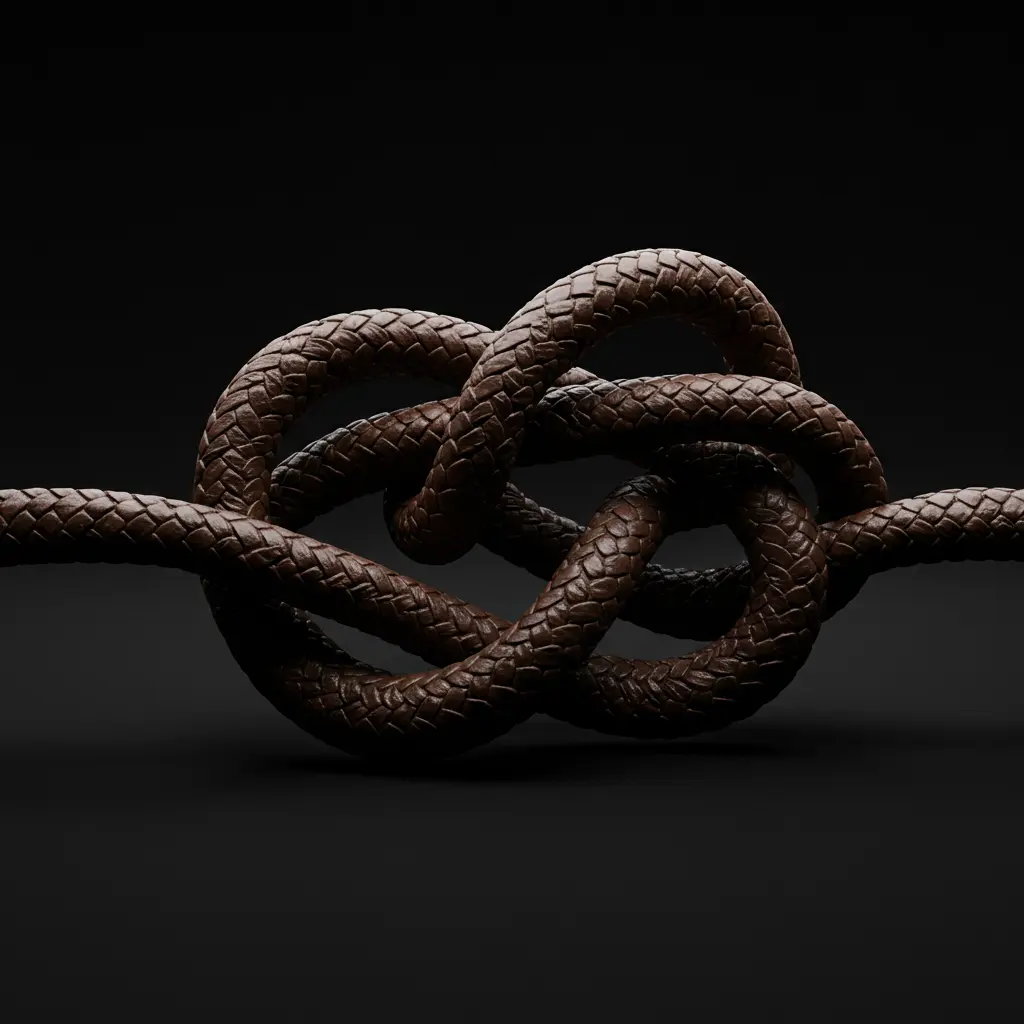
- Best For: Adding a decorative, textural element to your closure that looks complex and impressive.
- How to Tie It: Create a downward-pointing loop with your right cord. Pass the left cord under this loop, then over the top cord, and back under itself. Thread the end of the right cord down and through the new loop you just created on the left. Pull both ends to tighten into the first knot. Repeat to create a chain.
- Pro-Tip: This knot looks like a series of interlocking loops. The key is to keep your loops open and loose as you weave the cord through, only tightening it at the very end.
- Styling Cue: Tying a series of snake knots creates a beautiful, spine-like pattern that can be used as the entire focal point of a bracelet, not just the clasp.
8. Lark’s Head Sliding Knot (Elegant & Versatile)

- Best For: A clean, modern macrame closure that is both strong and visually simple.
- How to Tie It: Lay the bracelet ends parallel. Take a separate cord and fold it in half, placing the loop under the core cords. Bring the two ends over the core cords and through the loop to form the first Lark’s Head. To continue, alternate the direction of your loop (sometimes under, sometimes over) to create a flat, decorative sliding clasp.
- Pro-Tip: This is not a standalone knot, but a way of using a series of Lark’s Head knots (also called Cow Hitch knots) to form the sliding clasp.
- Styling Cue: This creates a very neat, almost braided-looking sliding section. It’s perfect for minimalist charm bracelets where you want the clasp to be understated.
9. Celtic Knot (Intricate & Symbolic)
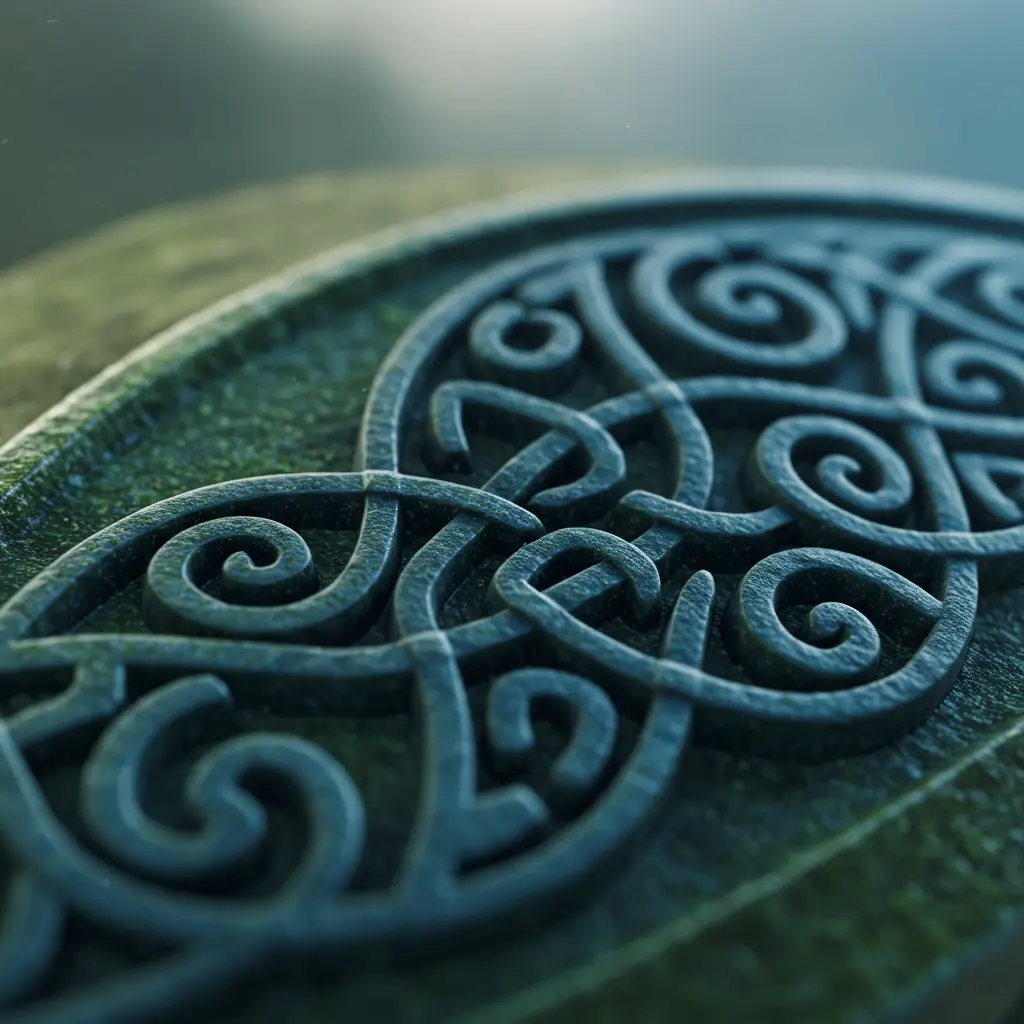
- Best For: A beautiful, decorative knot for jewelry with an Irish or symbolic theme. It signifies unity and eternity.
- How to Tie It: Create two interlocking loops with a single cord, like a pretzel shape. Weave the working end of the cord through the loops following a specific over-under pattern to create the classic, continuous Celtic heart or shield knot. Gently tighten to form the shape.
- Pro-Tip: Because this knot is a closed loop, it works best as the centerpiece of a bracelet, with simpler sliding knots (like the Basic or Overhand) at the ends for the closure.
- Styling Cue: Use a single, striking color of cord to highlight the beautiful, interwoven path of the Celtic knot.
10. Adjustable Shamballa Knot (Spiritual & Trendy)
- Best For: The classic closure for beaded Shamballa or yoga-inspired meditation bracelets.
- How to Tie It: This is a macrame square knot slider. Place the two bracelet ends parallel. Using a separate piece of cord, tie a series of 6 to 8 macrame square knots around the two core cords. Trim the ends of your knotting cord and secure them with a dab of glue or by melting them with a lighter (for synthetic cords).
- Pro-Tip: A purpose-made macrame board or a simple clipboard can hold your core cords taut, making it much easier to tie the square knots cleanly.
- Styling Cue: Use the same cord for the clasp as you did for the knots between your beads to create a perfectly cohesive and professional look.
11. Cross Knot (Simple & Secure)

- Best For: A subtle and easy-to-tie knot that creates a small, “x” shaped crossing point, often used decoratively.
- How to Tie It: With two cords, cross the right cord over the left. Loop the right cord around the back of the left cord. Pass the left cord over the front of the right cord and through the loop created by the right cord. Tighten to form a neat cross shape.
- Pro-Tip: This is another knot that works well as a decorative element within a bracelet, rather than as the primary sliding clasp.
- Styling Cue: A series of Cross Knots can create a beautiful, minimalist pattern for a simple friendship bracelet.
12. Overhand Sliding Knot (The Quick Fix!)
- Best For: The absolute simplest and fastest method. Perfect for kids’ crafts or a quick temporary bracelet.
- How to Tie It: Overlap the two bracelet ends. Take one end and tie a simple overhand knot around the other cord. Pull it snug but not so tight that the other cord can’t slide. Repeat this process with the second cord, tying a knot around the first cord.
- Pro-Tip: This is essentially half of a Fisherman’s Knot, repeated on both sides. It’s surprisingly secure for how simple it is.
- Styling Cue: This knot is very small and simple. It’s the most “invisible” of the sliding knots, putting all the focus on the beads or design of the bracelet itself.
Conclusion: Your Perfect Fit Awaits
And just like that, you’re no longer just looking at a tangled mess of string; you’re looking at a world of professional, creative possibilities. You have the ideas, the inspiration, and the know-how to finish your handmade jewelry with a closure that is beautiful, functional, and a true reflection of your skill. This isn’t just about tying knots; it’s about elevating your craft and creating pieces that can be worn and cherished by anyone.
It all starts with a single choice. Pick a knot that made your heart skip a beat, grab a piece of cord, and take the first small step.
You’ve got this.
