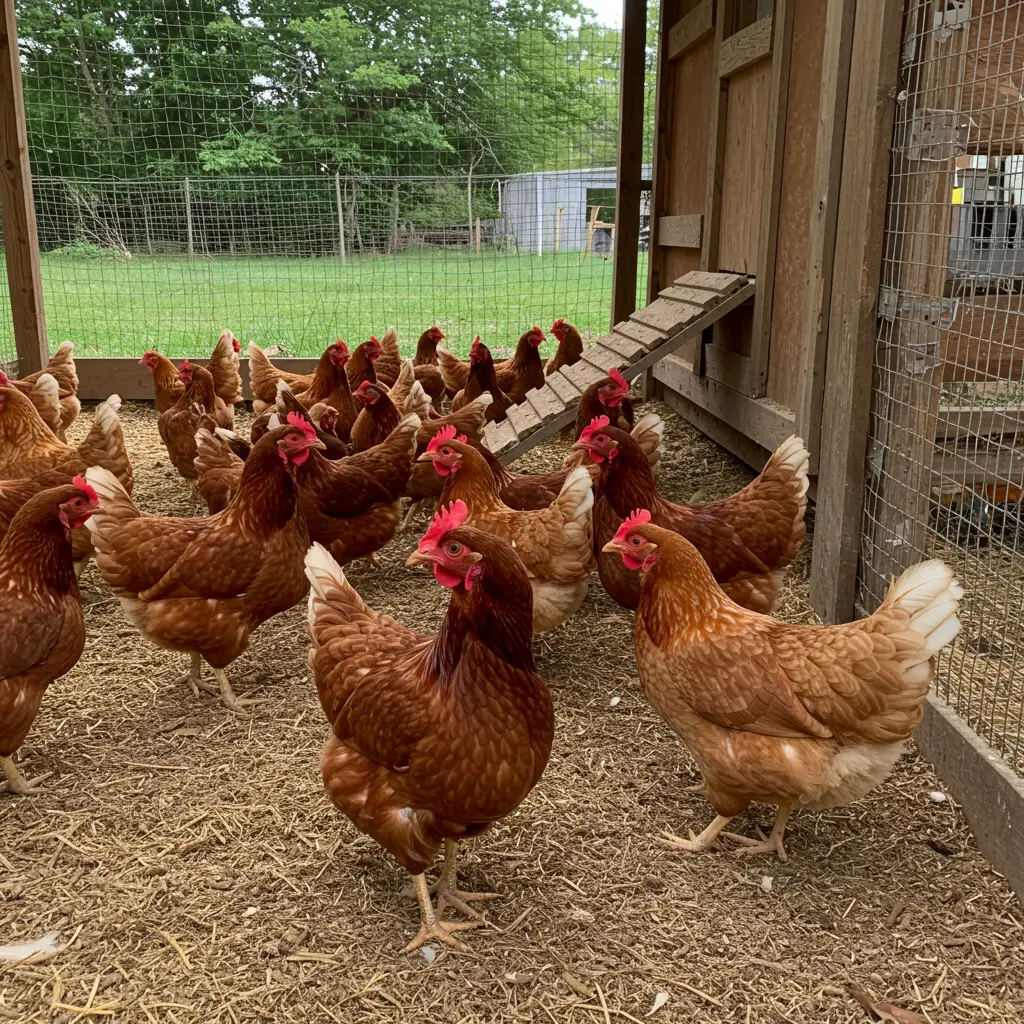
Is your backyard dream of fresh, golden-yolked eggs just waiting to hatch? That idyllic vision starts not just with the chickens, but with the home you build for them.
A chicken coop shouldn’t just be a box with a door; it should be your flock’s sanctuary, a fortress against predators, and the heart of your backyard farm. Getting it right from the start is the secret to happy, healthy birds and a chicken-keeping experience that’s a joy, not a chore.
This is your creative playbook for transforming lumber and wire into a feature that’s not only functional and safe but feels like a true haven for your flock.
We’ll explore smart designs, decode the secrets of chicken comfort, and walk through the practical steps to bring it all to life.
By the end, you’ll see your coop not as a project to be finished, but as a perfect home waiting for its residents.
Before You Begin: Dreaming Up Your Perfect Coop
The best coops start with a little bit of planning, not just a pile of wood. Before you pick up a single tool, let’s lay the groundwork for a design that you and your chickens will love for years to come.
The Secrets of Coop Design: Simple Rules for a Happy Flock
Coop design sounds technical, but it’s just about what makes a flock feel right. Here are a few simple secrets:
- Safety is a Non-Negotiable: A chicken is a delicious meal to a dozen different predators. Your number one job is to build a fortress. Every design choice, from the wire you use to the latch on the door, must be made with predator-proofing as the top priority.
- Think Like a Chicken: Chickens have instincts. They want to roost up high at night, lay their eggs in a dark, private place, and scratch in the dirt. A great coop doesn’t fight these instincts; it provides a safe and easy way for them to do what comes naturally.
- Design for the Human, Too: You are the one who will be collecting eggs, refilling food and water, and cleaning the coop in every season. A design that is a pain to clean or access will quickly sour your experience. A little extra thought now will save you countless hours of back-breaking work later.
The Design Menu: Your Coop-Building Blueprint
Here are the ingredients for your perfect chicken coop. Each one comes with a breakdown to help you build with confidence.
1. Choose the Right Location – Because Real Estate Matters!
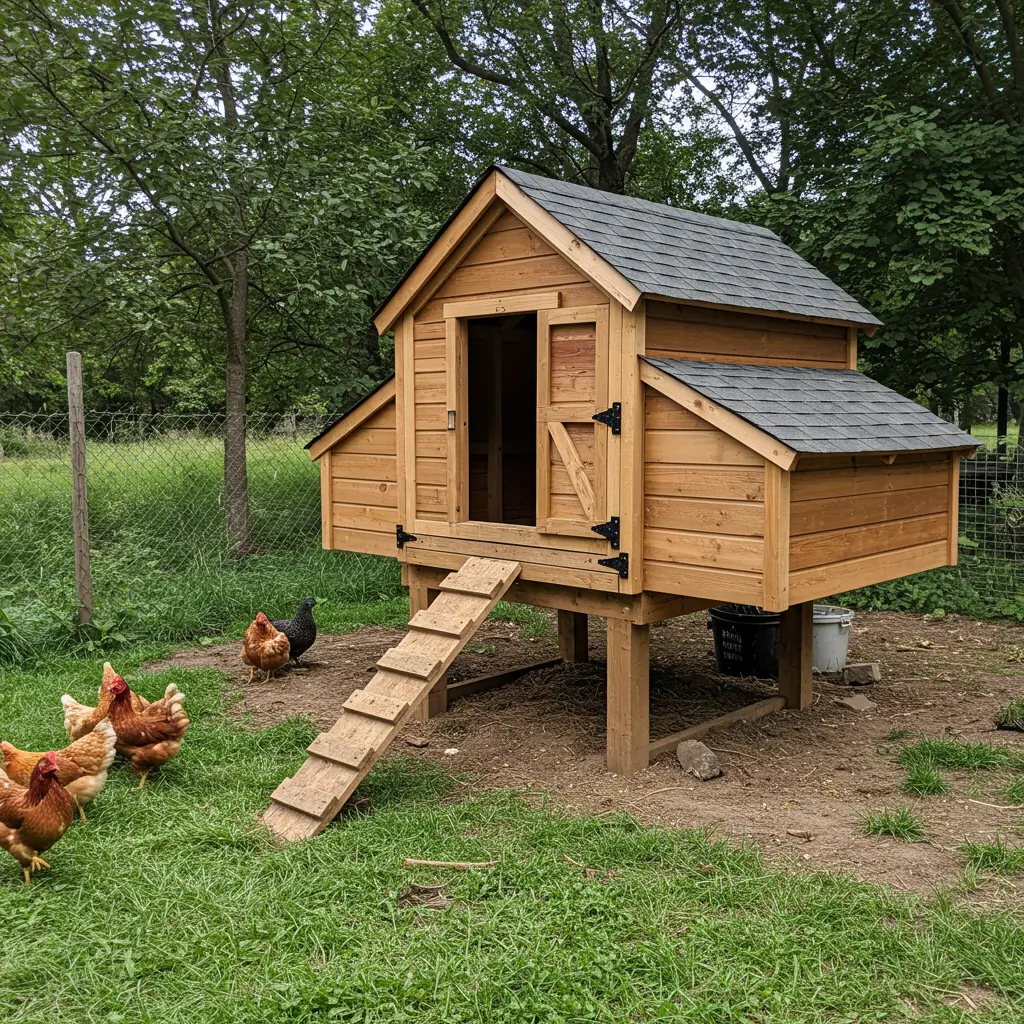
Best For: Ensuring the long-term health of your flock and making your daily chores as easy as possible.
- Key Consideration: Find a spot with a balance of sun and shade. Morning sun is great for warming the coop and encouraging the flock to come out, while afternoon shade is crucial for preventing overheating on hot summer days.
- The Golden Rule: High and dry is the goal. Never build in a low-lying area that turns into a puddle after it rains. Good drainage is essential to prevent mud, muck, and disease.
- Pro-Tip: Position the coop’s main window or pop door to face south or east. This maximizes warming morning light and protects the flock from cold north and west winds in the winter.
2. Ensure Proper Ventilation – Fresh Air Equals Happy Hens
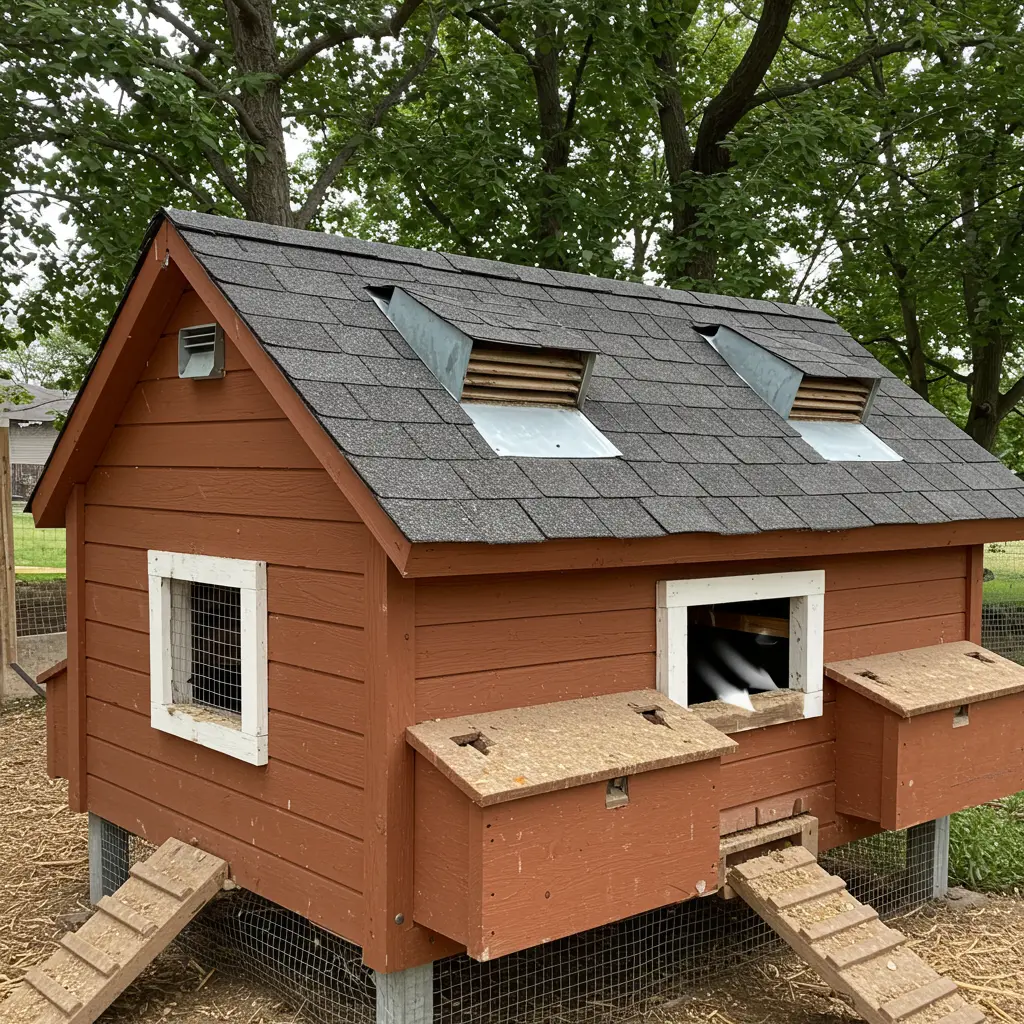
Best For: Preventing respiratory illness and frostbite, and keeping the coop smelling fresh.
- Key Consideration: The goal is ventilation, not a draft. Vents should be located high up in the coop, well above the roosting bars. This allows the warm, moist, ammonia-laden air to rise and escape without blowing cold air directly onto your sleeping birds.
- The Golden Rule: More is more. You can always partially cover vents in the dead of winter, but you can’t easily add more in the middle of a humid summer. Plan for ample high-up ventilation from day one.
- Pro-Tip: Cover all vent openings securely with ½-inch hardware cloth (not chicken wire!) to ensure predators can’t use them as an entry point.
3. Pick Predator-Proof Materials – Don’t Let Your Chickens Become a Midnight Snack
Best For: Absolutely everyone. This is the most critical element of any coop design.
- Key Consideration: Chicken wire is for keeping chickens in, not for keeping predators out. Raccoons can tear it with their paws. Use ½-inch hardware cloth on ALL openings, including windows, vents, and the run.
- The Golden Rule: Every single door and access point needs a two-step, predator-proof latch. A simple hook or slide bolt is an easy puzzle for a raccoon. A latch with a carabiner clipped through it is a much safer bet.
- Pro-Tip: To stop digging predators like foxes and weasels, you must create a “predator apron.” Bury the hardware cloth 12 inches deep around the entire perimeter of the run, or extend it 12 inches outwards flat along the ground and stake it down.
4. Give Them Space – Avoid Coop Crowding
Best For: Maintaining a peaceful, healthy flock with less stress and bullying.
- Key Consideration: Overcrowding is a leading cause of feather-pecking, disease, and stress. Don’t skimp on space.
- The Golden Rule:
- Inside the Coop: A minimum of 3-4 square feet per standard-sized chicken.
- In the Outdoor Run: A minimum of 8-10 square feet per chicken. More is always better.
- Pro-Tip: Build your coop for at least 50% more chickens than you plan to start with. “Chicken math” is a real phenomenon; your flock is almost guaranteed to grow!
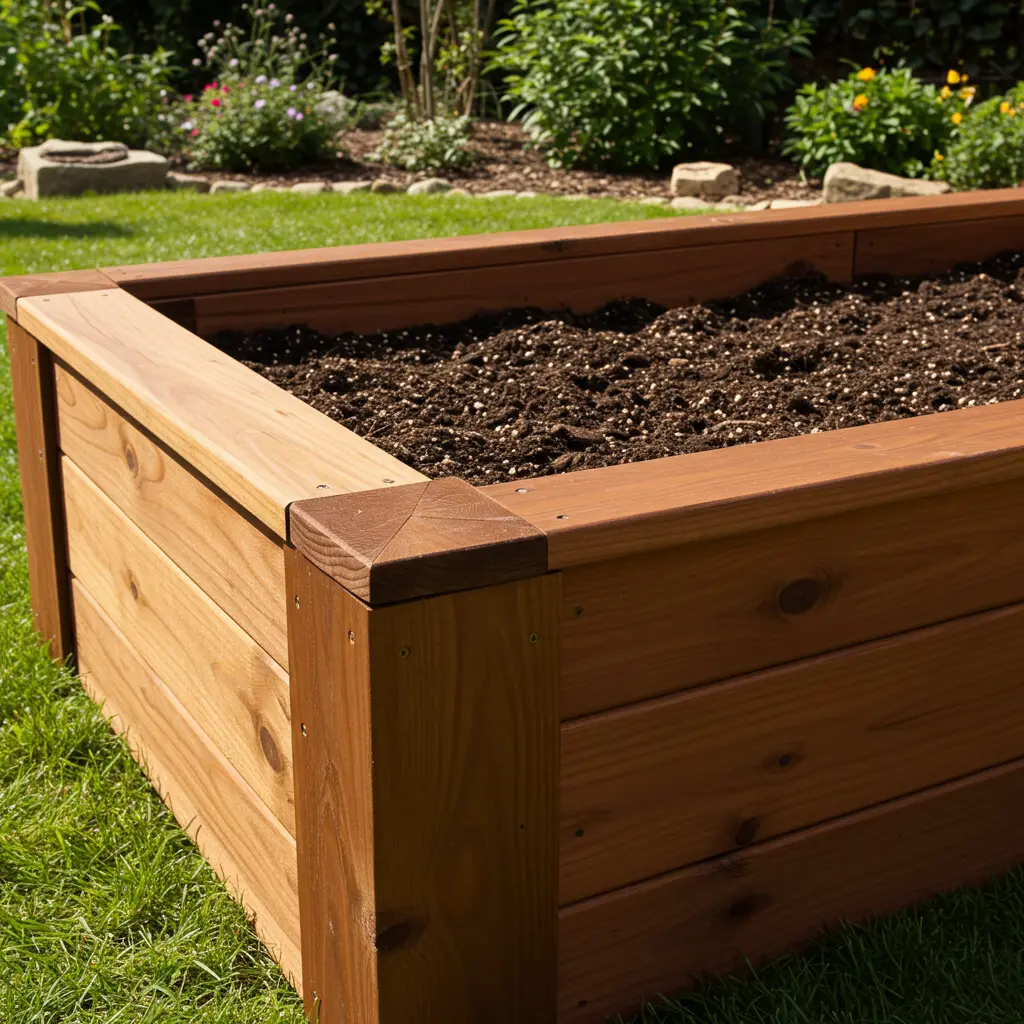
5. Use the Deep Litter Method – Low Maintenance, High Benefits

Best For: Chicken keepers who want a healthier, less smelly coop with far less frequent full clean-outs.
- Key Consideration: This is an active composting system, not just ignoring the mess. It requires a thick base of carbon-rich material (like pine shavings or chopped straw) to work.
- The Golden Rule: Start with a 4- to 6-inch deep layer of bedding. As it gets soiled, simply turn it over with a pitchfork and add a fresh, thin layer on top. This keeps the coop dry and surprisingly odor-free.
- Pro-Tip: A coop built for the deep litter method needs a high “dam” at the doorway to keep all that bedding from spilling out every time you open the door.
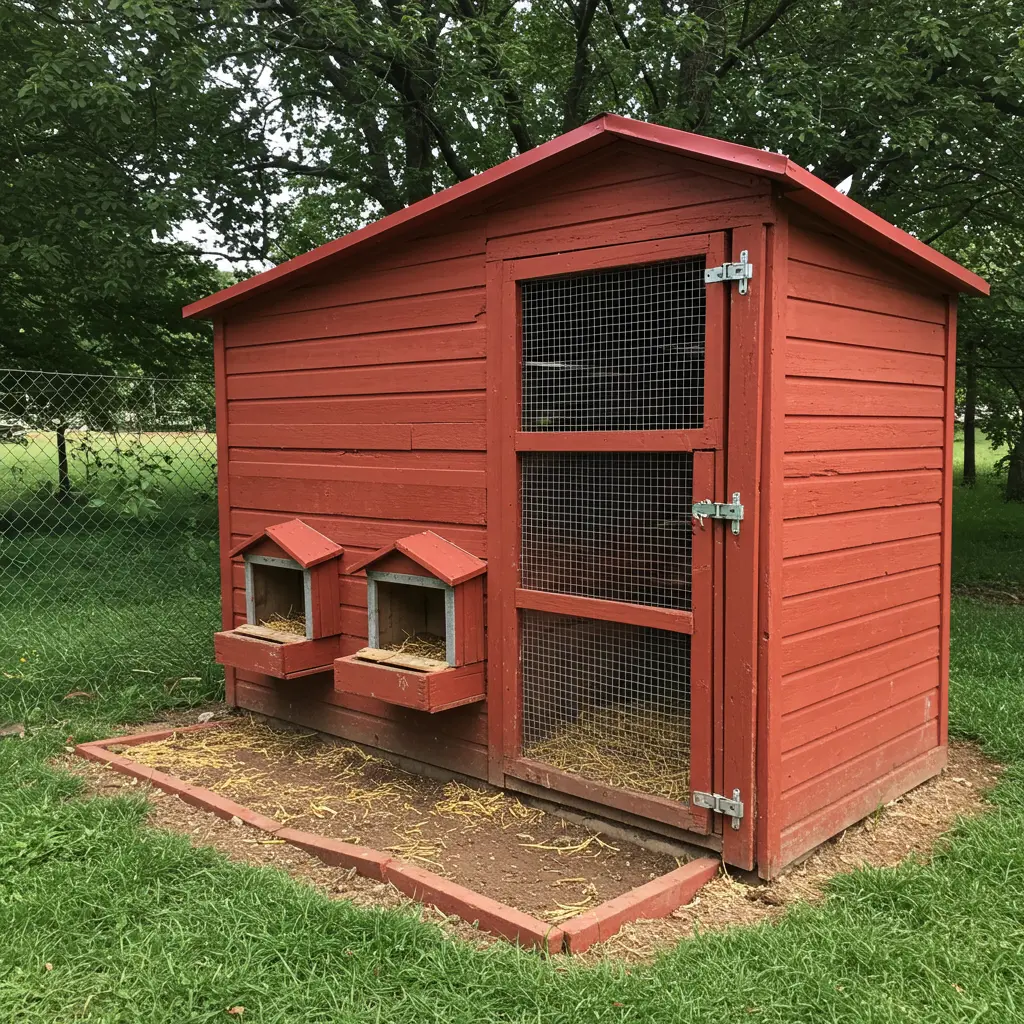
6. Build Nesting Boxes That Encourage Egg-Laying
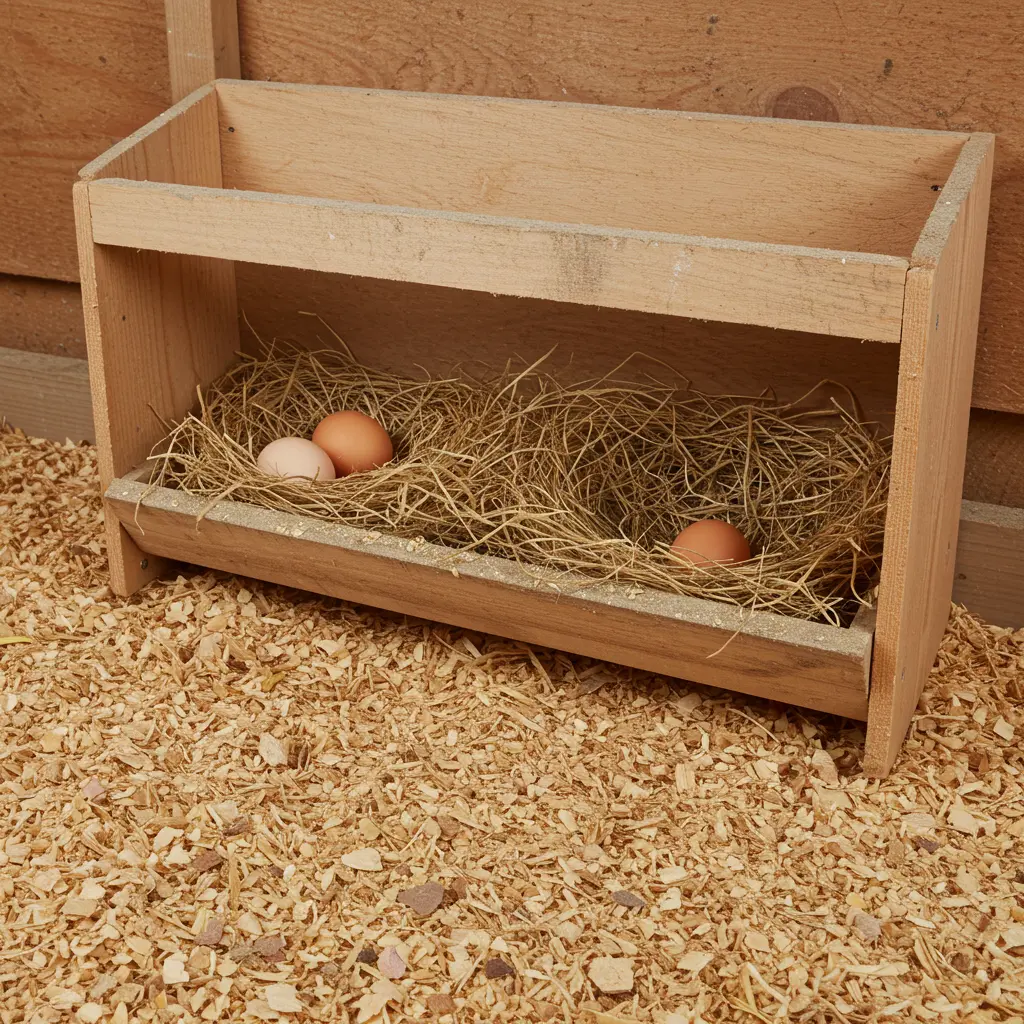
Best For: Getting clean eggs in one easy-to-find location.
- Key Consideration: Hens instinctively seek out a dark, quiet, and private place to lay. Your nesting boxes should mimic this.
- The Golden Rule: Provide one 12″x12″ nesting box for every 3-4 hens. They will all fight over the same one, but having options prevents a traffic jam.
- Pro-Tip: The most important rule: Place nesting boxes lower than your roosting bars. If the nesting box is the highest point in the coop, they will sleep in it, leading to poop-covered eggs.
- Don’t forget: Designing the nesting boxes with an external access lid is a game-changer. You can collect eggs without ever stepping foot inside the coop.
7. Provide Roosting Bars – Give Them a Safe Spot to Sleep
Best For: Tapping into a chicken’s instinct to sleep off the ground, keeping them safe and clean.
- Key Consideration: The shape of the roost matters. The ideal roost is a 2×4 piece of lumber installed with the wide, 4-inch side facing up. This allows them to sleep flat-footed and cover their toes with their warm body in winter, preventing frostbite.
- The Golden Rule: Plan for 8-10 inches of roosting space per chicken. To prevent squabbles, make sure all roosting bars are at the same height. No one wants to be on the bottom rung.
- Pro-Tip: Don’t place roosting bars directly above food, water, or nesting boxes unless you enjoy cleaning poop out of them daily.
8. Make It Easy to Clean – Because Nobody Likes a Stinky Coop
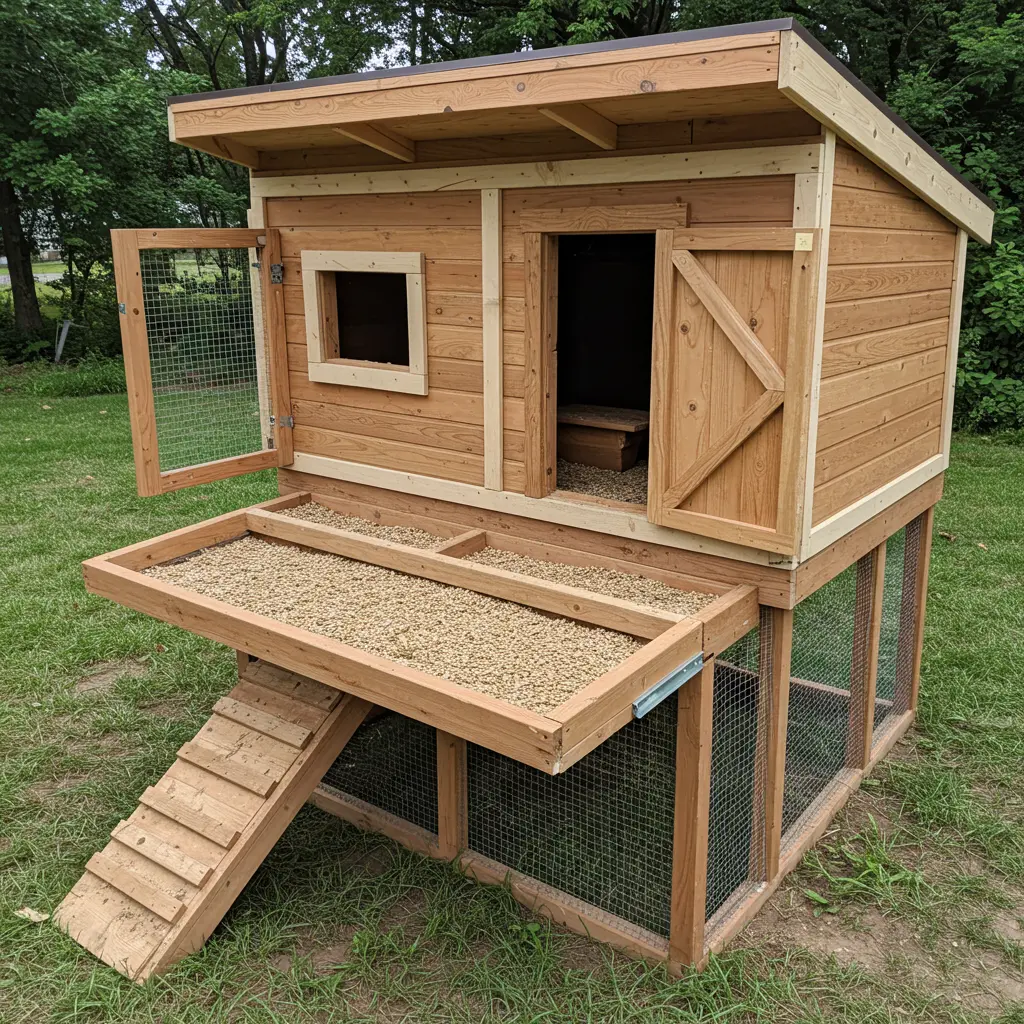
Best For: Your sanity and long-term enjoyment of the hobby.
- Key Consideration: You need to be able to get inside easily. A human-sized door is not a luxury; it’s a necessity for proper cleaning. Trying to muck out a coop through a tiny pop door is a miserable experience.
- The Golden Rule: The floor should be a smooth, scorable surface. Covering the plywood floor with a cheap remnant of vinyl or linoleum makes the annual clean-out infinitely faster and easier.
- Pro-Tip: Consider a “poop board” or “poop hammock” a removable board or piece of vinyl placed directly under the roosts. It catches the majority of the nightly droppings, and you can scrape it clean in 30 seconds each morning.
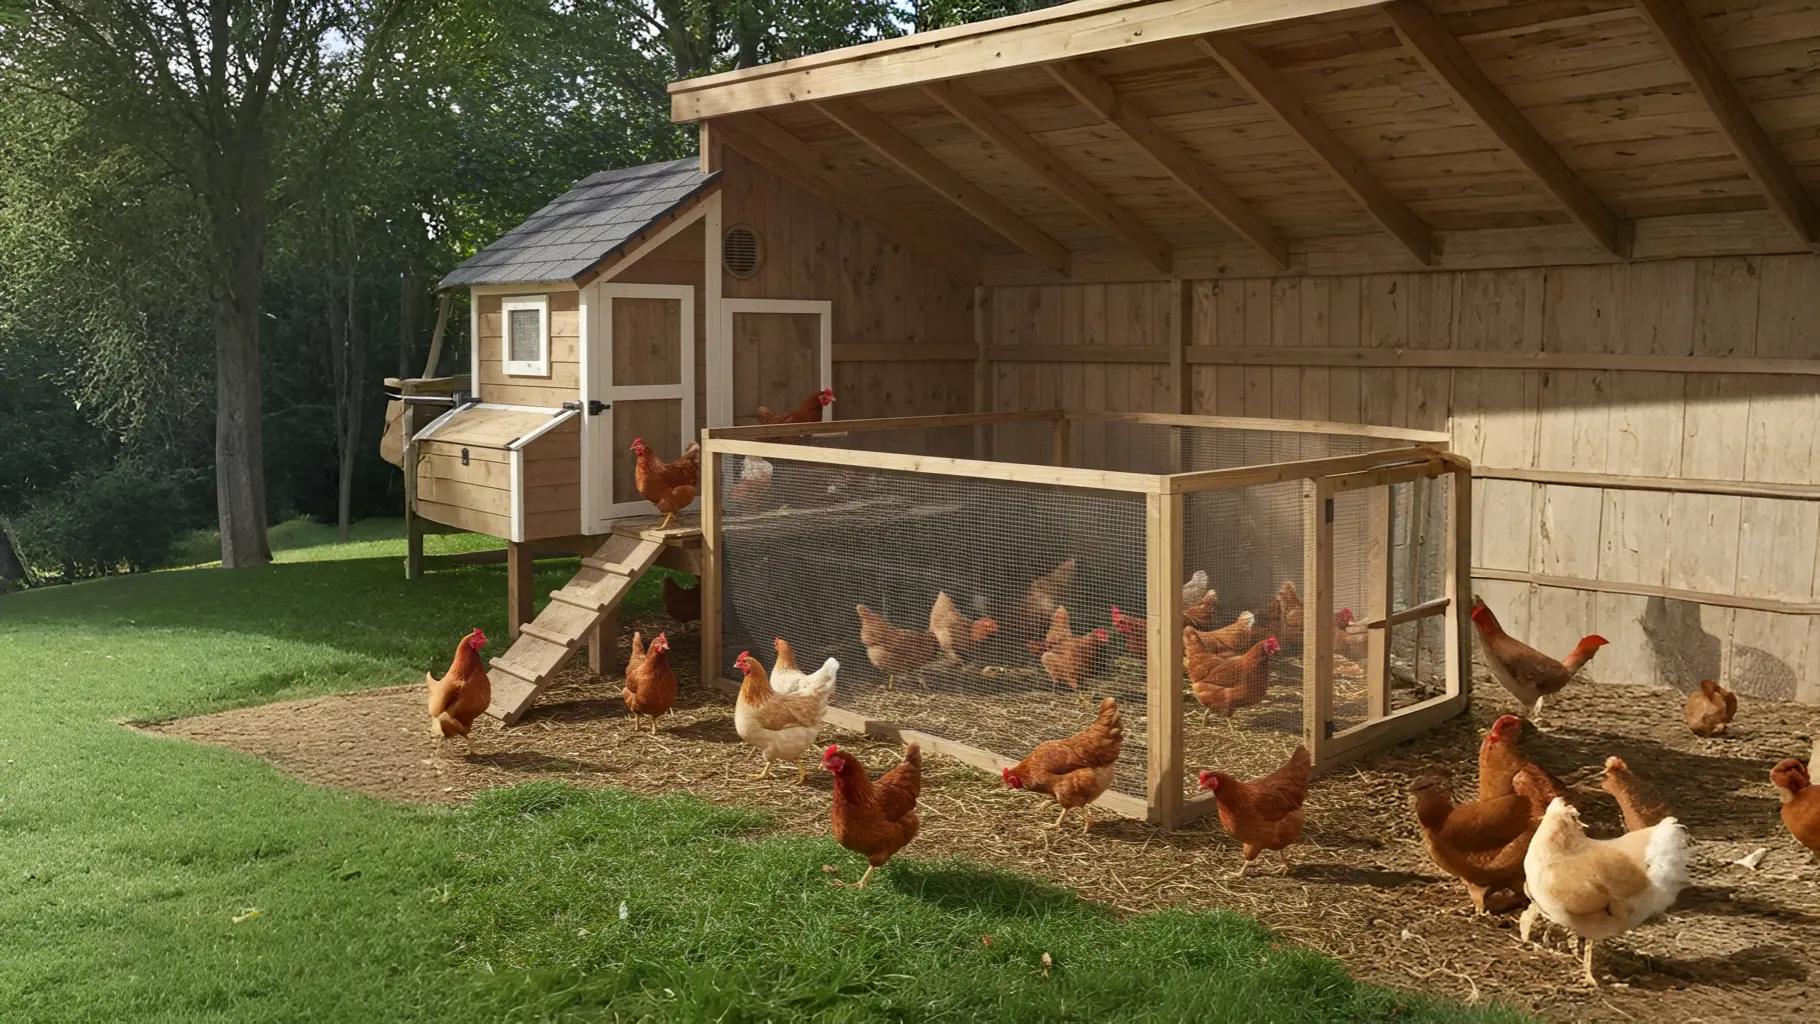
9. Include a Secure Run – Let Them Stretch Their Wings Safely
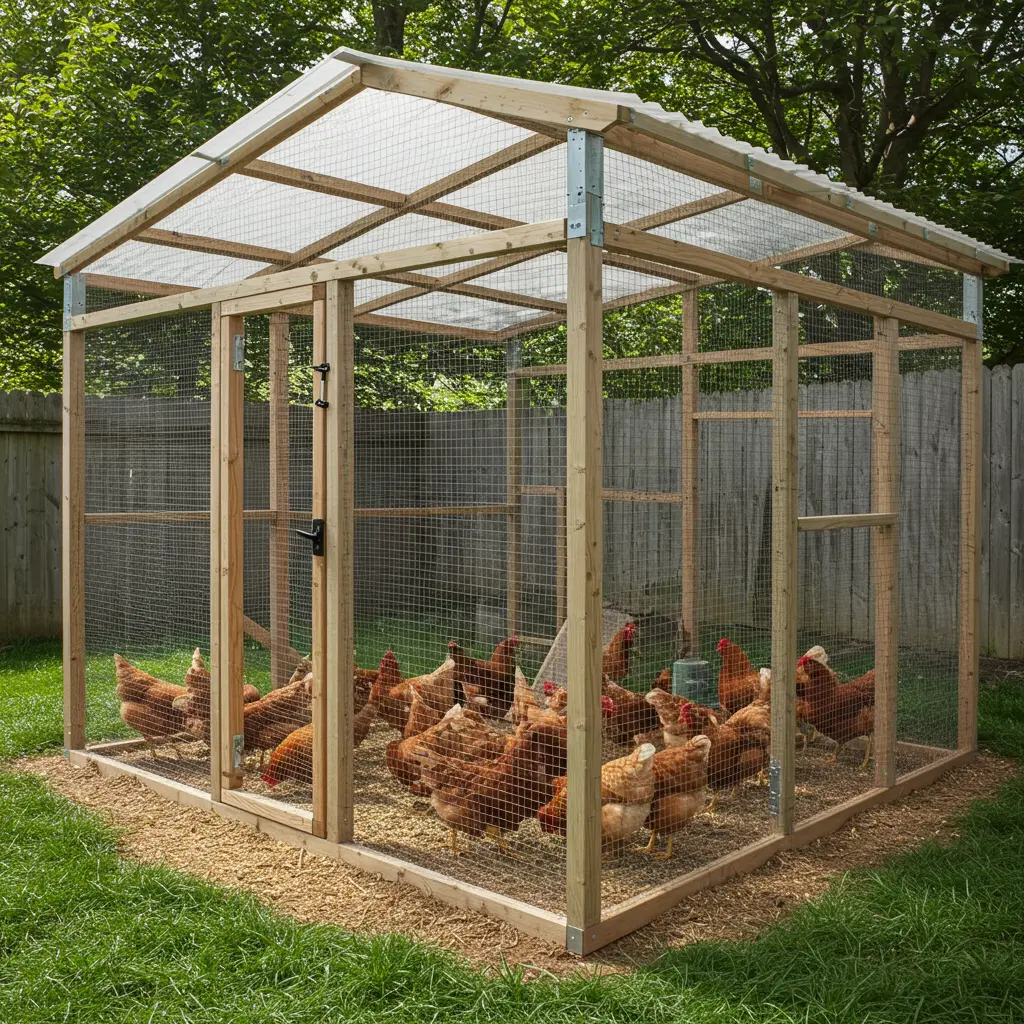
Best For: Giving your flock safe, daily access to fresh air, sunshine, and space for natural behaviors.
- Key Consideration: The run must be as predator-proof as the coop. This means hardware cloth on the sides and, most importantly, a secure top cover. Hawks and owls are a major threat to an uncovered run.
- The Golden Rule: A bigger run is a better run. More space means less wear and tear on the ground, reducing mud problems and giving chickens more room to forage.
- Pro-Tip: The run doesn’t have to be boring. Add a log for them to perch on, a pile of autumn leaves for them to scratch through, and a small area of sand or dirt for a dust bath.
10. Add Fun Features – Because Happy Chickens Lay More Eggs!
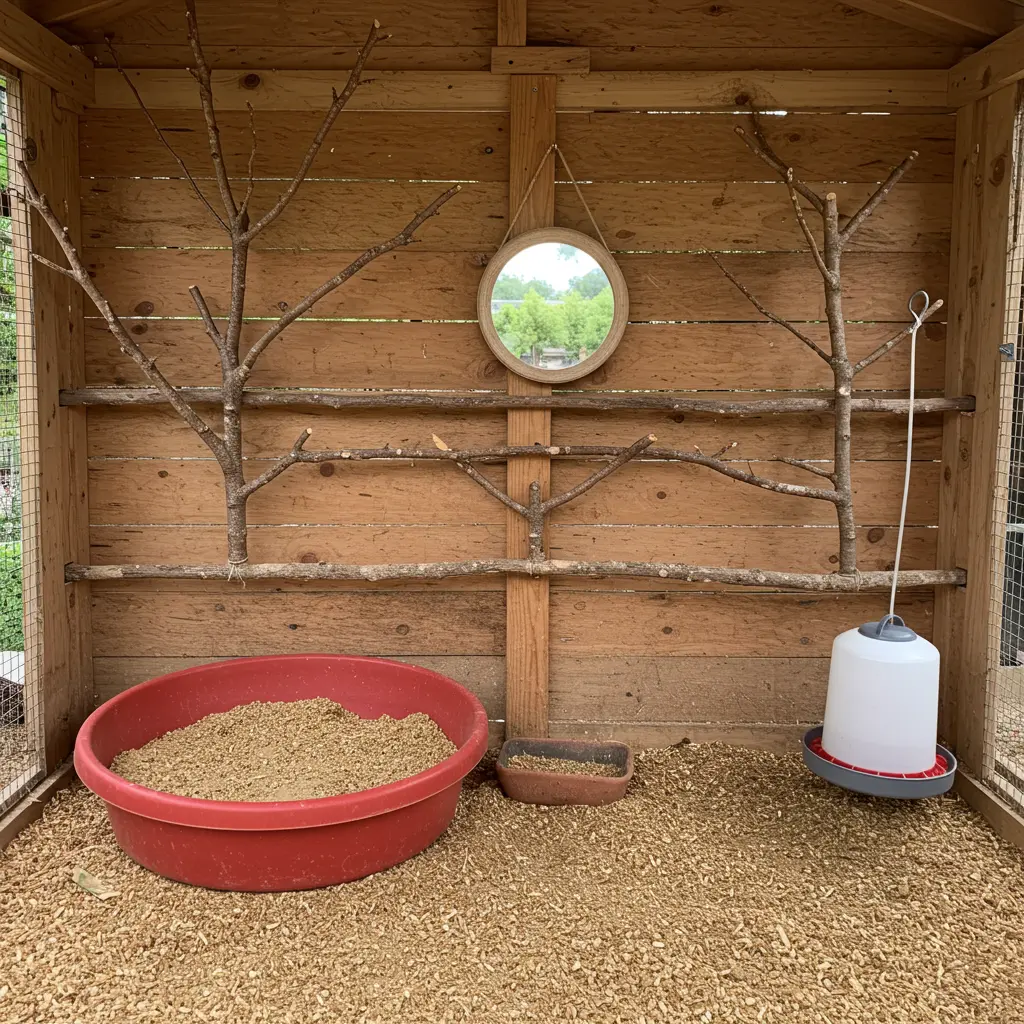
Best For: Preventing boredom and encouraging natural behaviors, which leads to a healthier, more productive flock.
- Key Consideration: This is about enrichment. A bored chicken is often a destructive chicken (feather pecking, bullying).
- The Golden Rule: The best enrichment is one that mimics natural behavior. A dust bath (a simple box or tire filled with loose dirt, sand, and a little wood ash) is the single most important “fun feature” you can provide.
- Pro-Tip: Create a “cabbage piñata” by drilling a hole through a head of cabbage, threading a rope through it, and hanging it just high enough that they have to jump to peck at it. It provides hours of entertainment and a healthy snack.
Conclusion: Your Flock’s Forever Home
And just like that, you’re no longer just looking at a pile of lumber; you’re looking at a blueprint for a thriving backyard flock. This isn’t just about building a shelter; it’s about creating a safe, comfortable, and enriching home where your chickens can live their best lives. The reward? Healthy birds, endless entertainment, and the unparalleled joy of collecting a warm, fresh egg.
It all starts with a single choice. Pick the features that feel right, take your measurements, and take the first small step.
You’ve got this.
